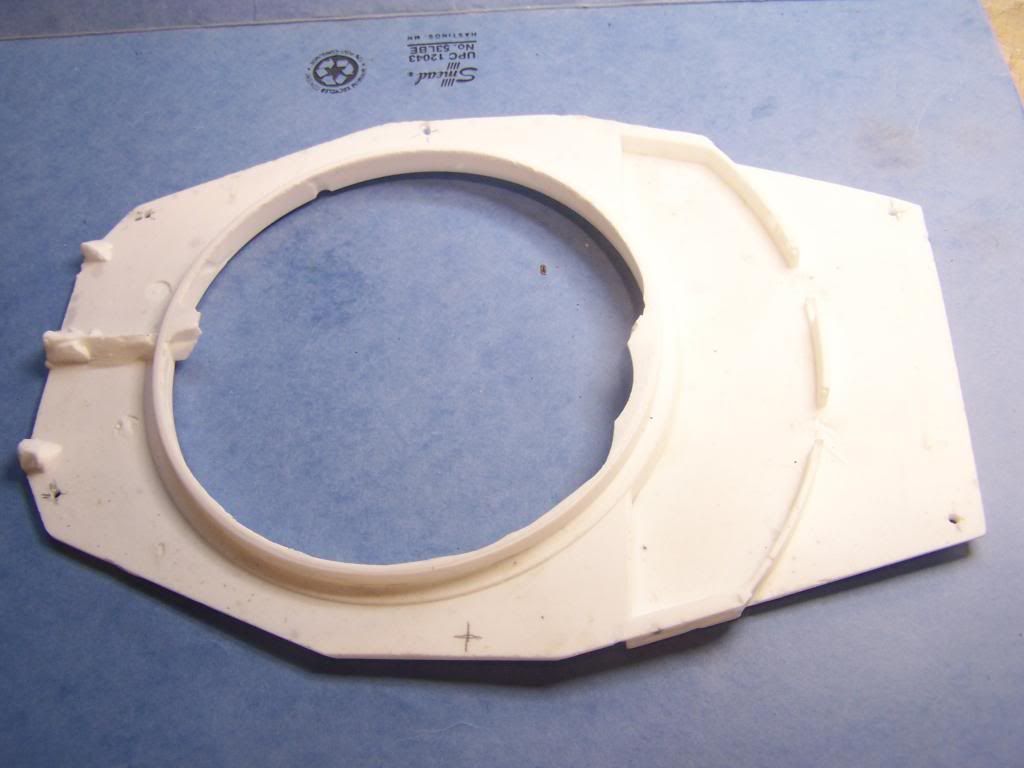
Step 3.
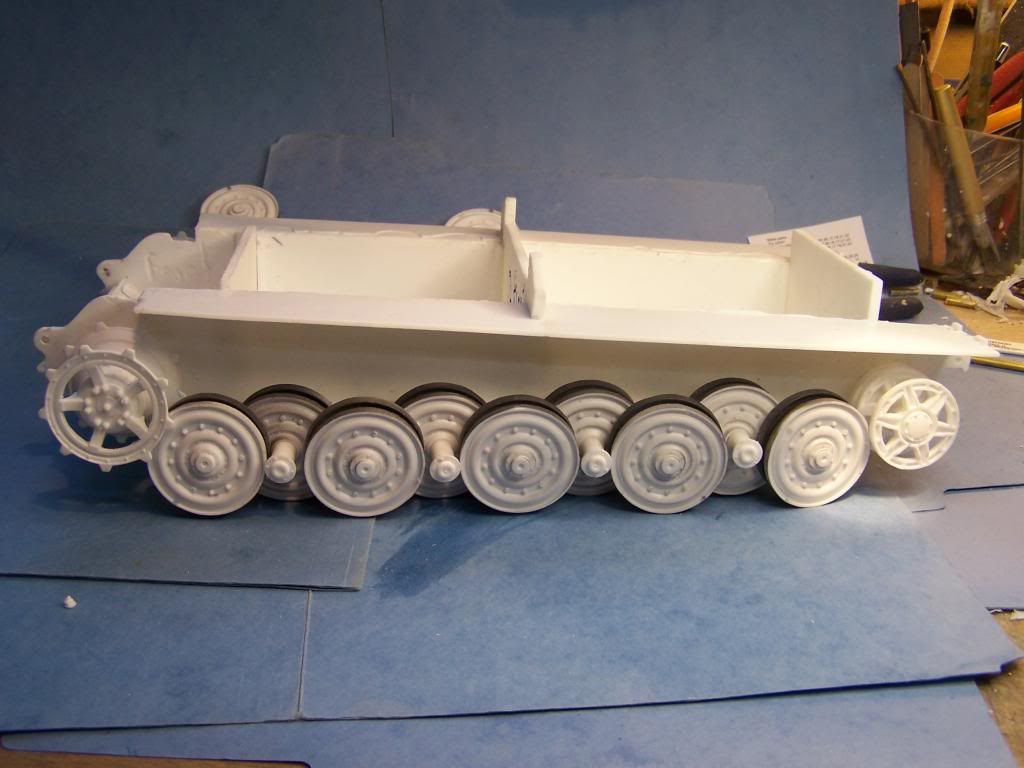
Track installation.
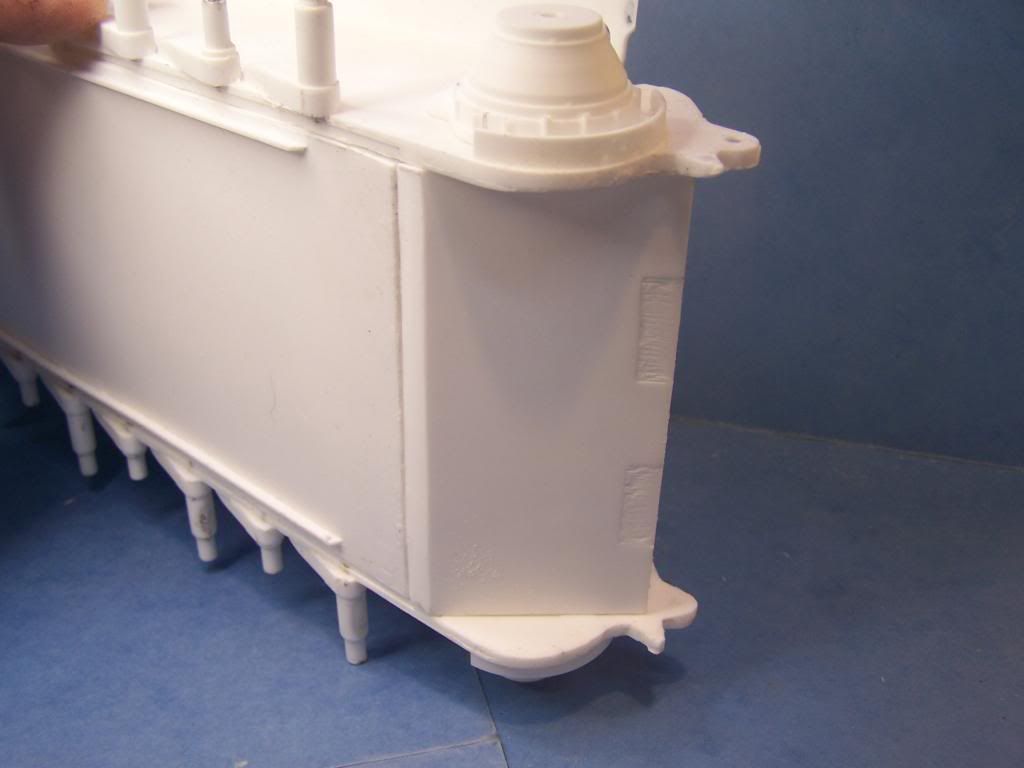
Here it is boys the most toughest vexing pain in the tail part of the whole build .
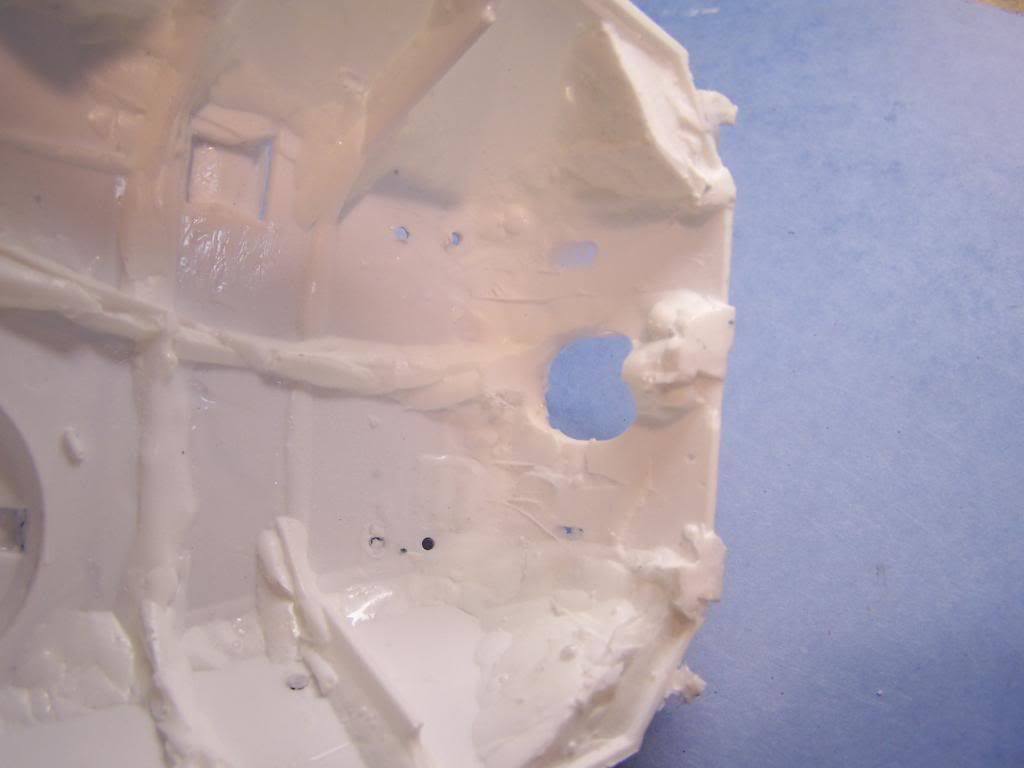
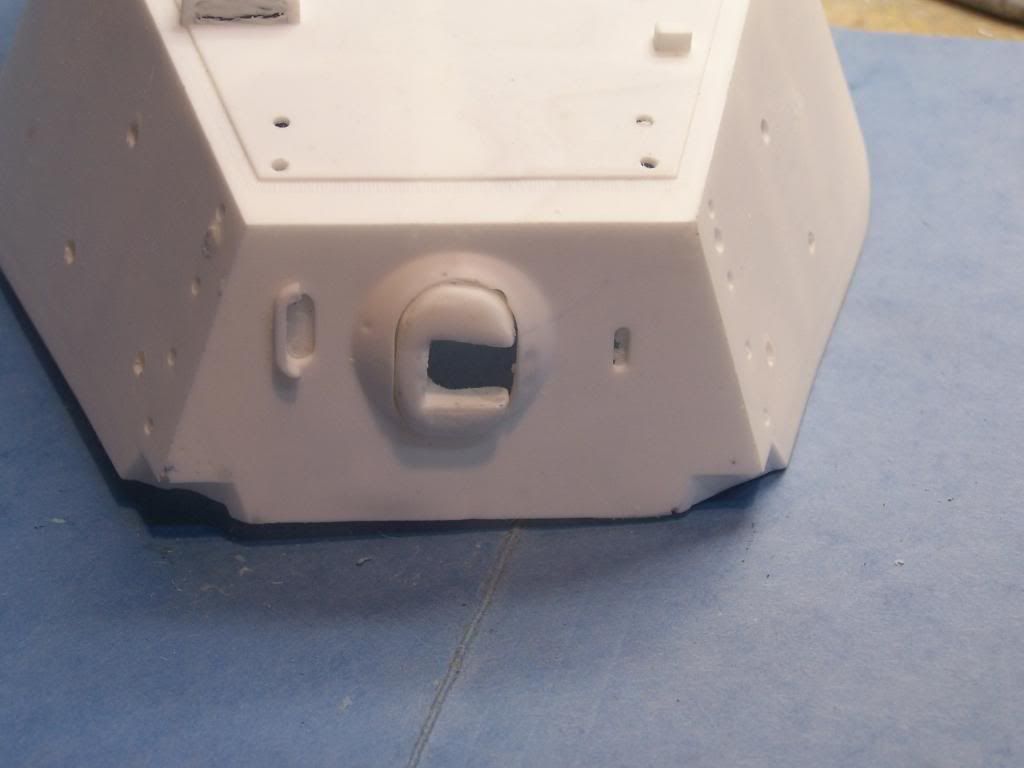
Track installation. The hardest part is cleaning out the tread link sockets.
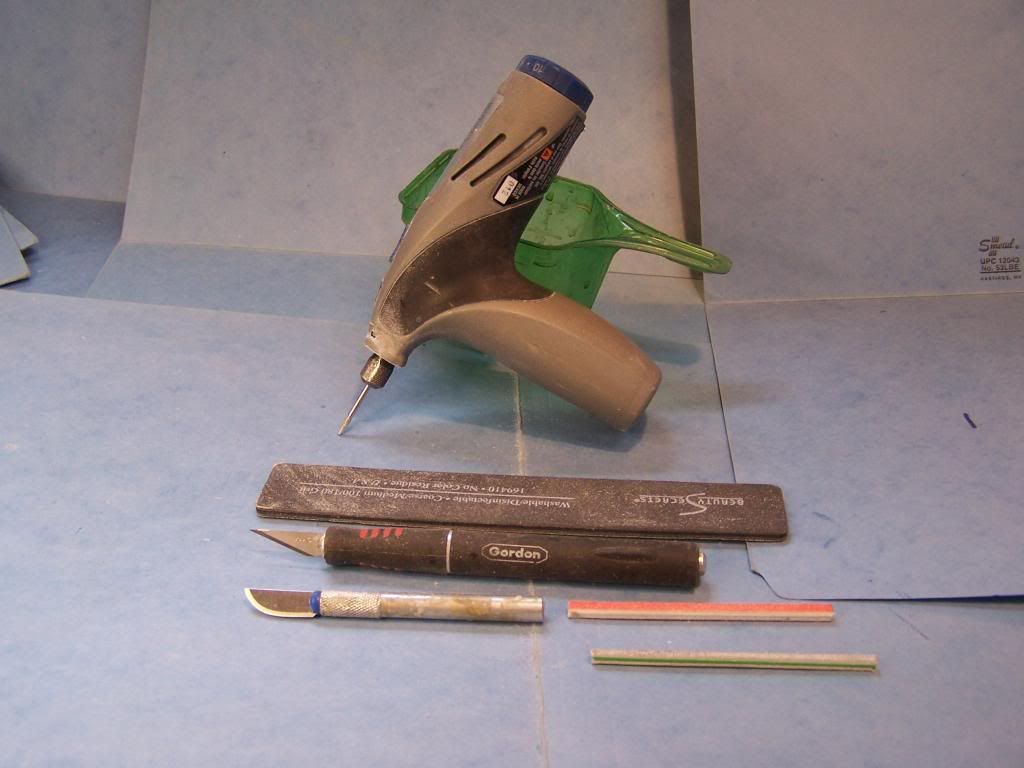
Here are the tools that will make everything easier.
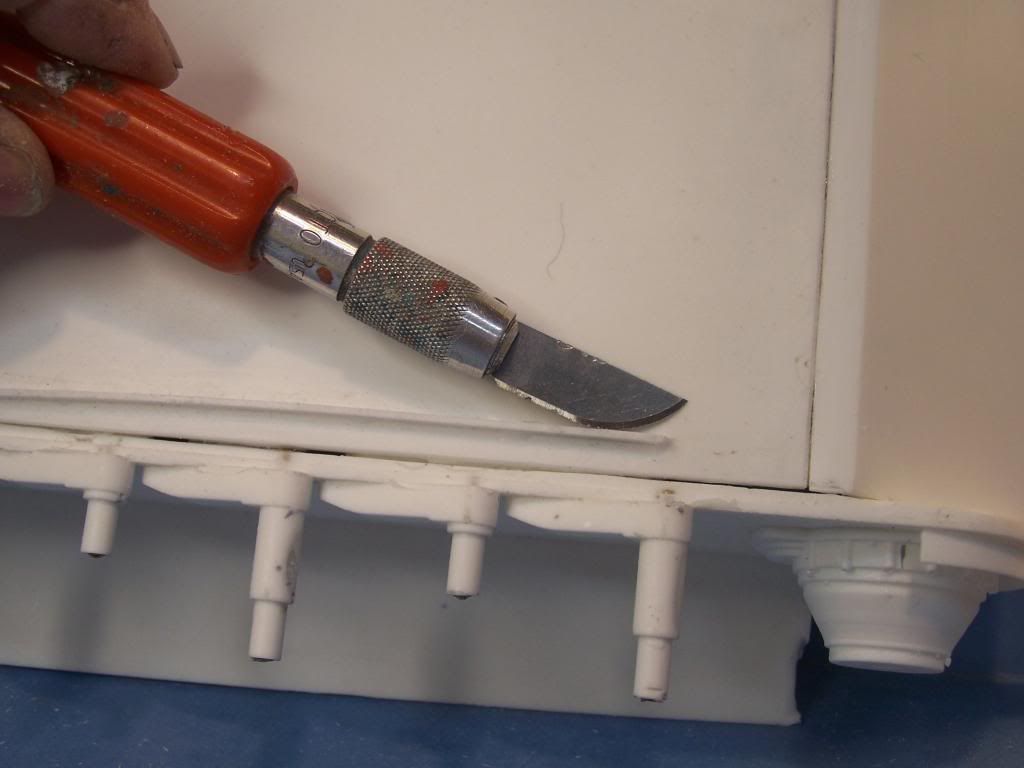
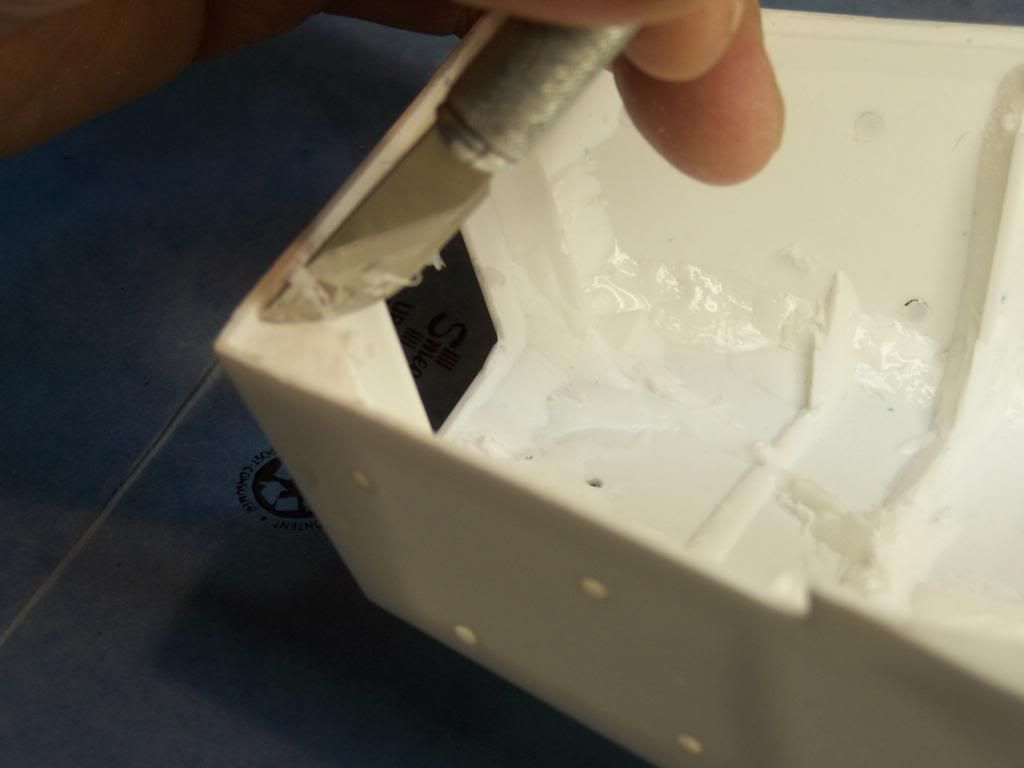
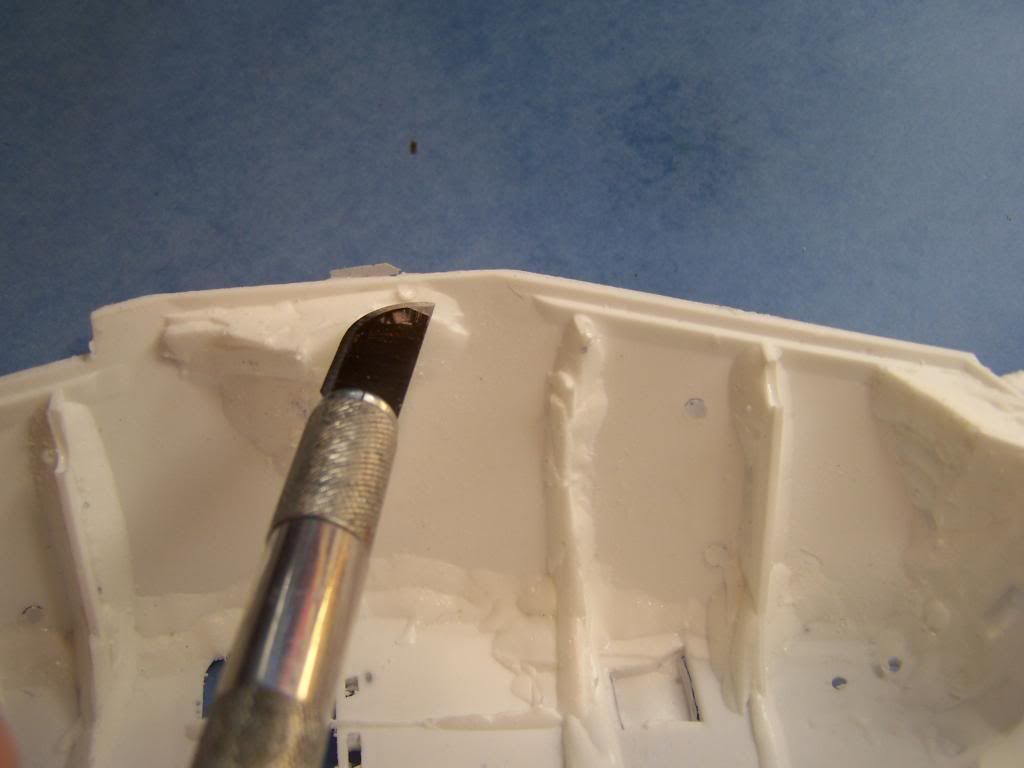
The rounded scale x-acto blade is a must. GET THE SMALLER SIZE FOR THE THIN HANDELD X-AXTO.
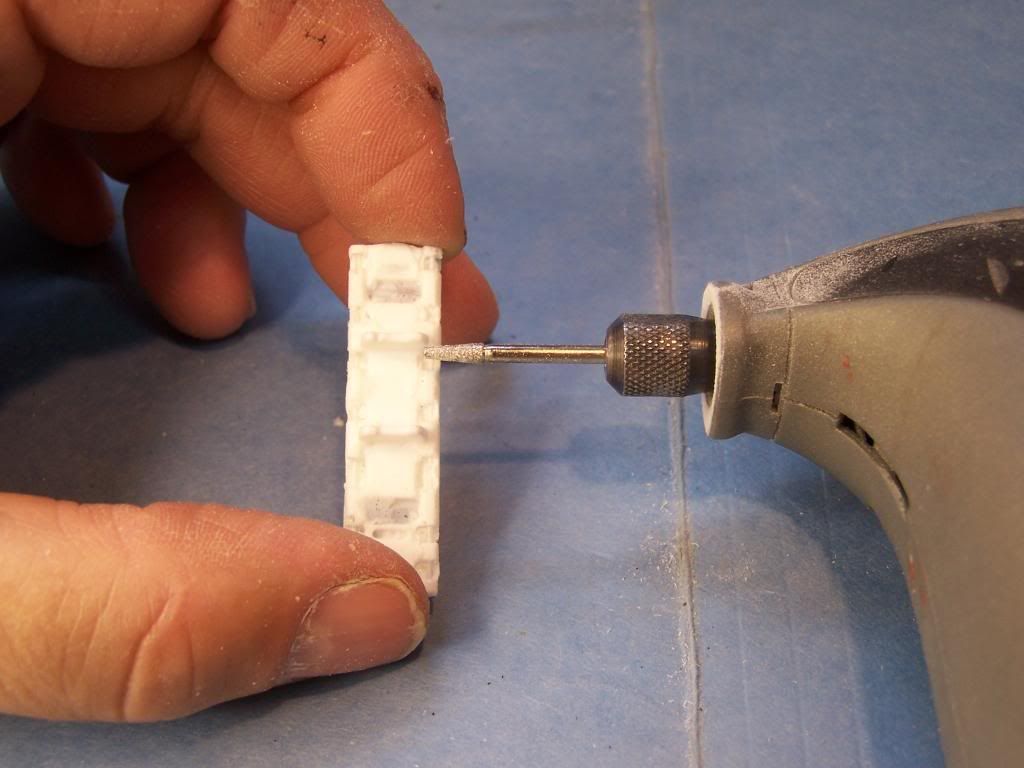
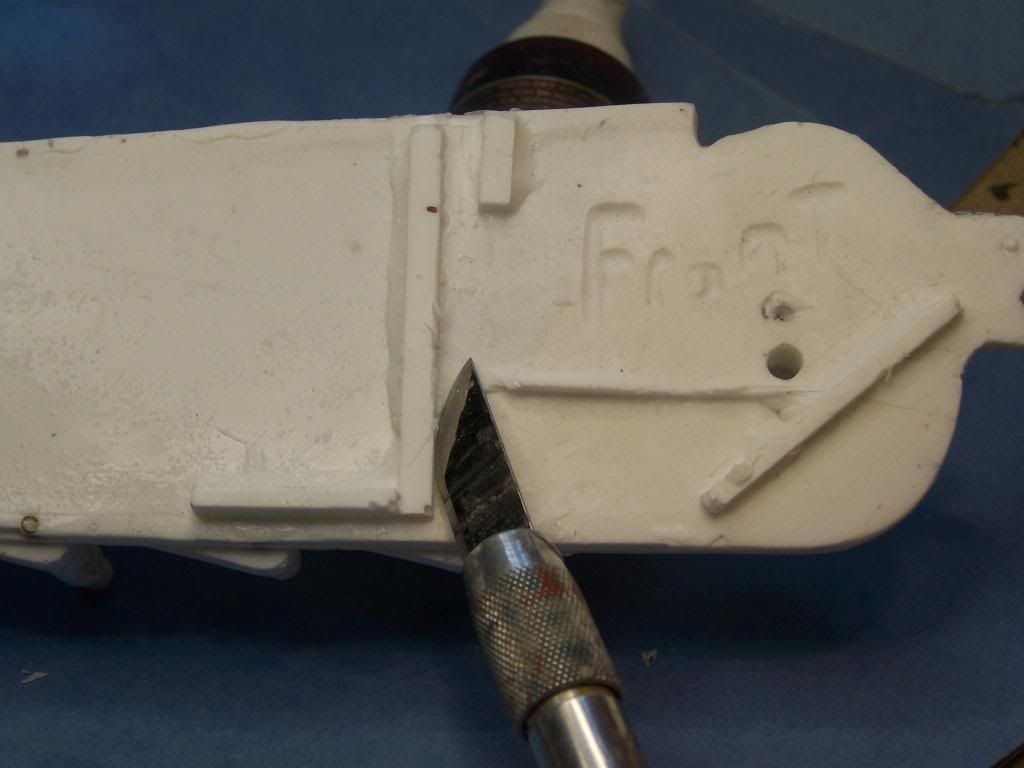
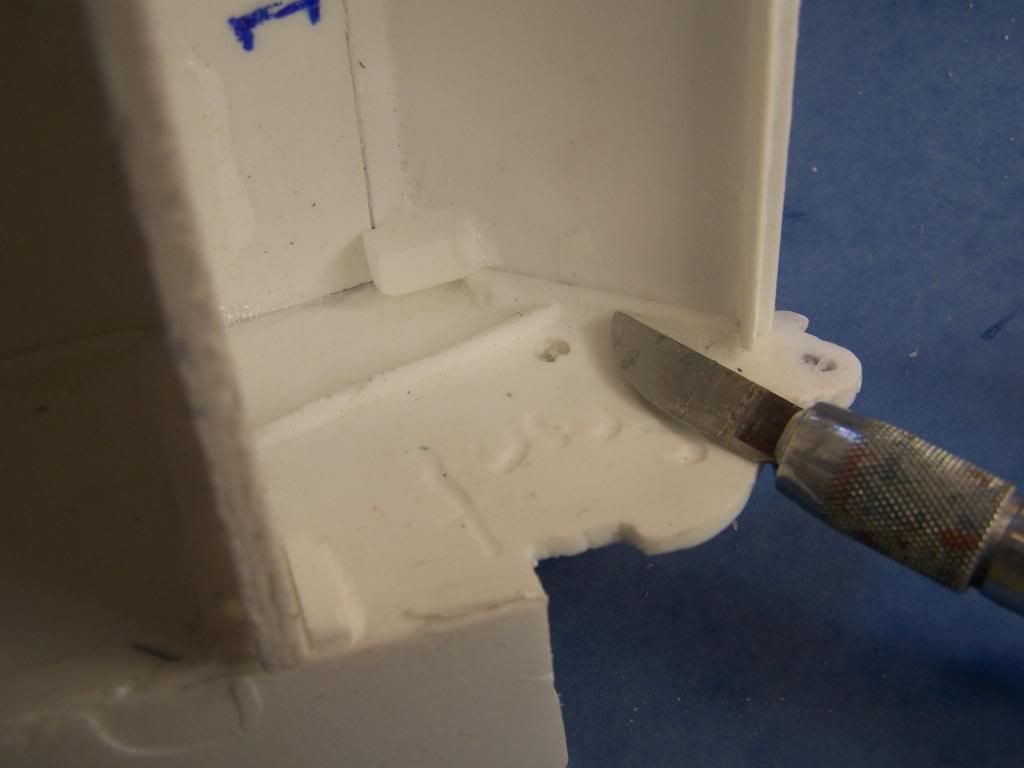
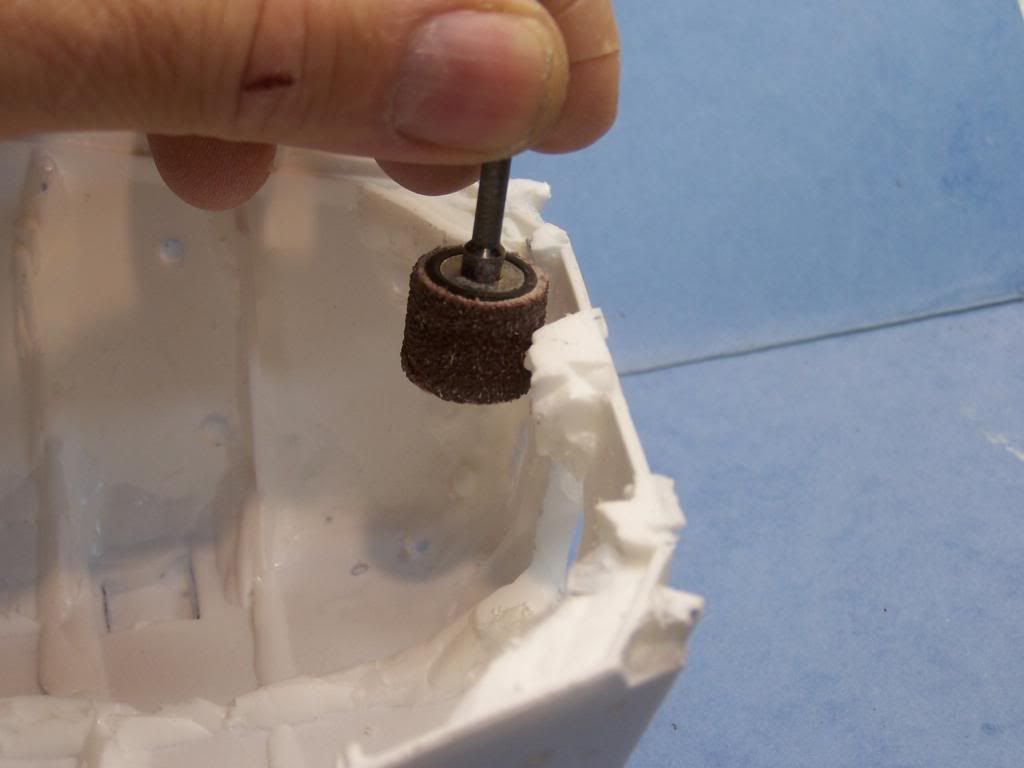
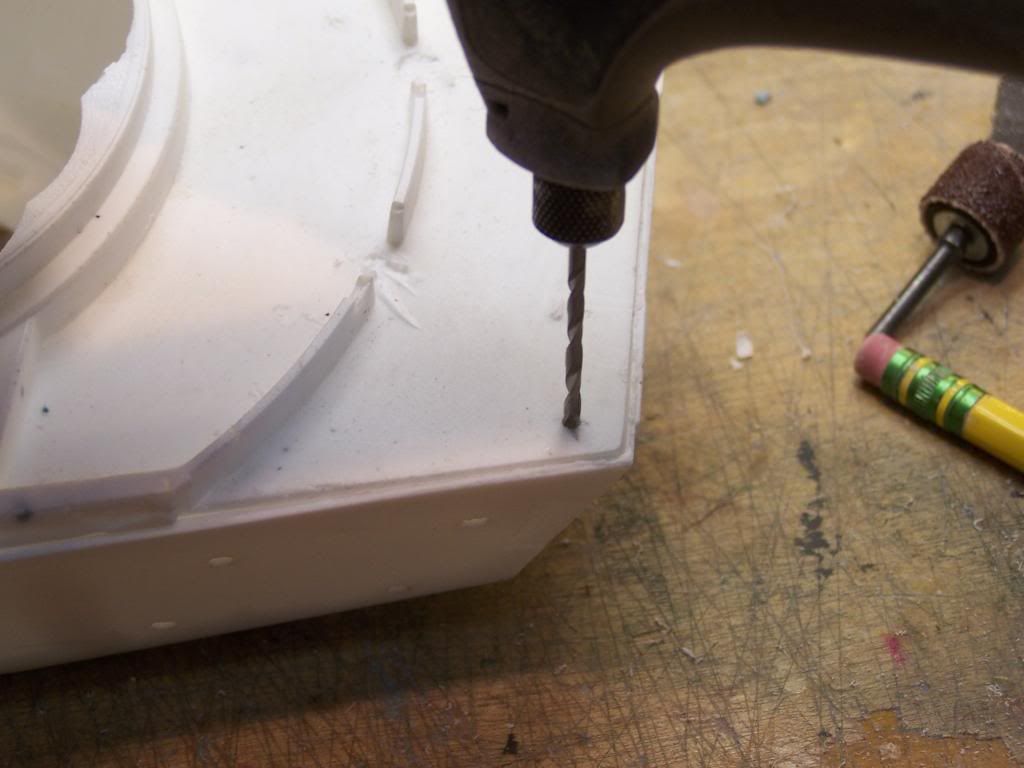
The Dremel is handy to get the most fill out of the sockets .
Notice the bit on the dremel it is a smaller shank bit with diamonds. I got it with a cheaper off brand Dremel at Harbor Freight.
You can do the job with the rounded x-acto but it will take a lot longer.
After this step everything is down hill on the build .

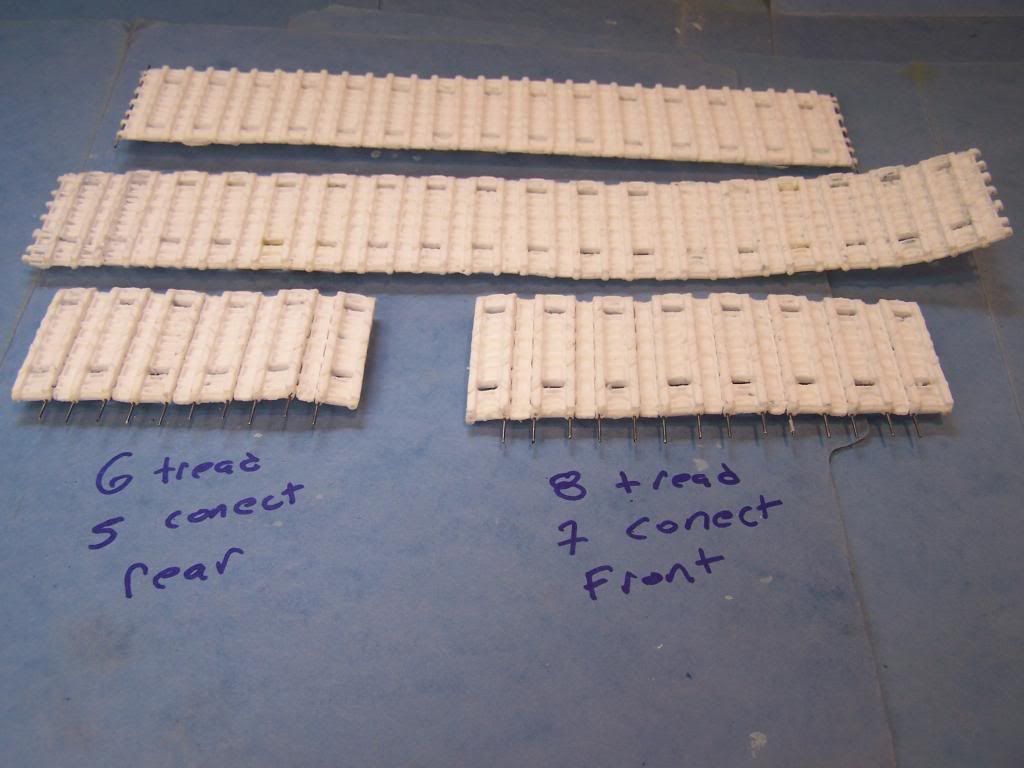
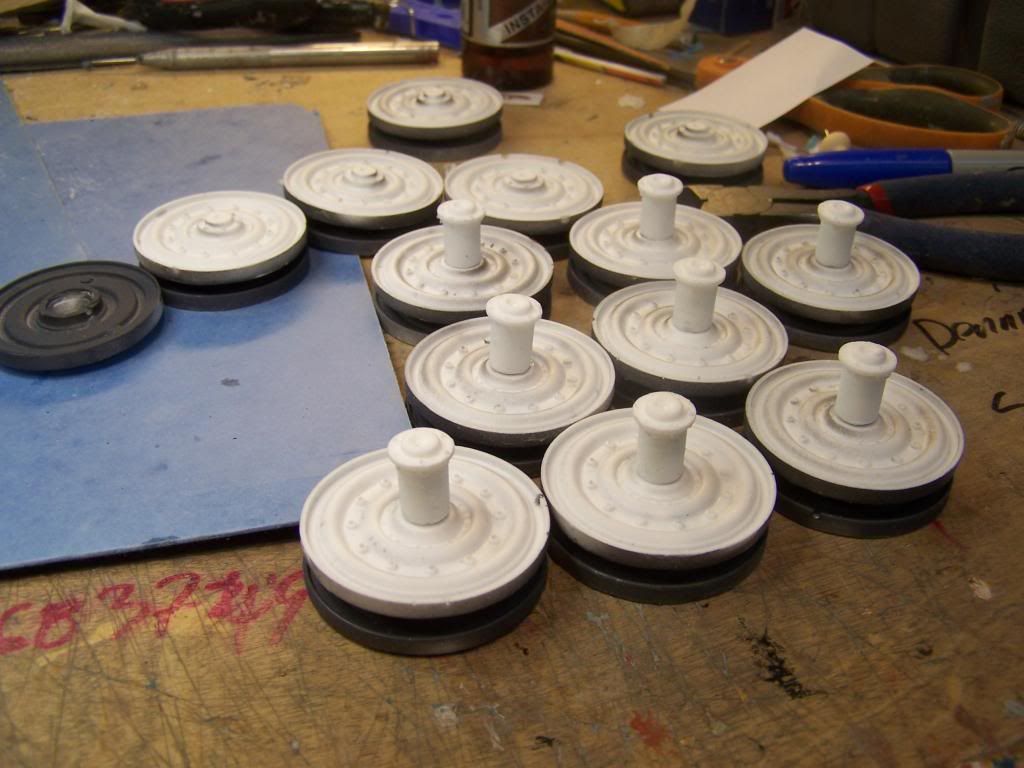
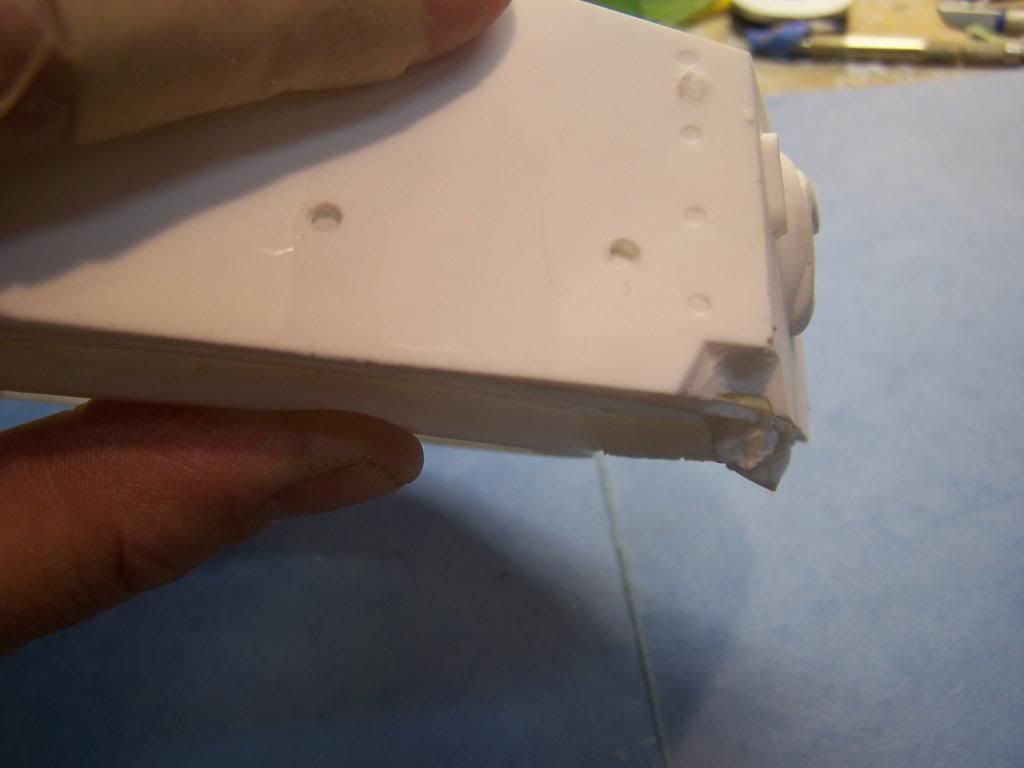
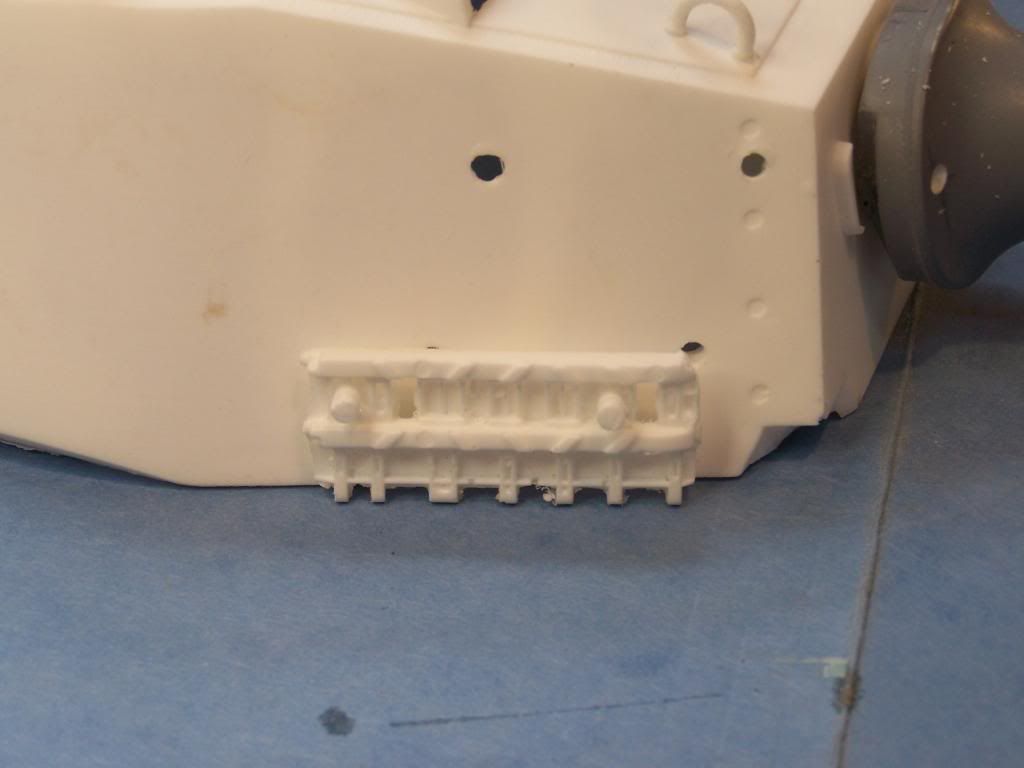
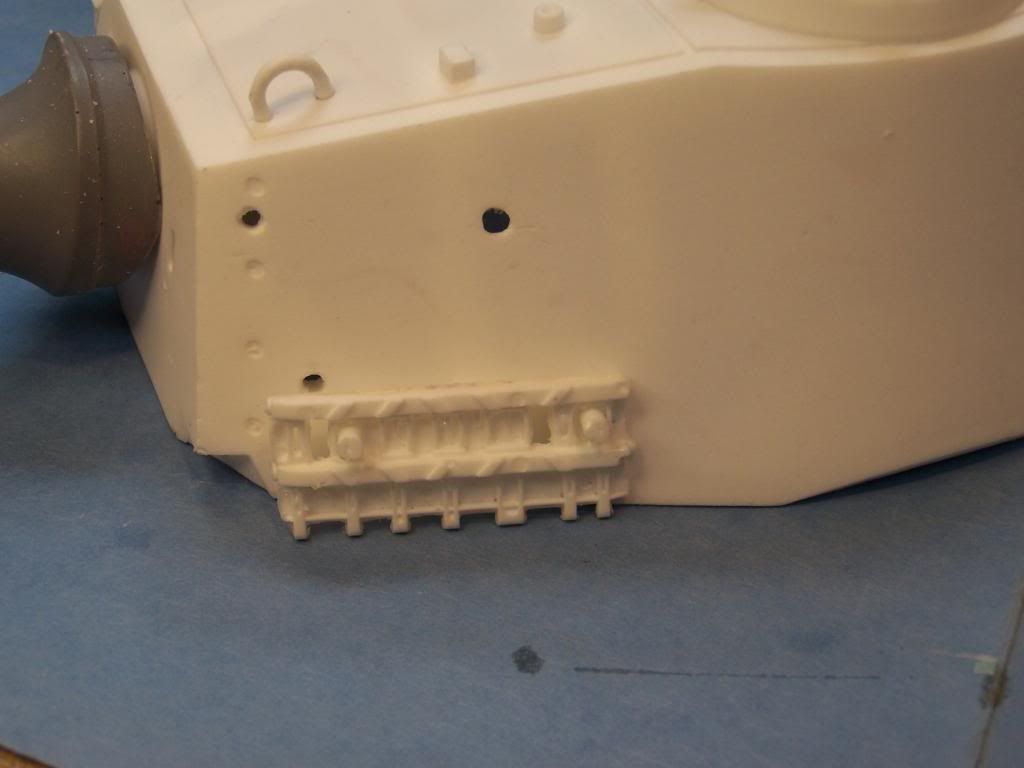
The thin sand boards are useful to getting the flash out of the connecting links.
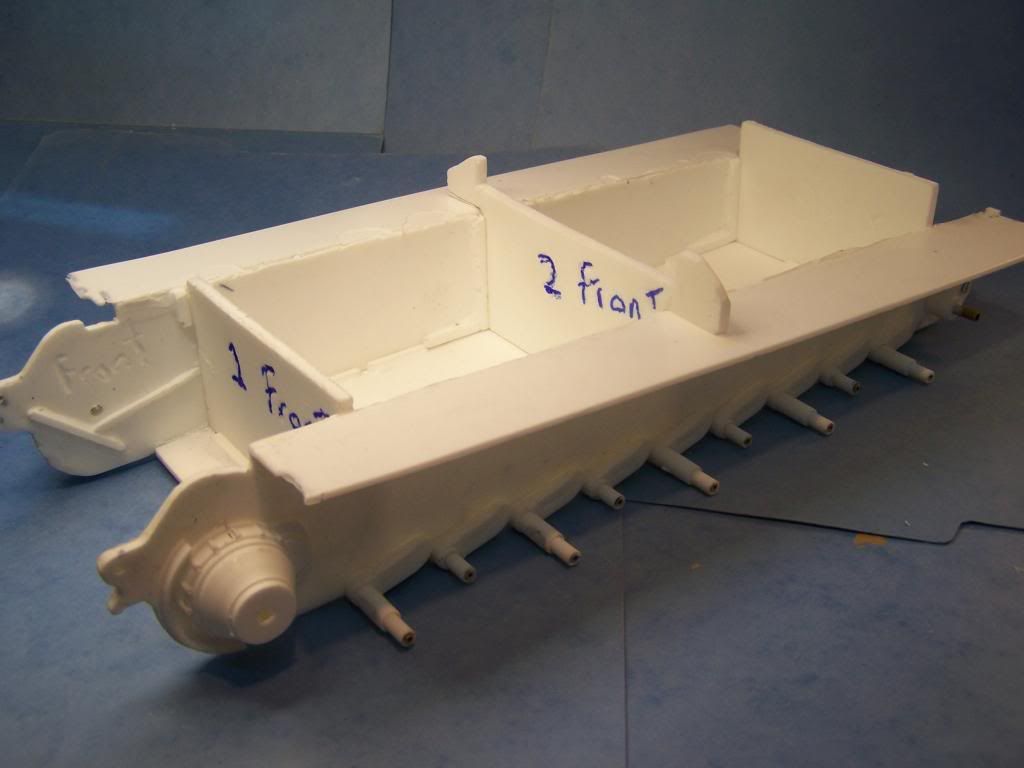
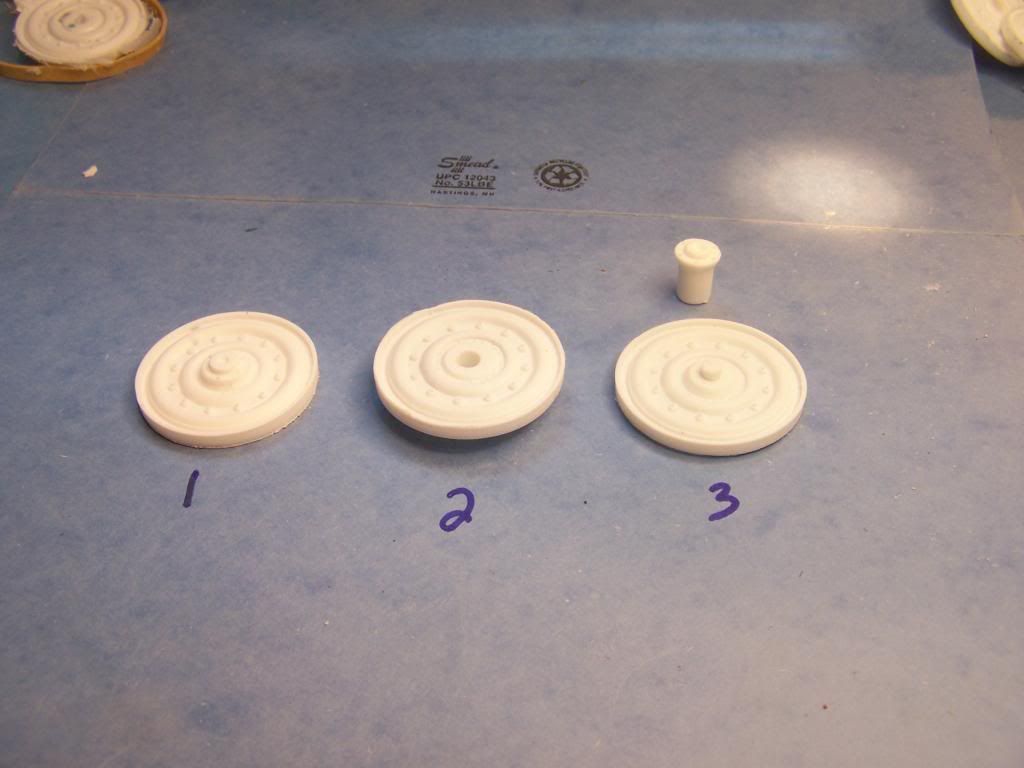
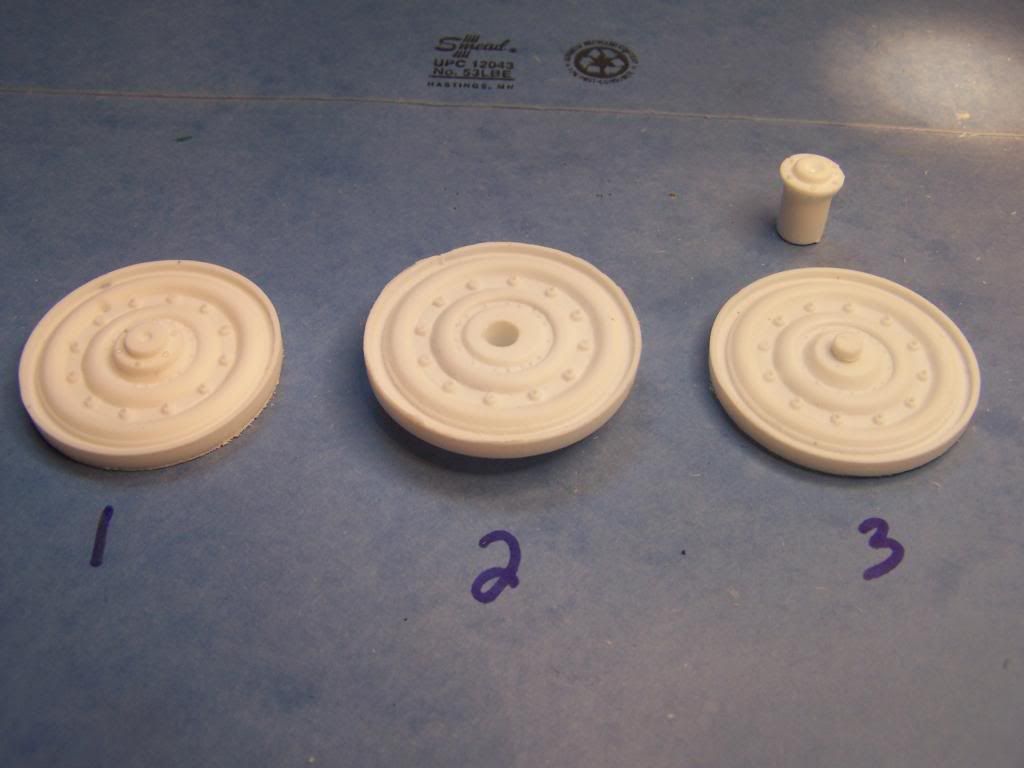
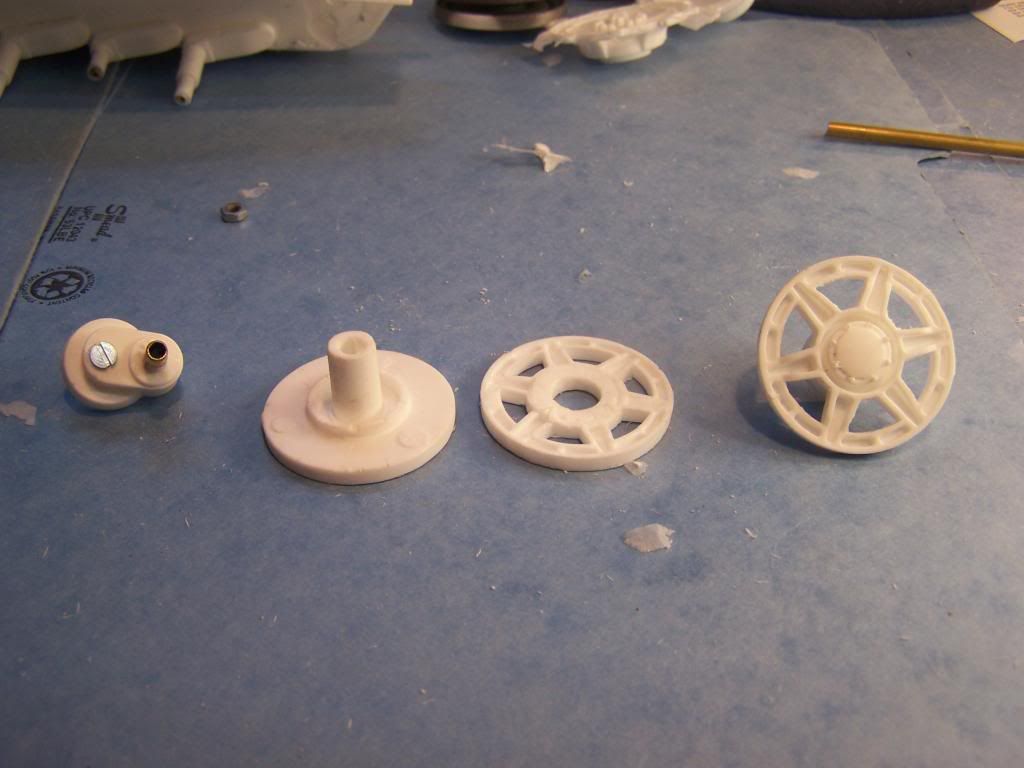
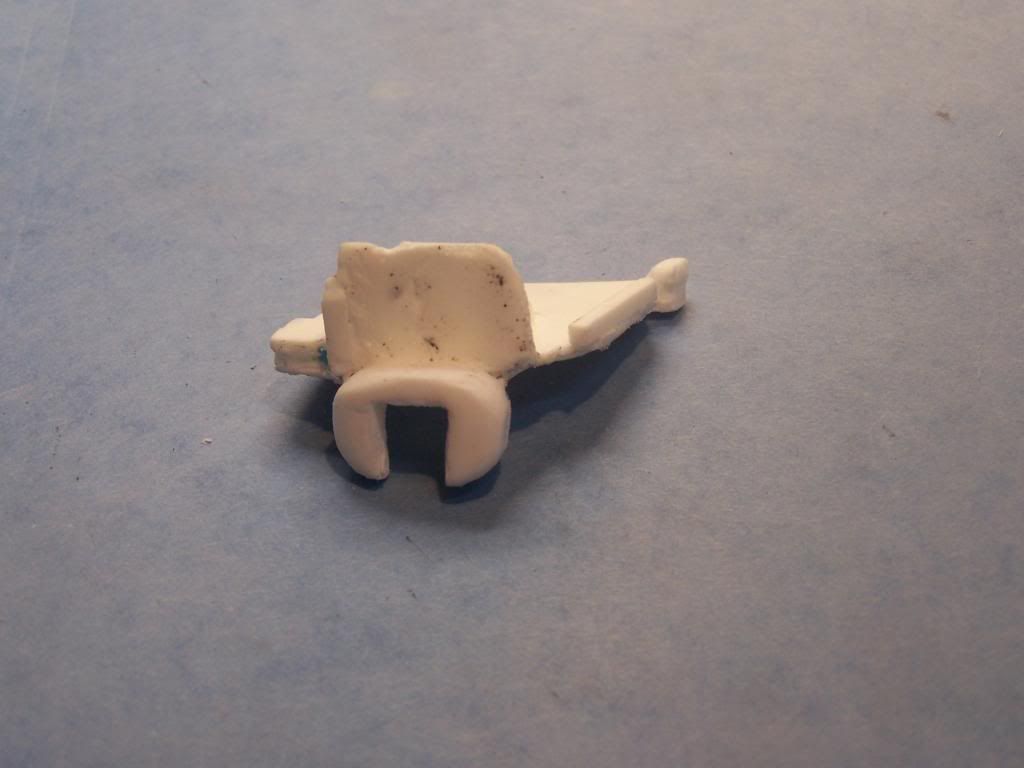
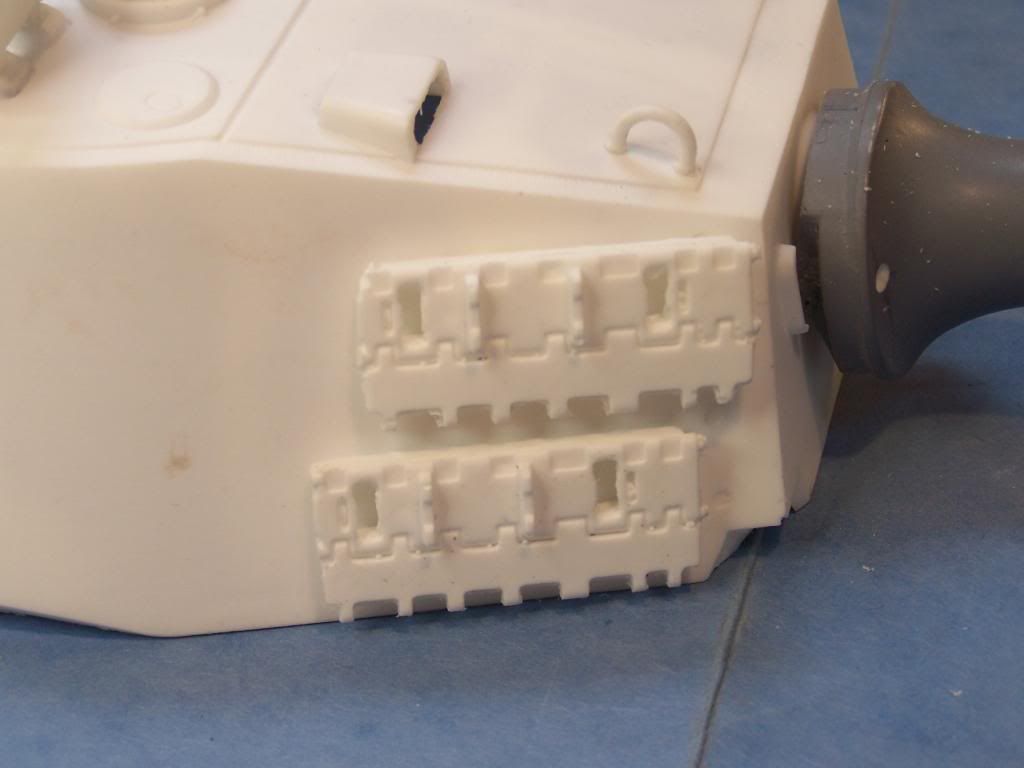
Tread links on the left connecting links on the right.
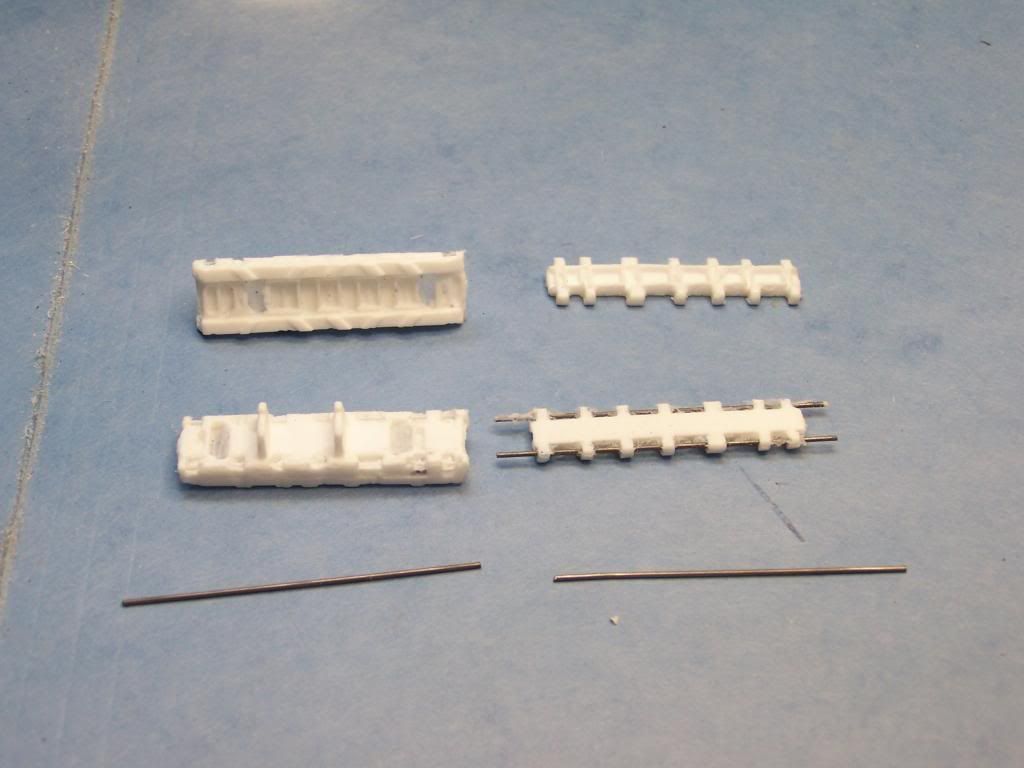
Long " J " link ( top ) long strait link ( bottom )
Kind of fuzzy but here is diamond tipped bit.
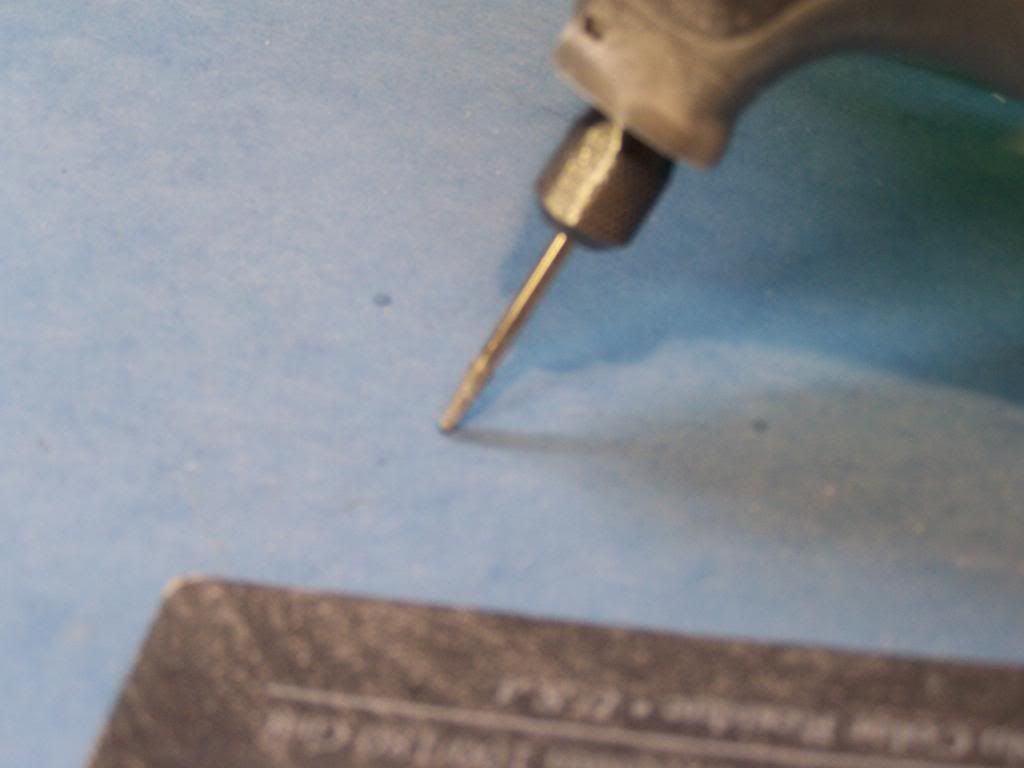
Using Dremel to gouge out fill.
When doing this step if you get a little sloppy on the socket it will almost never be seen so if you goof not to worry.
Plus if you hit your fingers with the bit it does not hurt at all .

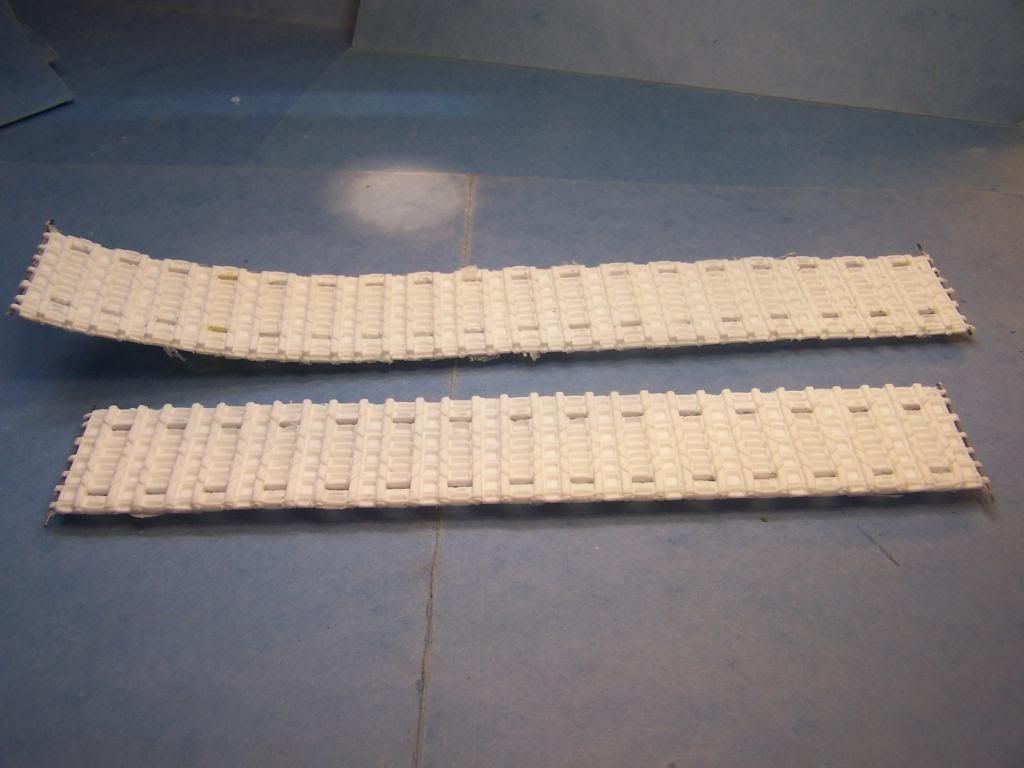
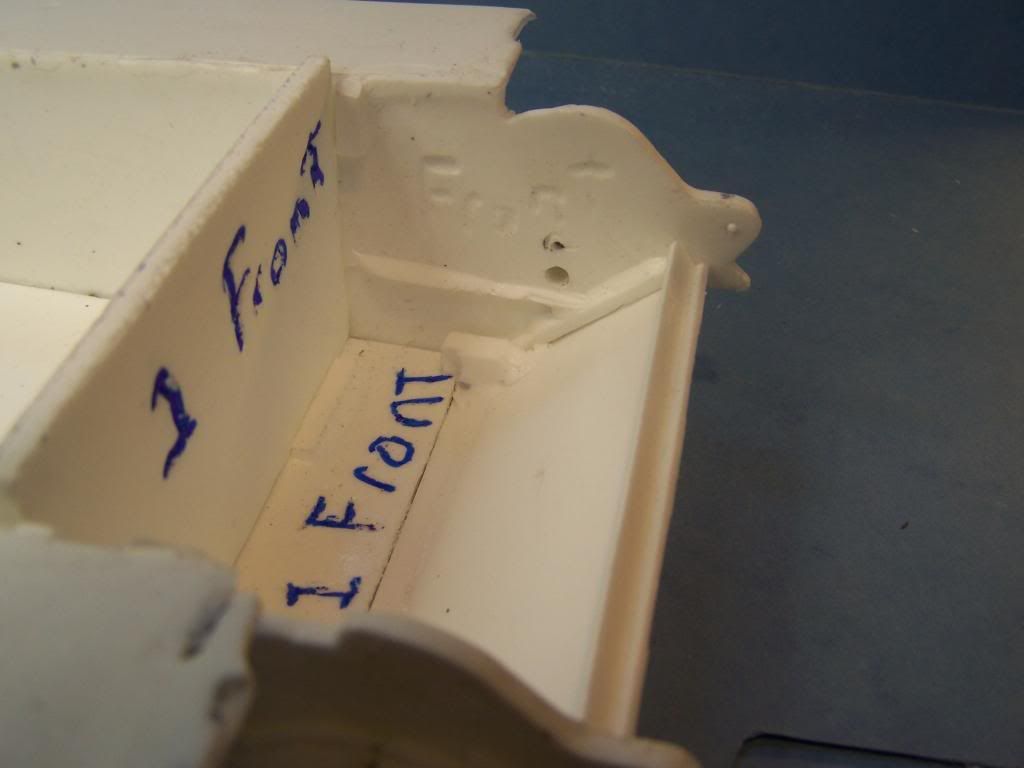
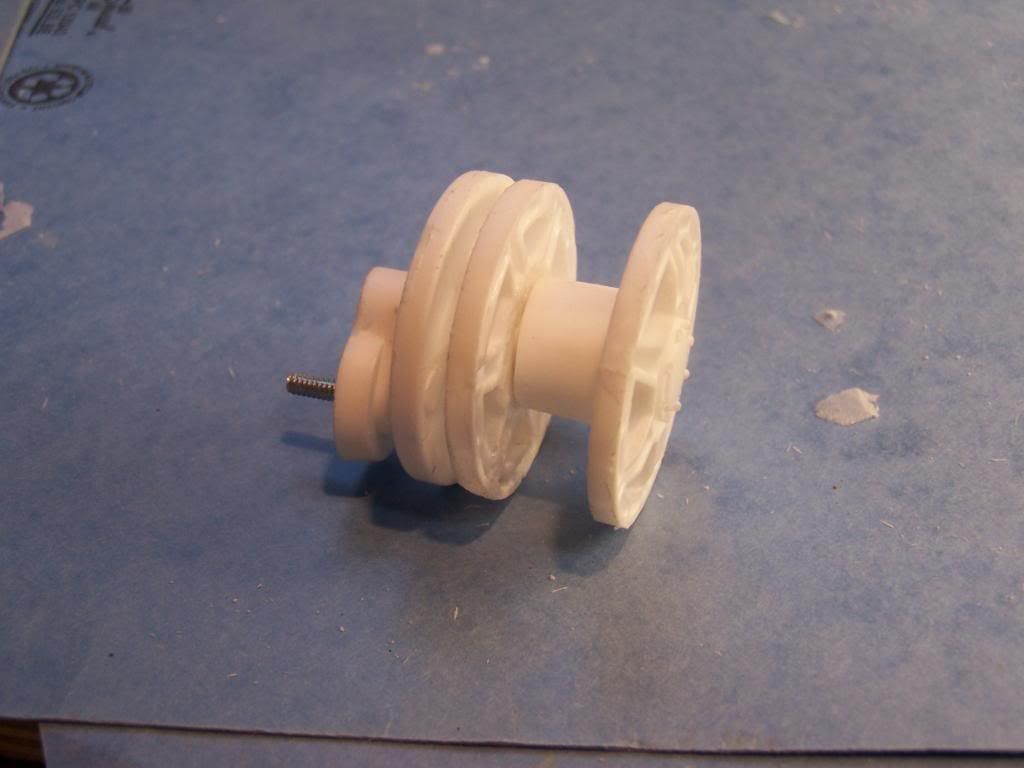
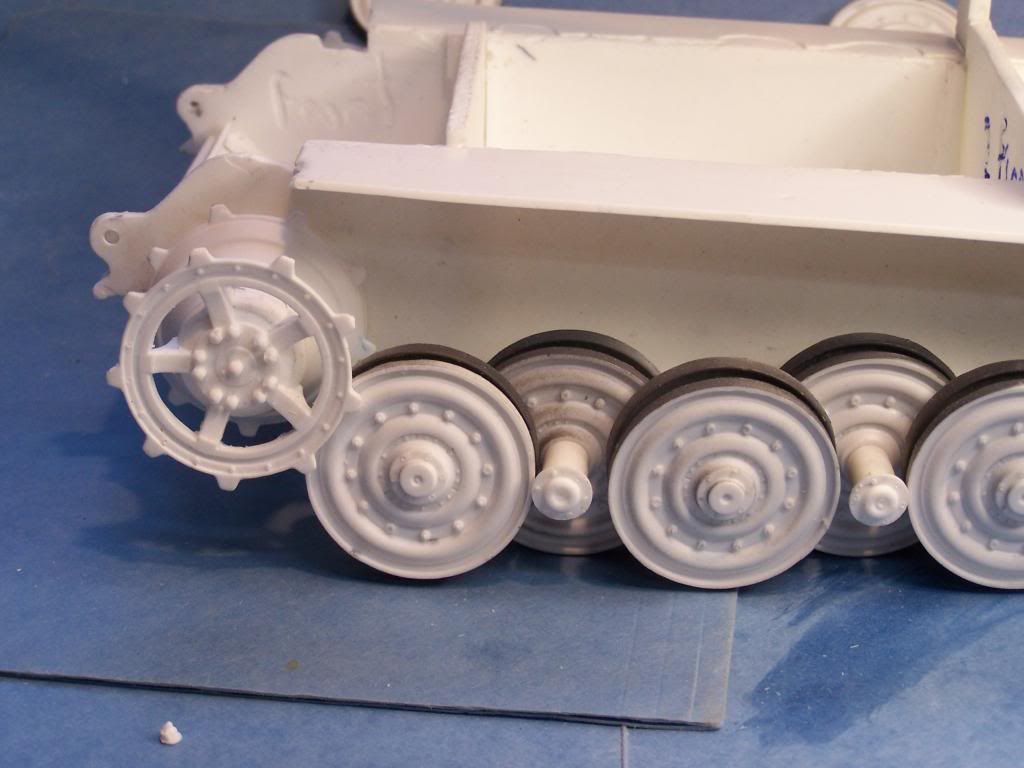
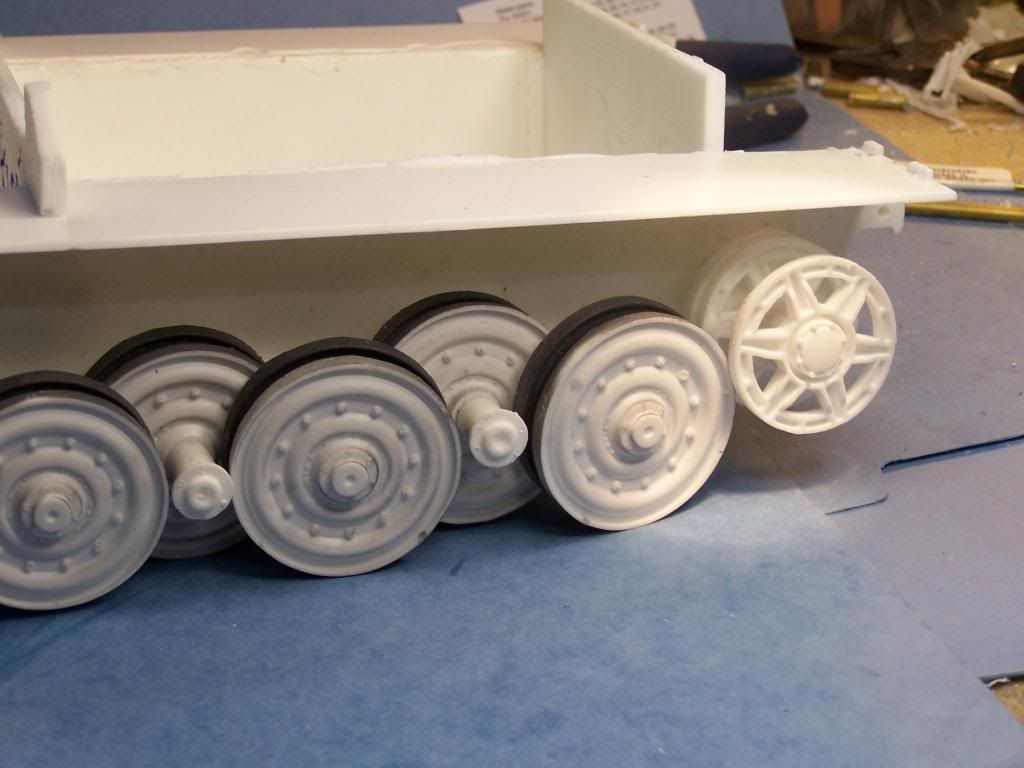
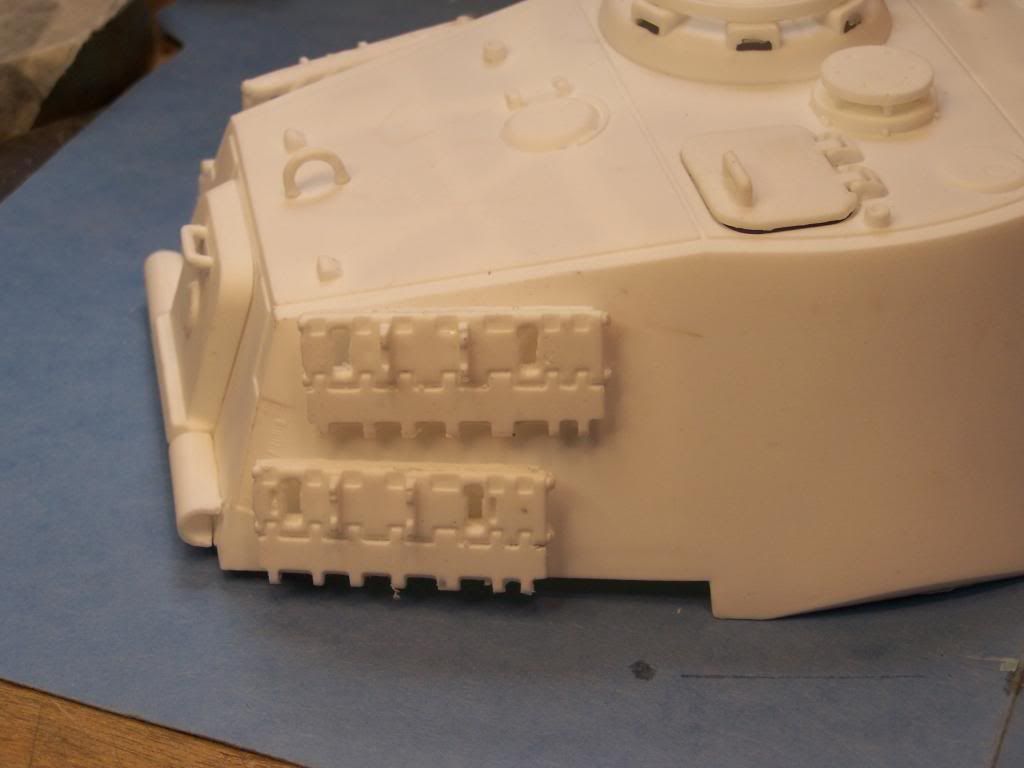
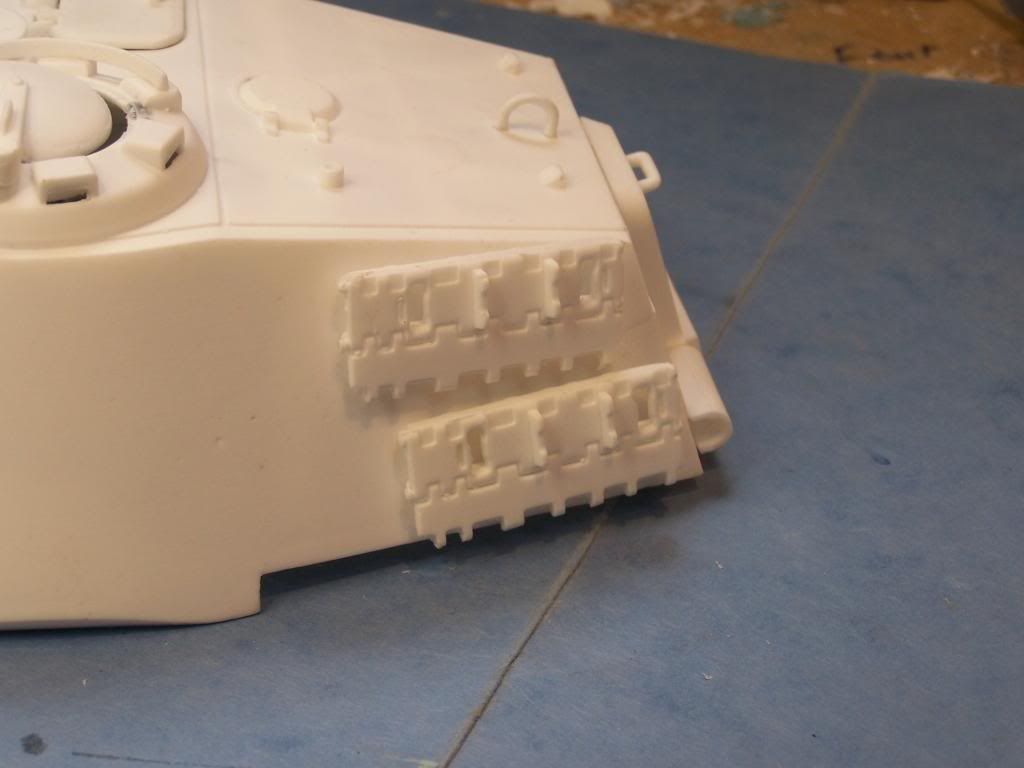
Once all of the links are cleaned up connect them as seen in the picks . Then connect them to the long links.
Connect all of the links together using a pin toward the front bottom just under the main drive . Slide this pin in and out a few times so it slides in easy.
Then disconnect and slide the whole assembly over the running gear.
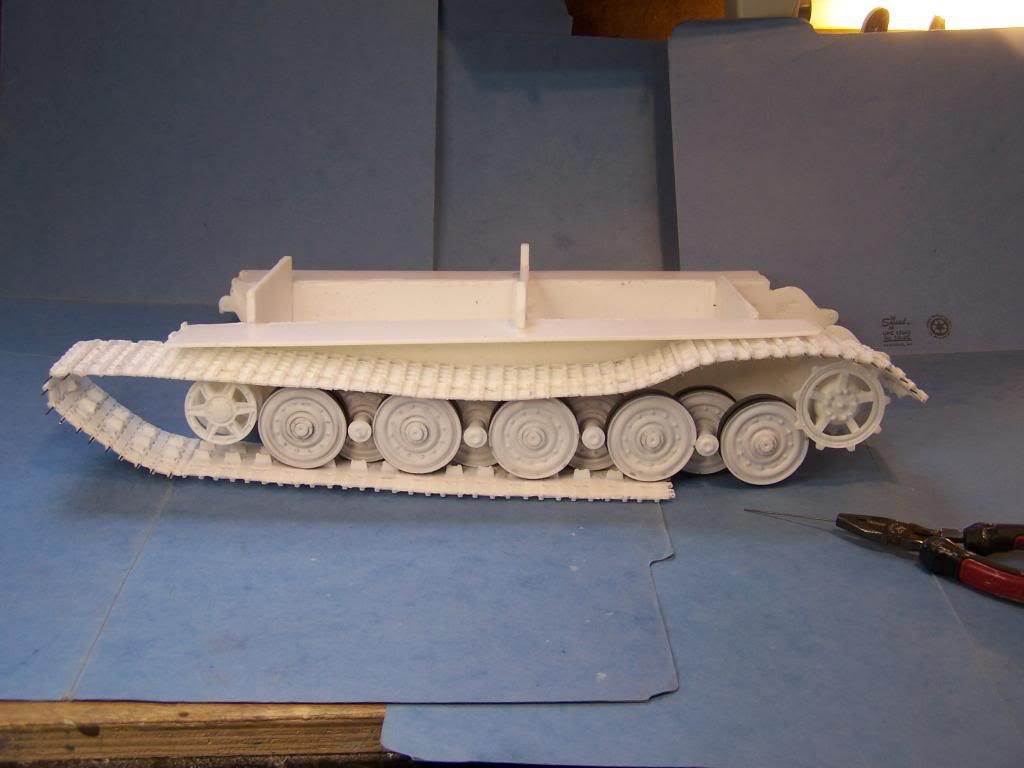
Once everything is aligned connect with the master pin.
Swing backward the rear idler to take out the slack.
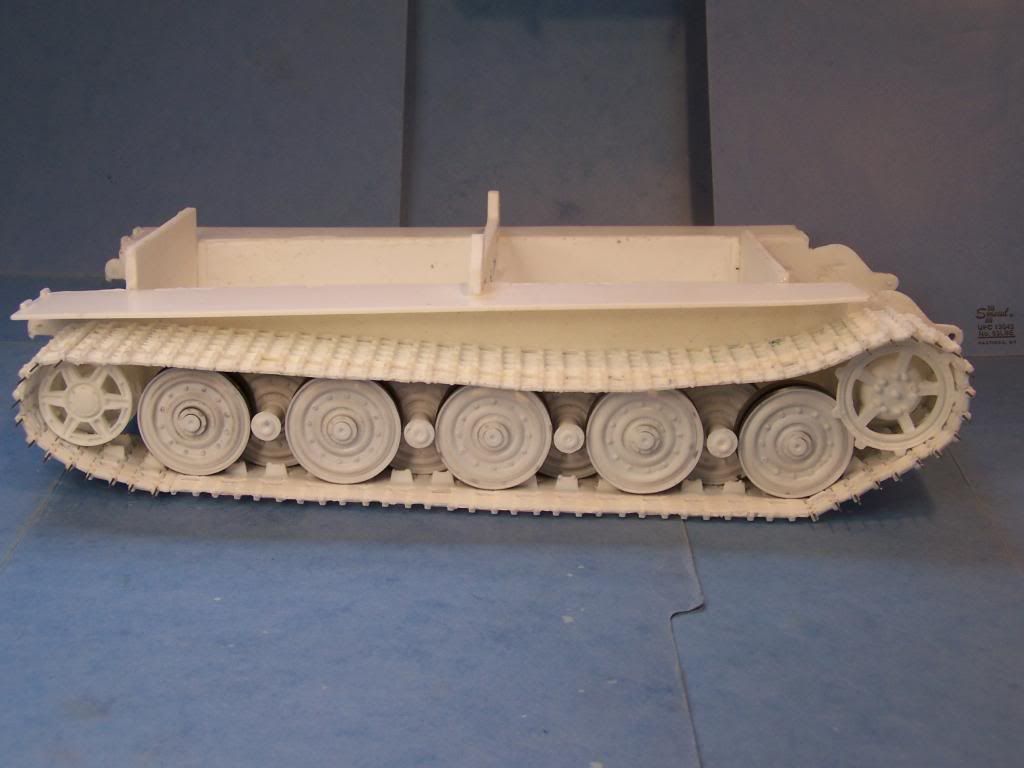
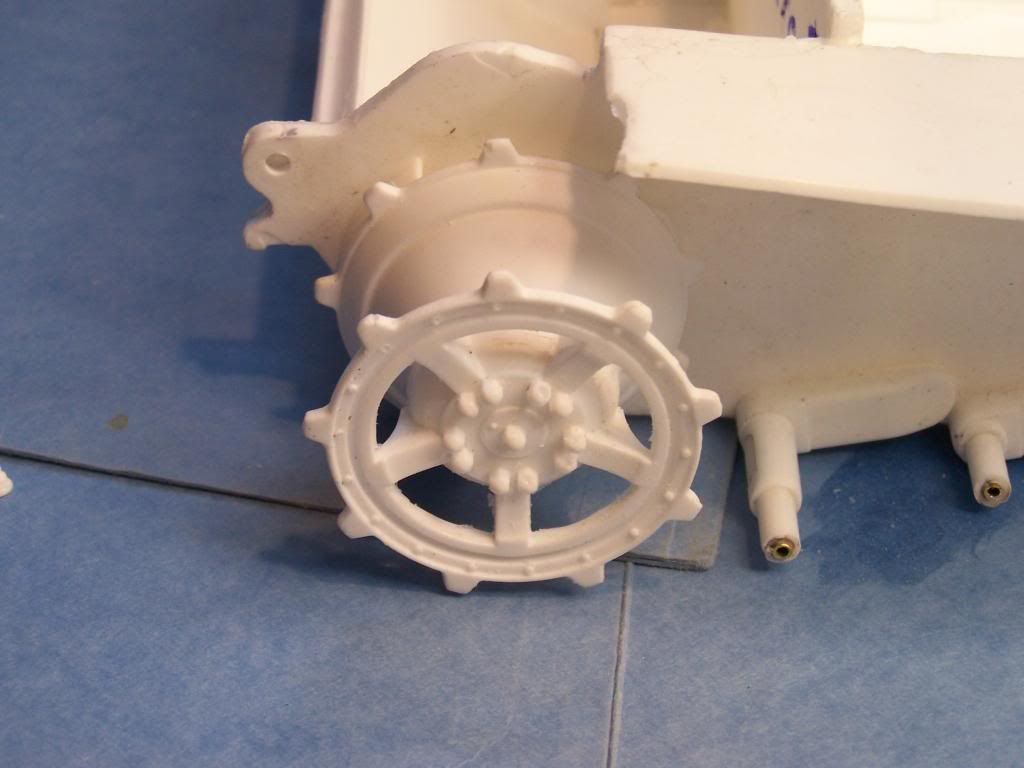
You will notice that the connecting links will only go one one way and that there is a left and right side of the tracks.
The widest part of the tracks go to the outside .
Get over this hurdle guys and the rest will be easy.


