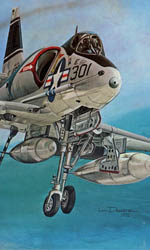
Step 1. I research (web) markings and schemes that I like.
Step 2. I redraw the markings in Adobe Illustrator and save the file out as an .EPS file for the vinyl plotter, burn a disc and run it to my sisters house.
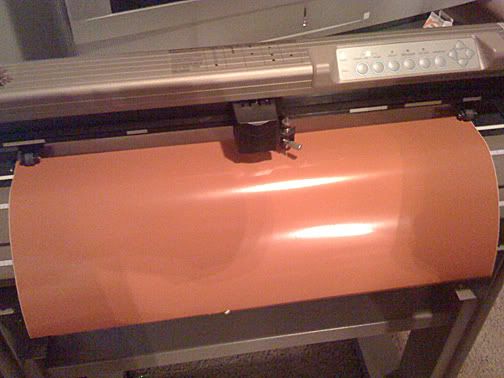
Step 3. My sister puts the CD into her computer which is hooked up to the vinyl plotter. The black box on the top has a razor knife attached to it, the computer follows the path that I drew in the file and the machine moves the vinyl back and fourth as the black box moves left to right and that movement can follow any path to create any shape.
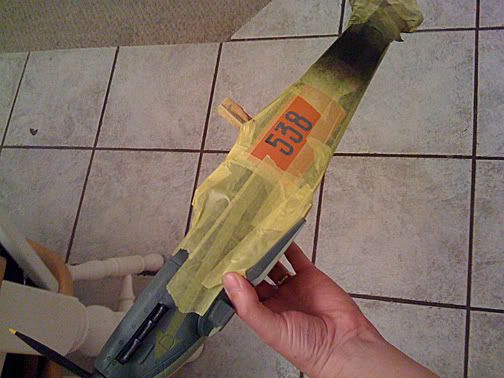
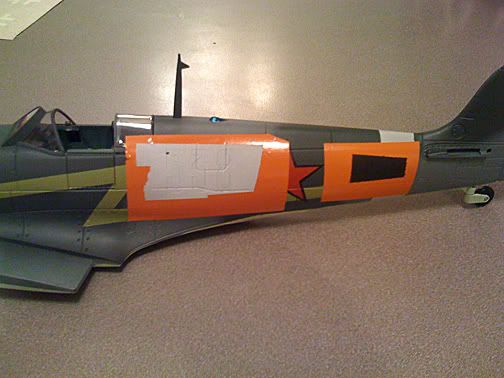
Step 4. I place the finished stencil mask onto the model and mask off the rest of the plane. you are now looking at essentially a negative.
Step 5. Paint over the masked and prep area and dry.
Step 6. Peel away the vinyl mask and tape to reveal the painted marking.
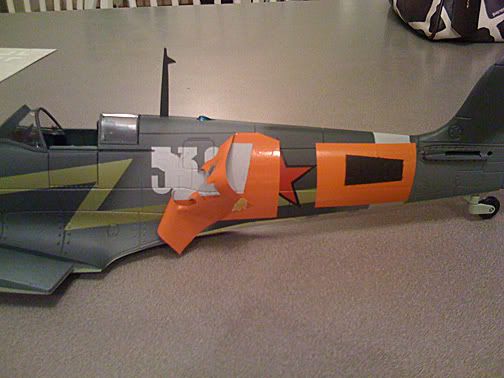
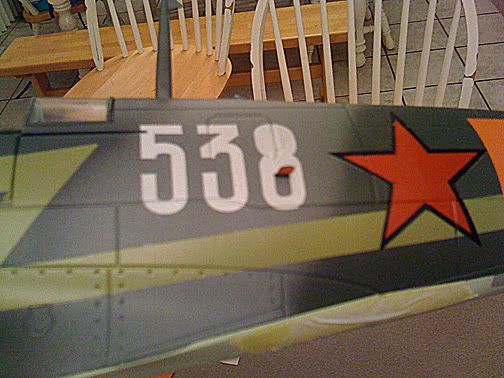

You can do this in layers to produce multiple color stencils (like the red star with black outline that you see... takes more skill and practice but it can be done. I will show how I do this in a follow up post as I do multi layering on my next model.