Customs by Fritzkrieg Update 06-12-2016

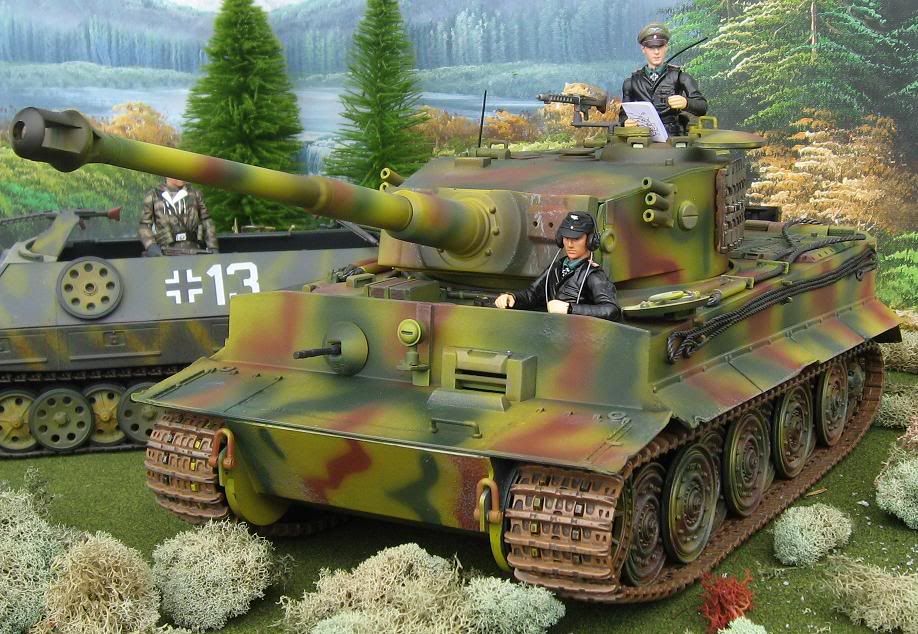
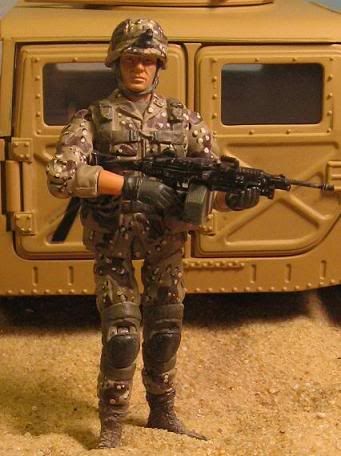
No, I think it looks great, if anything, maybe use some MIG powder light earth or dust to dull it a bit...very nice workThis is my second attempt at a marsh/water camo. Looking at it now, I should have applied the red-brown more sparsly. It looks more like Italian cammo, in the pics, than the marsh it was suposed to be. LMK what you think.
The sign of a great model is that one’s eye is not drawn to any one feature, yet one can study it for hours and continually find something new.

-
Fritzkrieg
- Officer - Captain

- Posts: 835
- Joined: Sun Mar 09, 2008 3:49 pm
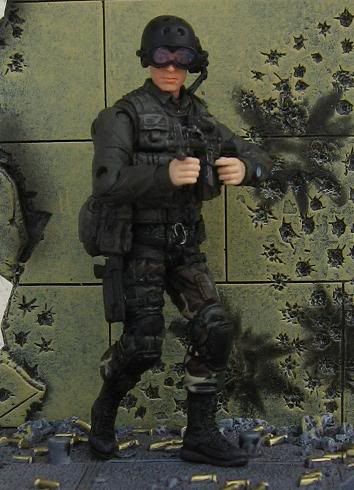
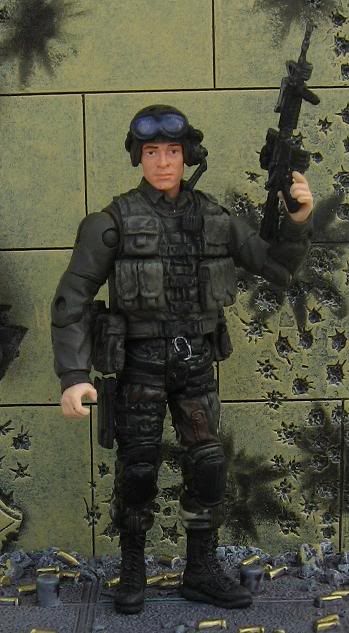
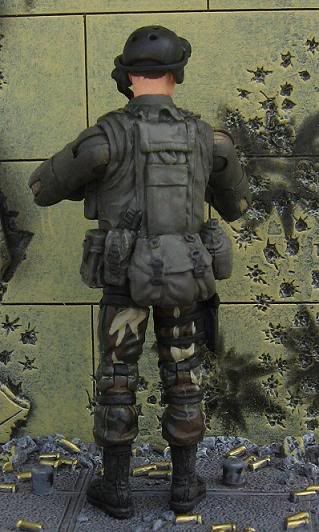
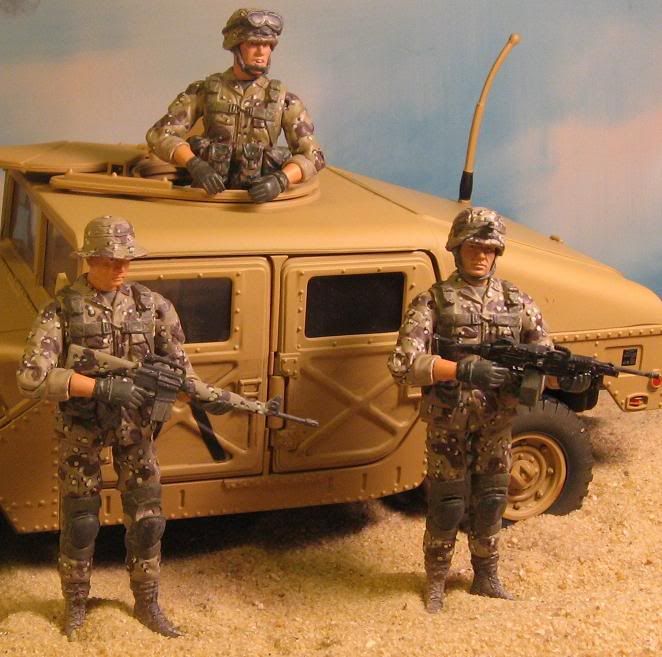
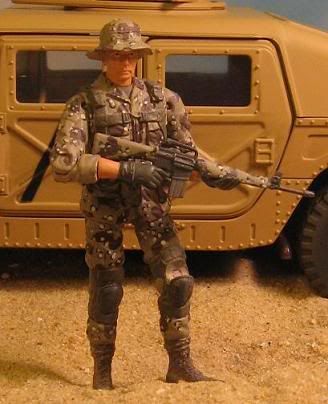
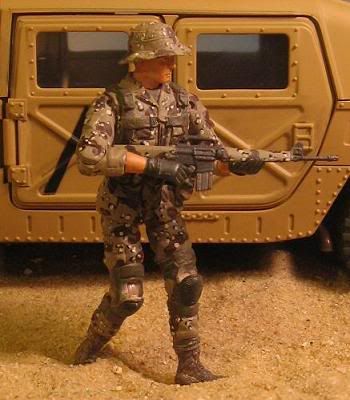
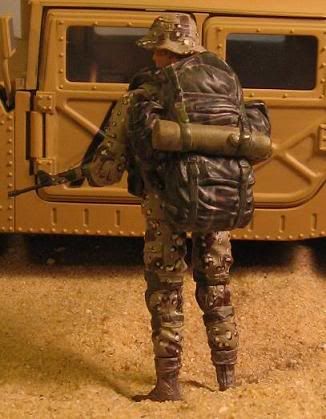
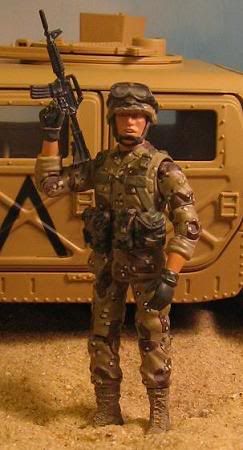
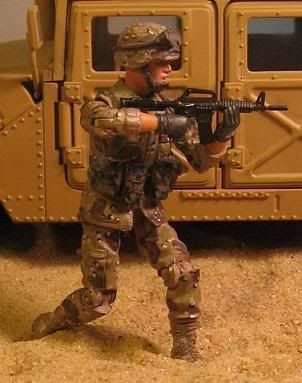
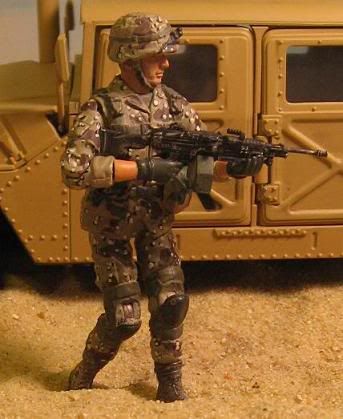
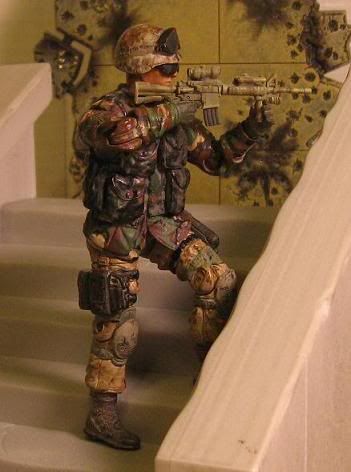
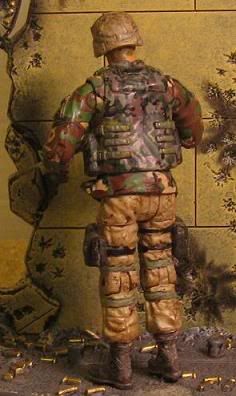
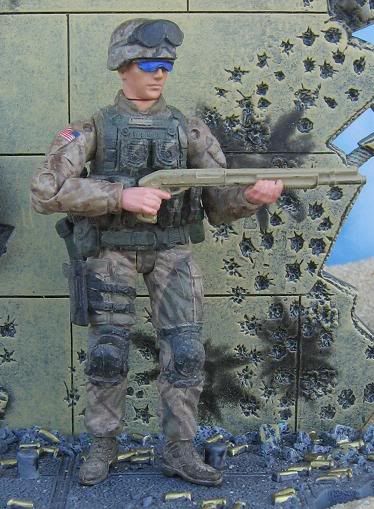
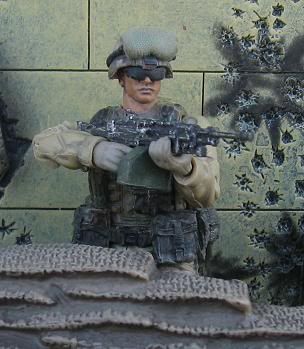
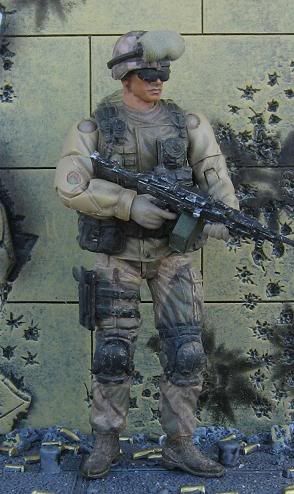
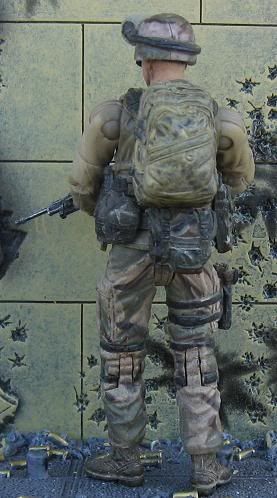
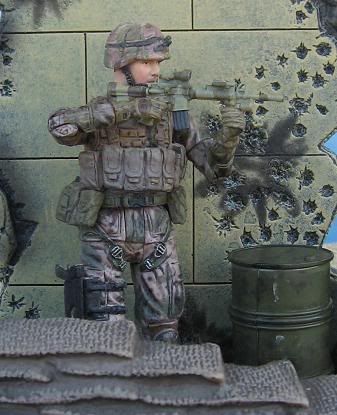
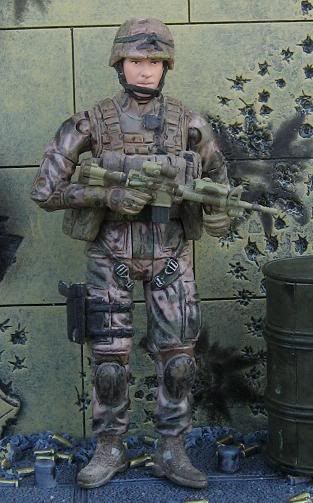
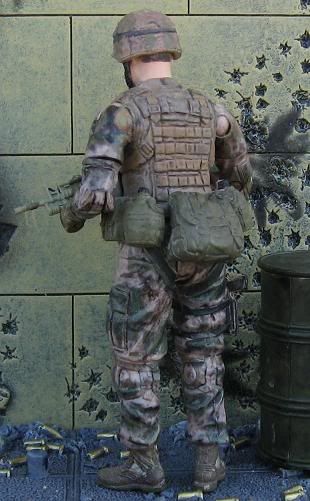
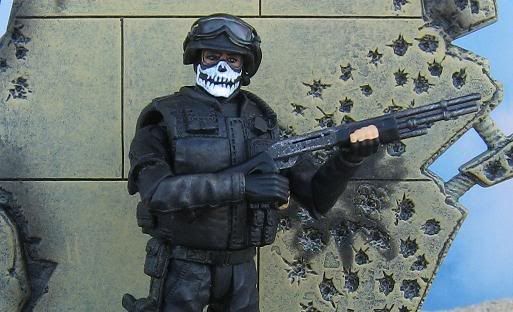
A couple of Modern Warriors
I'm finding the New FOV figs have a lot of potential, especialy the reworked torsos. LMK what you think.
US Airborne (Afghanistan)
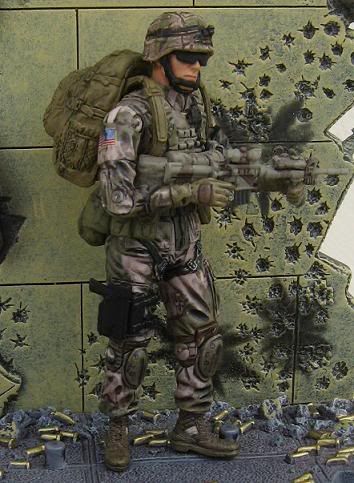
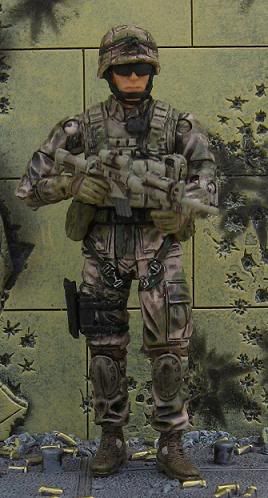
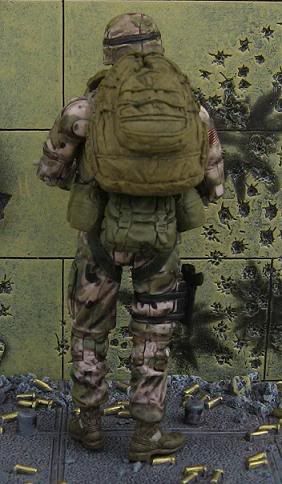
Delta Force

US Airborne (Afghanistan)
Delta Force
-
Fritzkrieg
- Officer - Captain
- Posts: 835
- Joined: Sun Mar 09, 2008 3:49 pm
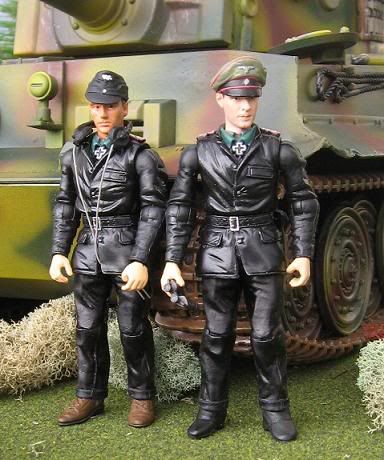
SA Panzer Ace Tutorial
I put together a little tutorial for my SA Panzer Ace. Hope you guys find it useful.
Step 1
Assemble your fodder figs
Step2
Dismember your figures using know methods (boil and Pop etc.)
Step 3
Remove the legs from your static Panzer Ace's lower torso. I use wire cutters for this.
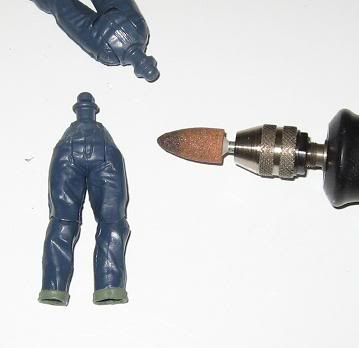
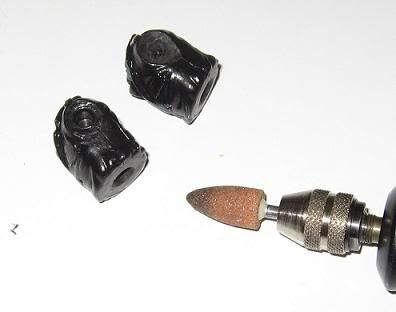
Step 4
Hollow out the lower pelvis/torso area of your static Ace. You want it to be supper thin, so it is flexible. Use a grinding bit with your dremel, as shown. I also recommend splitting the bottom of the tunic, up to the button, for greater flexibility.
Step 5
Time to trim down those fatty hips. I use the same grinding bit to narrow the hip/pelvis area on Mutt's legs. This allows the Ace's tunic to fit over Mutt's pelvis.
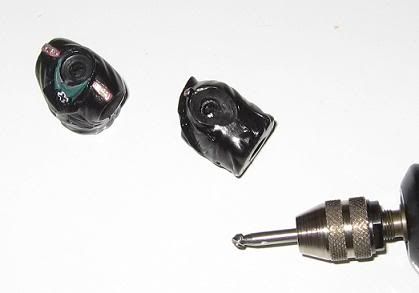
Step 6
With a router bit make the hole at the bottom of the Ace's torso big enough to accomidate the plug for Mutt's legs.
Step 7
Using a grinding bit create, shoulder sockets in the Ace's torso.
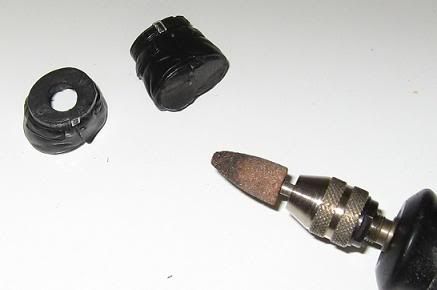
Step 8
With a small router, bit deepen the Plug holes, in the Ace's torso. Don't worry, if you punch all the way through to the other socket. It'll work just fine.
Step 9
Using small rubber tubeing, create gaskets that fit over the pegs on Mutt's arms. The Tubeing I use, is from a small squirt gun.

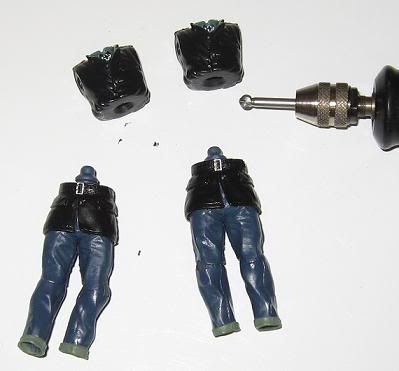
Step 10
Using Boil and pop method, assemble the Legs arms and torso, before final step. This way you can see if you need to make any further adjustments.
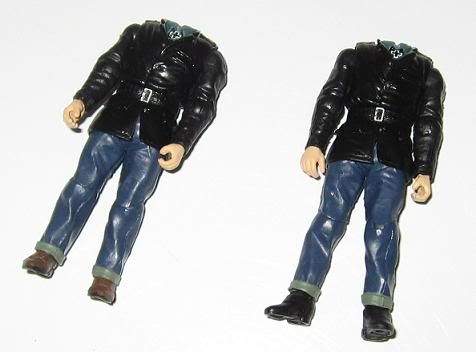
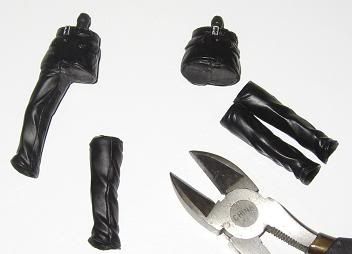
Step 11
Paint or as I prefer Dye, the legs, black, and accessorize.
Step 1
Assemble your fodder figs
Step2
Dismember your figures using know methods (boil and Pop etc.)
Step 3
Remove the legs from your static Panzer Ace's lower torso. I use wire cutters for this.
Step 4
Hollow out the lower pelvis/torso area of your static Ace. You want it to be supper thin, so it is flexible. Use a grinding bit with your dremel, as shown. I also recommend splitting the bottom of the tunic, up to the button, for greater flexibility.
Step 5
Time to trim down those fatty hips. I use the same grinding bit to narrow the hip/pelvis area on Mutt's legs. This allows the Ace's tunic to fit over Mutt's pelvis.
Step 6
With a router bit make the hole at the bottom of the Ace's torso big enough to accomidate the plug for Mutt's legs.
Step 7
Using a grinding bit create, shoulder sockets in the Ace's torso.
Step 8
With a small router, bit deepen the Plug holes, in the Ace's torso. Don't worry, if you punch all the way through to the other socket. It'll work just fine.
Step 9
Using small rubber tubeing, create gaskets that fit over the pegs on Mutt's arms. The Tubeing I use, is from a small squirt gun.
Step 10
Using Boil and pop method, assemble the Legs arms and torso, before final step. This way you can see if you need to make any further adjustments.
Step 11
Paint or as I prefer Dye, the legs, black, and accessorize.
-
Razor17019
- Officer - Brigadier General

- Posts: 4890
- Joined: Thu Oct 07, 2004 5:17 am
- Location: Northern Kentucky
-
normandy
- Officer - Brigadier General
- Posts: 6028
- Joined: Mon Oct 04, 2004 6:30 pm
- Location: Atlantic Coast
Fritz, great work once again!!!
The monkey still has the "Ace"...
http://www.monkeydepot.com/Dragon_1_18_ ... -dd341.htm
Are there any more mutt's still out there?
The monkey still has the "Ace"...
http://www.monkeydepot.com/Dragon_1_18_ ... -dd341.htm
Are there any more mutt's still out there?
-
Black_Dragon_One
- Officer - Brigadier General
- Posts: 2032
- Joined: Sat Dec 11, 2004 1:23 pm
- Location: California
-
pickelhaube
- Officer - Brigadier General
- Posts: 9706
- Joined: Mon Jan 22, 2007 5:52 am
- Location: New Orleans

-
Fritzkrieg
- Officer - Captain
- Posts: 835
- Joined: Sun Mar 09, 2008 3:49 pm
USMC Desert Storm
This is my first attempt at Desert Storm Era camo. LMK wht you think.
USMC (Desert Storm)
(USMC Iraqi Freedom)

USMC (Desert Storm)
(USMC Iraqi Freedom)
-
Fritzkrieg
- Officer - Captain
- Posts: 835
- Joined: Sun Mar 09, 2008 3:49 pm
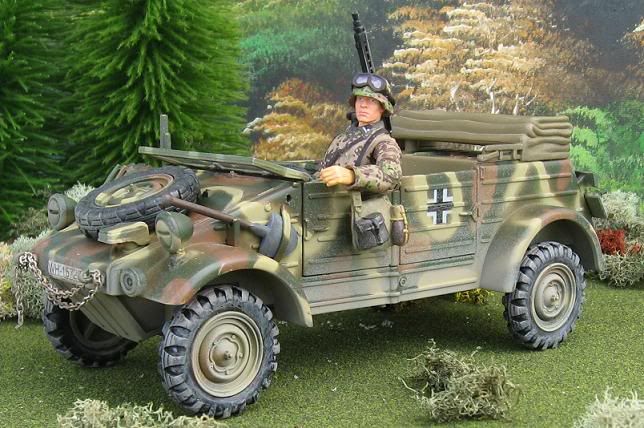
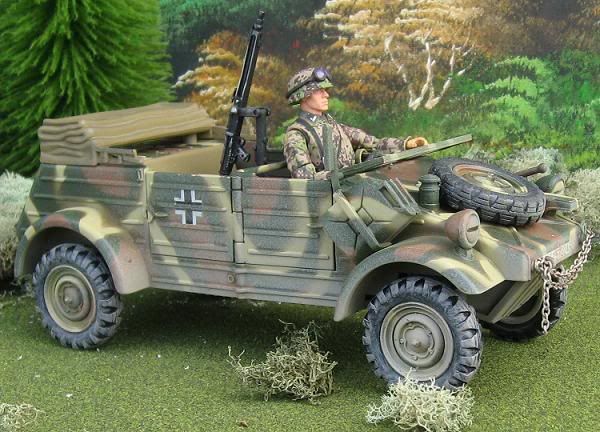
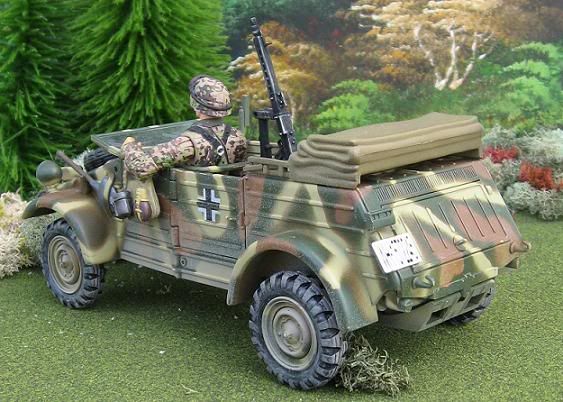
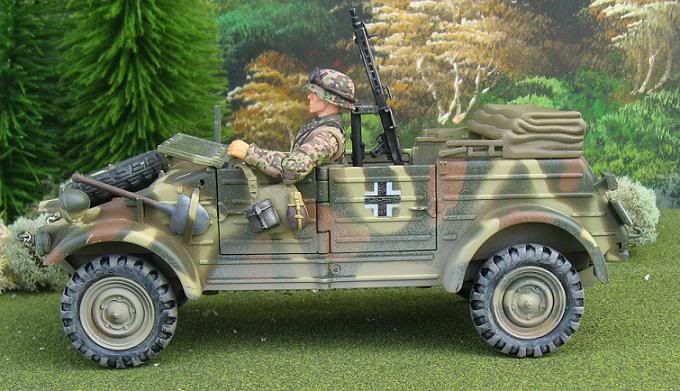
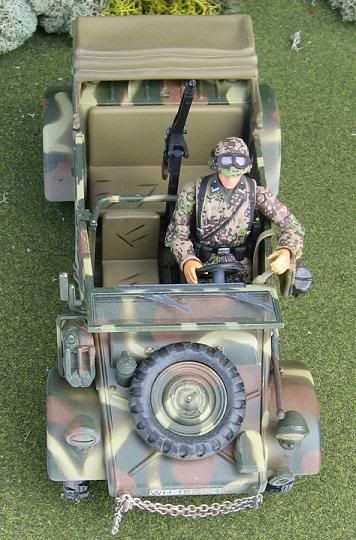
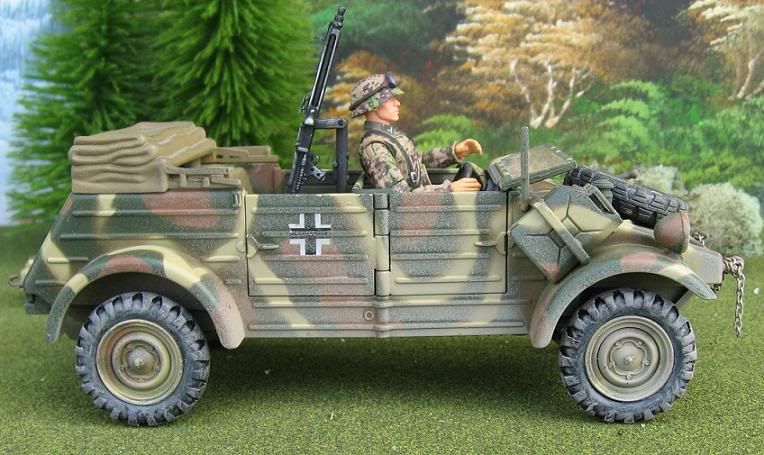
kubelwagen & 101st Customs
I had a less than mint 21st Kubel, so I decided to try giving it a camo paint job. LMK what you think.
Kubelwagen

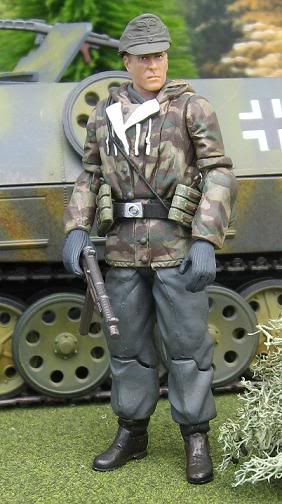
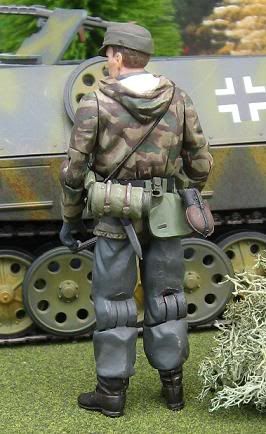
German Splinter Parka
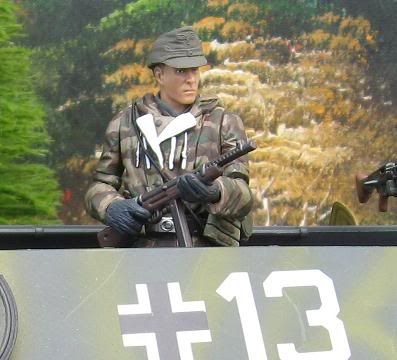
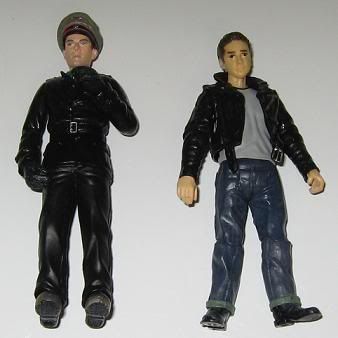
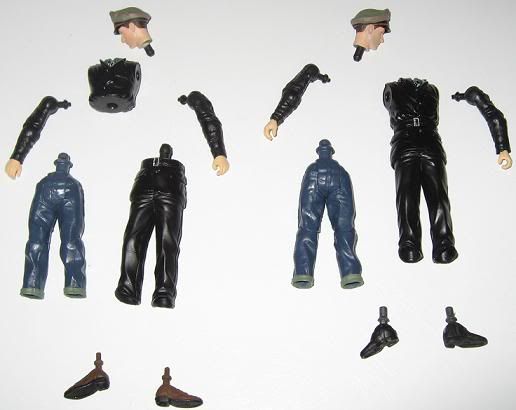
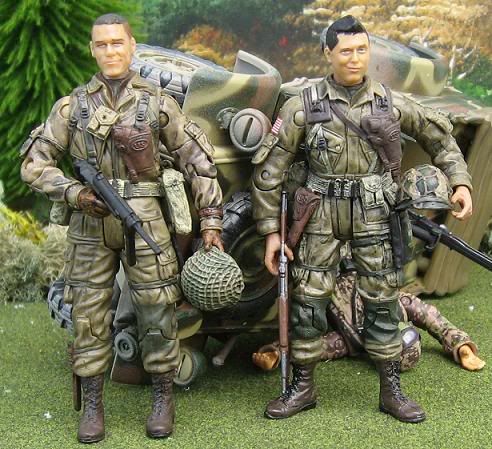
I thought the cocky expressions on these wrestling figs, would make for great 101st personas. LMK what you think.
101st

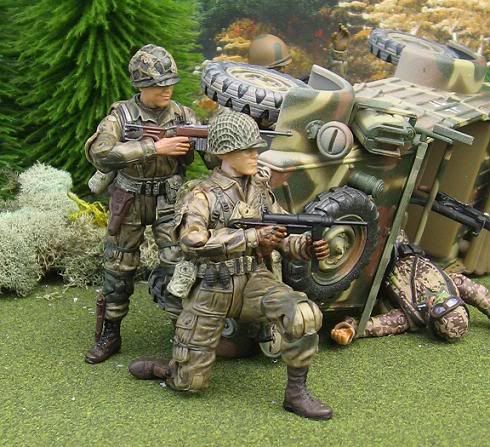
Kubelwagen
German Splinter Parka
I thought the cocky expressions on these wrestling figs, would make for great 101st personas. LMK what you think.
101st
-
Razor17019
- Officer - Brigadier General
- Posts: 4890
- Joined: Thu Oct 07, 2004 5:17 am
- Location: Northern Kentucky
Re: kubelwagen & 101st Customs
Those 101st guys wrecked your newly painted Kubelwagen!Fritzkrieg wrote:I had a less than mint 21st Kubel, so I decided to try giving it a camo paint job. LMK what you think.
Kubelwagen
German Splinter Parka
I thought the cocky expressions on these wrestling figs, would make for great 101st personas. LMK what you think.
101st
The dark haired 101st guy looks like Sgt George Luz from Band of Brothers.
I really like what you did. Very cool.

To Lee R. Frakes and the B-17 Good Pickin
-
Fritzkrieg
- Officer - Captain
- Posts: 835
- Joined: Sun Mar 09, 2008 3:49 pm
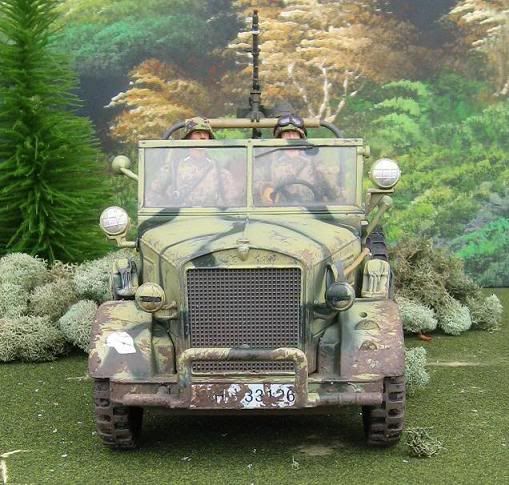
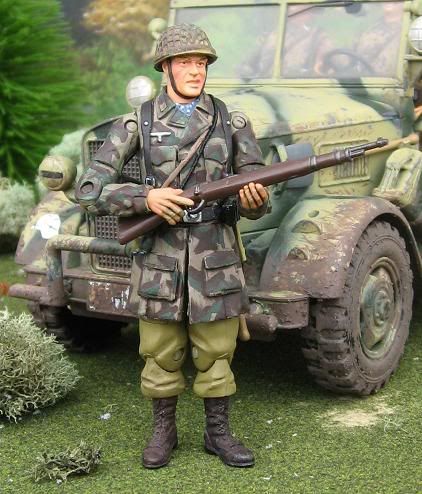
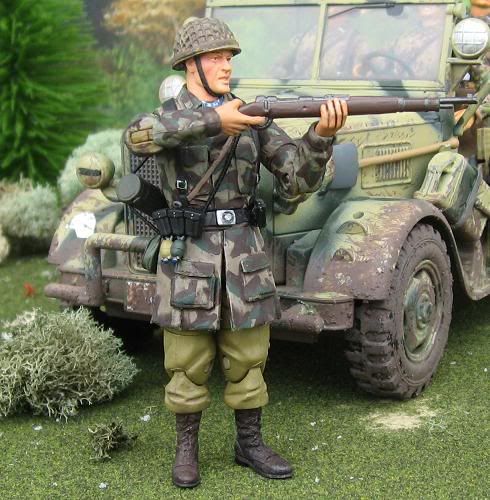
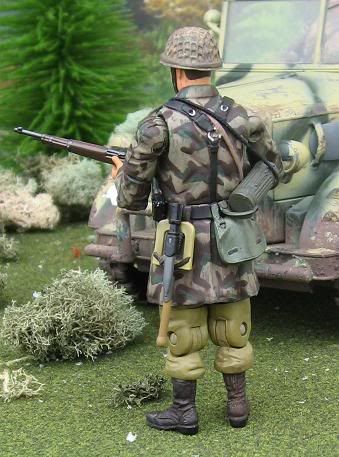
A Horch of a Different Color
I gave my IJ Troop Car a make-over. LMK what you think.
A Horch of a Different Color
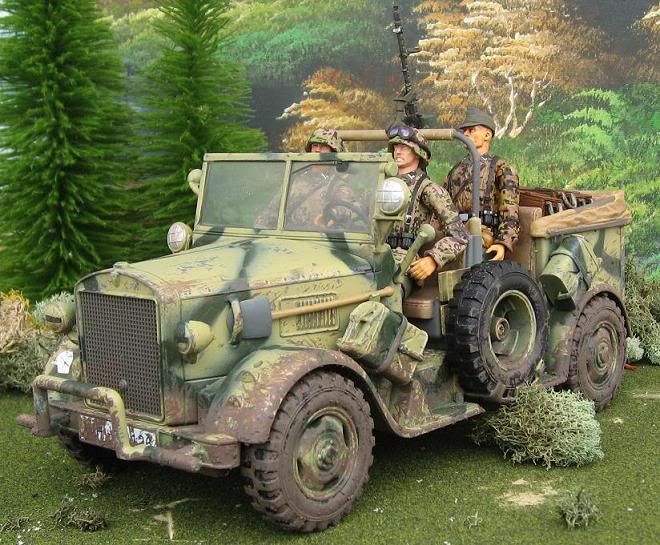
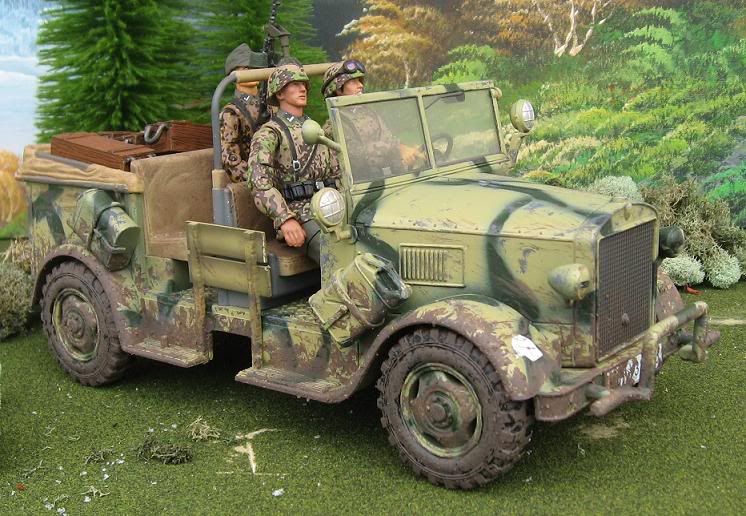
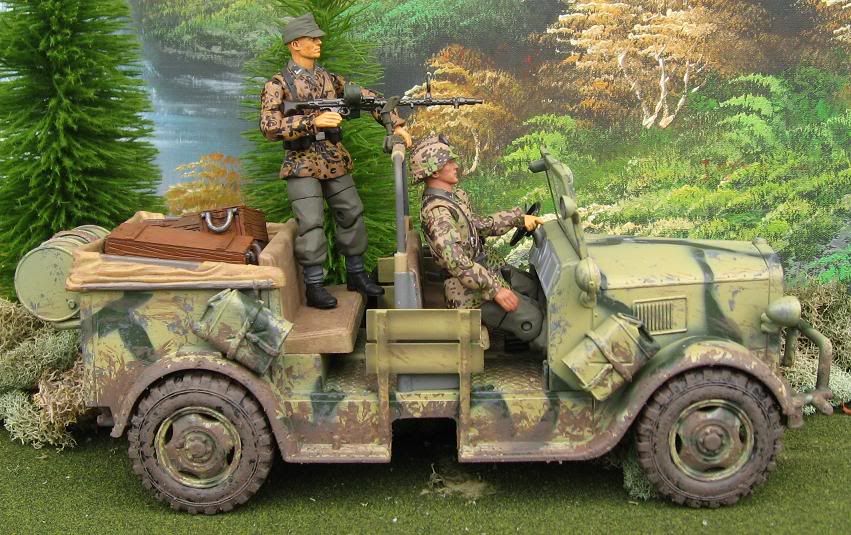
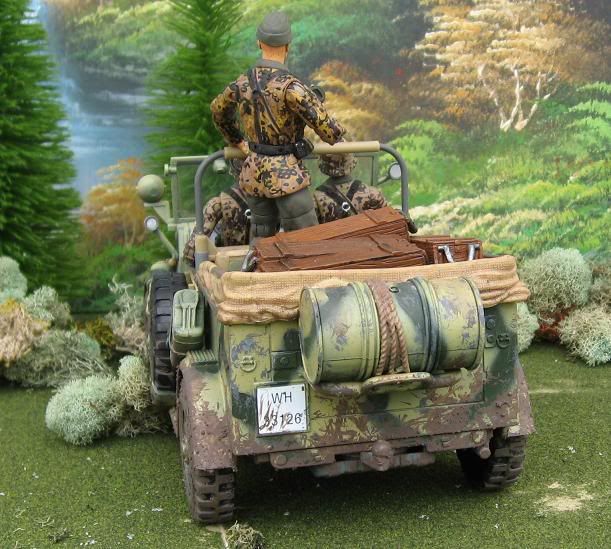
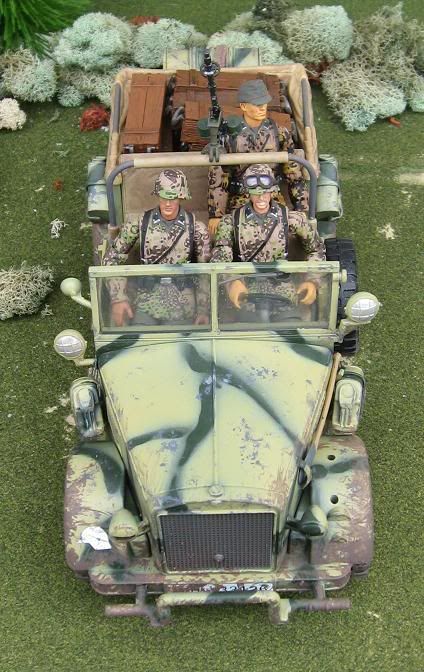
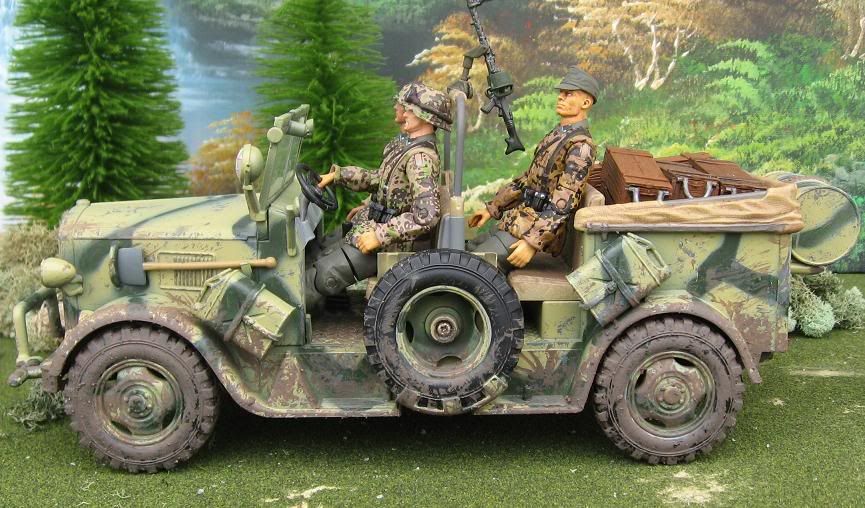
Fallschirmjager
A Horch of a Different Color
Fallschirmjager
-
Fritzkrieg
- Officer - Captain
- Posts: 835
- Joined: Sun Mar 09, 2008 3:49 pm
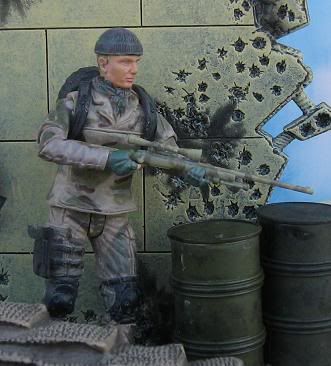
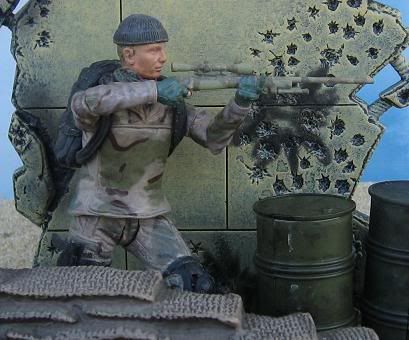
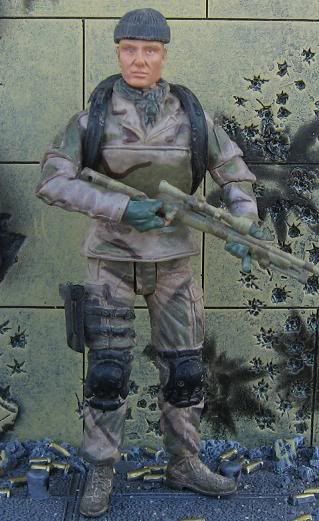
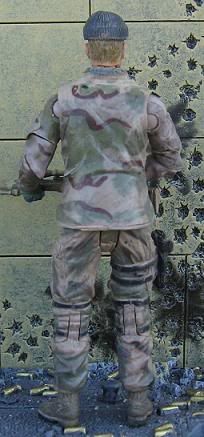
Modern US Forces
Here are some modern forces, I'm working on for my personal collection, along with a couple of Order66Customs. LMK what you think.
USMC Sniper Afghanistan
USMC Force Recon
USMC Saw Gunner
101st Airborne Afghanistan
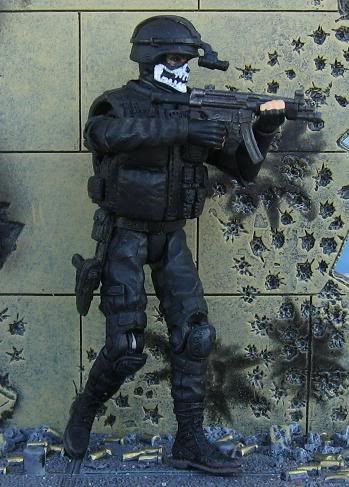
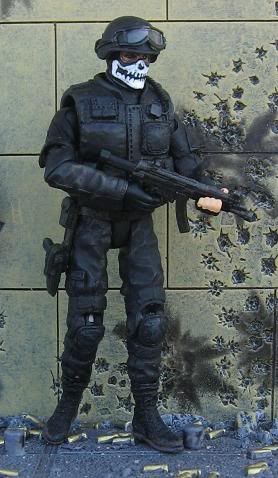
CIA Night Ops
USMC Sniper Afghanistan
USMC Force Recon
USMC Saw Gunner
101st Airborne Afghanistan
CIA Night Ops