Post
by Ruger » Fri Dec 26, 2008 11:16 am
Do you spray them with any sort of fixative after printing? I can't remember if there was anything about it in the instructions from Testors, but the instructions I got from Cabe mentioned it, let me see if I can find a copy...
First off the stuff i used to keep the decal ink from running was artist's spray fixative, the kind you would use to fix pastels, graphite or charcoal to paper so it doesn't blow away. You could also use Krylon spray gloss. Remember to use the kind (acrylic or enamel based) that will set well with your paints. Walmart has cheap versions of both arts fixative and spray paint coats (enamel and acrylic)
Enamel does great because its not water soluble, but you will have a hard time getting acrylic to adhere over it if you plan on touching up or weathering agents like washes. acrylic is well..water based and some care must be taken until you get that decal dry and put another coat of brush-on or airbrush type flat coat over it.
a lot of folks put future floor polish on the model first to give the decal as smooth surface to adhere to and then another coat over the decal to seal it on, but future is of course glossy and then need the appropriate kind of clear coat over it in turn to knock down the shine, unless you want shiny. Sometimes just weathering agents or over spray will knock it down, but it is always good to unify the surface of the model.
when printing out decals the ink tends to be weak and the color faded (transparent in the case of clear decals), set your printer to matte photo paper, or depending on your type of printer and it features, set it to maximum print quality like photo printing to get the most ink on there for a more solid decal.
one thing i ran into that was a harsh reality was the fact that ...printers don't print white ink,
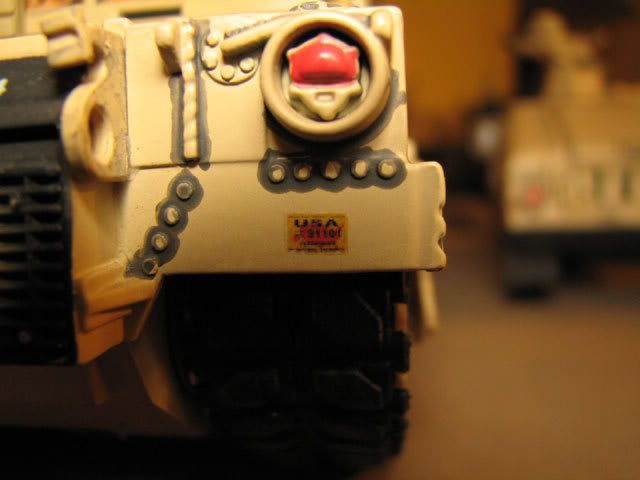
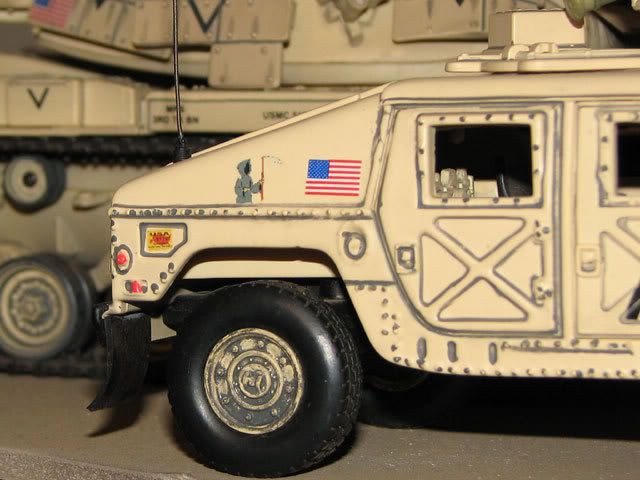
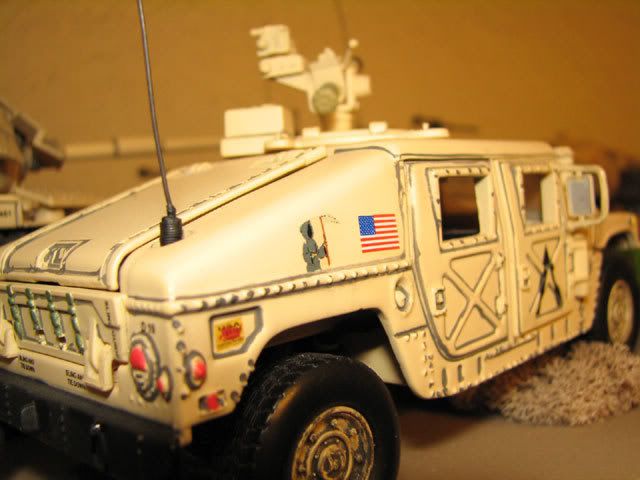
they rely on the white background of paper to make the white show and print white areas clear t let let the paper show through, s choose your decal paper wisely, if you want to do something like a German cross..it needs white and you might want to buy white decal paper instead of clear. If you have clear you will have to paint the white on before you add the decal, if you are really good i would paint the whole area white where the decal goes, it would make the whole decal show up better
Problem with white paper is that it needs to be trimmed perfectly so if you have a really small or complex decal you need to get in there and clear out the white that doesn't belong, this can be a bitch. So having both white and clear decal paper for different jobs would be optimal, i bought white after i did the UN car because i need white borders around my tiger tank turret numbers with this 1:18 i am working on. trying to paint all of it in first white and then putting a clear decal over it wasn't working well, but i was impatient. I also had German crosse for the sides of the hull and they needed white. I also tried stencils, if you can get a soldering pen that also holds exacto blades (exacto makes one, they are all hobby hot knives or some crap like that) you buy the stencil paper which it plastic, heat up the knife after printing out what you want on the stencil paper (I would set it to transparency paper or photo paper as a paper selection since it is so slick) then use the hot knife to easily slice through the plastic stencil paper, it takes a steady hand, but even if its rough when you are done cutting its better than free handing it.
You can touch up and minor defects even if its a major goof in the stencil, or repair the stencil using tape etc.
I used my stencil paper and hot knife to make a white solid pattern for a unit insignia and then put a black outline clear decal over it, then touched up around the new black outline (that kinda helped cover the small amount of white airbrush over spray as well being an outline)
print several copies of each decal in case you f the first one up, and save your files that you print from....just in case
thats all i can think of rightnow, well besides the fact that you might want to trim those clear decals as close as you can too. not amount of micro set or micro sol will get rid of that ridge where the decal ends and the model starts, this printer decal plastic is much thicker than model kit decals I think, so they don't blend in well. Thats why a good coat of future over them would be helpful in getting the surface flat (well in texture anyway, not the shine, that will be future floor polish glossy not flat haha)
you can get future or knock off brands anywhere, even the dollar store.
...Ok, there's a copy of Cabe's instructions. I think I used Krylon's Preserve It! digital photo & paper protectant, the matte variety. I could be wrong about that, as we have several types of "clear" products around the house, but that's the one located in my "tank project" area. And I seem to recall buying it at Micheals, with one of those nifty 50% off one items coupons. They must hate guys like me who use the one coupon, buy one item, and leave. I think they prefer the women who fill a cart with $100 worth of stuff, and then use the coupon to get one $12 item for $6.
That's about what I remember, feel free to ask for anymore info, I'll provide it if I can.
MV
"When I went into Kuwait I had 39 tanks, after six weeks of air bombardment, I had 32 left. After 20 minutes in action against the M1's, I had none." Iraqi BN Cdr, 1991
[img]http://img.photobucket.com/albums/v253/CanteenX/Blowing-Smoke-sig.jpg[/img]