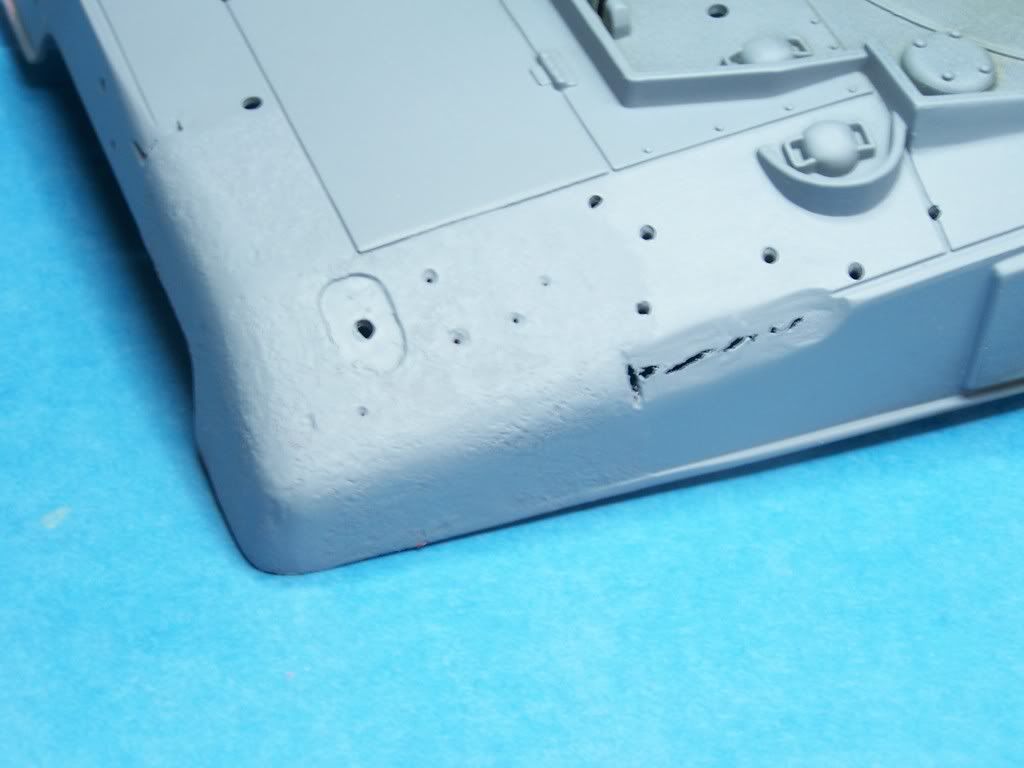
binder001 wrote:I only visit the 1:18 side occasionally and came across this - it looks GREAT! I am a major Sherman buff and this one is really tempting. Your tesxture looks good, the real casting vary in roughness (there were several foundries producing the parts) but in general US armor castings are not nearly so rough as the Russians, etc.
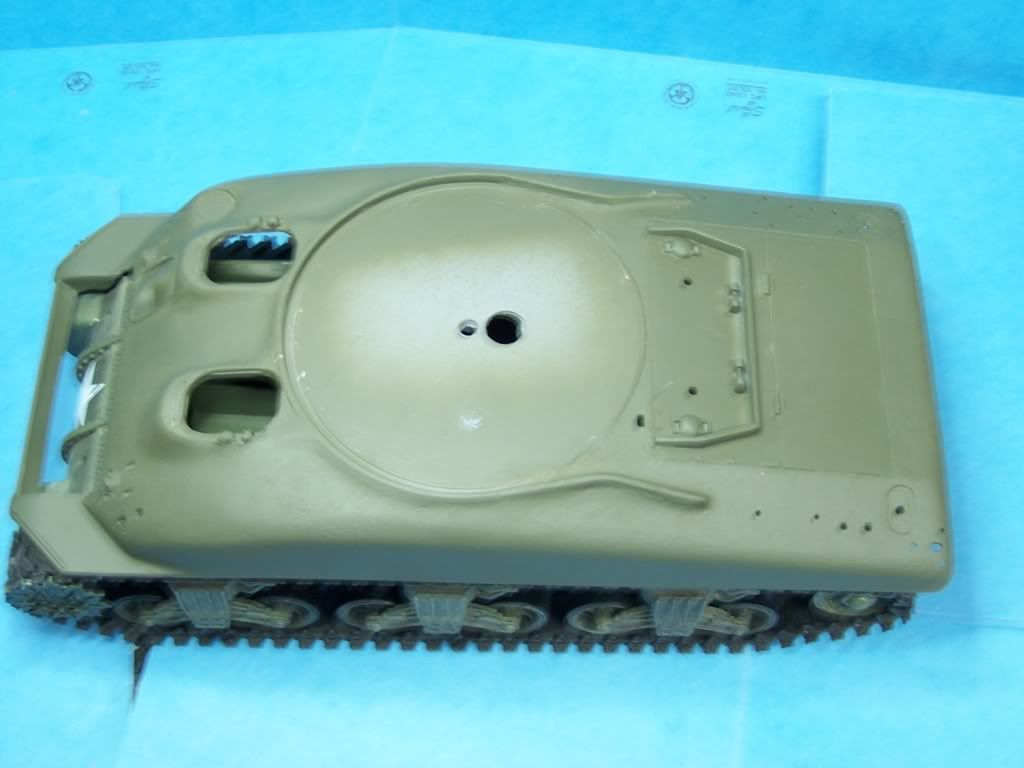
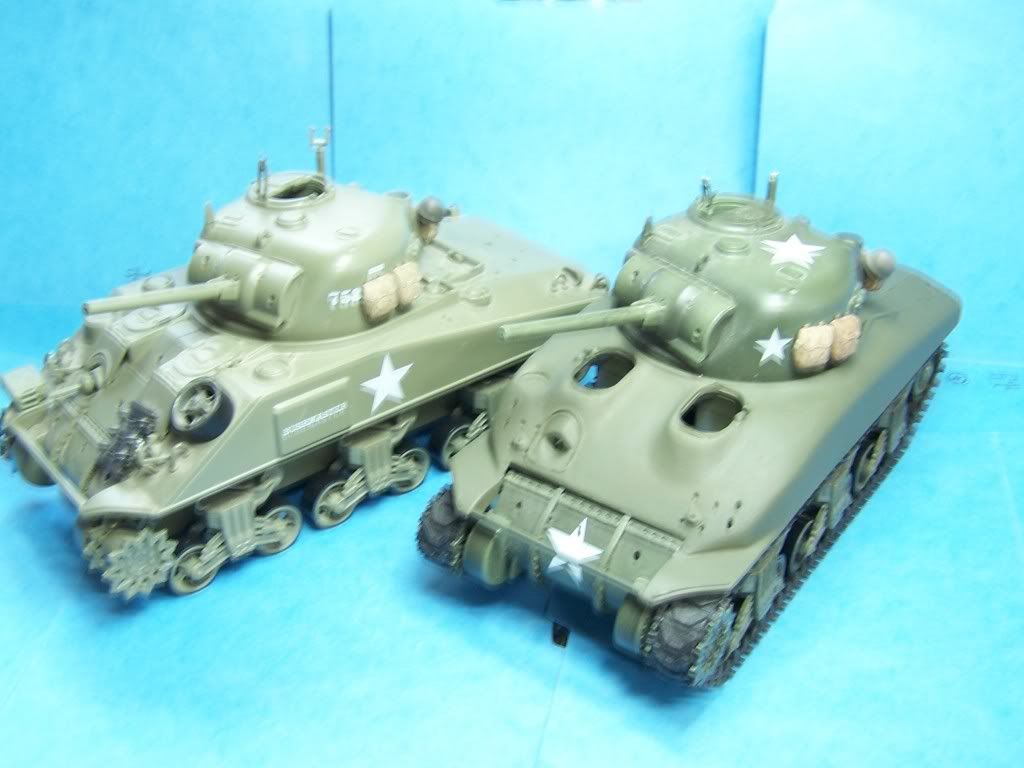
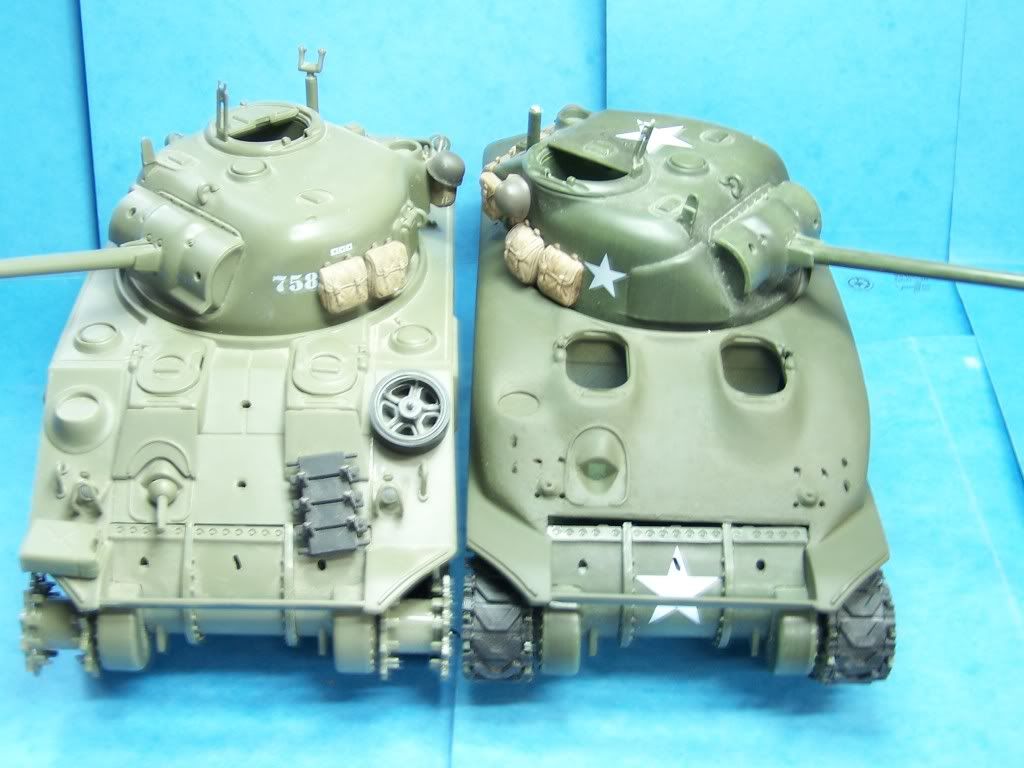
So far it looks like the "best" M4A1 would be your upper hull on the 21C lower hull for the correct rear engine plate (the FoV is a Ford-engined M4A3), with a 21C turret and FoV suspension bogies (21C have the later raised return roller bracket).
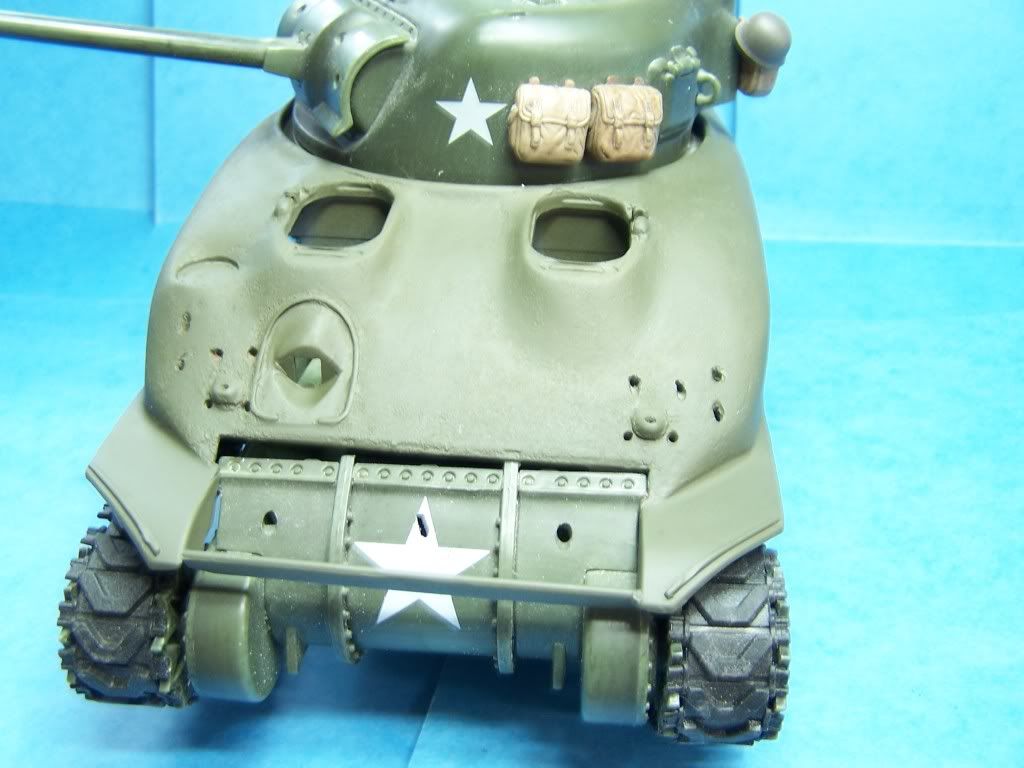
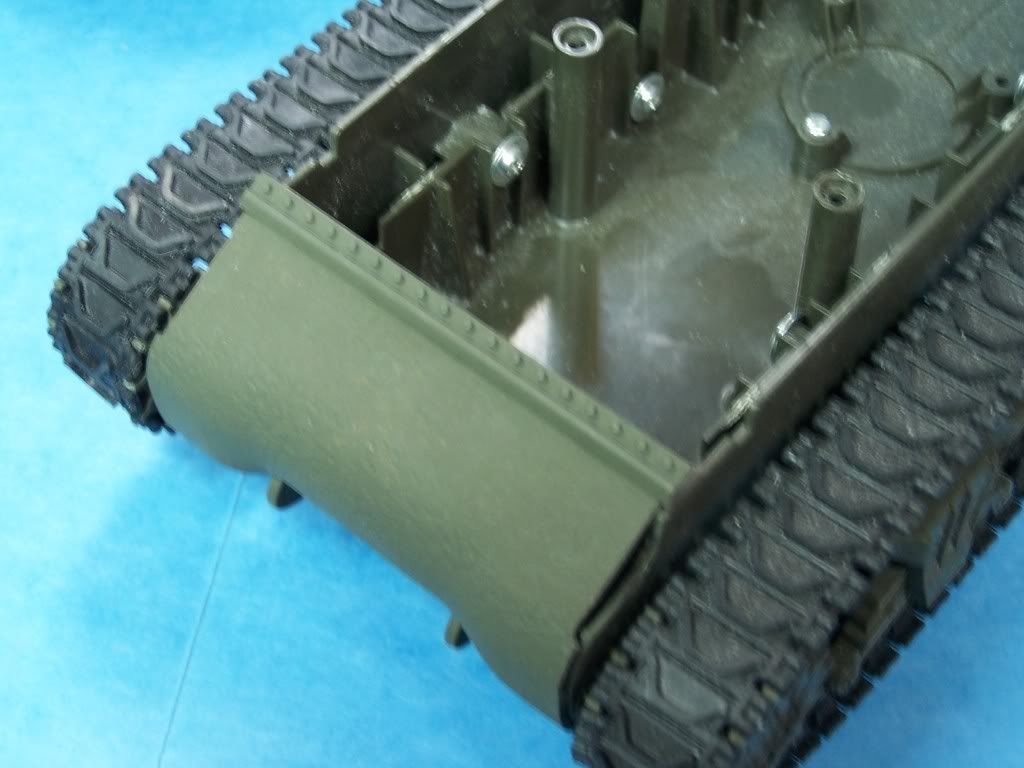
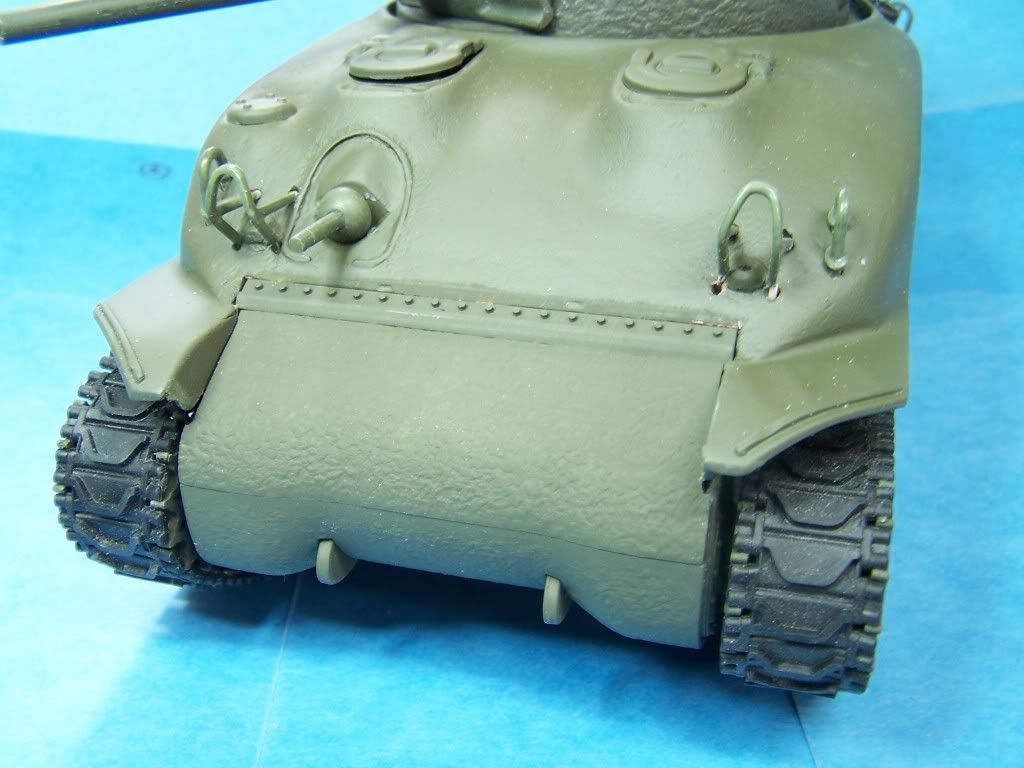
By the way, you are right to leave the "stowage beam" off. There was a small fender support bracket on real Shermans. The crews would often place a timber, board, or steel beam across the front that was held in place by those fender supports. There wasn't a standard design and not everyone used the front stowage support.
Nice work - I'll have to look into this.
Hello ,
Thanks for the compliment.
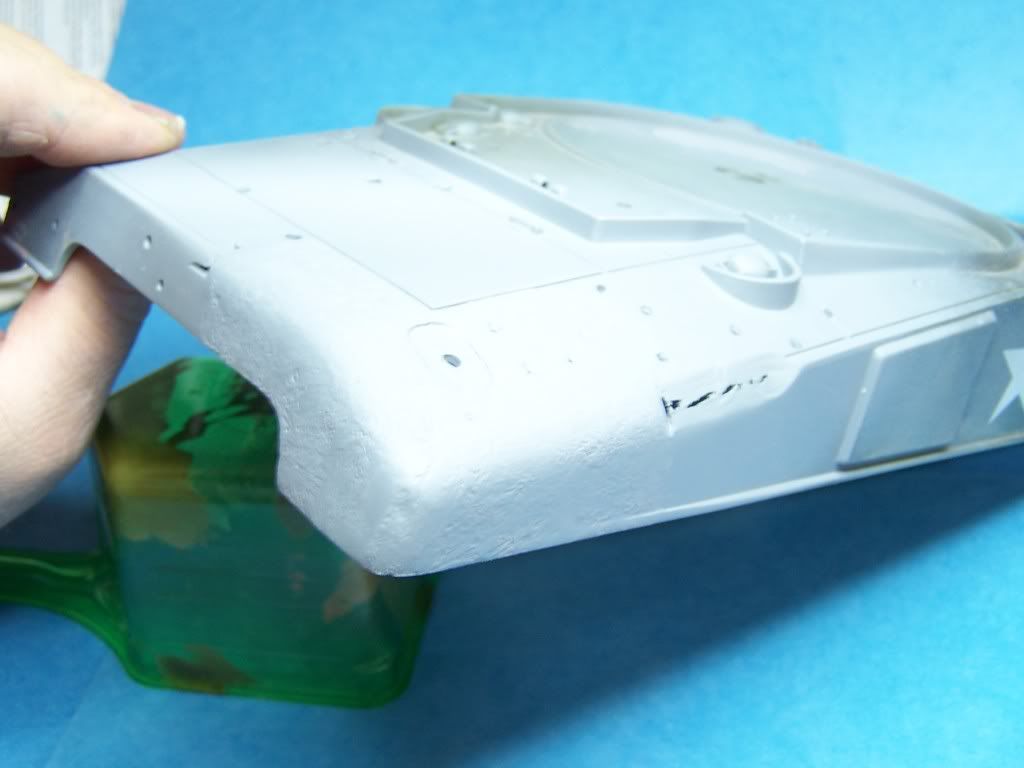
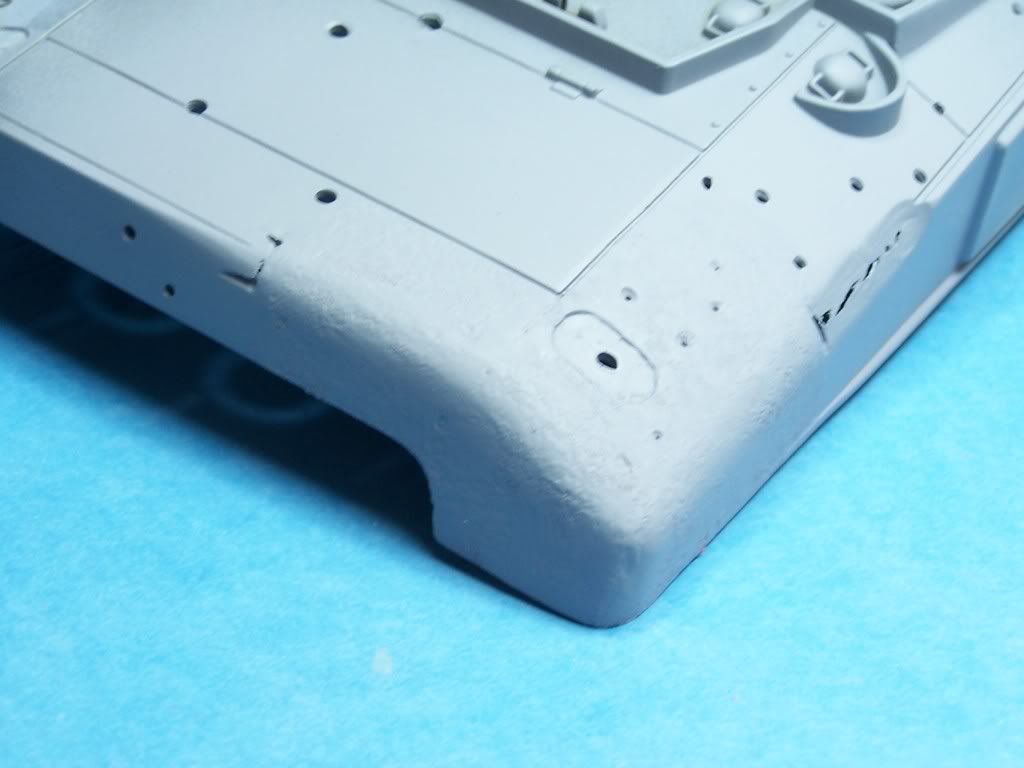
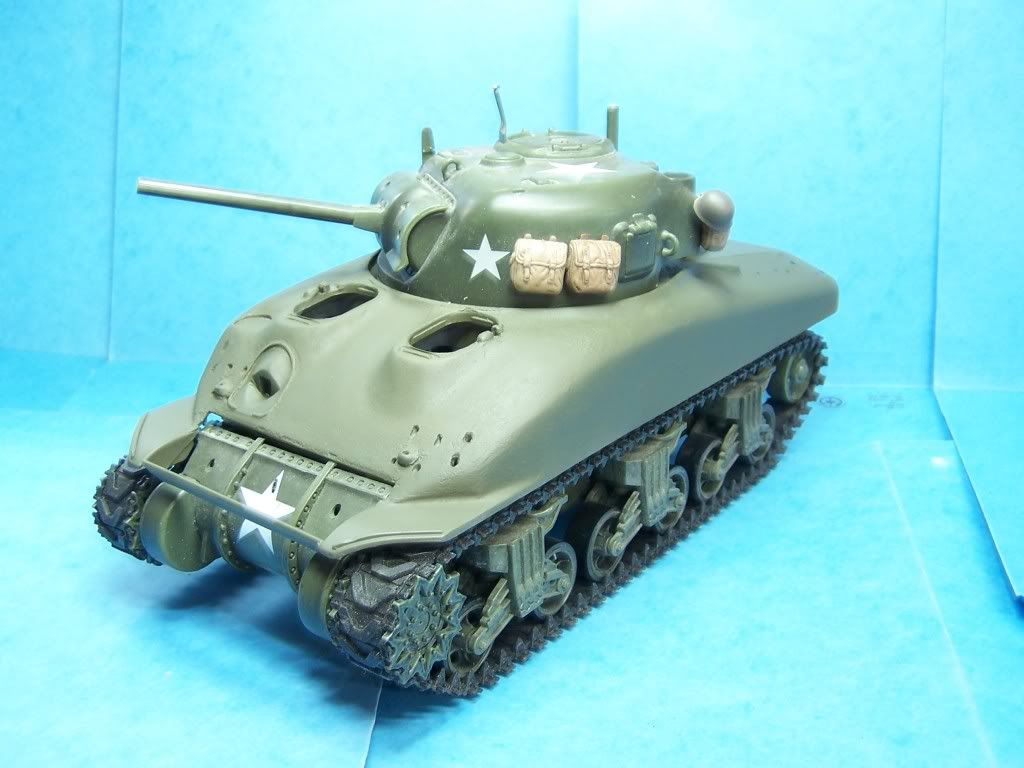
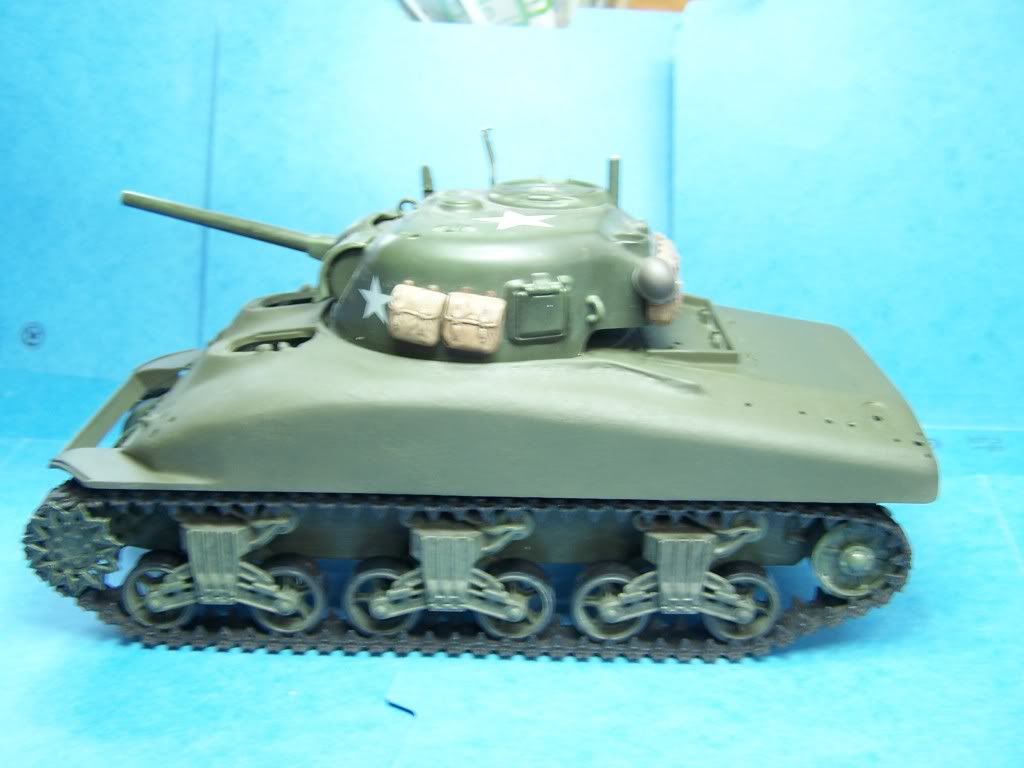
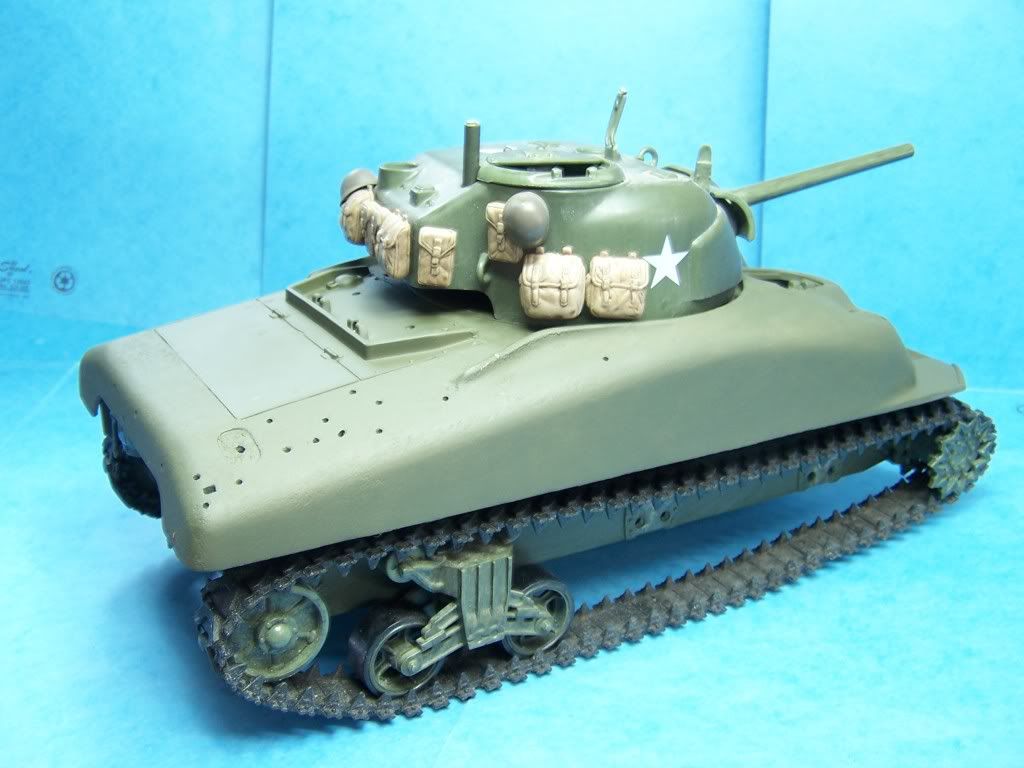
I have made a generic M4A1. Something you can work with.
The first M4A1 had the rollers you talked about ( just like on the M-3 Grant ) and tiny mantlet. They also had the slick pads on the tracks .
I think they progressed them as they built them.
The 21st could be used for that version but it should not have the ring around the bow gun. Easily sanded off. Also it probably should not have the armor plate on the stock 21st turret.
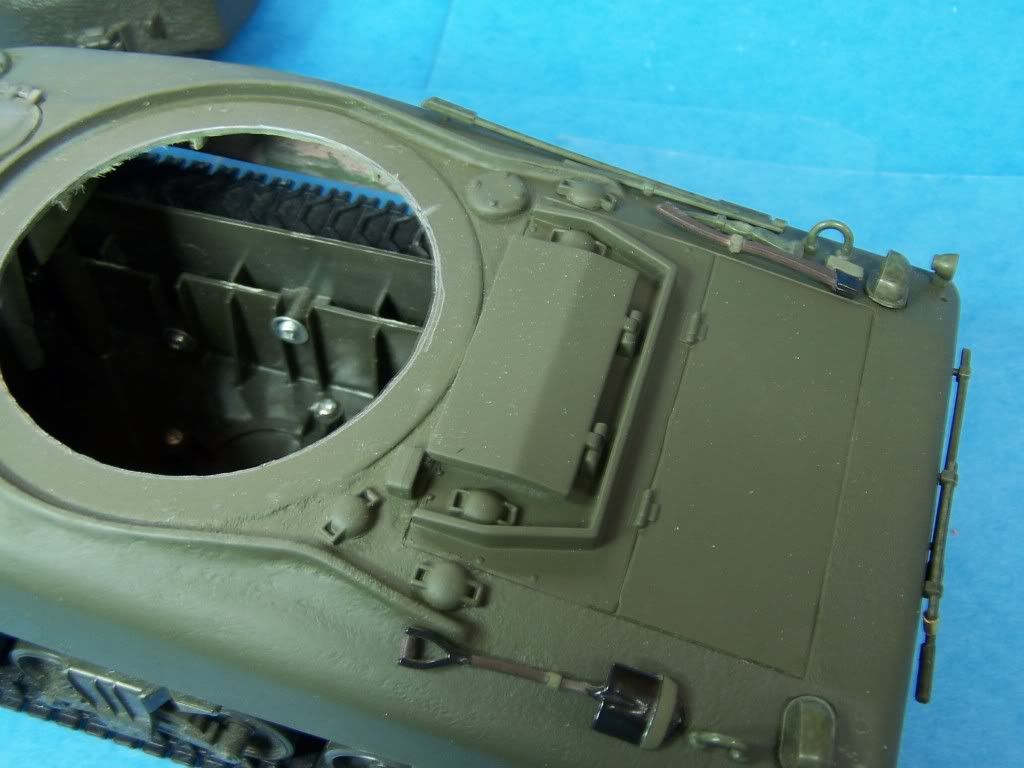
The M4A1 hull is correct for the FOV . The grille in back is not an issue because with my replacement the FOV upper hull is not even used.This would be the late M4A1 version. Additional armor should be on the turret and aditional armor should be on the hull sides. Also the extra hatch on the top of the FOV should be deleated.
As stated before this is a generic M4A1 hull . With minor changes either way will work with what is out there. Or use as is for a easy conversion.
During the war they used eveything that was moving. Different tracks turrets and what not. If it fit use it.
The next phase of the M4A1 would be the 76 gun and it would have canted hull hatches. I am pretty sure I will not do that version. It all depends how this one sells.