I will try and give a tuturial on how to prep and paint a resin kit using standard house paint.You can get this paint at either Lowes or Home Depot.
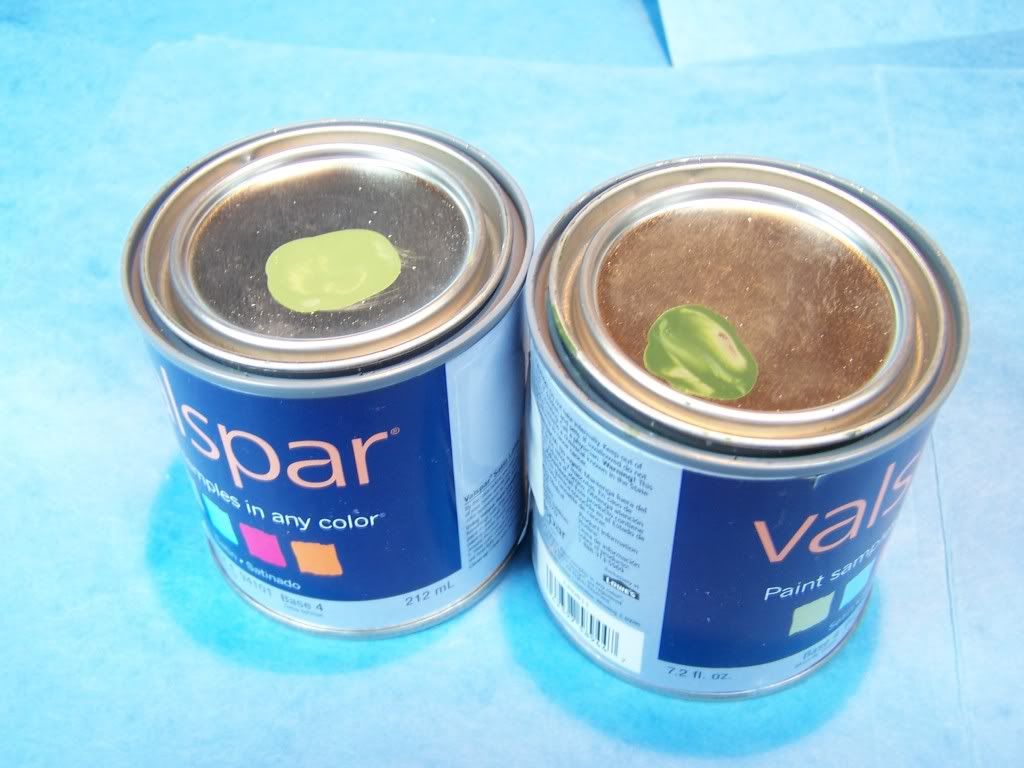
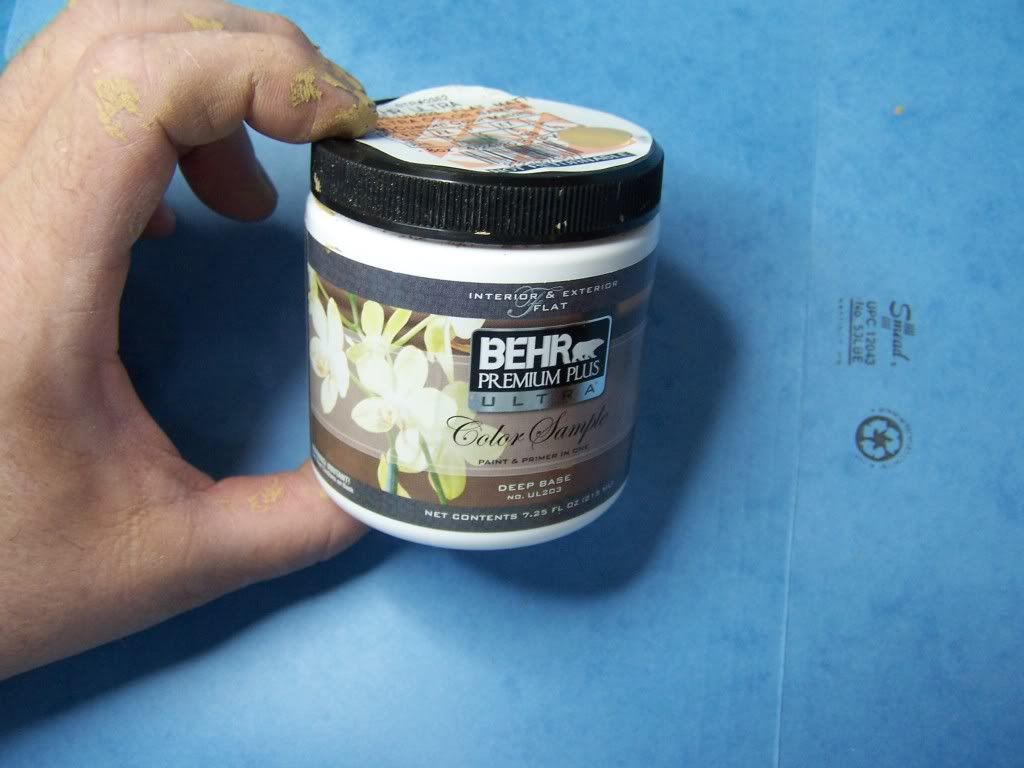
Why use house paint ? Believe me it is not the paint of choice. But if you need to match an existing paint color this is the cheapest way to go. You can spend hrs trying to match paint and may never get an exact match. To match it at Lowes or HD you simply take the part ( it has to be at least 2" X 2" to put under the censor) and say I need a sample of this paint in flat finish. They do the rest. It will cost about $3-$5 . THIS IS CHEAP compaired to a bottle of Tamiya or Model Master .
Ok here we go.
Step 1.
You need to wash your parts to get the oily resadue off from the moulding process.You can either use mild dish soap and water or denatured alcohol. The soap is easier on the hands but you need to let it dry off. The D A dries quick but it is hard on the skin and is a solvent. So be careful.
Step 2.
Fill holes and sand off or cut flash. This is what you need.
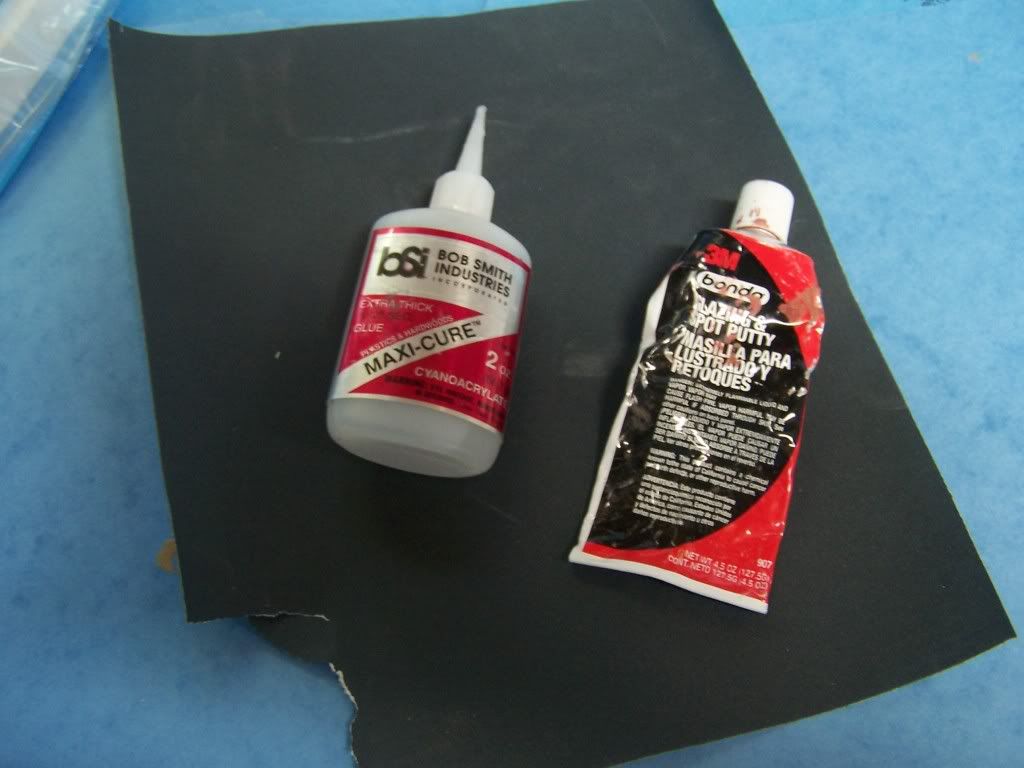
The CA glue is for small holes and the bondo glazing for big holes. You can use Squadron putty but it is a bit more expensive and I like the red color. It is easier to see to sand. Fill all holes and sand smooth. I like using 220 grit to rough in and 320 grit for final sanding.
Step 3.
Wash again. Repeat step 1.
Step 4.
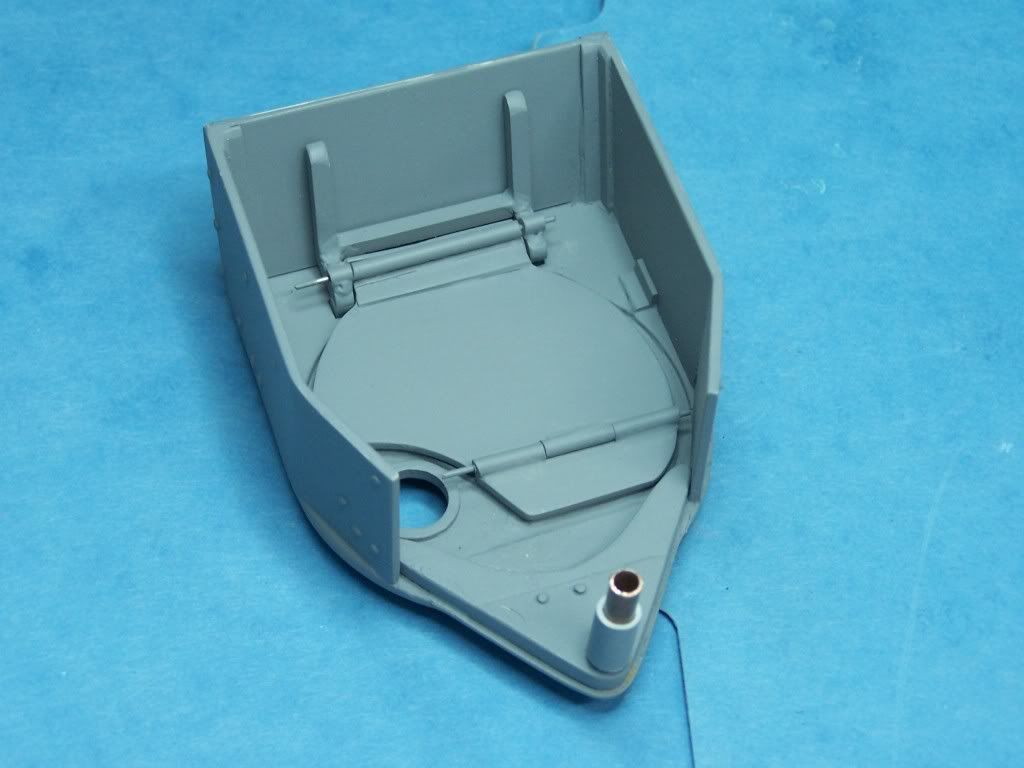
Prime the object. I use automotive primer. It works easy and sands easy.Using a primer does 2 things It seals the resin and shows off holes and roughness were you missed.The good thing about using the bondo glazing is that it sticks to paint. If you missed a spot apply the glazing let it dry sand again. Then reprime the area. Repeat until you get it smooth .
This piece has been primed . Look at the hindge area to the left. You can see a pin hole that needs to be filled. The only way it showed up was after priming.
Step 5.
Ready to paint ? Let's begin , first it is wise to practise on something other than your model. I started with the inside of my Humvee turret. I figured if it is rough you really will not see it. So start with something out of the way and leave the parts that you can see for last to get your skills up.
Step 6.
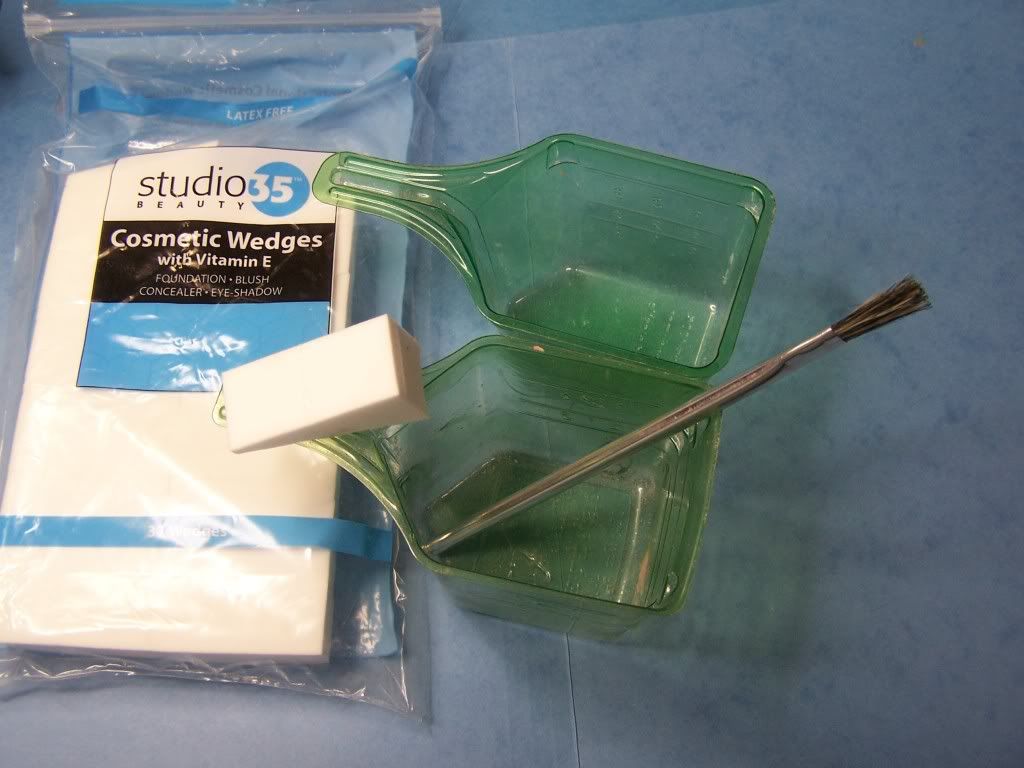
Here is what you need to start . Paint brush 2 water dishes or containers and make up sponges.
Home Depot paint
Here is the front shield I would advise doing this part the very last because it is up front and the first thing you see.
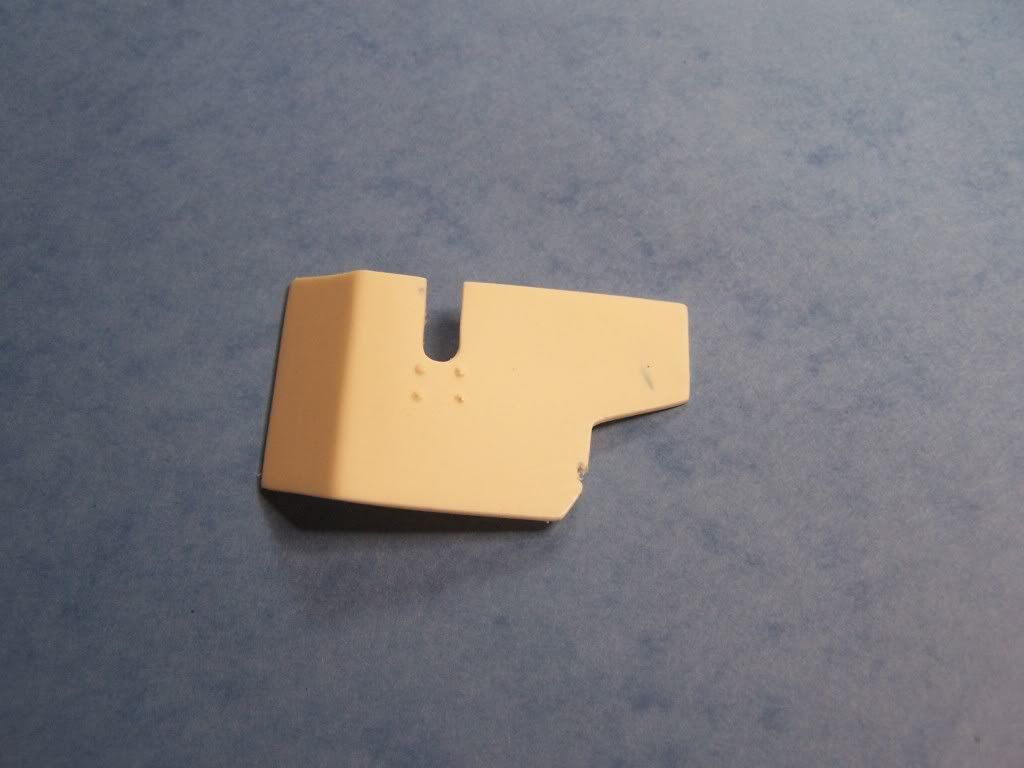
Remember you need to work fast here. YOU CAN NOT LEAVE THE UNFINISHED PAINT ON THE OBJECT. IT YOU PAINT IT AND GO DO SOEMTHING ESLE AND COME BACK YOU HAVE RUINED YOUR PROJECT.
First dip the paint brush in the water squeeze out the extra water you just want it moist. Do the same with the sponge. You want it damp.
Dip the moistened paint brush in the paint and as quick as you can paint the area you want to work on first. Spread the paint as thin and even as you can.
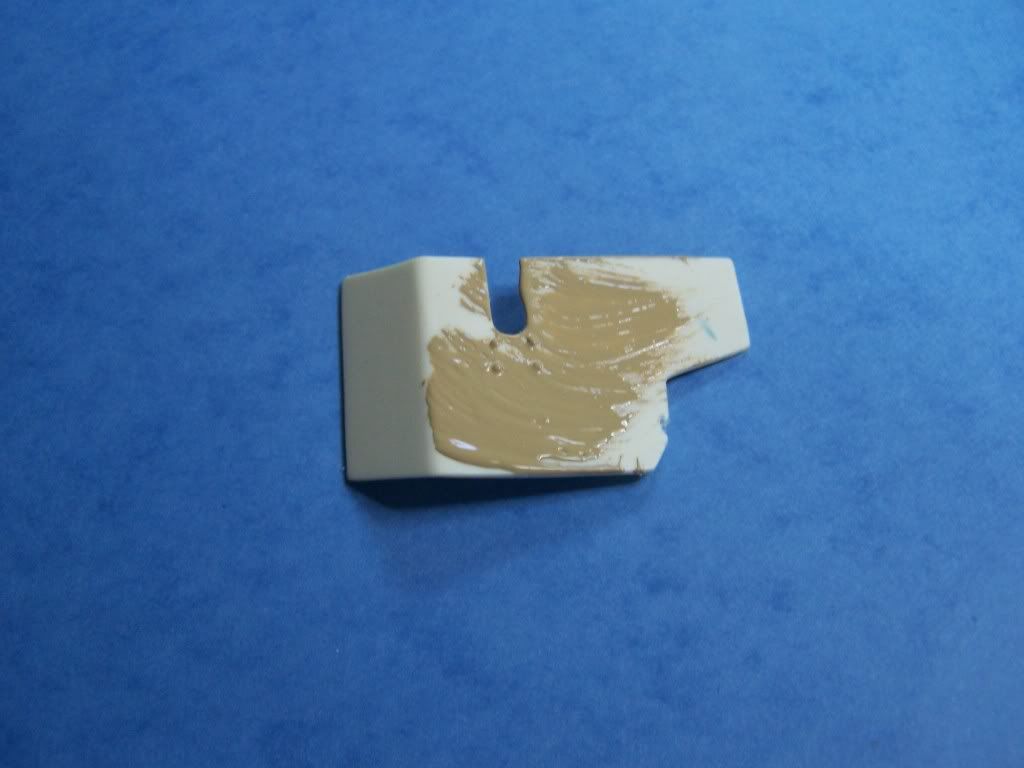
DO NOT TRY TO DO THE THING ALL AT ONE TIME. WORK IN SECTIONS.
Now. Using your moisted sponge dab and smooth out your paint. Make sure it is even. The idea is to go as thin and even as you can.
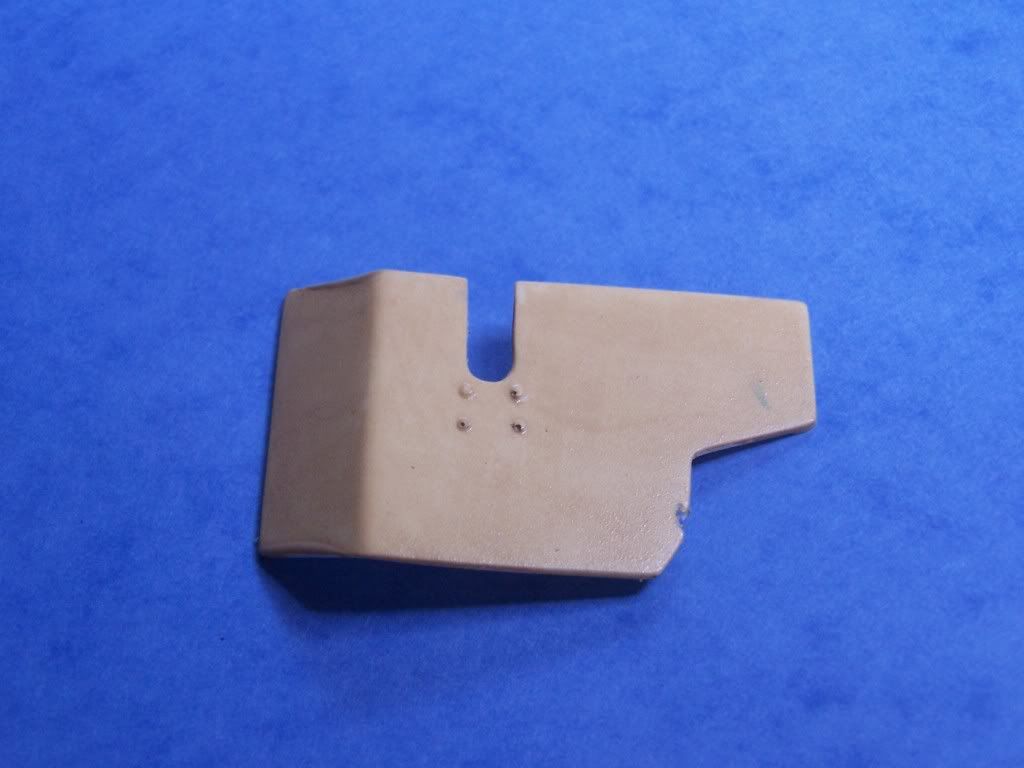
The paint will not cover at one time. You will probably need to put at least 3 coats on.
You can sand between coats if you get too rough or gloppy with the paint.I also found that if you get an old white T-shirt you can smooth the area between coats. It takes about 10 mins. for the paint to dry. More or less depending on your situation.
http://www.mtv.com/shows/jersey_shore/c ... tyId=13195
Sorry just had to do that
Also , I used a dark gray primer. If you use a lighter primer you may not have to go as many coats.
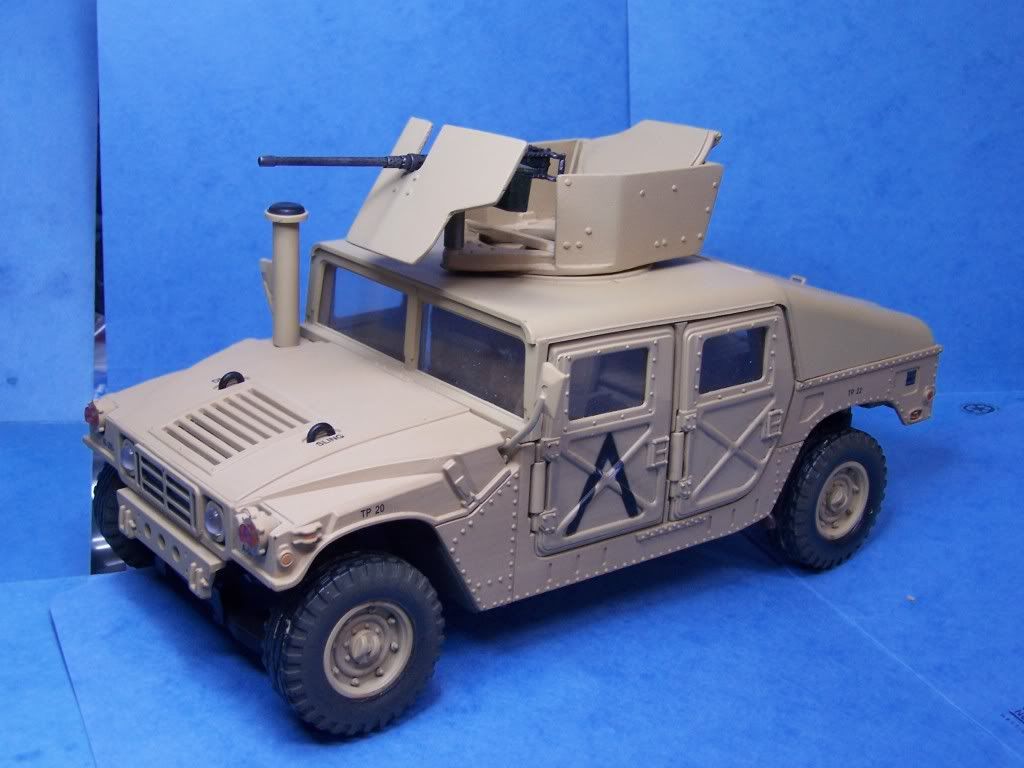
I painted over the cheveron on the side of the Humvee and it took about 6 coats to finally cover it up .
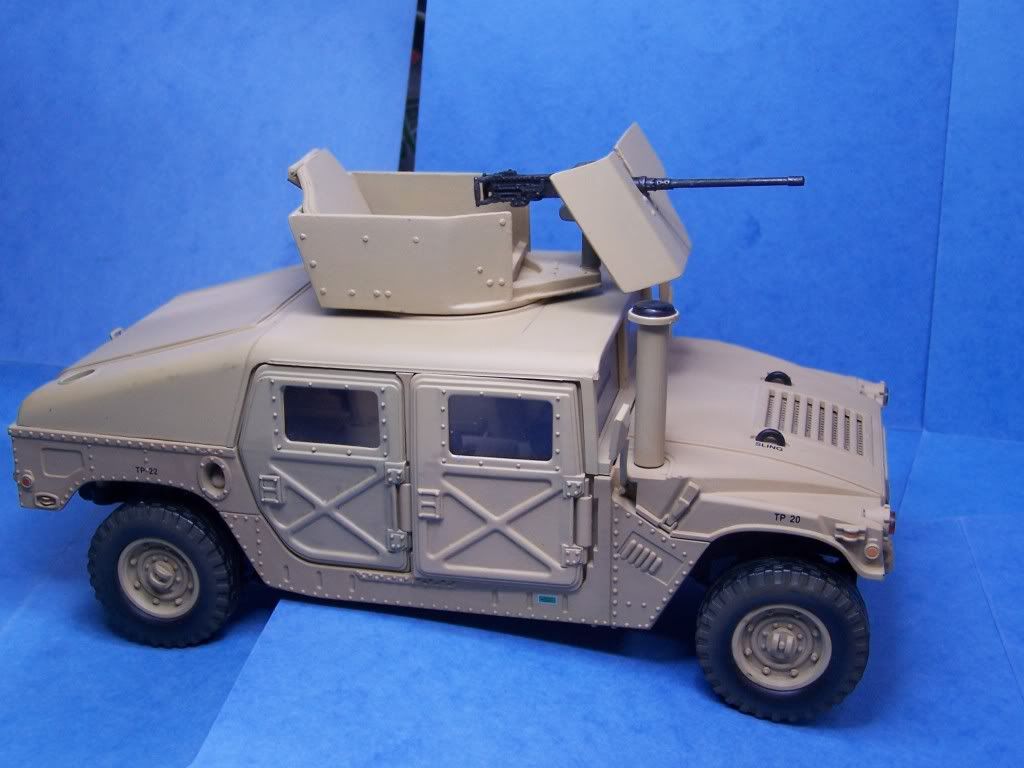
This was not hard to do at all.Just a little practice and you will get good at it. I started with the inside of my turret. It could have been smoother. The wet sponge is the trick. If you use a dry sponge the texture will be rougher.
This can be a good thing if you are trying for a rough casted effect.
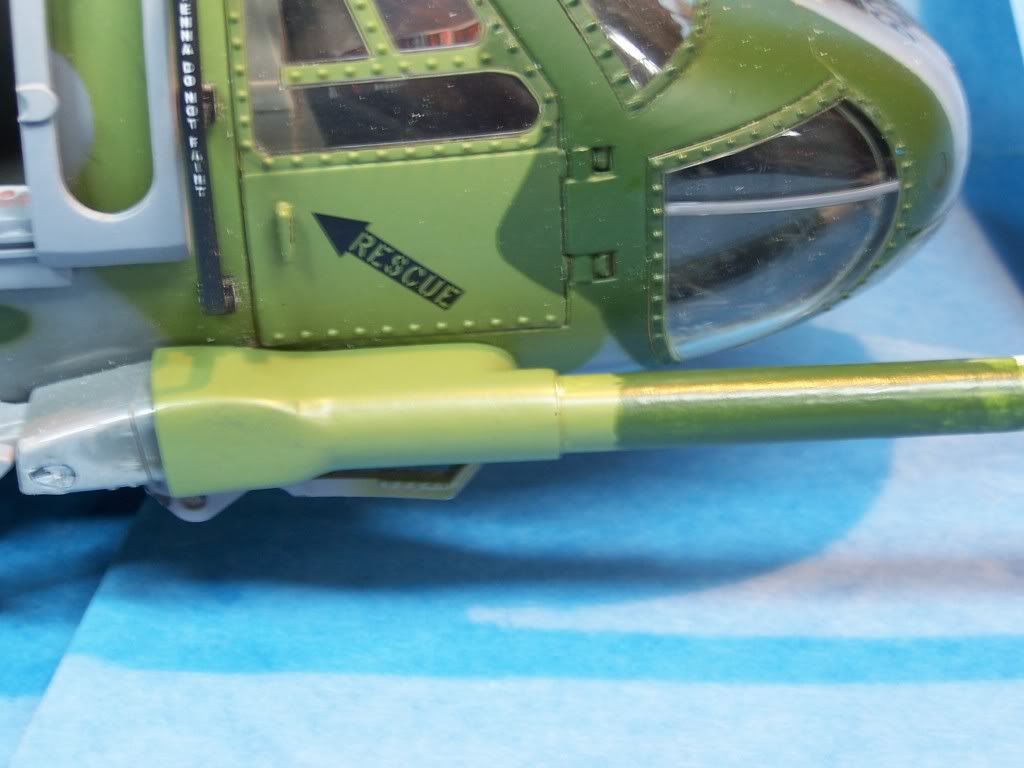
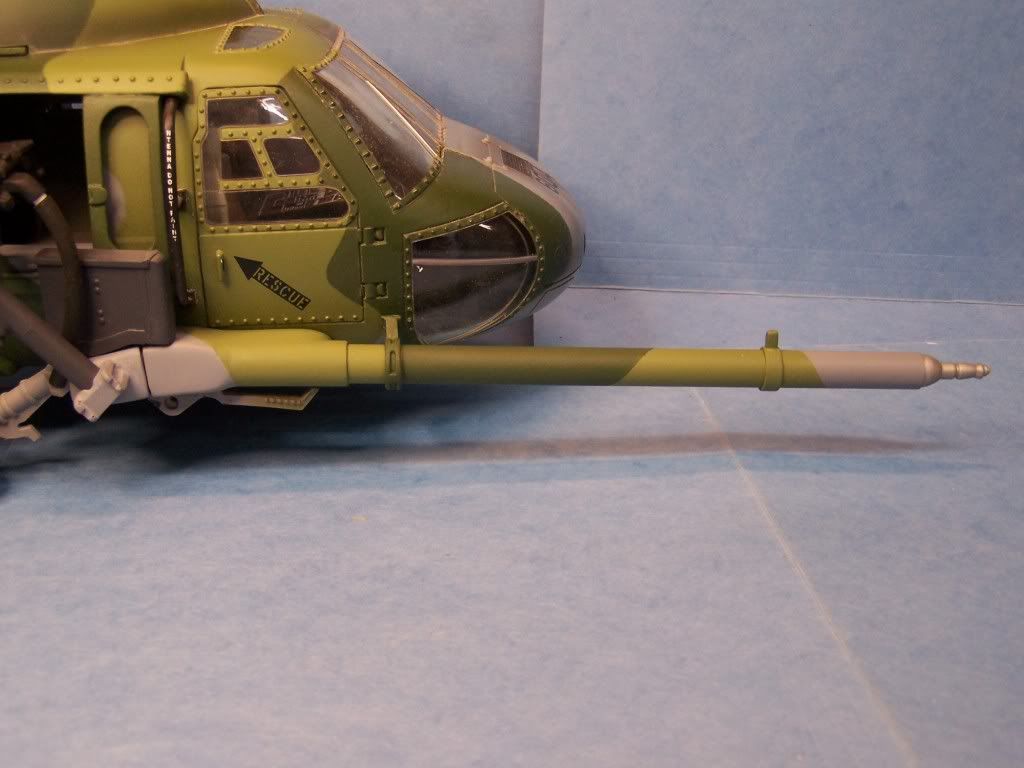
The paint matching has so many uses . If you dropped your aicraft and broke off your rear stabalizer. You can can patch it up match the paint and with a little effort you could hide the repair.
Here is another look at the Humvee with painted turret.
It took about 1 1/2 hrs to get it to look like this.
YOU CAN DO IT TOO
