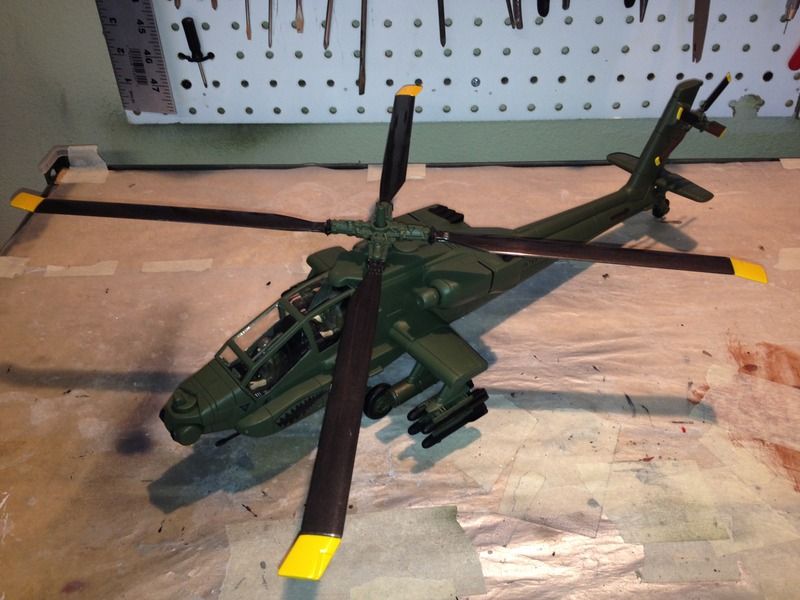
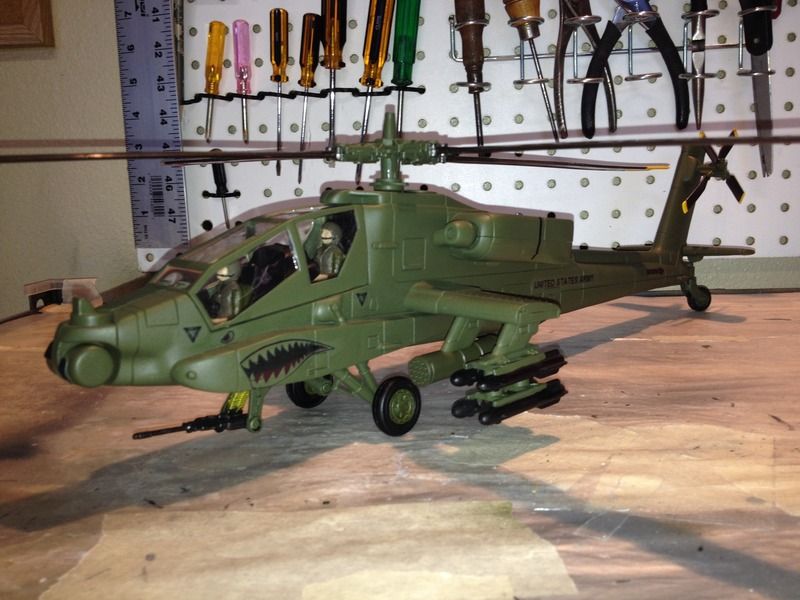
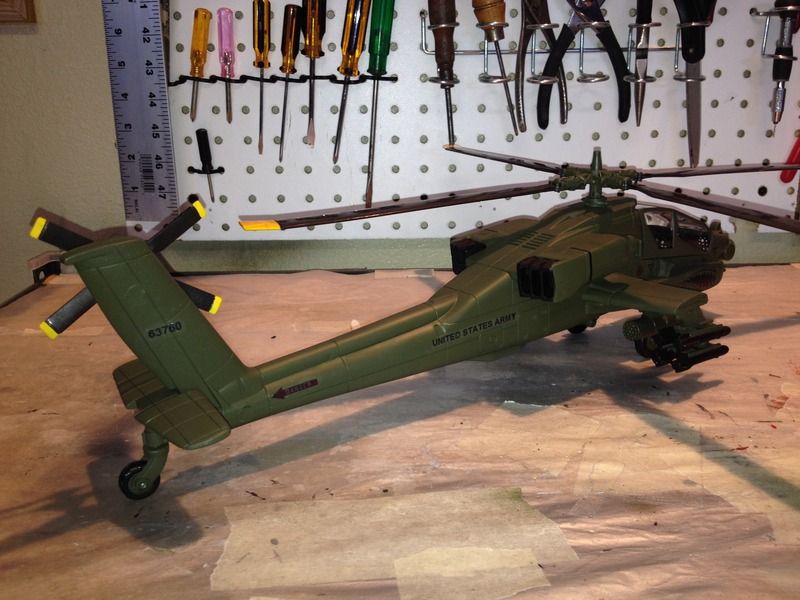
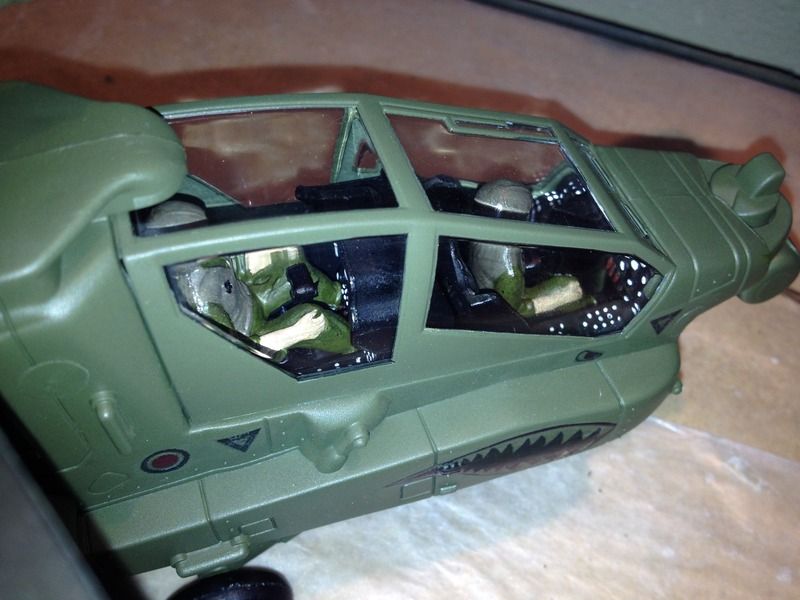
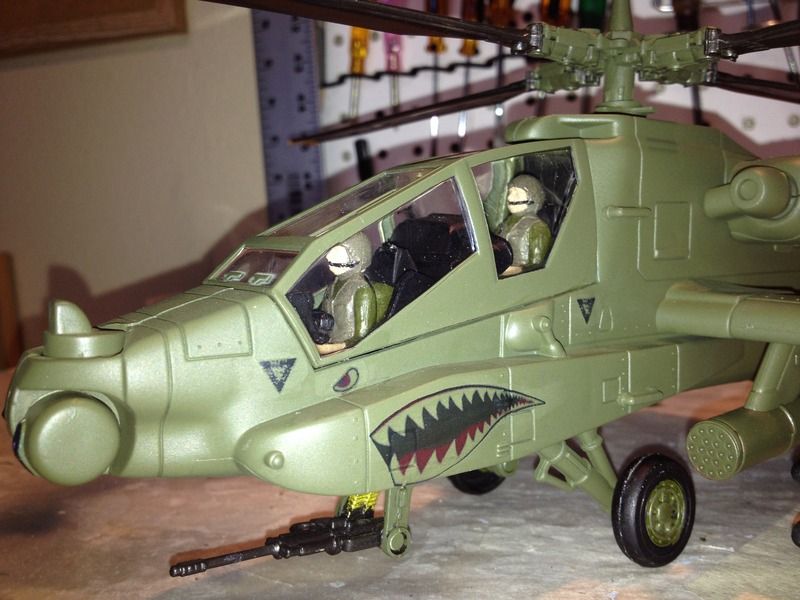
My overall goal was to make the New Ray/Testors Apache helicopter look better and less toyish than the stock version as well as practice some customizing techniques. I gave the model a complete repaint using a darker OD green (Tamiya Aircraft Spray Olive Drab USAAF, AS-6). I also experimented with plugging the screw holes on the starboard side using sections cut off a wooden dowel and covered with paper. The cockpit was fully painted, including instruments, and I masked the framing on the stock canopy and repainted it to match the rest of the fuselage. The crew figures are 1/32 scale seated pilot figures I found on ebay and then painted. Not sure what kit they went with originally, but they worked perfectly for my purposes.
The stock helicopter came with no markings and I quickly found that decals for a 1/32 scale Apache are near-impossible to come by... I found a company called Werner's Wings that made 1/35 scale US Army helicopter markings for the Blackhawk and Chinook. I purchased a blackhawk decal set, but was annoyed to find the "UNITED STATES ARMY" stenciling decals were all separate letters, which meant they would be more difficult to apply than I cared for. That meant I had to make my own decals (a first for me
In any event, below are pictures of my final result. It is not perfect by any means, but I wasn't shooting for 100% perfection in this case, just something to improve the toyishiness of the New Ray Apache and practice some techniques like plugging holes and making custom decals. I'm satisfied with my final results and hope to inspire others to similar work...
Enjoy the photos
Photo of Stock New Ray/Testors Apache (not mine) for Comparison

Photos of my Customized Apache
