
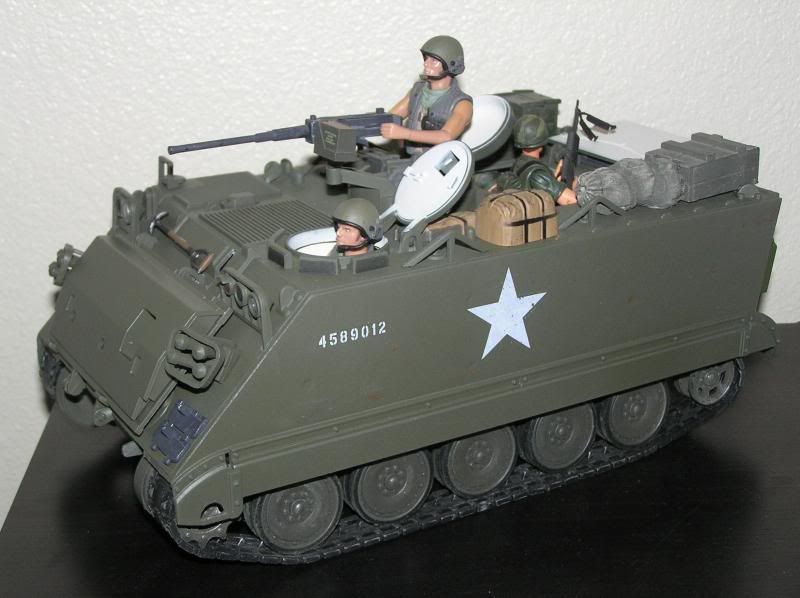
This started out as a 21c XD 1:18 scale diecast M-113A3 that they made in the OD green "Vietnam" scheme. I purchased it used from a board member a couple years ago. I initially had Build-a-Rama baggage hanging all over the sides to cover the holes from the original stowage. That never looked quite right, so on a whim, I decided to fix it.
First, I removed the BAR stowage, sanded the glue splotches, filled the holes with putty and spent hours sanding, re-applying more putty, and then more sanding. I was able to get reasonably smooth sides, though in the right light you can still see slight indentations where some of the holes were.
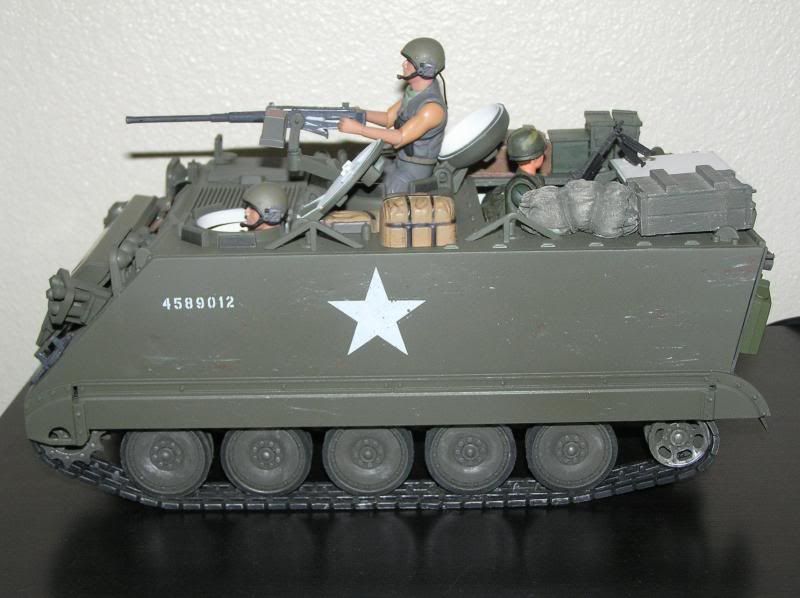
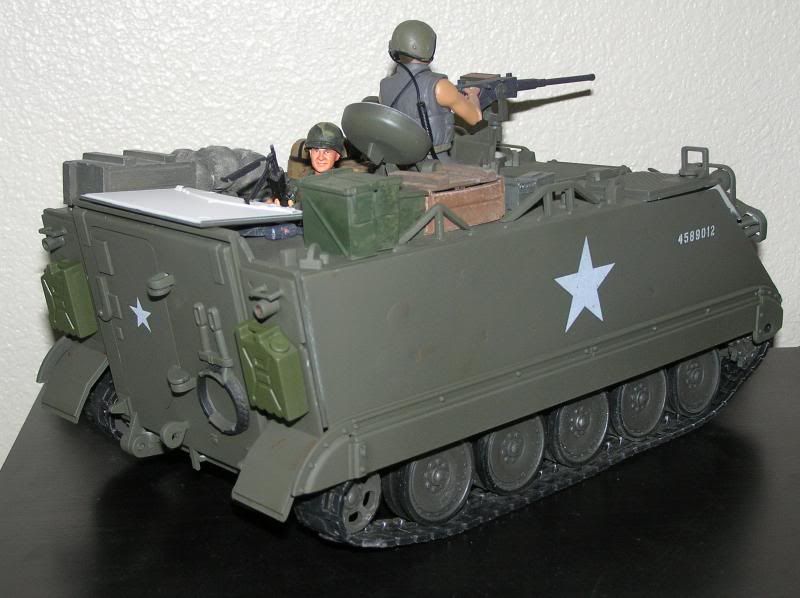
Initially, I intended to keep the stenciling that was on the vehicle, but as I could not find a shade of OD green paint that exactly matched the color 21c used, I opted for a total repaint using Tamiya OD Green spray. The decals were made by John's Stuff and came from their US Insignia set. There was no "US ARMY" label, so I left it off and just put on a fictitious serial number. (I researched pictures of M-113's in Vietnam and not all of them had the US ARMY + serial number stenciling, so I could be without it and still be accurate).
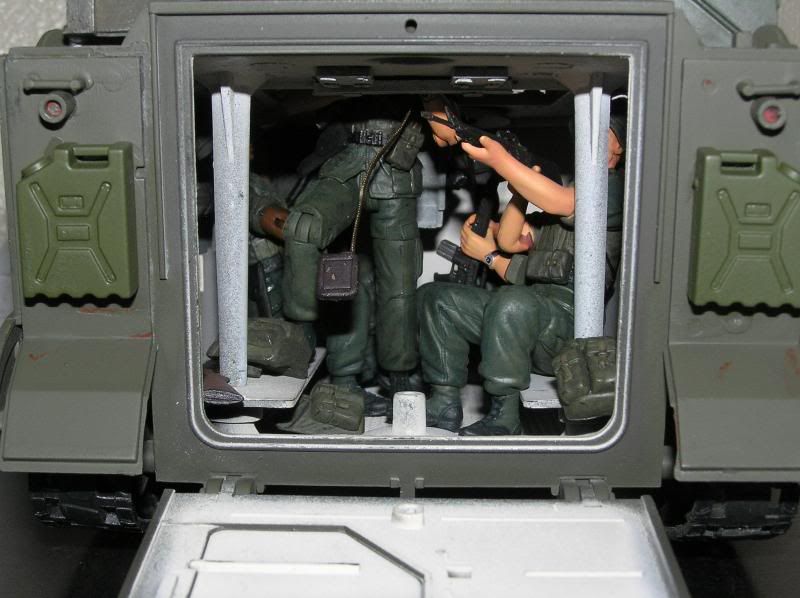
At first, I decided to keep the fuel tanks on for simplicity, but after a few days with the then-completed vehicle, the tanks started to bug me. They just were not accurate for a Vietnam-era M-113A1. My plan was then to remove the fuel tanks, build the fender using using sheet styrene, and then somehow make the tail lights. When I went to remove the first fuel tank, it pried off, but left its back piece on the vehicle. I realized that piece made a passable fender and some of the plastic (which was cylindrical) could be removed and used for tail lights! I removed the other fuel tank, went through sanding and puttying, then I made the tail lights, custom handles, and glued on the jerrycans that came with the original vehicle.
Overall, I'm pleased with the way the vehicle is coming out. The next job is to make the turret and machine gun shields for the commander. It would be VERY nice if Pickelhaube still had his old M-113 kit available, but I may have to opt for my own passable custom solution instead