Page 1 of 1
M113 Armor Kit by Pickelhaube
Posted: Sat Feb 07, 2009 9:54 pm
by Birddog
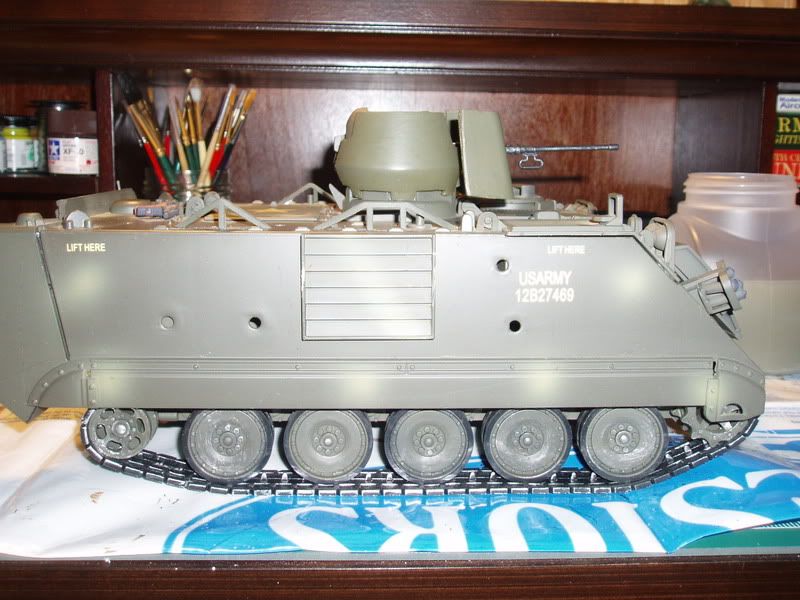
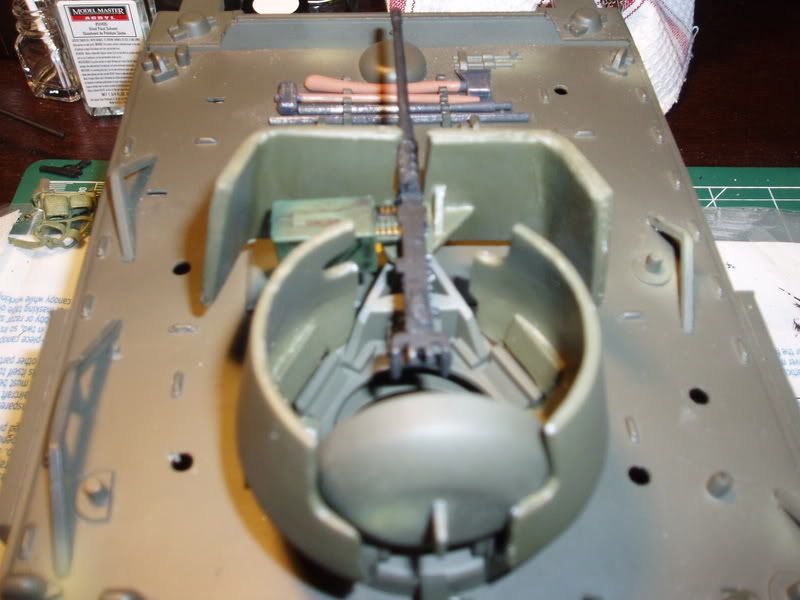
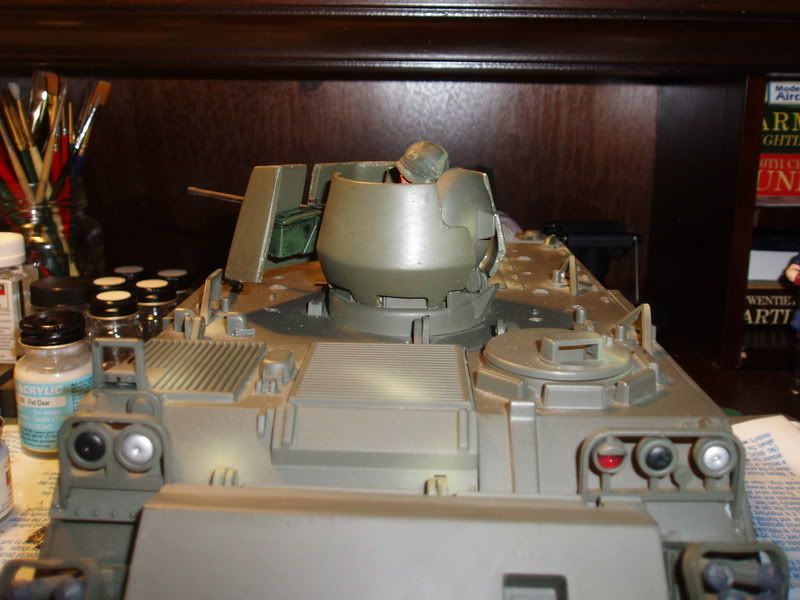
Here are some pictures of one my M113s with the completed turret armor portion of the M113 armor kit that Pickelhaube recently produced. I'm just about finished with the M60s and shields for the rear hatch area that also came with the kit.
I used Testors Acrylic Green Drab for paint applications on the turret armor. You can see the difference in color with the camera flash, but in normal lighting the color difference isn't that noticable.
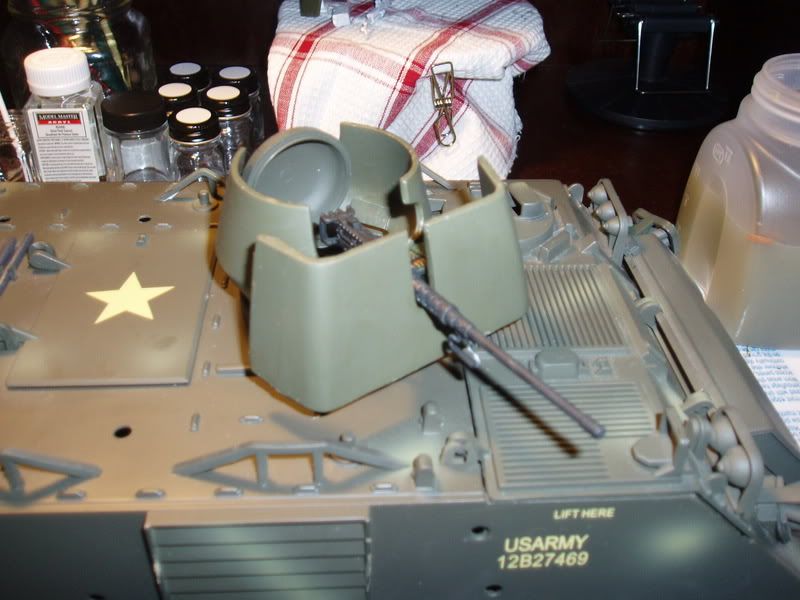
This kit really adds to the bland look of the M113 IMHO. I simply glued the shields in place. There is a place on the side armor pieces to use screws if you choose. I'm going to add those after the glue has completely set.
A figure will fit in the hatch. You'll have to leave the 50 cal and shield removable so that you can fit the figure in first. Then simpley put the 50 cal and shield back in place. The glue was still drying on the side armor when I took the picture so I'll post some tomorrow with a figure in place along with the completed M60s and shields. Then it's just a matter of adding stowage and filling in those holes left by the original stowage sets.
Those stowage racks someone mentioned would be a nice addition to this kit for the desert scheme M113 I'm going to do with the other kit I purchased.....


Great job all around on this one Pickelhaube!!! If you have an M113, you need this kit. It's very easy to install.
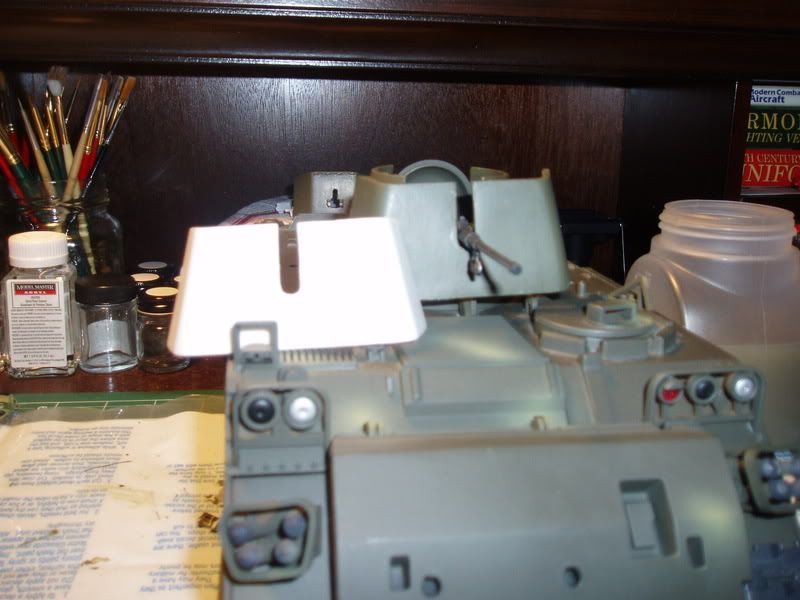
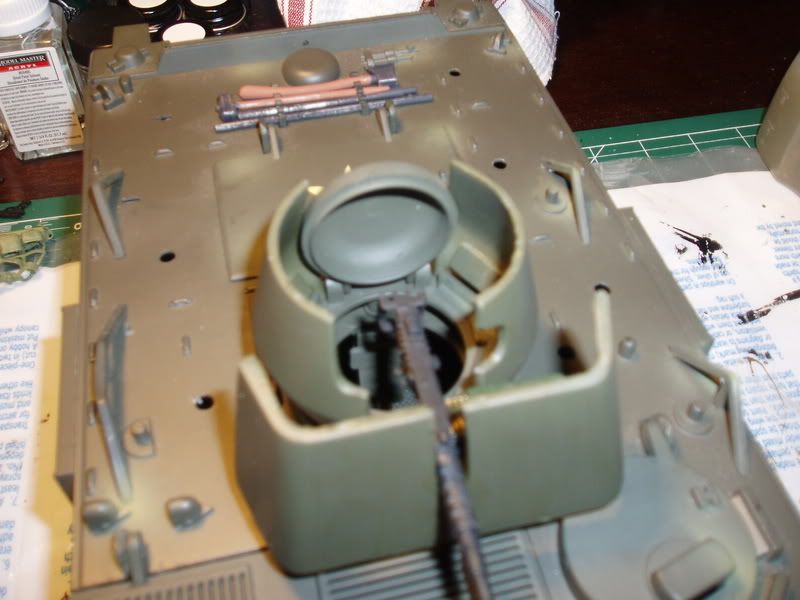
50 Cal shield un-painted compared to painted 50 cal shield.
You can see the M60s and shield in the background.
* PH's Custom M113 APC Armor kit
Posted: Sun Feb 08, 2009 12:39 am
by MG-42
* "I like it".

... I'm gonna' have to get me one before Matt gets pissed.

Mitch v MG
Posted: Sun Feb 08, 2009 11:13 pm
by Birddog
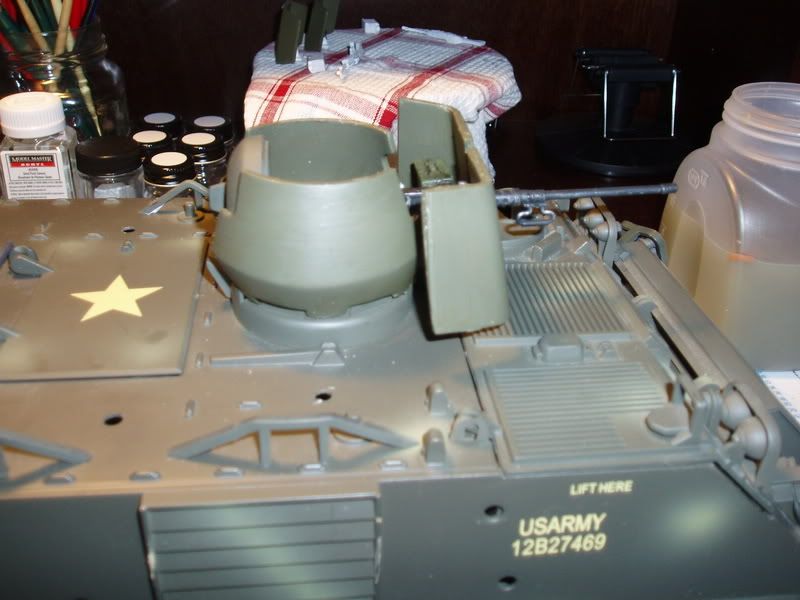
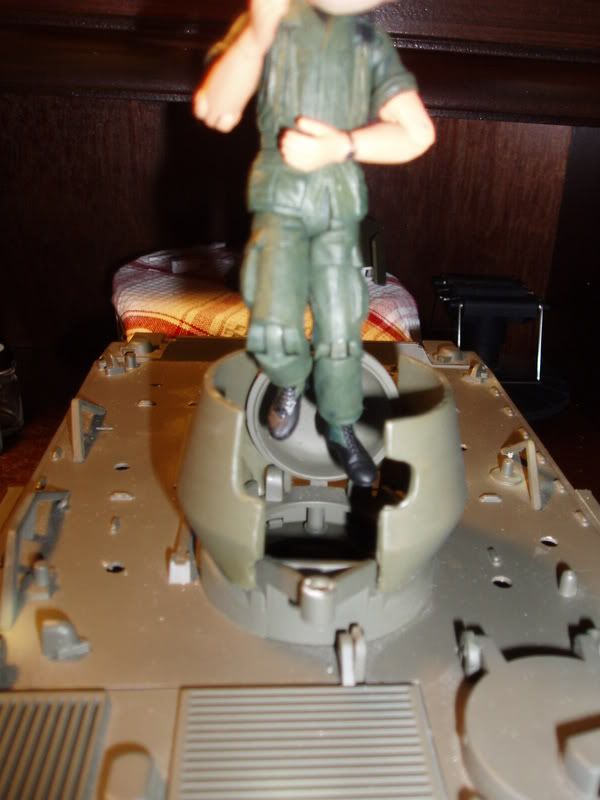
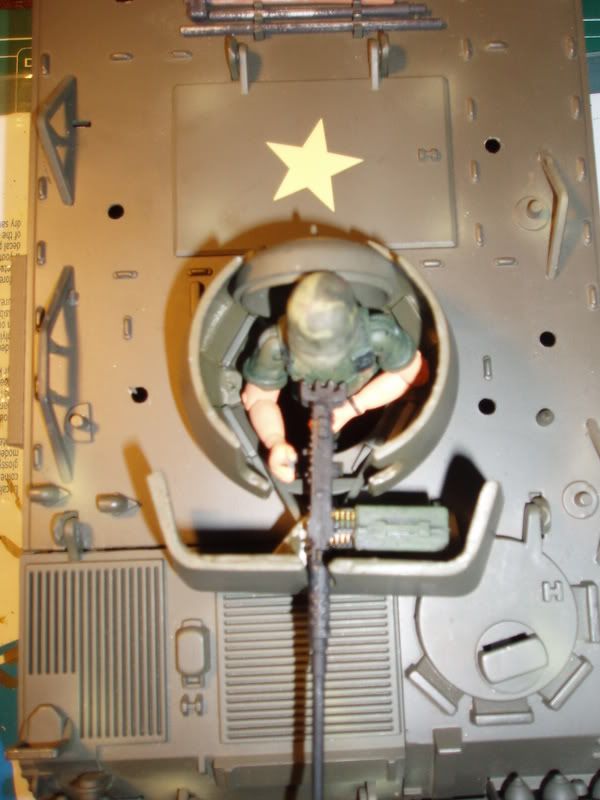
Didn't get to finish up my M60s and shields, but I did take some pictures of the turret armor with a figure in place.
As I stated before in my previous post, you'll need to leave the 50 Cal and shield removable to insert and remove a figure in the turret.
I put the figure in a kneeling type position as seen in the picture below. This allowed the turret to swivel 360 degrees without the figure's legs/feet interfering with anything inside the M113. There is still room to have the figure sit a bit lower if needed.
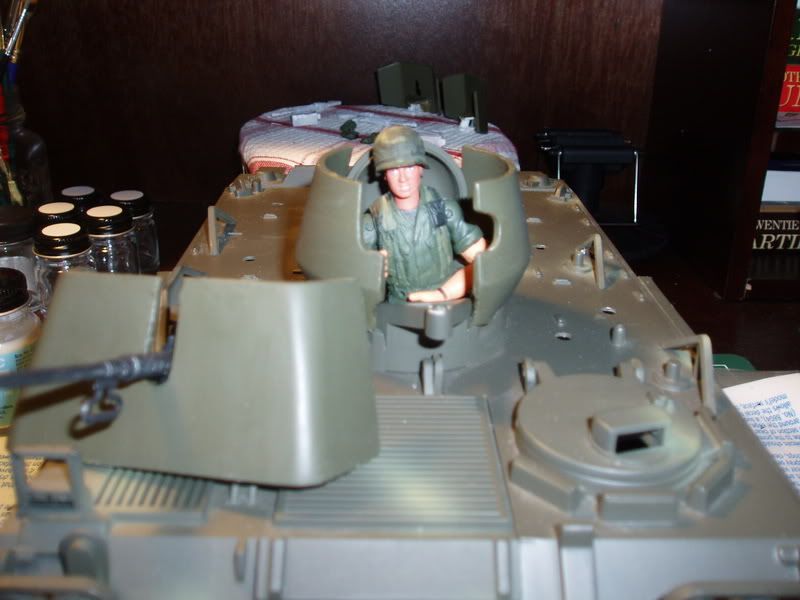
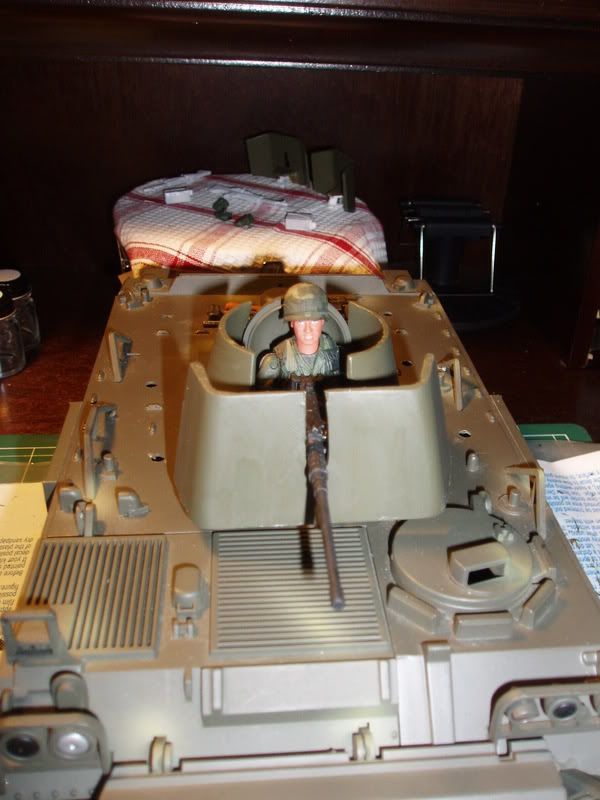
Once the figure is in place, simply put the 50 Cal and shield back in place:
I'll post more pictures once I finish the M60s and their shields.
Hope you enjoy.
Re: M113 Armor Kit by Pickelhaube
Posted: Tue Feb 10, 2009 6:49 am
by pickelhaube
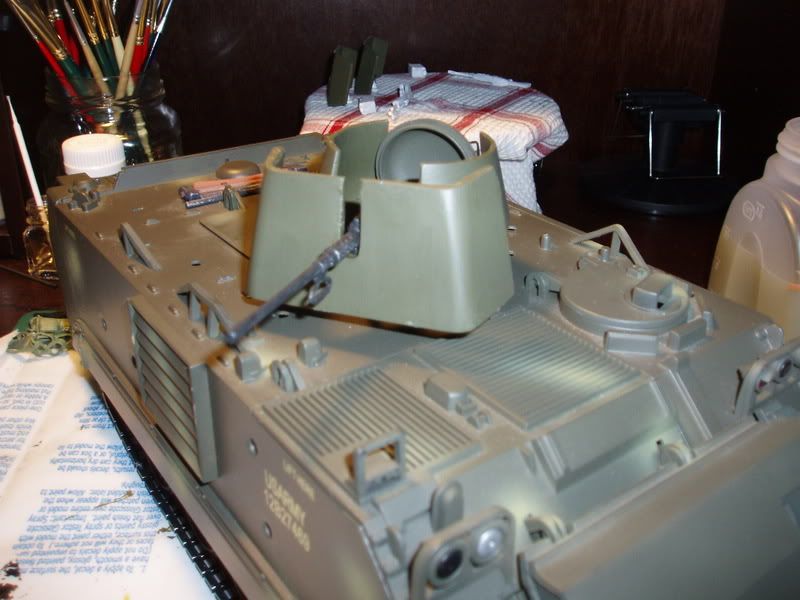
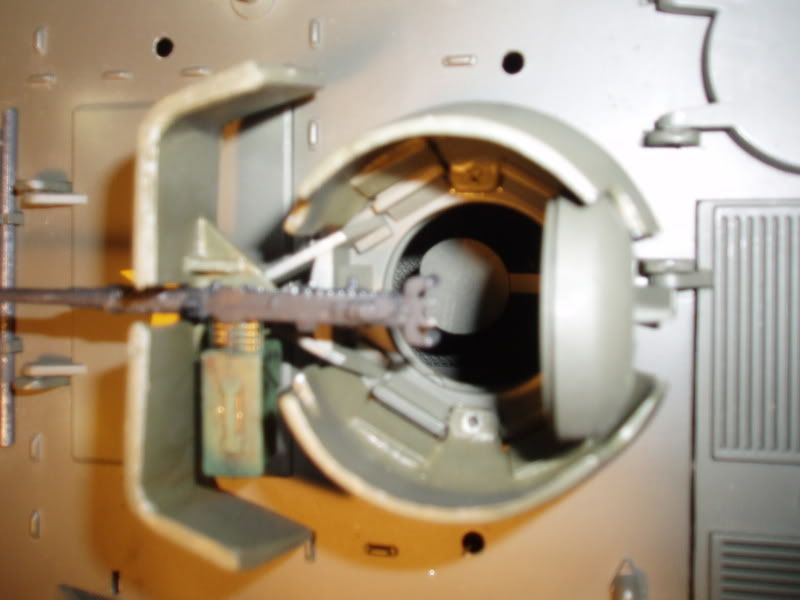
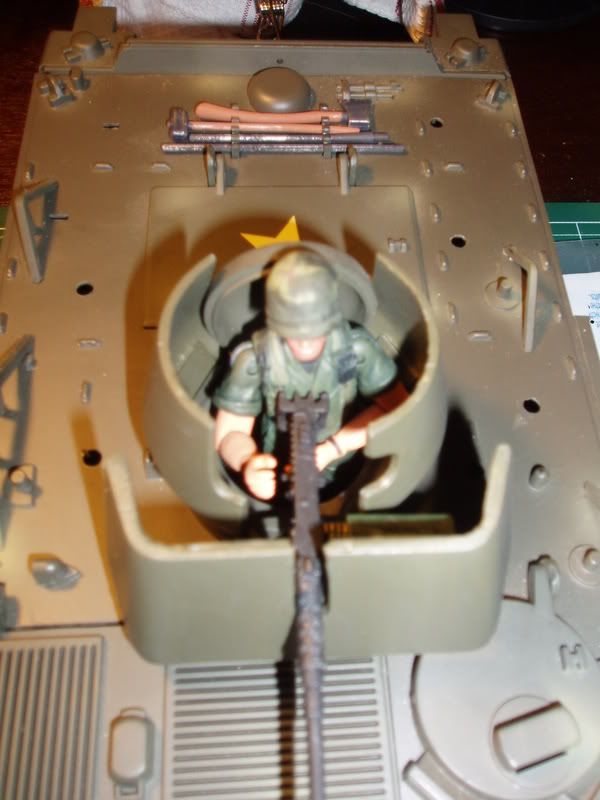
Bird Dog you did a great job. It looks cool. I stole a pic of yours , the inside shot of the turret. If you look in the middel of the shot those 2 little tabs are for the screws as you said. I tried to make so all you have to do is just zip a couple of them in and the turret is removable. The turret bell is a snug fit. But the shape and the fingers that fit around the vision slits make the bell unstable so you need to fasten it with glue or the screws.
Here is a shot of how the stand glues to the back of the M-60 shield.
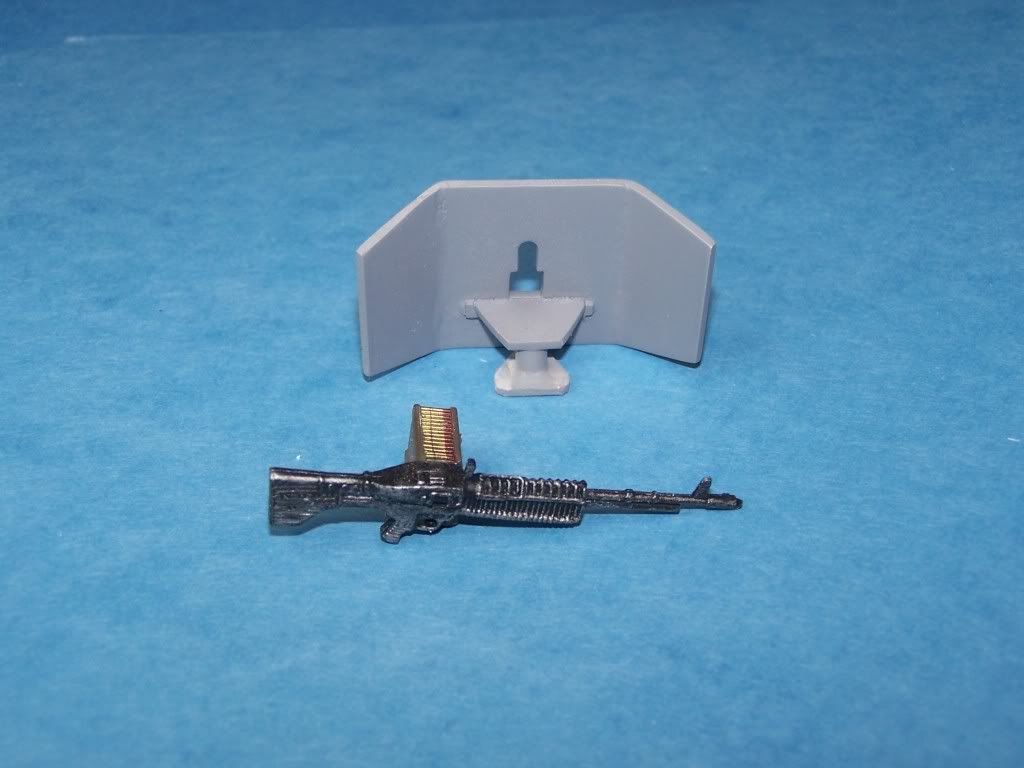
The shields just sit on the back of the rear deck. In all of the photos I have seen the sheilds face in all different positions so by making them lose you can face them in any directions that you can think of.
Re: M113 Armor Kit by Pickelhaube
Posted: Tue Feb 24, 2009 9:19 am
by Razor17019
pickelhaube wrote:Bird Dog you did a great job. It looks cool. I stole a pic of yours , the inside shot of the turret. If you look in the middel of the shot those 2 little tabs are for the screws as you said. I tried to make so all you have to do is just zip a couple of them in and the turret is removable. The turret bell is a snug fit. But the shape and the fingers that fit around the vision slits make the bell unstable so you need to fasten it with glue or the screws.
Here is a shot of how the stand glues to the back of the M-60 shield.
The shields just sit on the back of the rear deck. In all of the photos I have seen the sheilds face in all different positions so by making them lose you can face them in any directions that you can think of.
TO: PH and all,
I have your M113 APC armor upgrade kit. I am a novice when it comes this type of thing and have a few questions:
-What is the best paint to use and best "affordable" way to apply it and still look good?
-When glueing pieces together, what type of glue do you recommend?
-I want to detail the M113 when the armor upgrade is done. Where can I find tips on how to do this?
Thanks again!
Razor
Re: M113 Armor Kit by Pickelhaube
Posted: Tue Feb 24, 2009 11:15 am
by Birddog
Razor17019 wrote:
TO: PH and all,
I have your M113 APC armor upgrade kit. I am a novice when it comes this type of thing and have a few questions:
-What is the best paint to use and best "affordable" way to apply it and still look good?
-When glueing pieces together, what type of glue do you recommend?
-I want to detail the M113 when the armor upgrade is done. Where can I find tips on how to do this?
Thanks again!
Razor
1. I used
Testors Acrylic Green Drab to match the original paint used on the M113. It matches up pretty nicely without having to do any paint mixing. Acrylics usually adhere and dry faster and better to most plastics.
After that I apply a coat of
Testors Flat Clear Acrylic to ensure a flat finish.
2. I used a CA glue by ZAP (
http://www.rcplanet.com/Zap_Glue_Hobby_ ... _s/117.htm) that is pretty much a super glue. You can find this at just about any hobby shop like HobbyTown USA or online.
3. As far as detailing the M113 goes, you can find many tips online, in detailing books found at hobby stores or online. There are really cool detailing products at Build-A-Rama:
http://www.build-a-rama.com/catalog_1_18.shtml
Hope this information helps.....
Re: M113 Armor Kit by Pickelhaube
Posted: Wed Feb 25, 2009 7:57 am
by Razor17019
Birddog wrote:Razor17019 wrote:
TO: PH and all,
I have your M113 APC armor upgrade kit. I am a novice when it comes this type of thing and have a few questions:
-What is the best paint to use and best "affordable" way to apply it and still look good?
-When glueing pieces together, what type of glue do you recommend?
-I want to detail the M113 when the armor upgrade is done. Where can I find tips on how to do this?
Thanks again!
Razor
1. I used
Testors Acrylic Green Drab to match the original paint used on the M113. It matches up pretty nicely without having to do any paint mixing. Acrylics usually adhere and dry faster and better to most plastics.
After that I apply a coat of
Testors Flat Clear Acrylic to ensure a flat finish.
Do you use an airbrush to apply or paint brush? If airbrush, any inexpensive ones you would recommend to a beginner?
2. I used a CA glue by ZAP (
http://www.rcplanet.com/Zap_Glue_Hobby_ ... _s/117.htm) that is pretty much a super glue. You can find this at just about any hobby shop like HobbyTown USA or online.
3. As far as detailing the M113 goes, you can find many tips online, in detailing books found at hobby stores or online. There are really cool detailing products at Build-A-Rama:
http://www.build-a-rama.com/catalog_1_18.shtml
I know and have some of the fine products Build-A-Rama makes. I was asking about "dry brushing" to make the vehicle look weathered. Is there a guide to this some where?
Hope this information helps.....
Birddog,
Yes, your input on this is very appreciated!
Posted: Wed Feb 25, 2009 8:39 am
by pickelhaube
Hey Guys,
Birddog is spot on with his post.
Any resin kit needs CA glue nothing else will stick to it.
MAKE SURE YOU WASH IT FIRST BEFORE YOU PAINT OR GLUE. A RELIESE AGENT WAS USED AND GLUE AND PAINT WILL NOT STICK WELL TO IT.
Testers Model Master makes a spray paint in a can that is easy to use. When you cast things out of resin air bubbles from. It is a good idea to use a good primer before you paint with the final color.
I use Dupli-Color's primer sealer . It goes on easy and smooth. Make sure everything is dry before you use it. You can buy it from any O'Reillys Auto parts.
Posted: Wed Feb 25, 2009 12:29 pm
by flyboy_fx
Posted: Wed Feb 25, 2009 1:02 pm
by pickelhaube
I changed it

Posted: Wed Feb 25, 2009 3:48 pm
by flyboy_fx
lool don't worry
Posted: Sun Jun 14, 2009 2:42 pm
by CENT-ONE
Since I'm pretty much WWII only I have no idea what kind of turret this is but I spotted it at a nearby VFW a few weeks ago and it looked like it might make an interesting pickle-kit for the M113.


Posted: Sun Jun 14, 2009 3:49 pm
by popeye357
Ive seen the same turret at Ft Pickett, it looks like the one on the M48. I agree that it would be awesome to have on a 113.
Posted: Sun Jun 14, 2009 8:32 pm
by pickelhaube