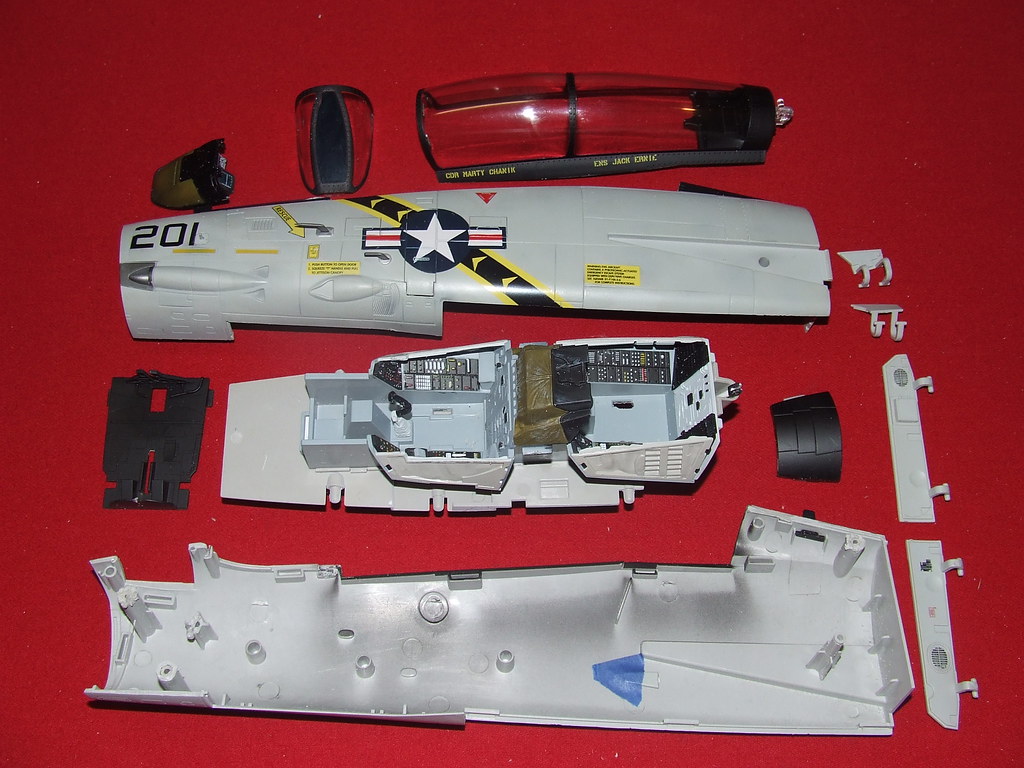
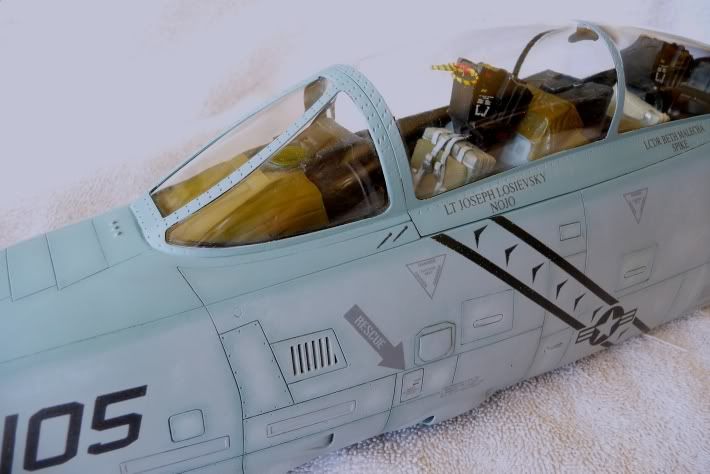
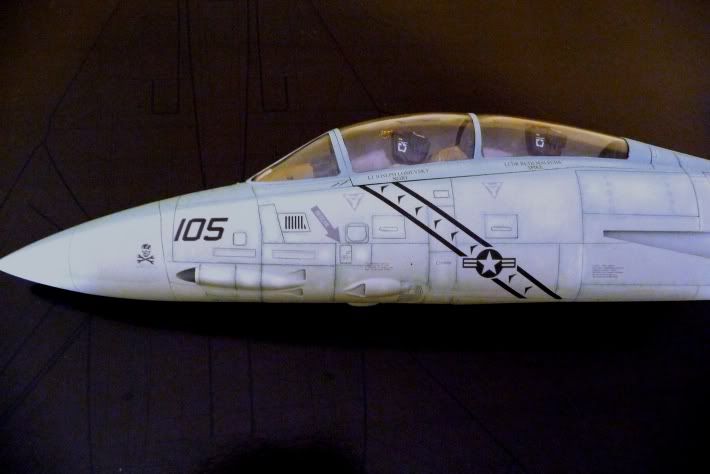
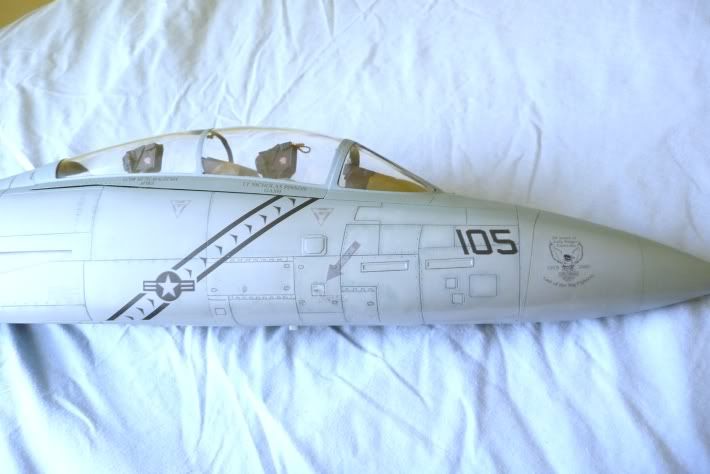
Back working on the big Cat Lets begin with the vertical and horizontal stabilizers. Not very exciting I know but a necessary evil particularly with this model as the Chinese manufacture chose to make them more like the armor on an Abrams tank than a supersonic aircraft.
So break out your Dremel a sanding block some super glue a couple of bottles of vintage Ripple and have at it.
<a href="
http://s160.photobucket.com/albums/t197 ... _of_43.jpg" target="_blank"><img src="
http://i160.photobucket.com/albums/t197 ... _of_43.jpg" border="0" alt="Photobucket"></a>
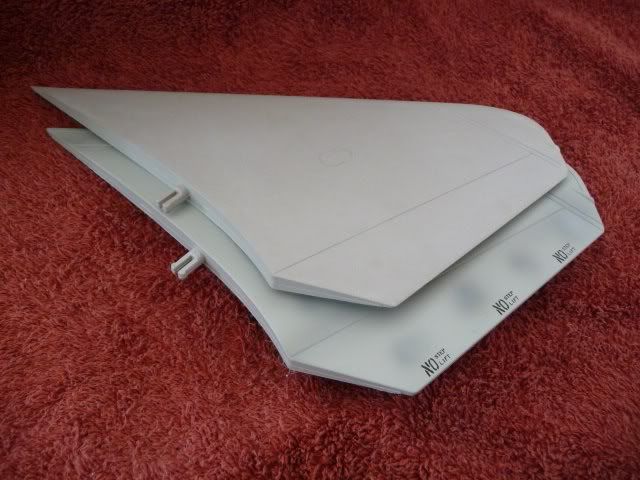
Next a couple of before and after shots:
<a href="
http://s160.photobucket.com/albums/t197 ... iling1.jpg" target="_blank"><img src="
http://i160.photobucket.com/albums/t197 ... iling1.jpg" border="0" alt="Photobucket"></a>
<a href="
http://s160.photobucket.com/albums/t197 ... aling2.jpg" target="_blank"><img src="
http://i160.photobucket.com/albums/t197 ... aling2.jpg" border="0" alt="Photobucket"></a>
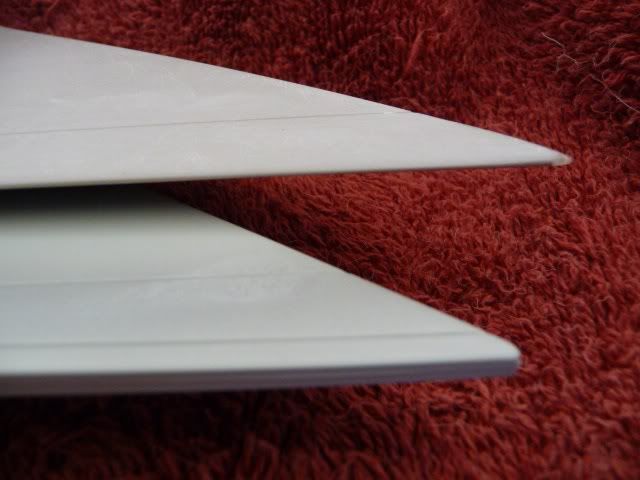
That was the trailing edges now the leading edges... you would think these would be a bit thinner... not a chance. * In real life the edges are actually very thin and dangerously sharp. I didn't want to make the plastic to thin so they are still a tad thick.
<a href="
http://s160.photobucket.com/albums/t197 ... ading1.jpg" target="_blank"><img src="
http://i160.photobucket.com/albums/t197 ... ading1.jpg" border="0" alt="Photobucket"></a>
*Note - the tip of the stab is blunted from the factory requiring added plastic or in this case built up layers of super glue cured and sanded to a point.
<a href="
http://s160.photobucket.com/albums/t197 ... ading2.jpg" target="_blank"><img src="
http://i160.photobucket.com/albums/t197 ... ading2.jpg" border="0" alt="Photobucket"></a>
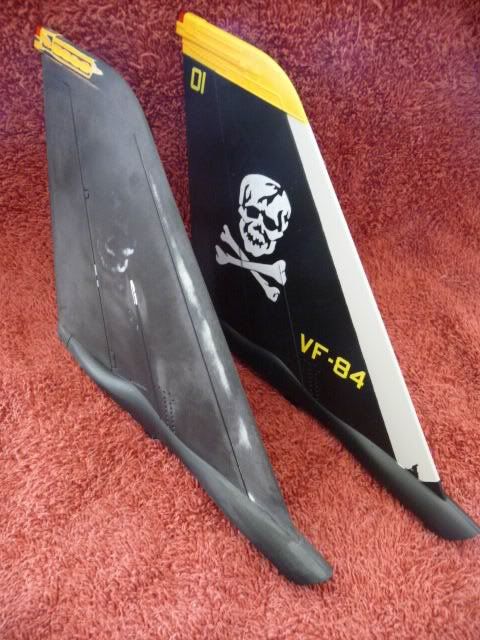
The vertical stabs are better but still require some attention. The rivets are roughly the size of scale oranges and need to be replaced with more realistic pin vise representations and the seams need to be filled and sanded.
<a href="
http://s160.photobucket.com/albums/t197 ... Tails1.jpg" target="_blank"><img src="
http://i160.photobucket.com/albums/t197 ... Tails1.jpg" border="0" alt="Photobucket"></a>
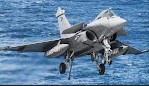
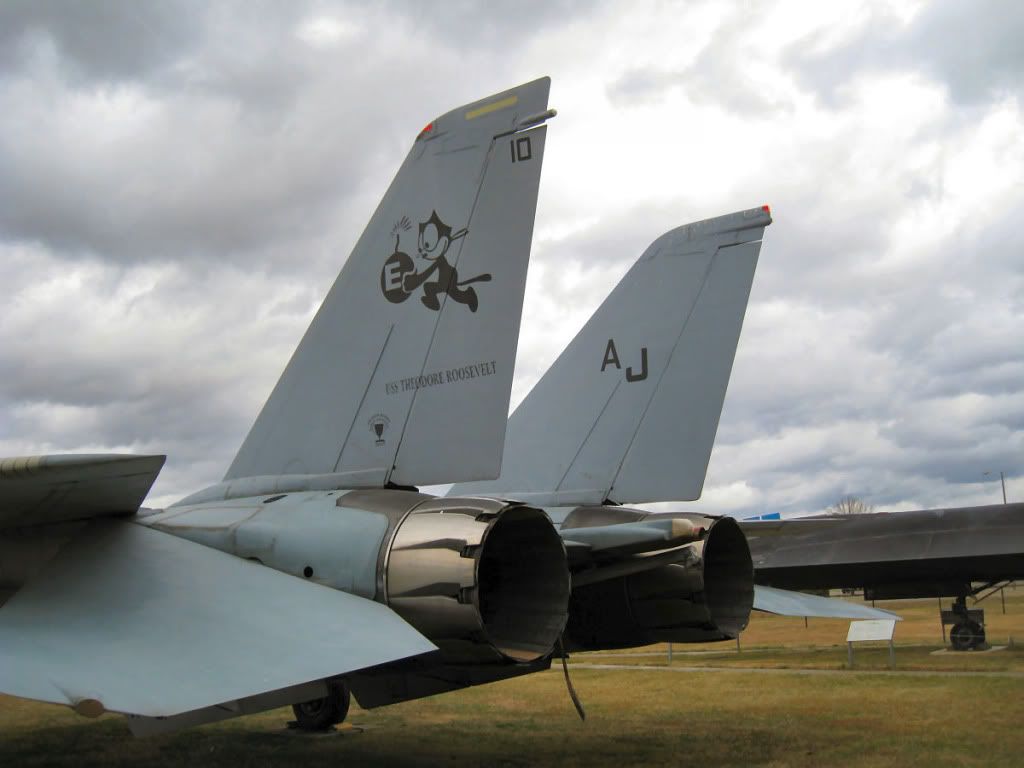
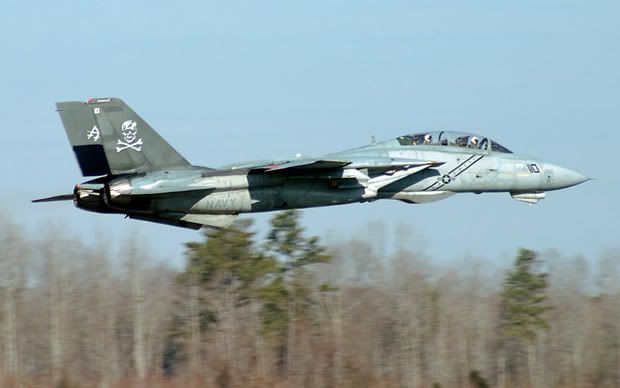
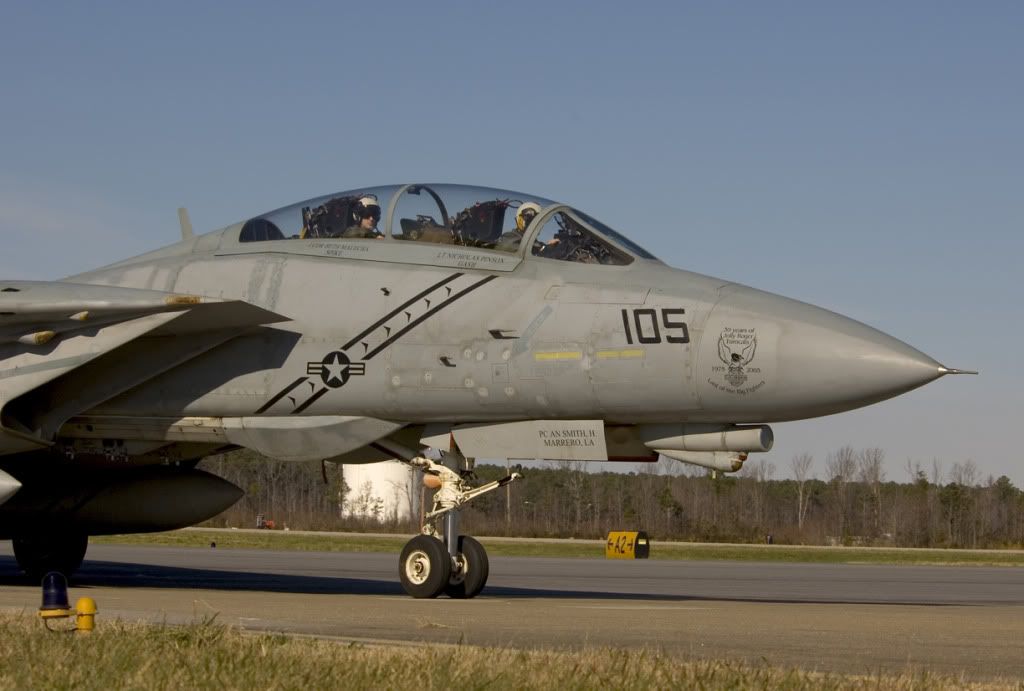
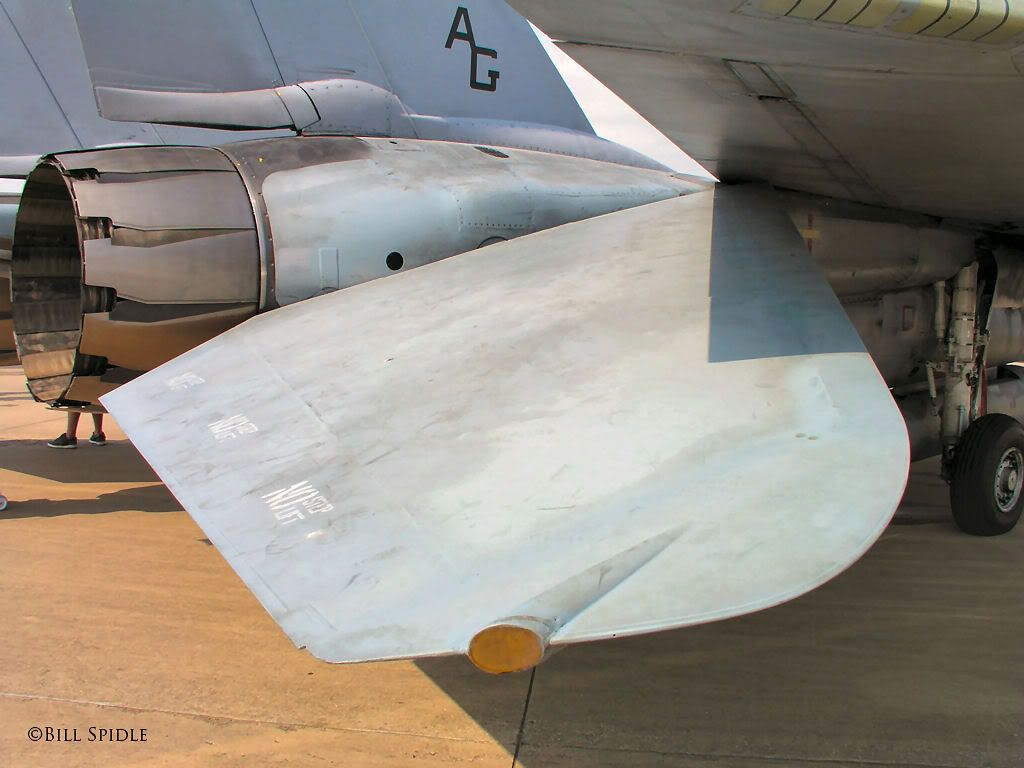
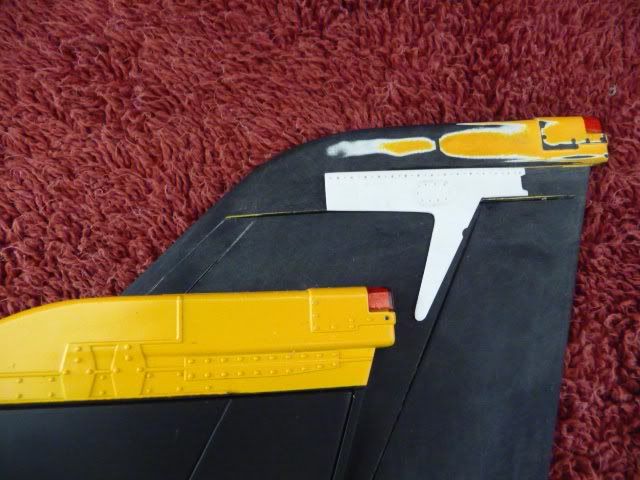
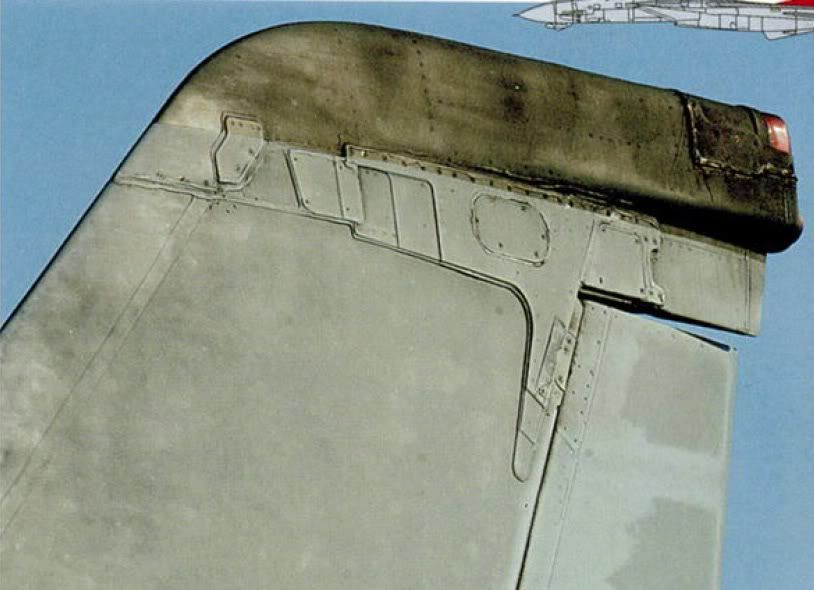
I am doing a later Bombcat which had stiffeners added to both sides of tails. This treatment came fairly early in the life of the Tomcat and was retro fitted to most A models.
<a href="
http://s160.photobucket.com/albums/t197 ... Tails2.jpg" target="_blank"><img src="
http://i160.photobucket.com/albums/t197 ... Tails2.jpg" border="0" alt="Photobucket"></a>
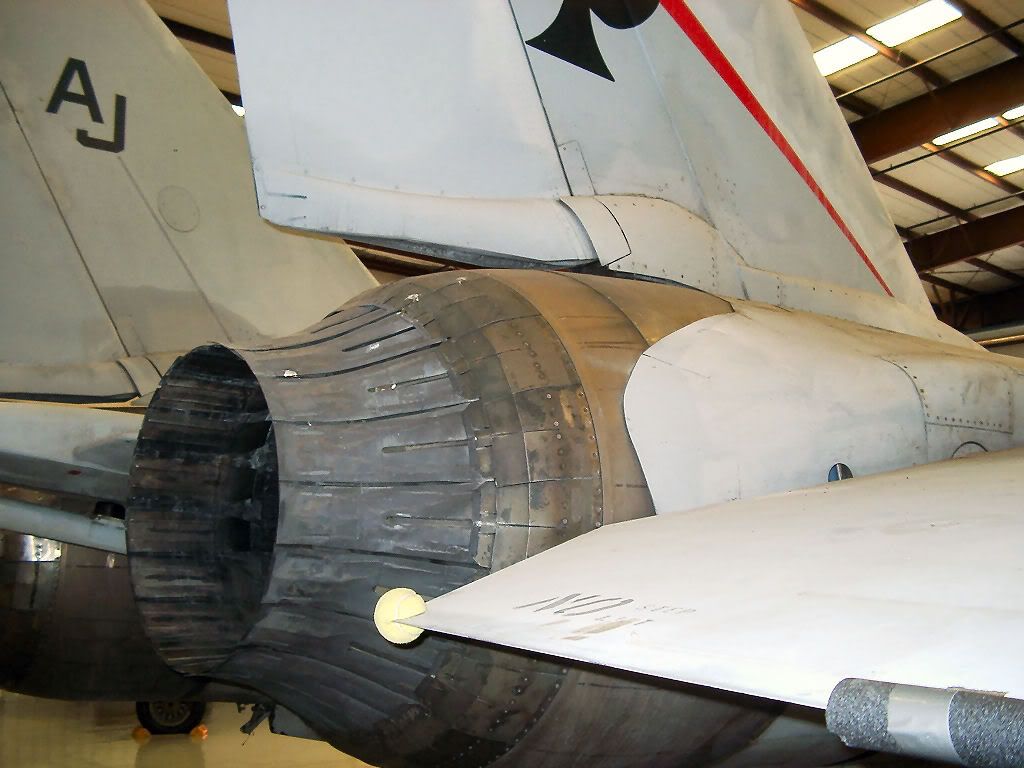
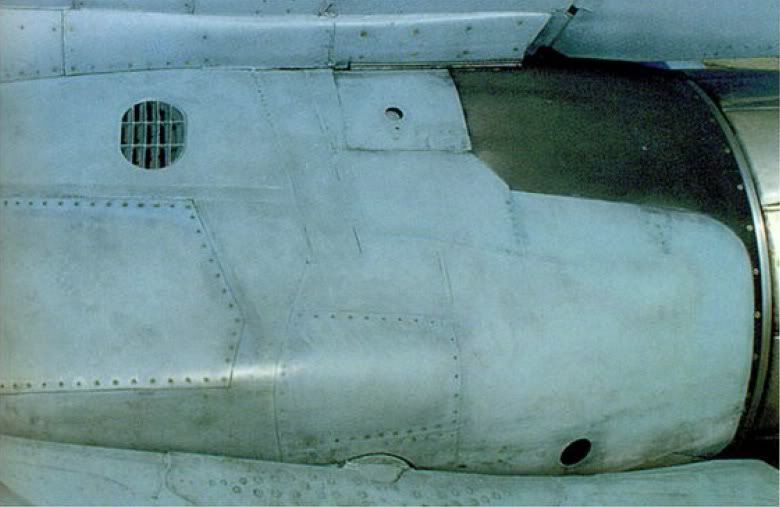
The detail is washed out in these pics... here is a good shot of the real thing.
<a href="
http://s160.photobucket.com/albums/t197 ... =Stiff.jpg" target="_blank"><img src="
http://i160.photobucket.com/albums/t197 ... /Stiff.jpg" border="0" alt="Photobucket"></a>
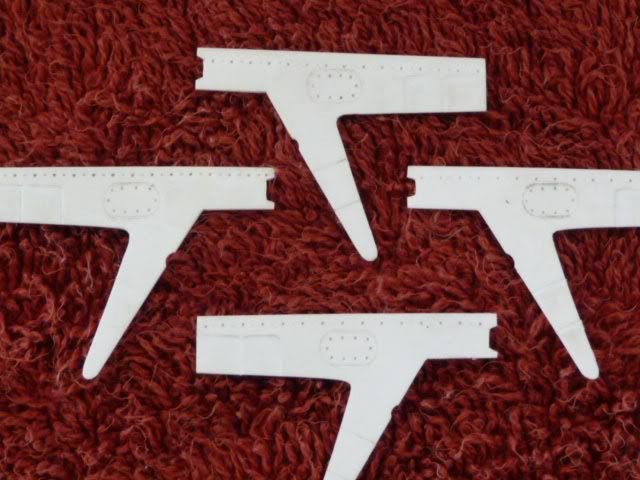
Did I mention that you get to make four of these? Yea! Just hit the Ripple put on some good music and gut it out.
<a href="
http://s160.photobucket.com/albums/t197 ... tiffX4.jpg" target="_blank"><img src="
http://i160.photobucket.com/albums/t197 ... tiffX4.jpg" border="0" alt="Photobucket"></a>
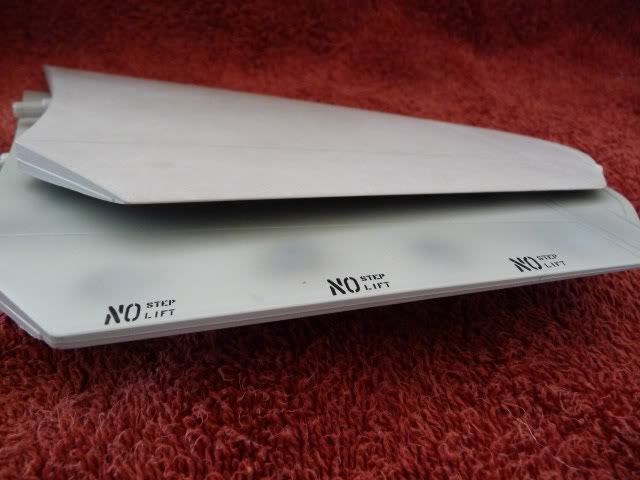
I sandwiched four layers of stock plastic together with a small dot of super glue then cut, filed and sanded the basic shape. This ensured that they would all be alike. Afterwards each layer was seperated and detail was carved and scribed into the plastic.
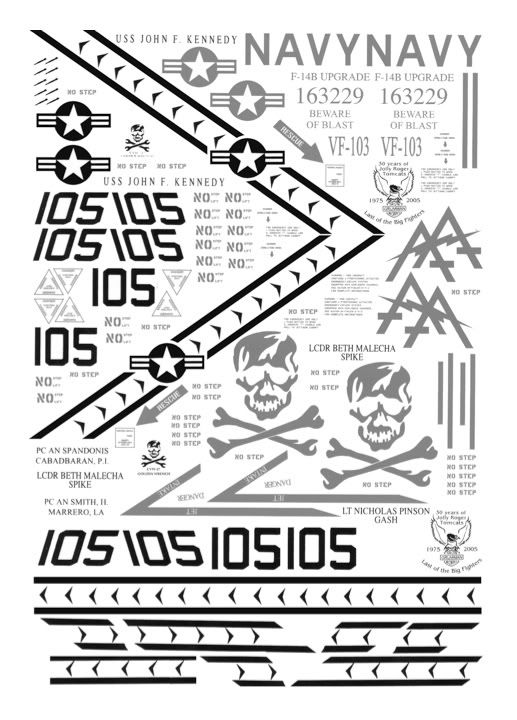
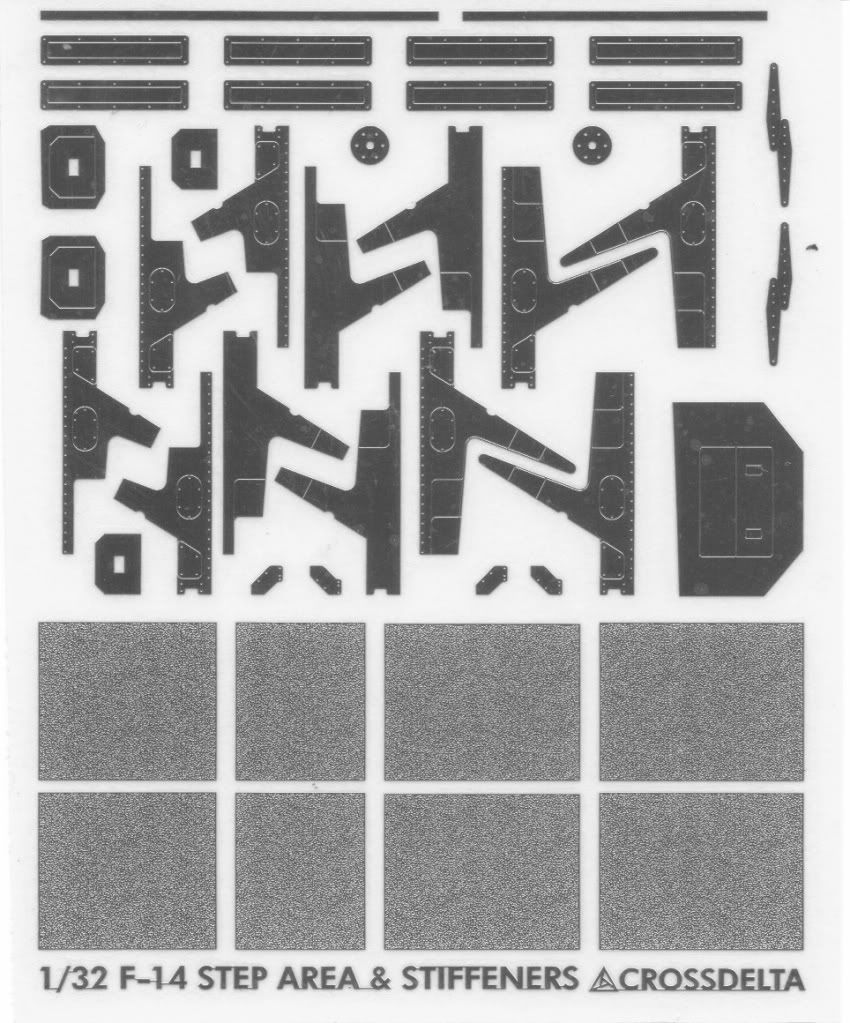
Used the CROSSDELTA fine 32nd offering as the pattern. Scanned then enlarged to 1/18th scale and WAMO! Stiffeners!
<a href="
http://s160.photobucket.com/albums/t197 ... feners.jpg" target="_blank"><img src="
http://i160.photobucket.com/albums/t197 ... feners.jpg" border="0" alt="Photobucket"></a>
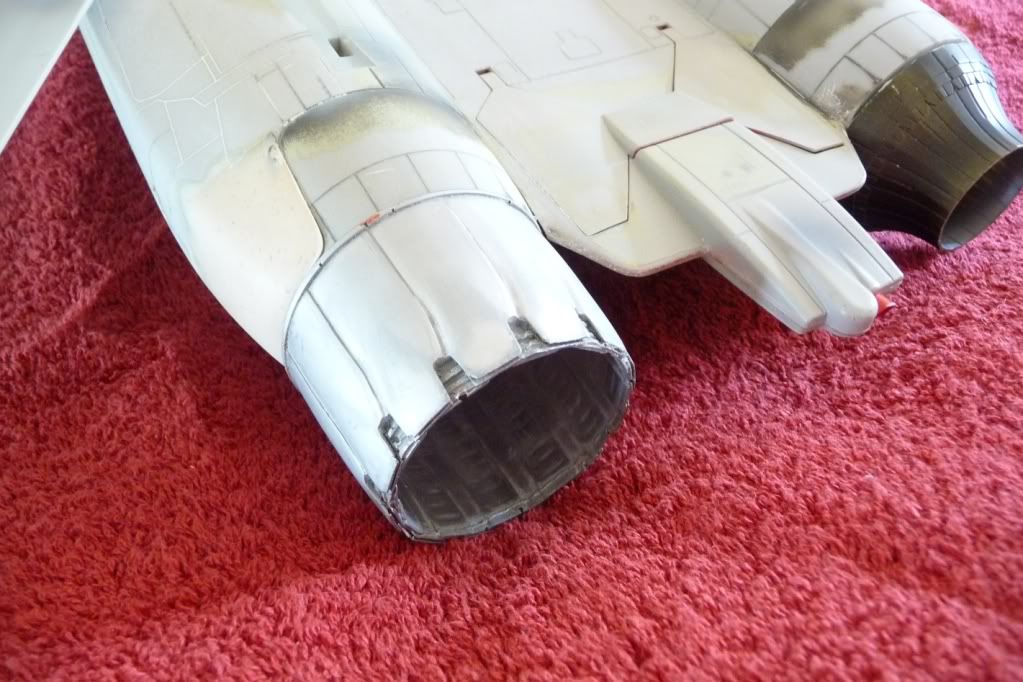
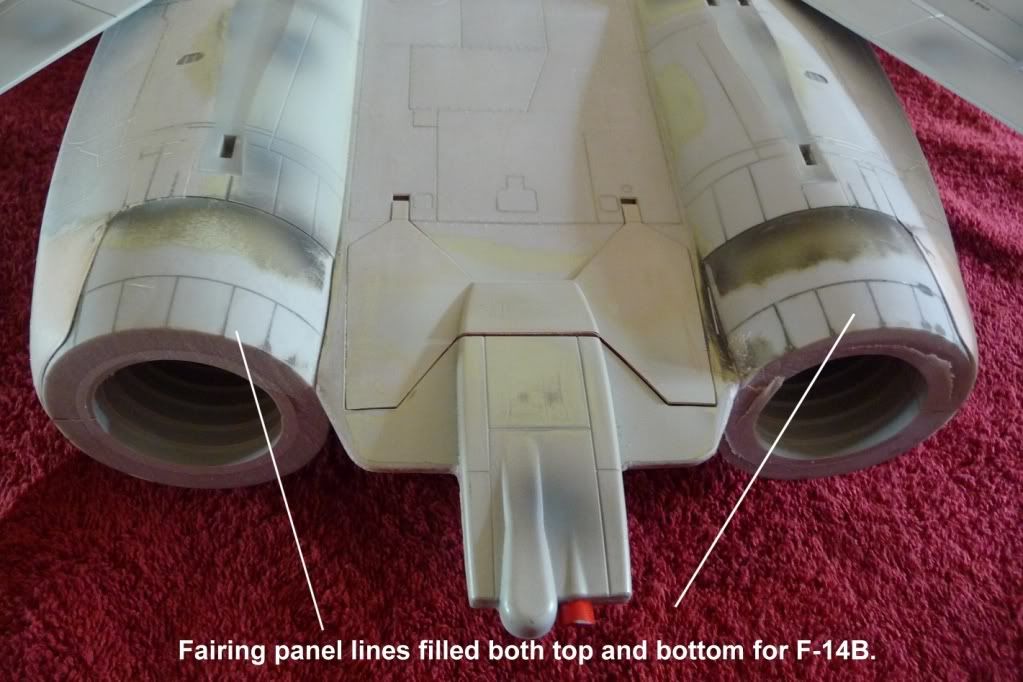
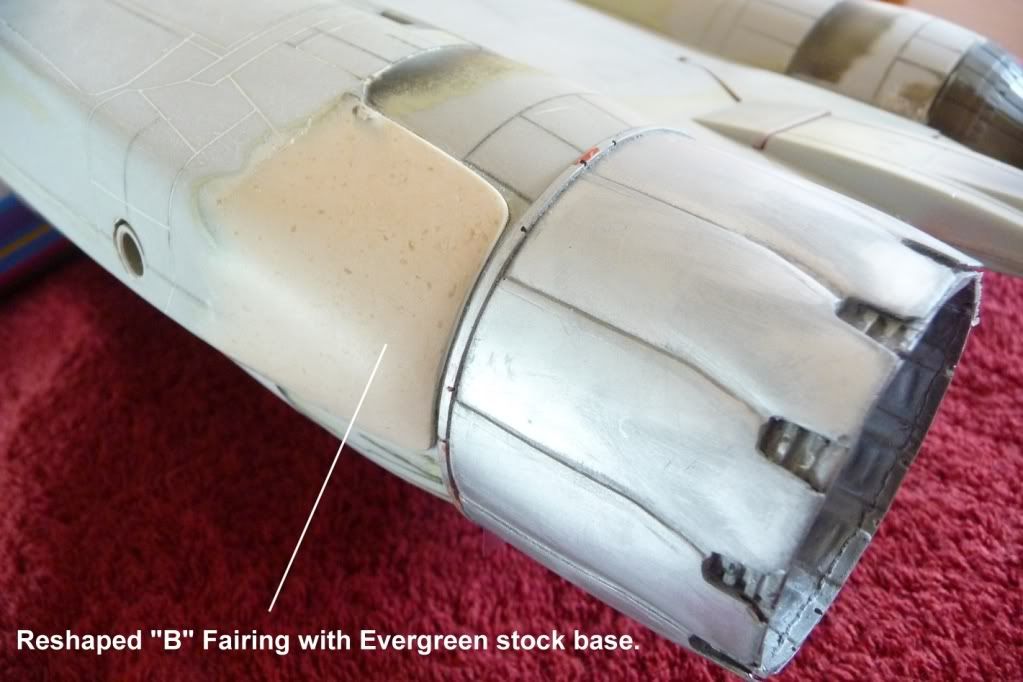
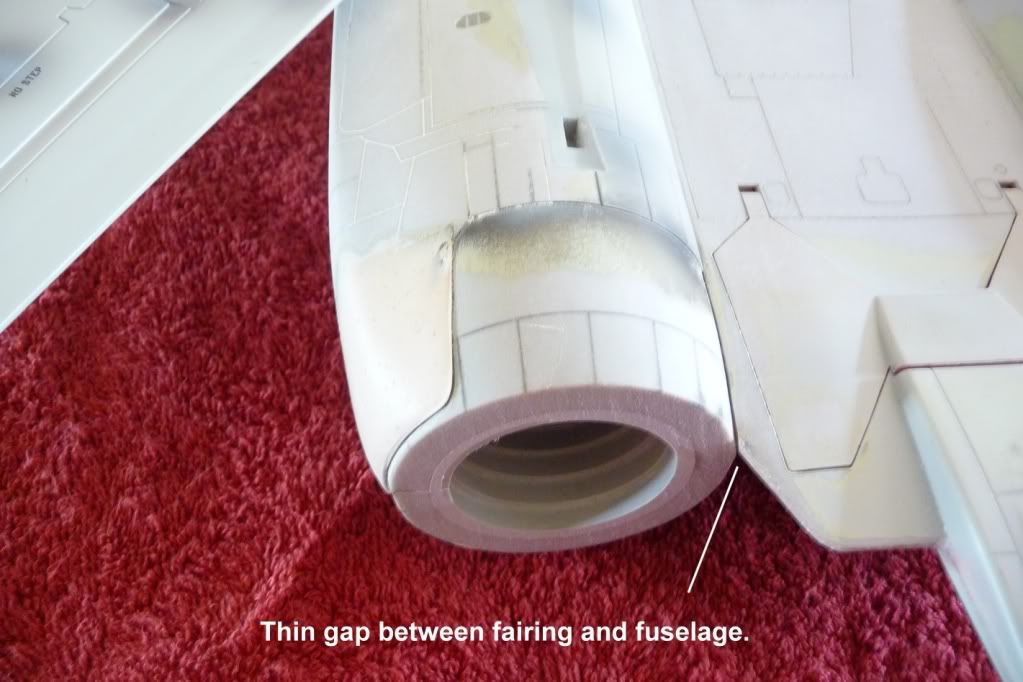
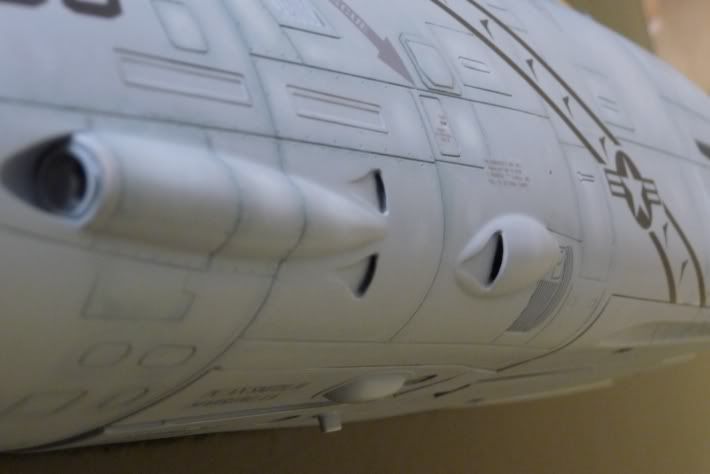
Next up? Torn between assembling the SkyWorks landing gear or reworking the GE-110 engine fairings. More to follow.
mcaulk... out!

[/img]


 [/img]
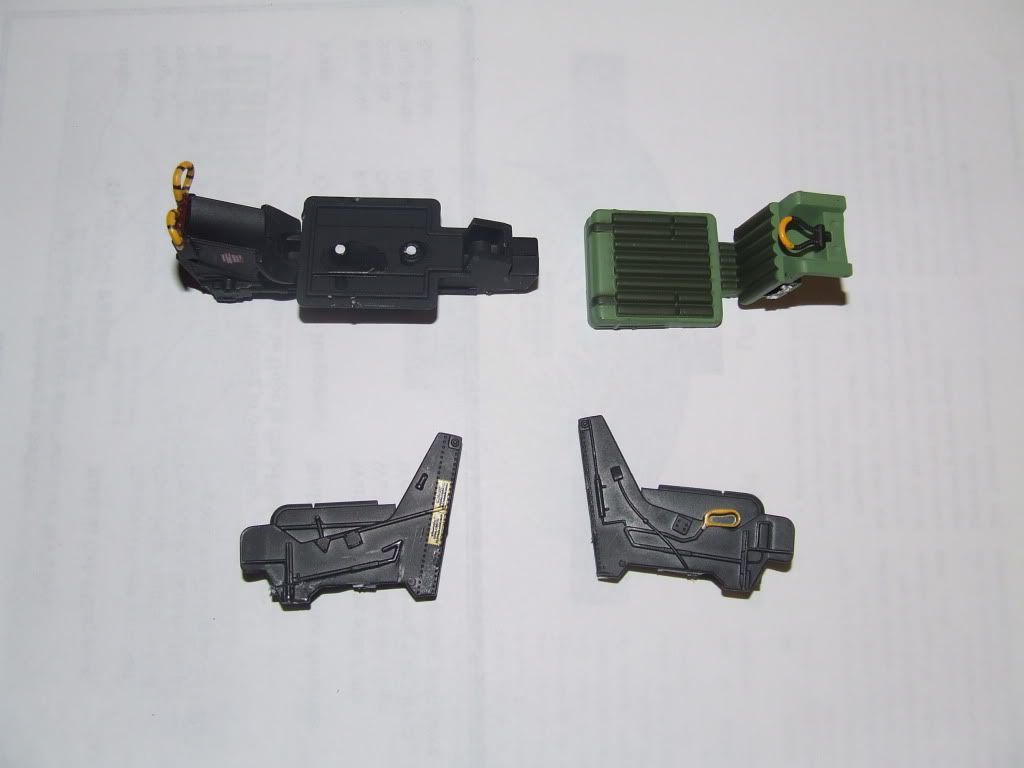


