I think next project will be the agressors F 14 (wich was used to simulate the SU 27 ....the colors were incredible !)
Your ZERO is amazing too !!!!!
I wish i was gifted as you !
Philippe


This is what I do:gliderdwm wrote:Very nice work. Very different paint scheme compared to most P-51's.
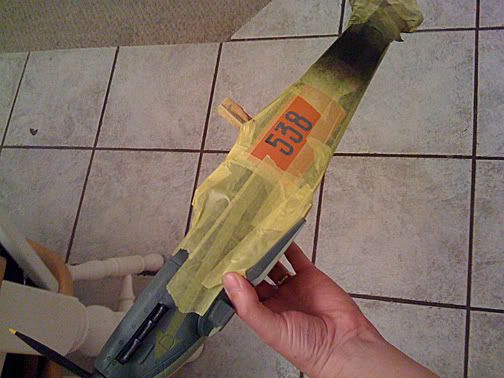
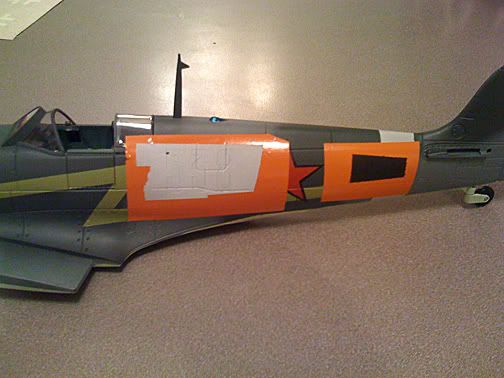
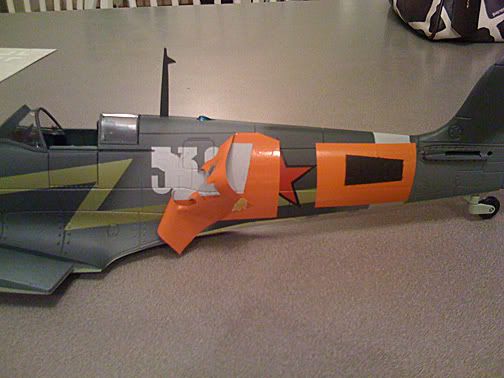
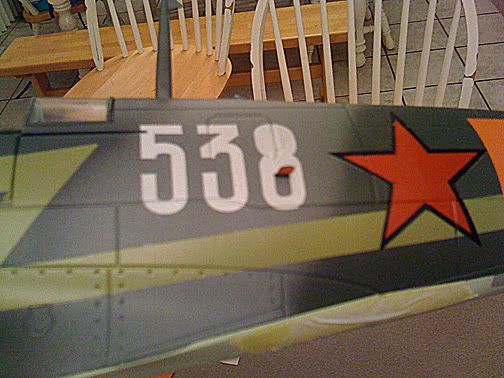
i need to learn more about the vinyl stencil mask process.
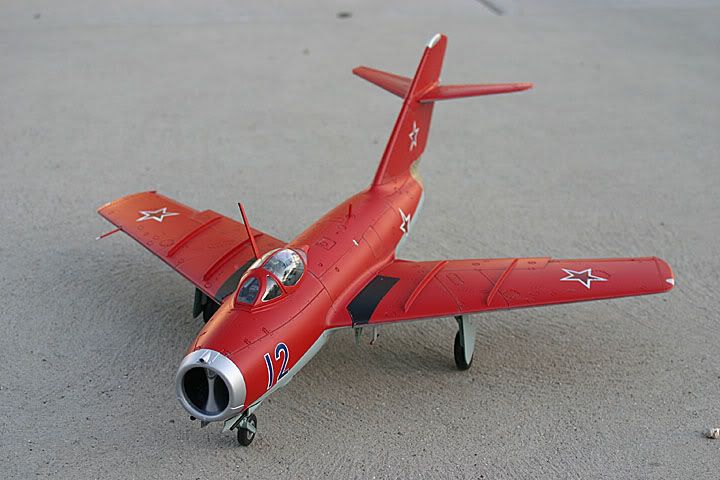
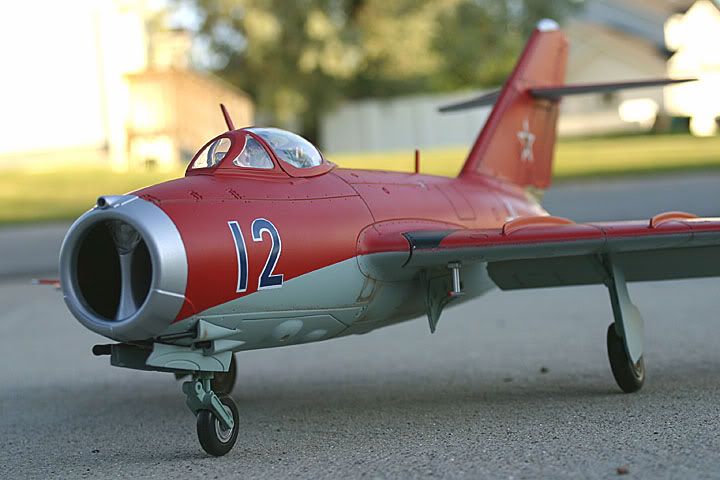
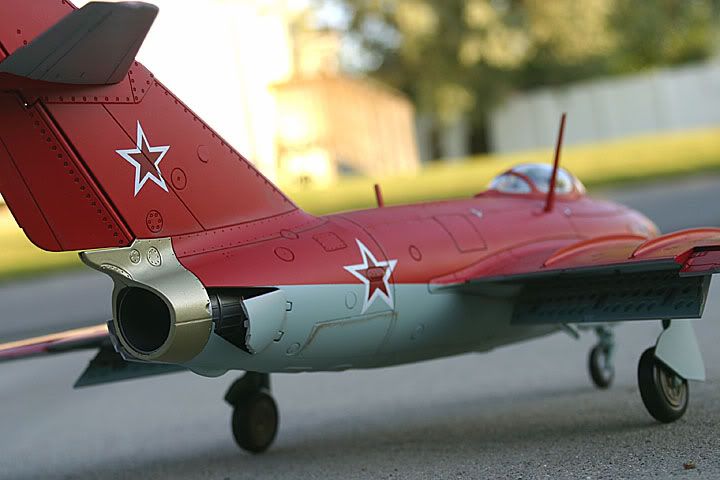
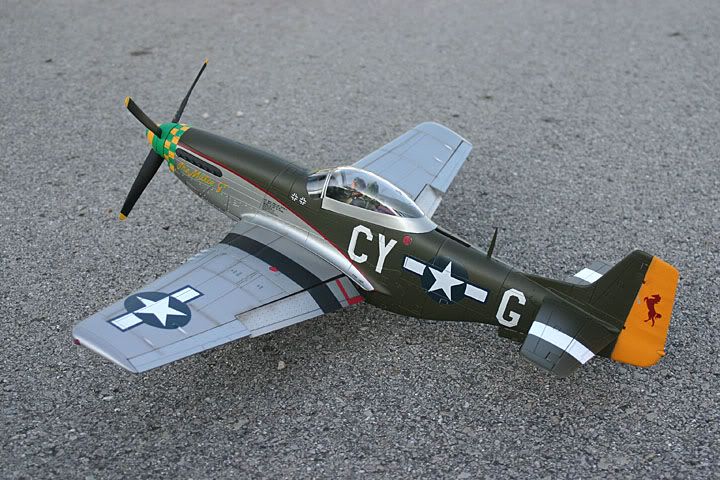
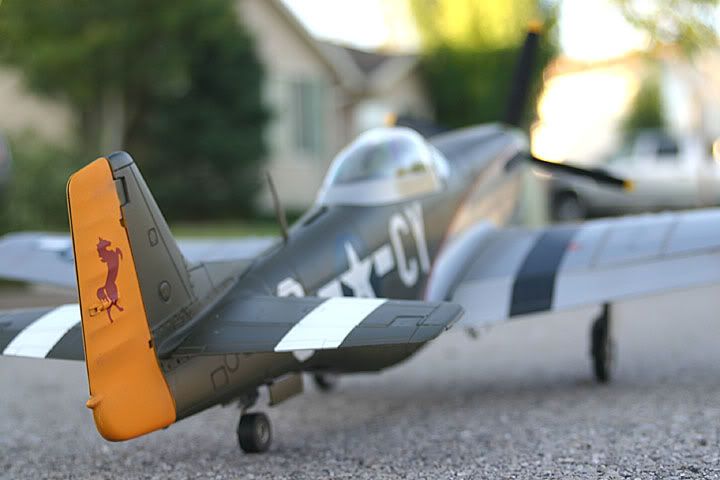
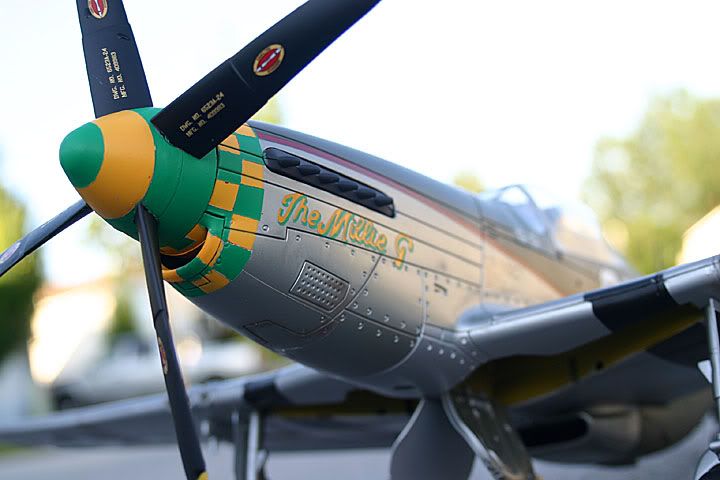
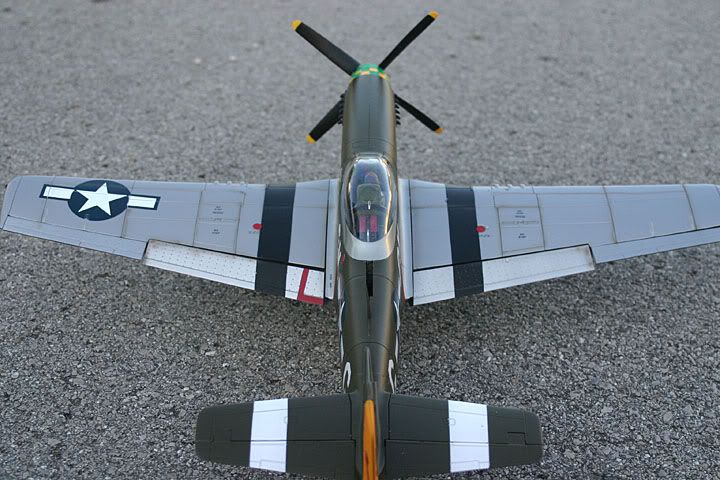
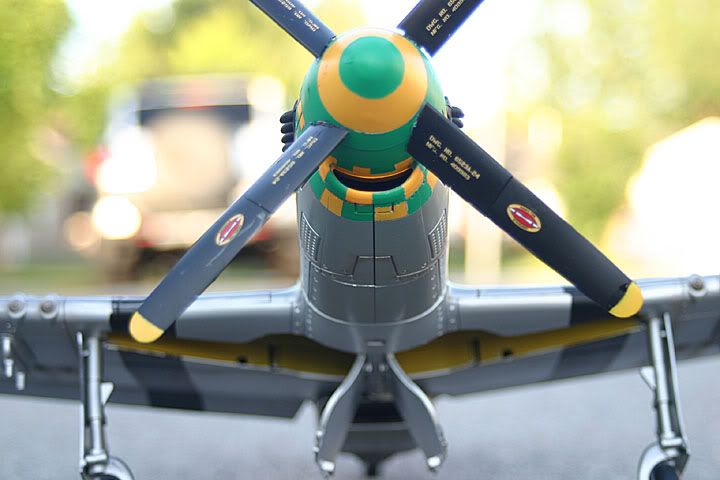
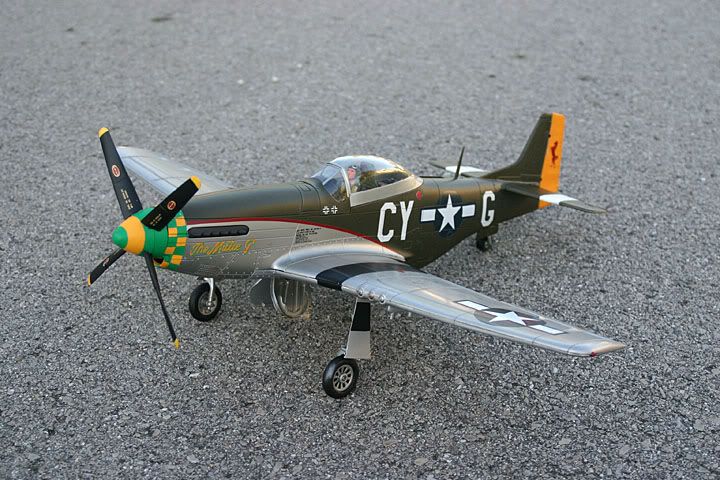
Oh yeah! It made life so much easier to start with the Old Crow. Could you imagine trying to get those checkers the right size and in the right place without looking like we were on drugs when we laid it all out. It's the ONLY way to do this plane in my opinion.pokeyjtc wrote:Your Millie P looks great. I did this same scheme a while back because I really like the half natural metal half olive drab scheme. I also used an Old Crow to start with just to aid in doing the checkers on the nose. Sounds like great minds think alikeNice job.
Thanks for the compliments! When you do this many customs in a row it's going to happen that some just end up as cool as you thought and others tend to really shock you when it's all done. My favorite of all of them so far is the Scorpion f-16. Others have been cool too.popeye357 wrote:Great job on this one, not that the others were easy but those checkers seem like they'd make me want to punch a baby. And yes, it would be awesome to get your artwork on file. Where do you go to get the stencils done and how much does it cost for lets say, one planes worth of stencils??
That would be cool, especially if they can be reduced for 1/32 stuff!!tko211 wrote:I really need to stop thinking about it and just get around to making my stencil art downloadable so that you guys can use them too. Drawing the art in the right program could be the hurdle for some. Getting them made and using them is pretty easy.
I have something like 25-30 plane stencil patterns I have made.
YEP! The Kitchen is not just for cooking. It's doubles as an excellent custom paint shop. I have spilled many many times and all I say is: "don't worry sweetheart paint thinner will take that right out!" And yes she does hate it when I have them all apart in the kitchen with tape and paints and tools all over. I just tell her that I need to do this to release stress from the business and that it's in our family's best interest for me to make another custom plane. Good times!VMF115 wrote:So do you you do this in the kitchen?
And what does the wife of tko211 think of you using her kitchen for your projects...lol
I bet you don't drop one bit of paint on that nice floor she has.
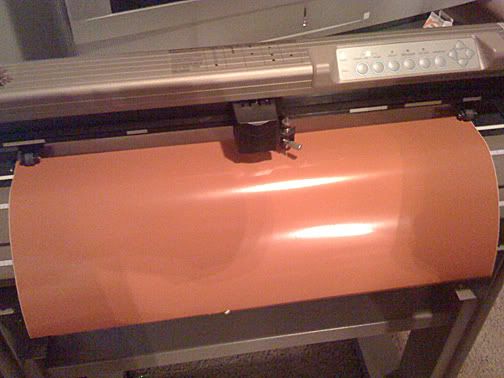
That kind of thing is actually perfect! My sisters machine was more high end and mostly that equated to an ability to cut much larger things. Those little desktop machines are just fine. I have played around with just buying one for myself. Just for customs. thanks for the info. I am going to look into it.Pa Deuce wrote:TKO - There is a UK based company called Graphtec who makes a line of personal craft cutters. There are a myriad of makes and models out there, but this is smaller than the one your sister had, about the size of a small inkjet, and it's perfect for cutting vinyl. Their own brand is named the CraftROBO http://www.craftrobostore.com/ but they rebrand as the Quickutz Silhouette http://www.silhouettemachine.com/ and the Xyron Wishblade http://www.xyron.com/enUS/Products/Xyron_Wishblade.html (xyron's name overprices it), but cutting vinyl masks is popular for glass etching so that's what these principally do. You can pick one up for about $200 if you're shrewd. The blades apparently last a while and can be extended by cutting circle patterns in aluminum foil to sharpen them - the replacements are about $16