1/144 P-36 UPDATE Finished
Posted: Thu Oct 22, 2015 3:23 pm
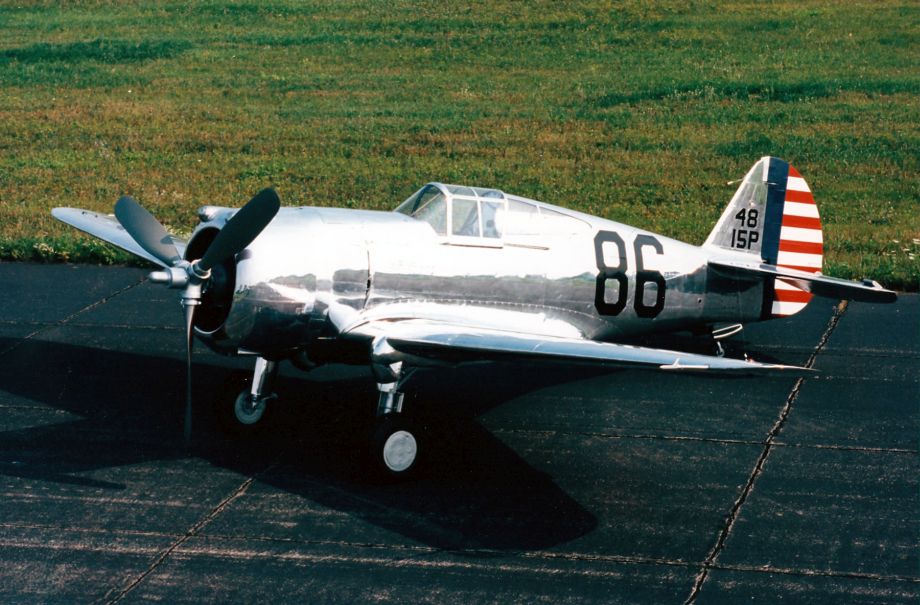
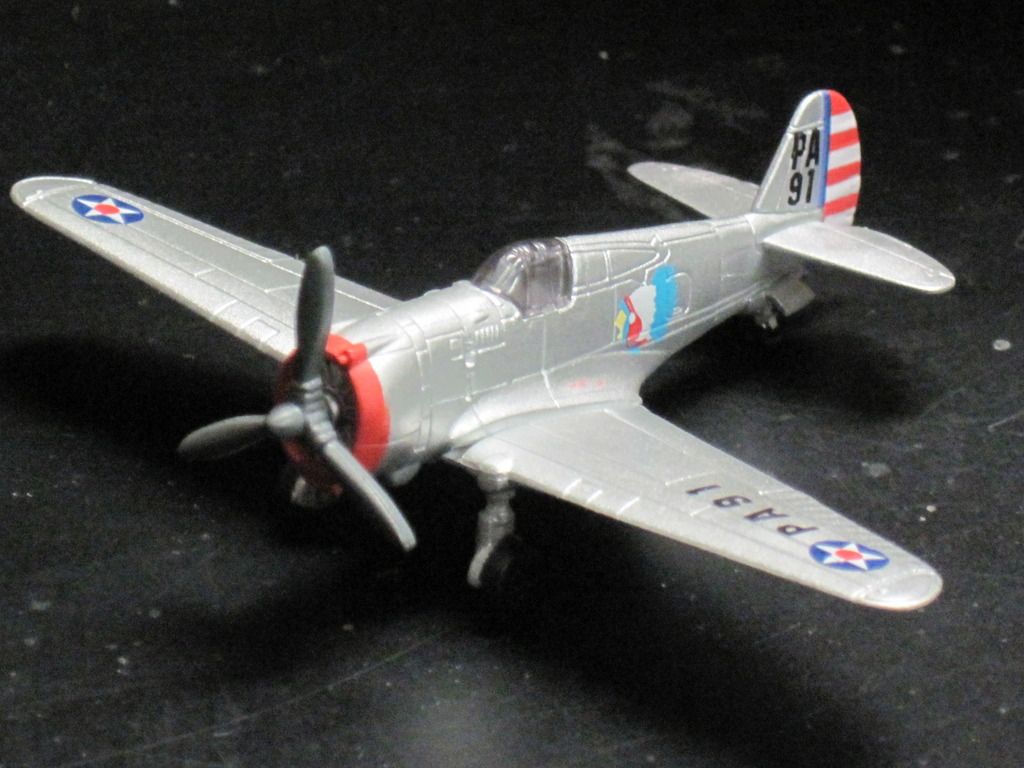
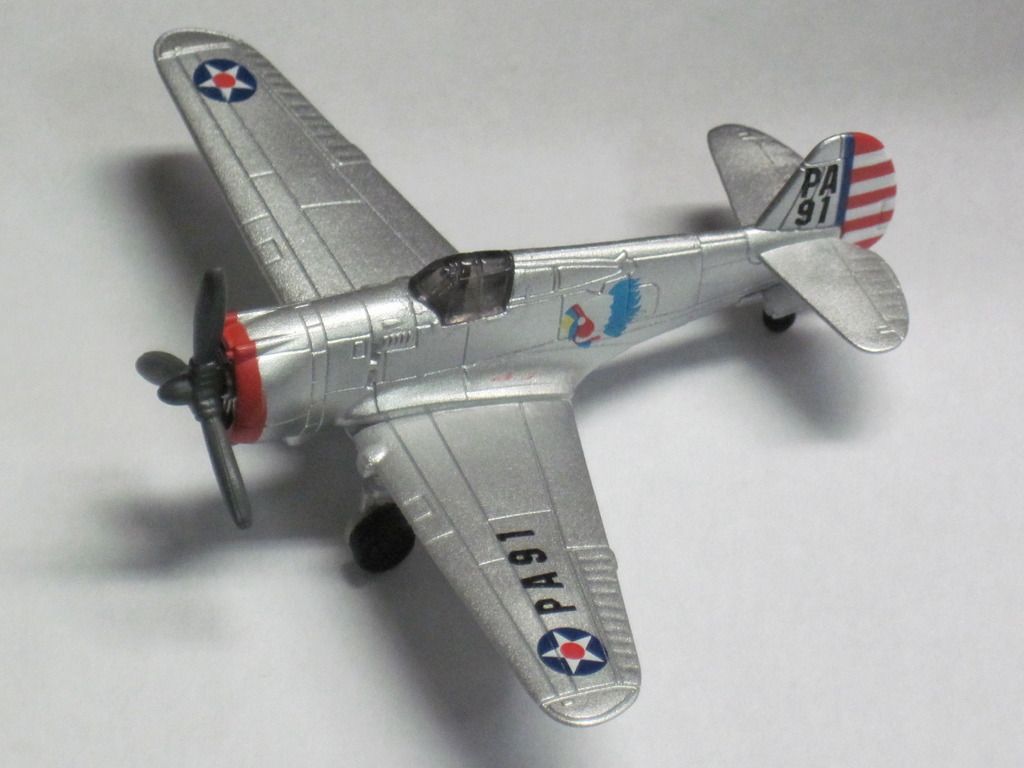
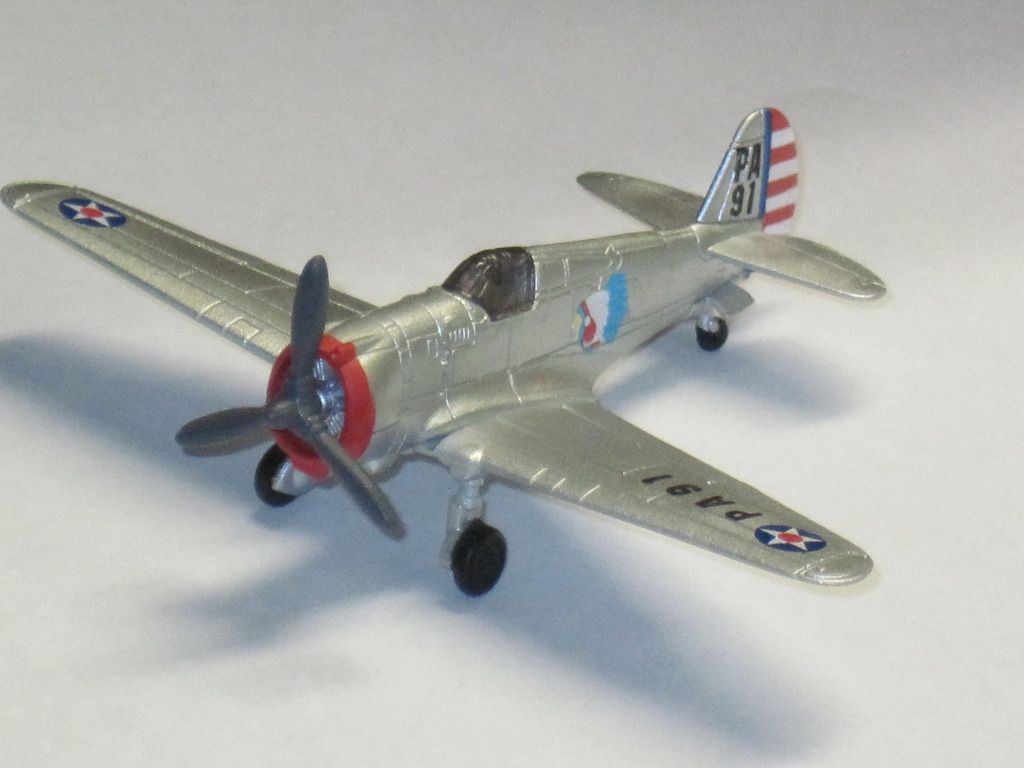
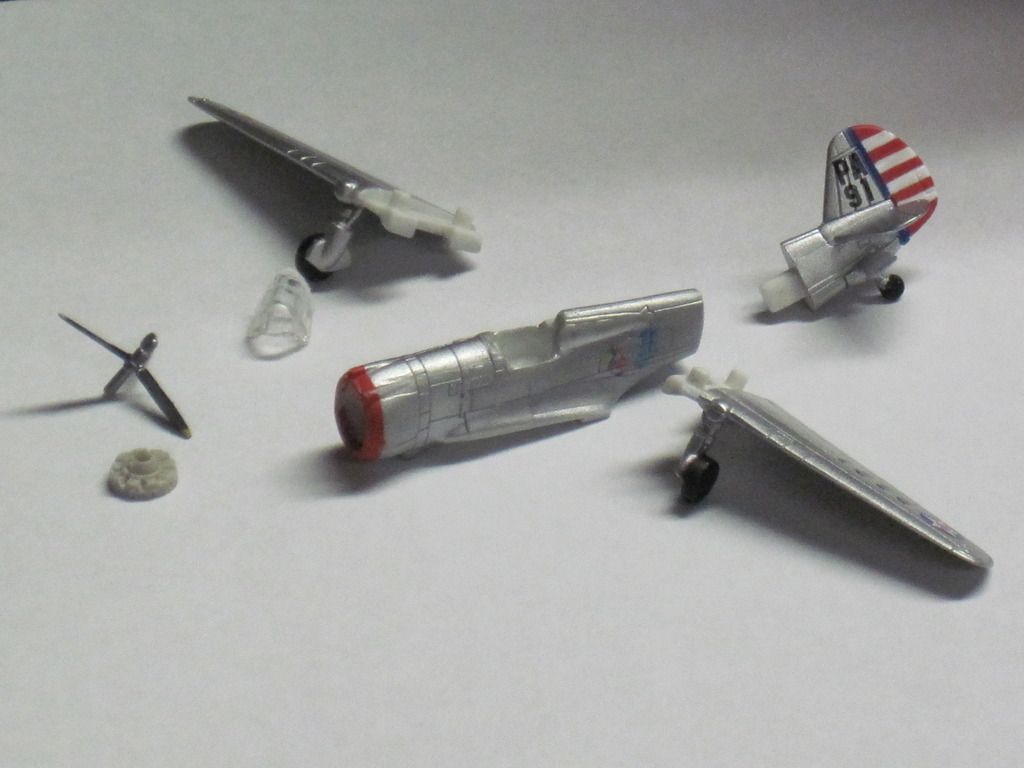
Chris my son is making a Pearl Harbor diorama which includes a P-36. He started the P-40's then went to the P-36. I decided to do the P-36 for him. He's using a Furuta Choco Egg P-36. We found this aircraft to be 1/144 scale. This company makes many different aircraft in a variety of sizes that you have to assemble and they all come in a plastic (egg). Here are some pics of an ( out of the egg P-36). 
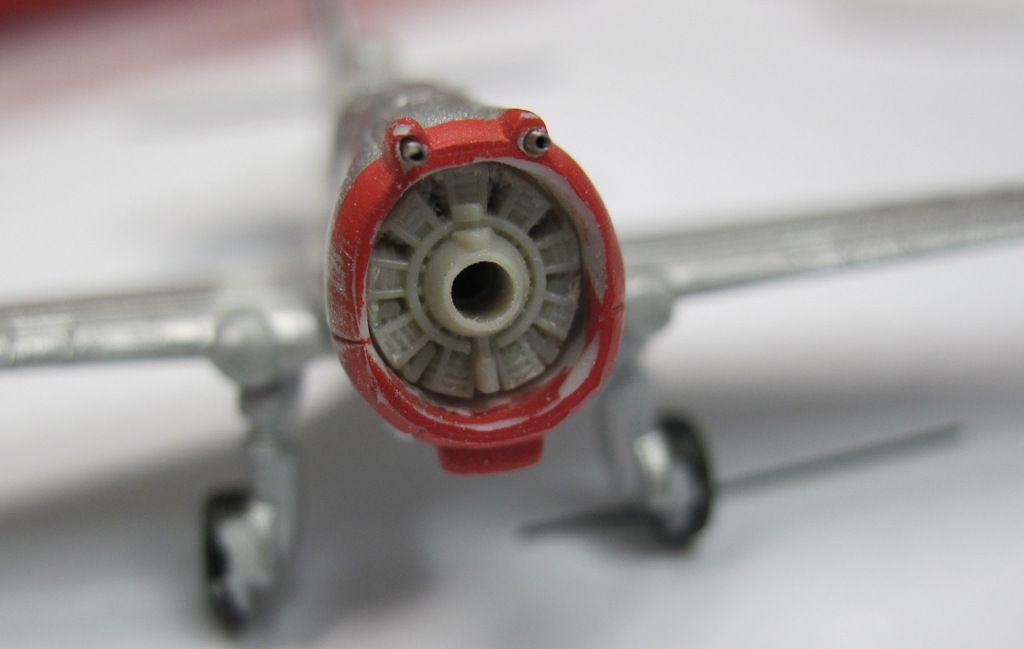
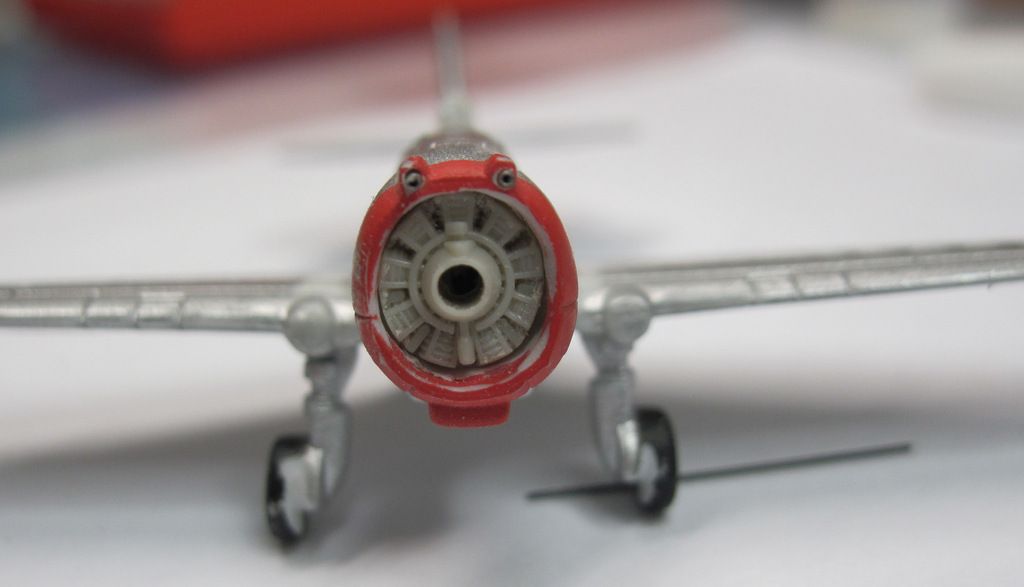
He had already did some dremel tool work on the P-36 he got for the diorama, hollowing out the cockpit and engine compartment. I took the engine and prop from a F-TOYS Wildcat.
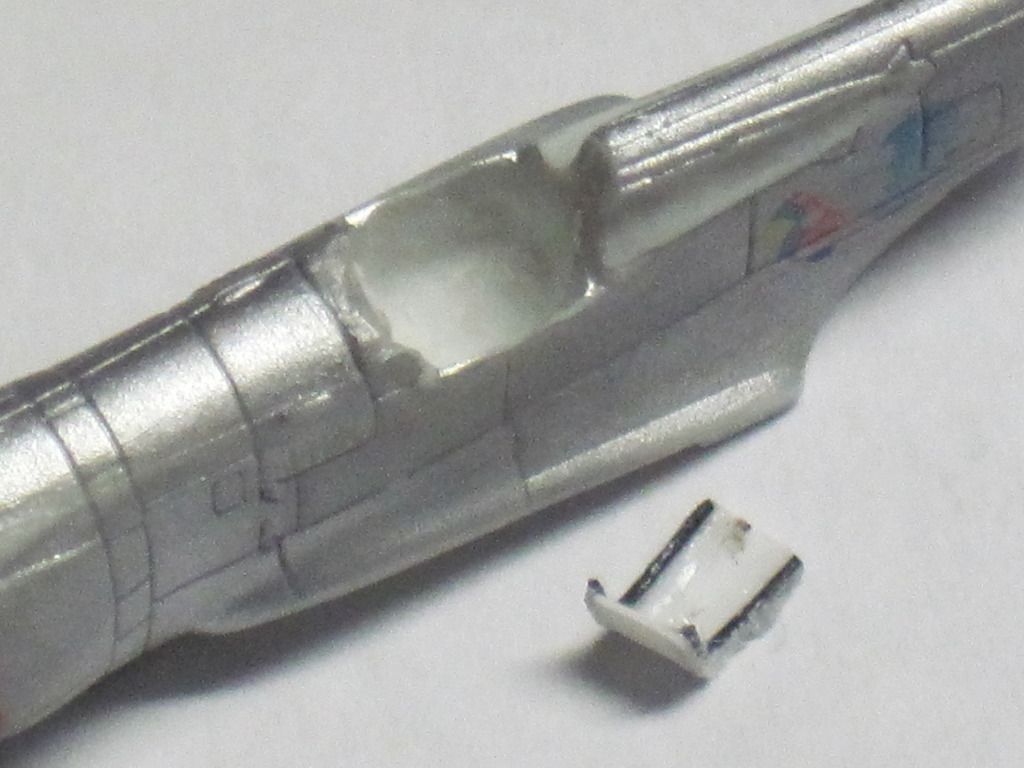

I cleaned it up so that the wings and tail section fit as tight as I could get it. I added some super glue to the wing root to fill the small gap and also to the fairings for the landing gear. They were flat where they should have a round appearance.
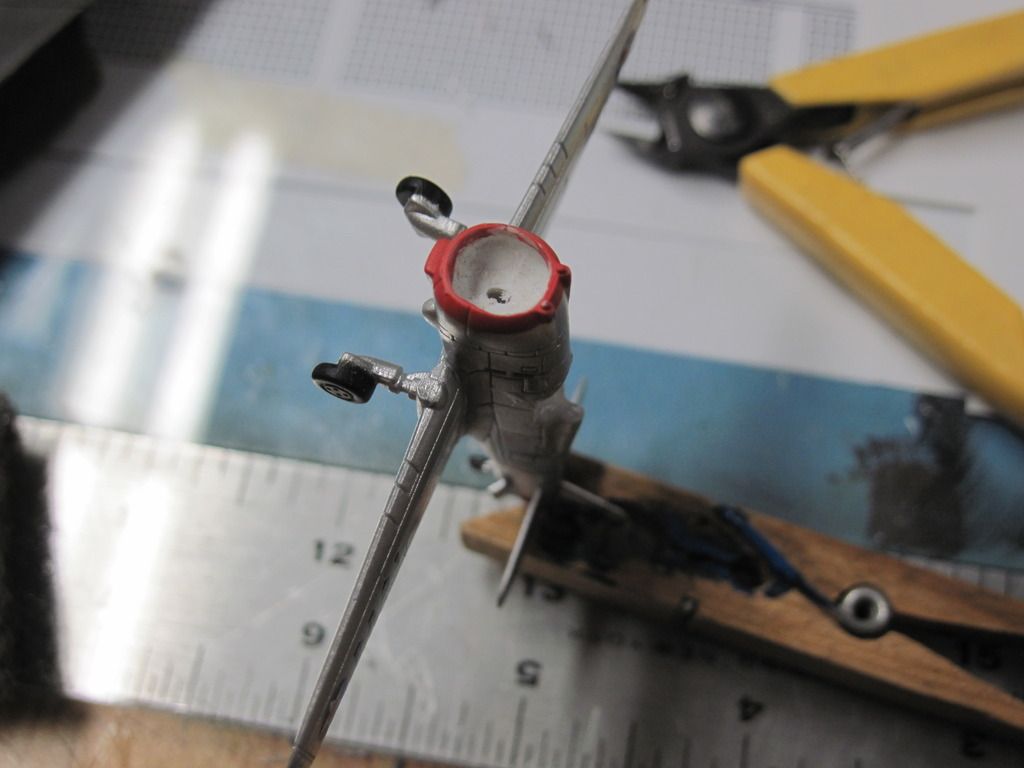

Found that 25 Gauge needle tips were a good match for the cowl guns. They are about .020 ( 20 thousands of an inch) in diameter. After cutting off kit guns I used a pin vise and a .015 drill to start the holes ( that's the drill sitting on the quarter. Then the holes were finished to size with a .022 drill.
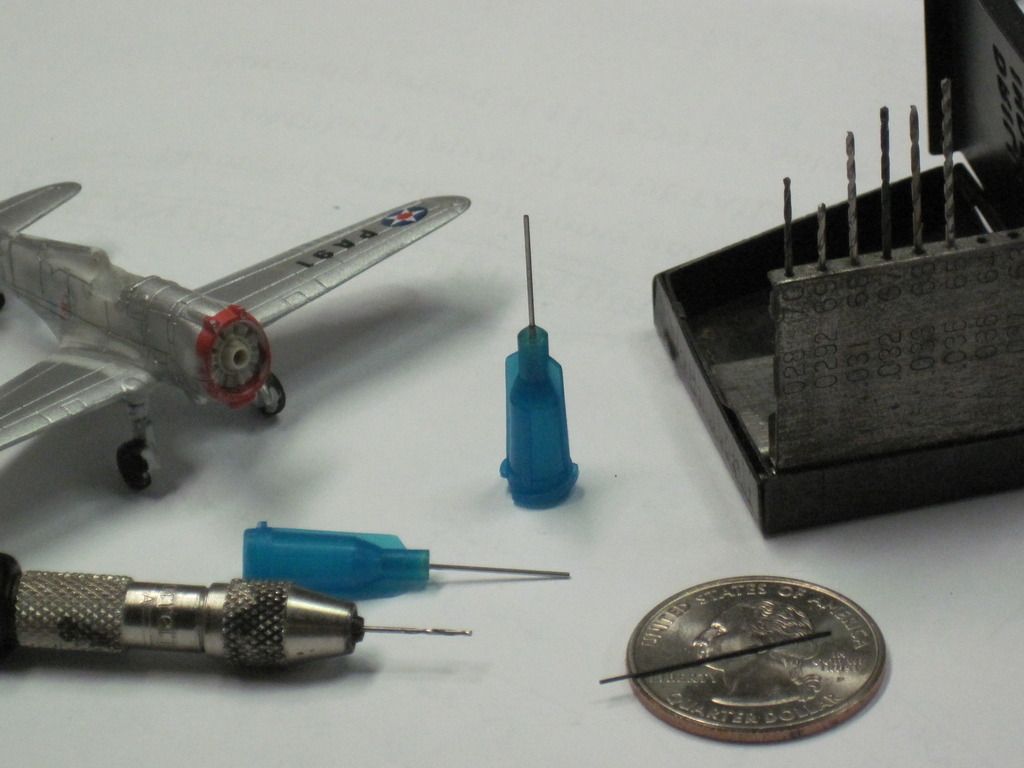

The needle tubes were cut with a pair of cutters ( always use eye protection) and the sharp edges cleaned up. Right now are rough placed to see if they look correct. One of the guns has a piece of plastic on it from the drill thats why it looks like that.
More to come.


He had already did some dremel tool work on the P-36 he got for the diorama, hollowing out the cockpit and engine compartment. I took the engine and prop from a F-TOYS Wildcat.


I cleaned it up so that the wings and tail section fit as tight as I could get it. I added some super glue to the wing root to fill the small gap and also to the fairings for the landing gear. They were flat where they should have a round appearance.


Found that 25 Gauge needle tips were a good match for the cowl guns. They are about .020 ( 20 thousands of an inch) in diameter. After cutting off kit guns I used a pin vise and a .015 drill to start the holes ( that's the drill sitting on the quarter. Then the holes were finished to size with a .022 drill.


The needle tubes were cut with a pair of cutters ( always use eye protection) and the sharp edges cleaned up. Right now are rough placed to see if they look correct. One of the guns has a piece of plastic on it from the drill thats why it looks like that.


More to come.