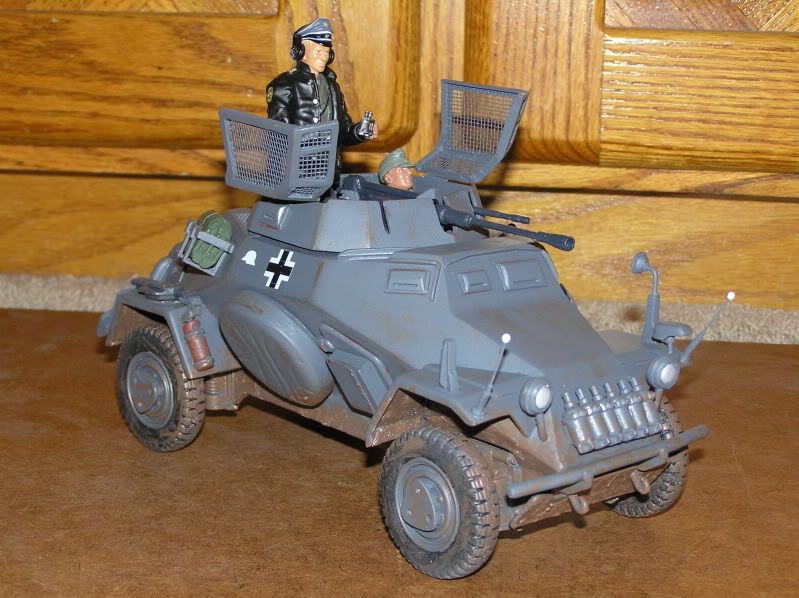
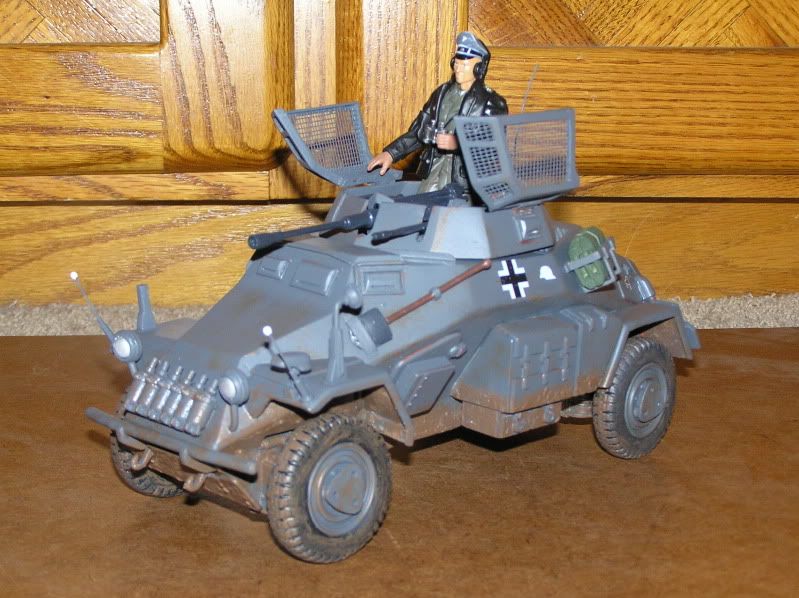
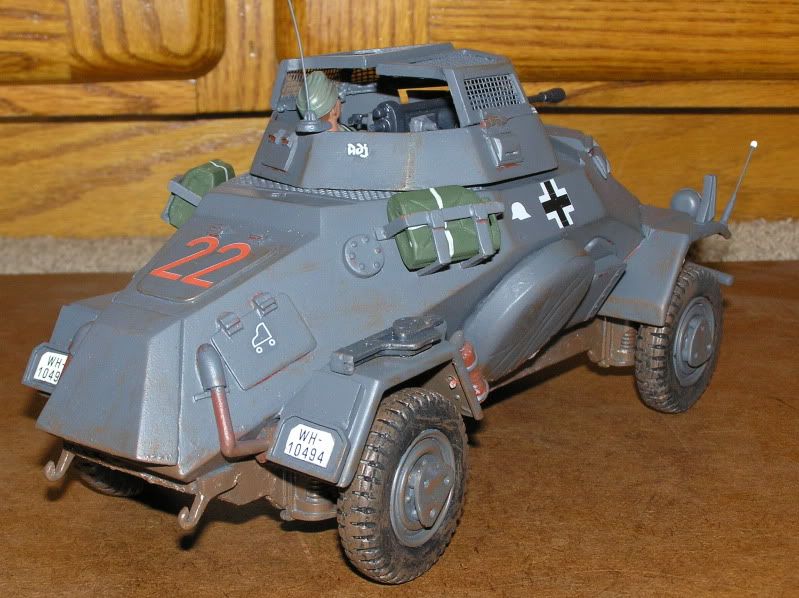
The markings depict a vehicle attached to an armored regiment from the Panzer Division Gross Deutchland sometime early in the campaign on the Russian front. I went with the early-war solid gray scheme as it was easiest to paint and there are not many 1:18 German vehicles with such coloration. To liven up the model, I gave it a heavy dose of mud weathering. The gray is actually darker than it appears in the photos as I was using flash. There are more photos in the Customs Forum.
This is my first Pickelhaube 1:18 custom kit and I must say that it is a really well-executed product and was a lot of fun to build! This was probably one of the more challenging kits I've yet attempted, but in the end, I'm very pleased with the results. If you have not tried building one of Pickelhaube's kits, I would recommend looking into one as they are fantastic