Page 3 of 6
Posted: Wed Mar 25, 2009 12:28 pm
by pickelhaube
Hey Guys,
Work has not allowed me to get back to this project for awhile . I will hopefully get the master done this early next week. Hopefully I can get a chance to work on it this weekend and post more pics.
Thanks,
Matthew
Posted: Sat Mar 28, 2009 5:35 pm
by pickelhaube
Posted: Sat Mar 28, 2009 10:32 pm
by 1958Zelda
Posted: Sun Mar 29, 2009 1:42 am
by exether_mega
Amazing amount of work you have done ! ! !
I realy like your welding effect too

Can't wait to add it to my collection !
phil
Posted: Wed Apr 01, 2009 4:46 pm
by pickelhaube
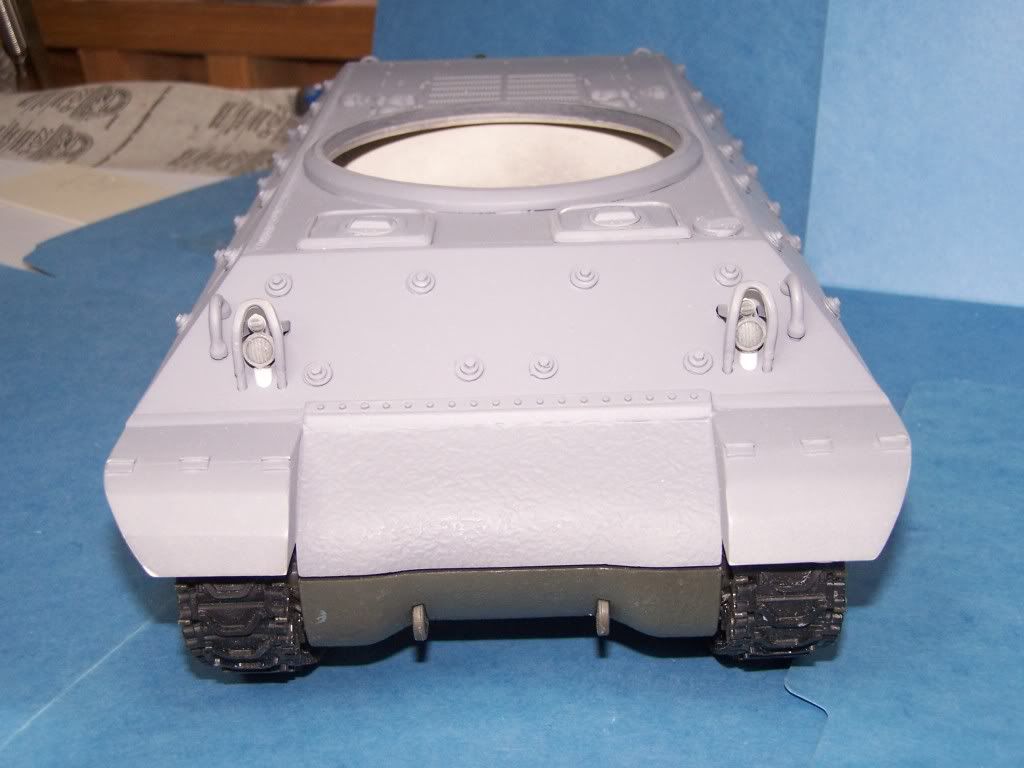
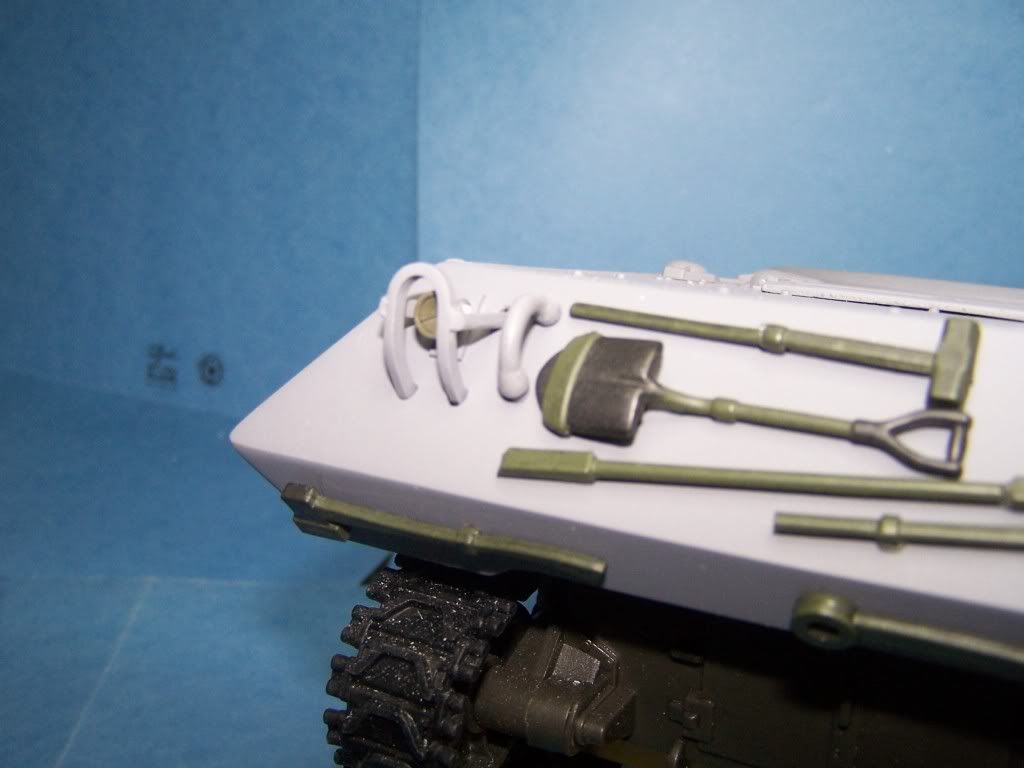
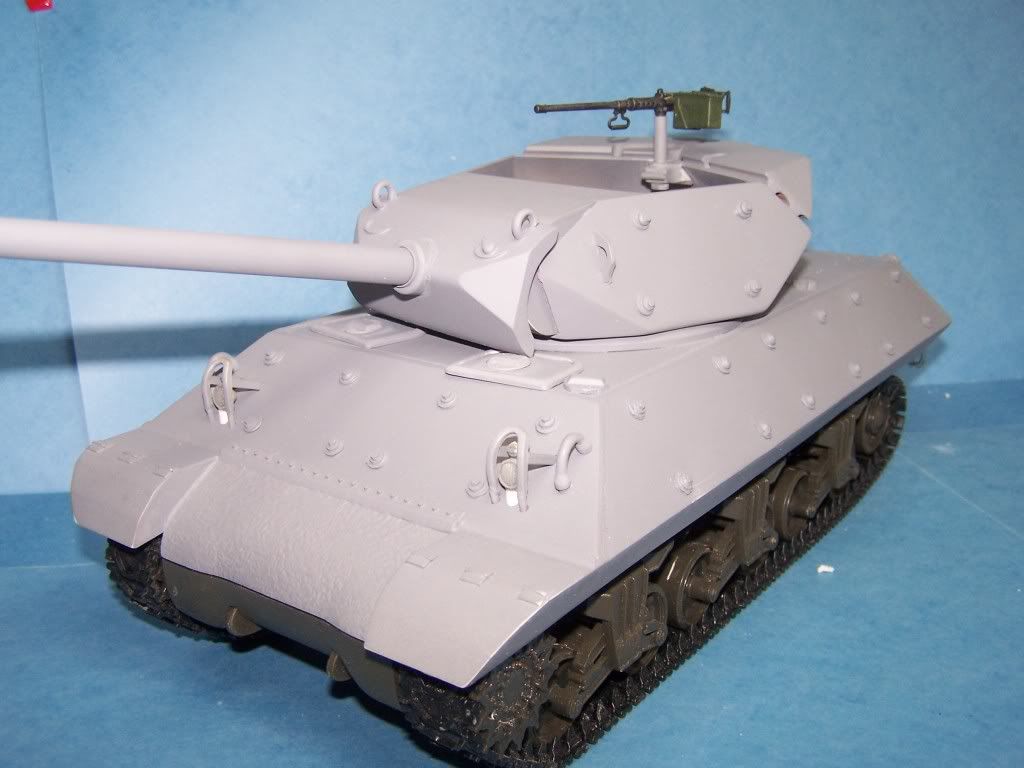
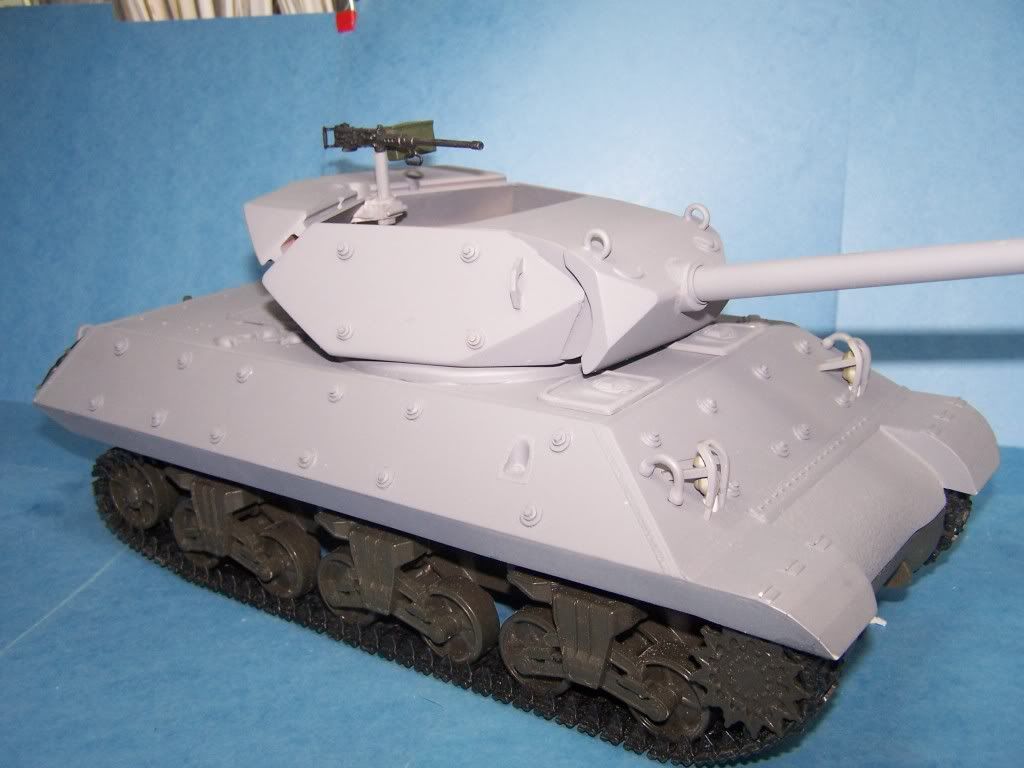
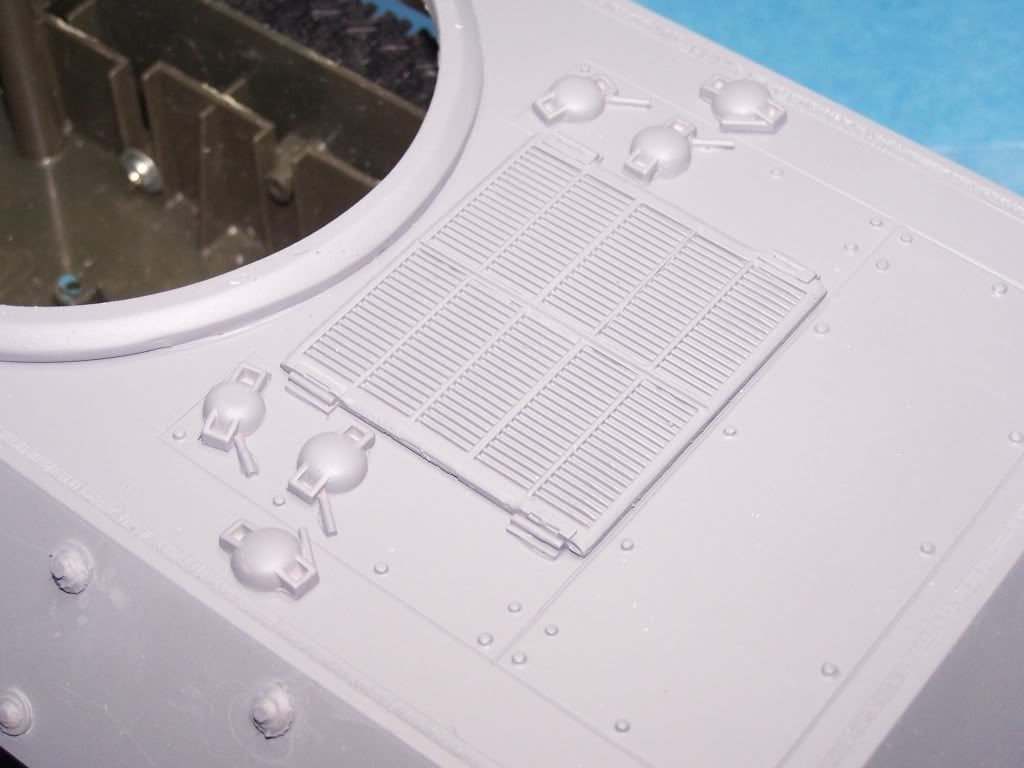
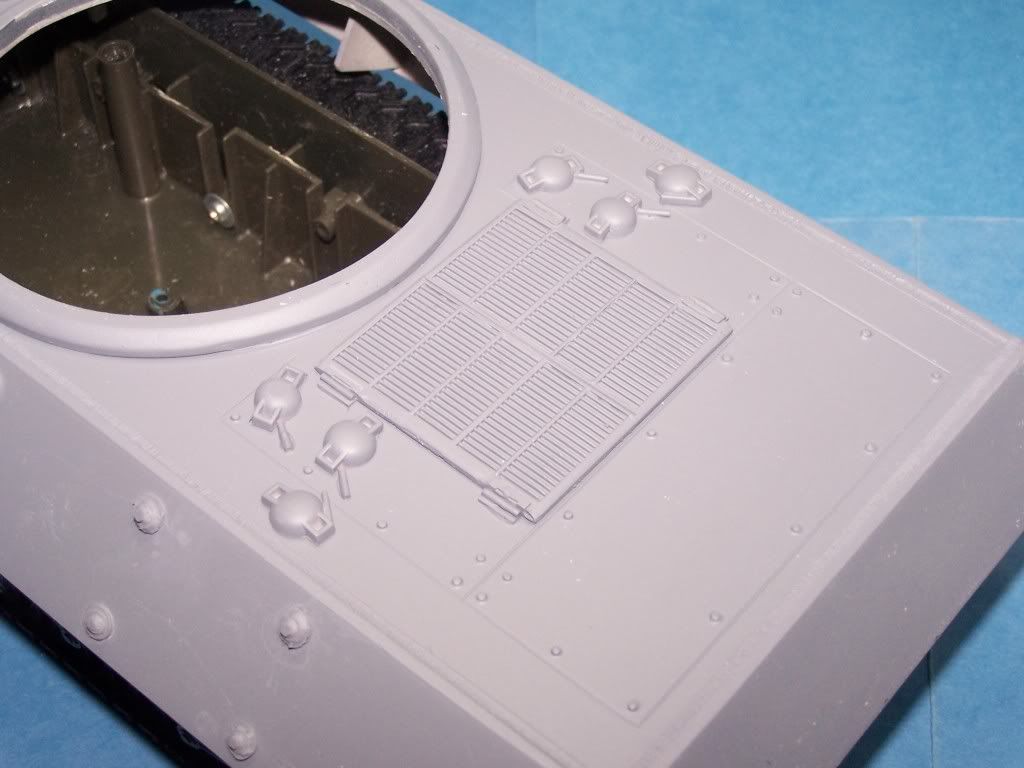
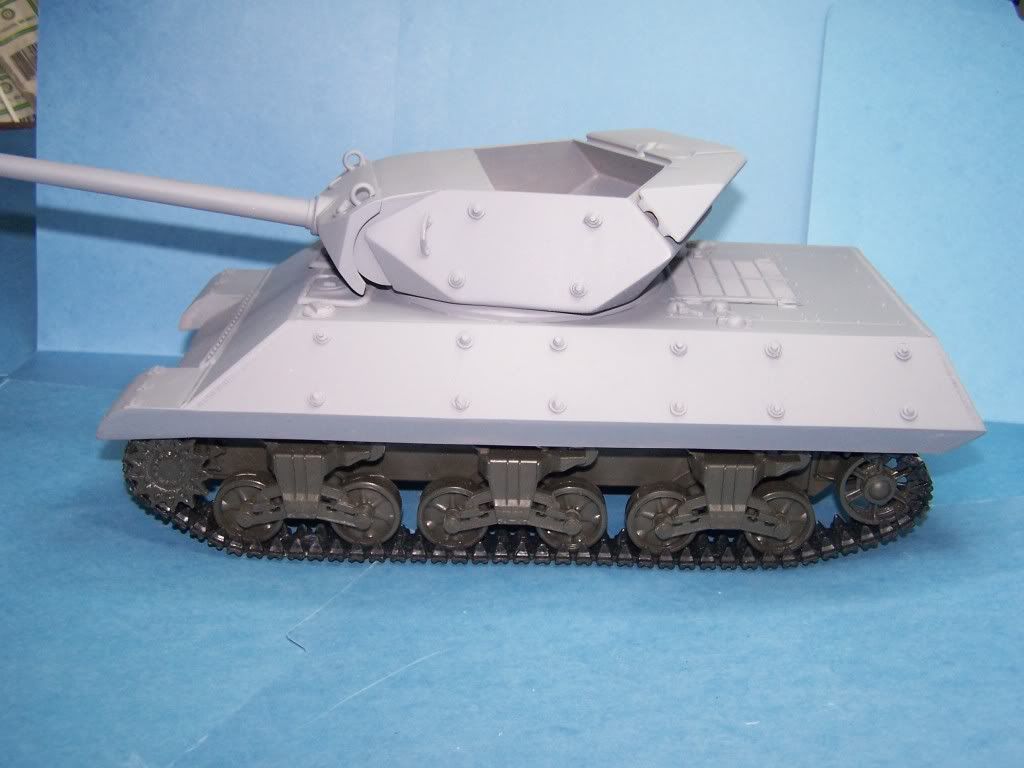
The exterior is done. I think that it will be good if I go ahead and make the pioneer tools and all the other hardware. The FoV lights and protectors are none usable. Also on the BBI and 21st the light protectors are fronts only and you need a back protector. So I took the 21st protector and used it on the front and scratched the rear.
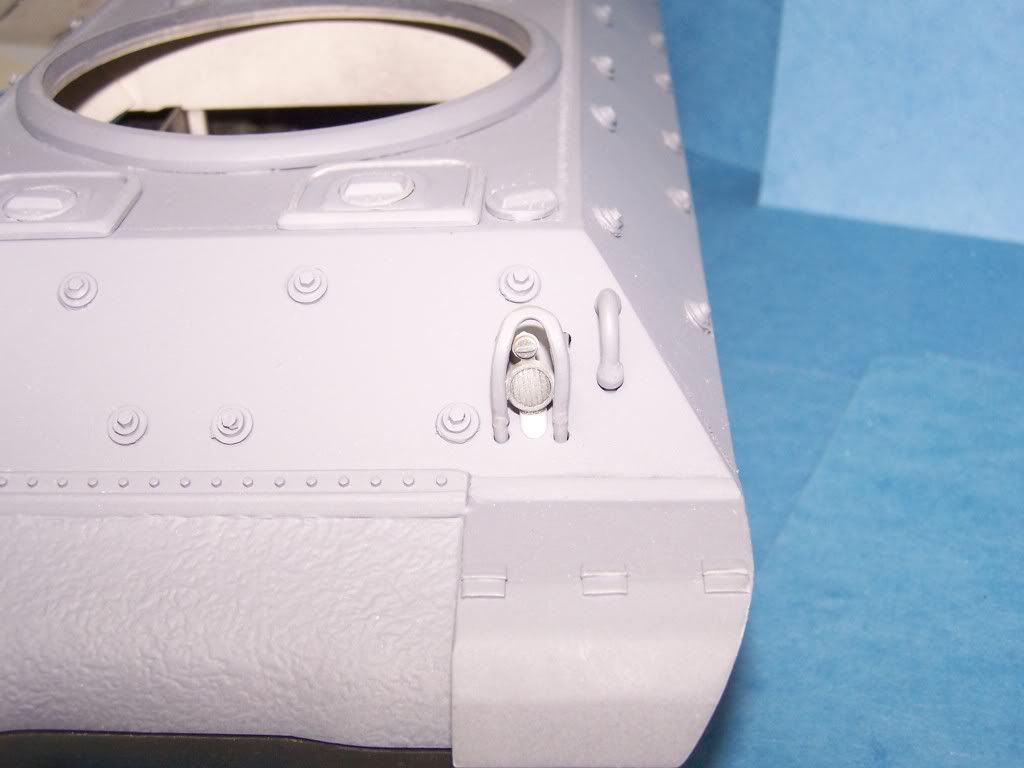
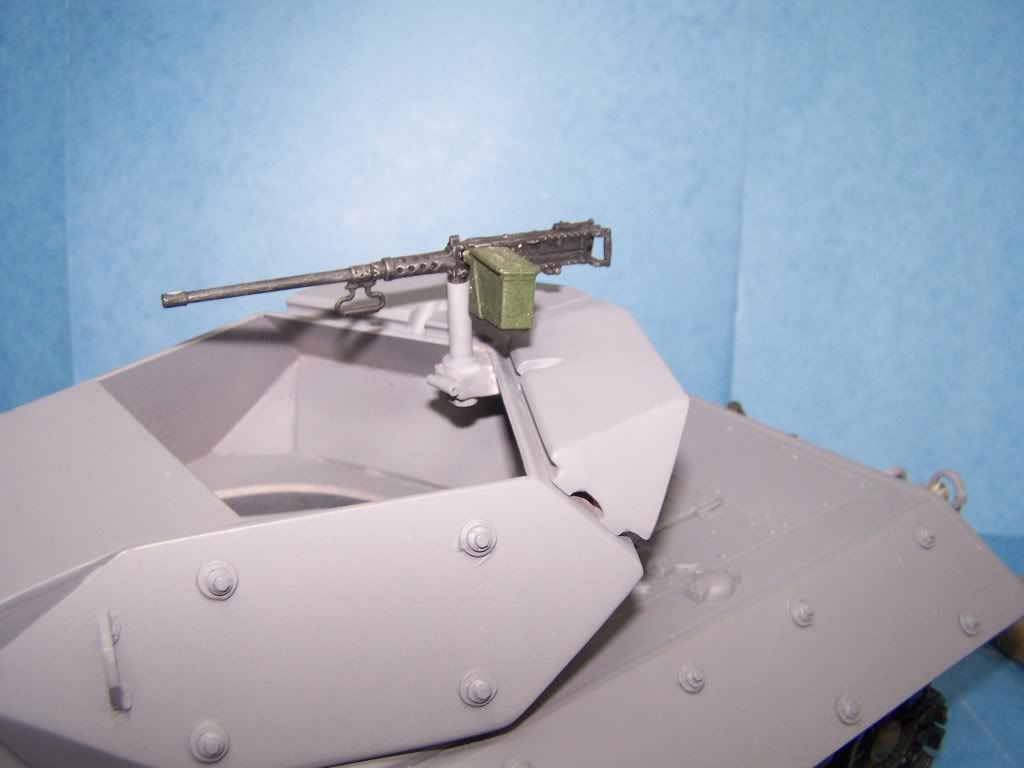
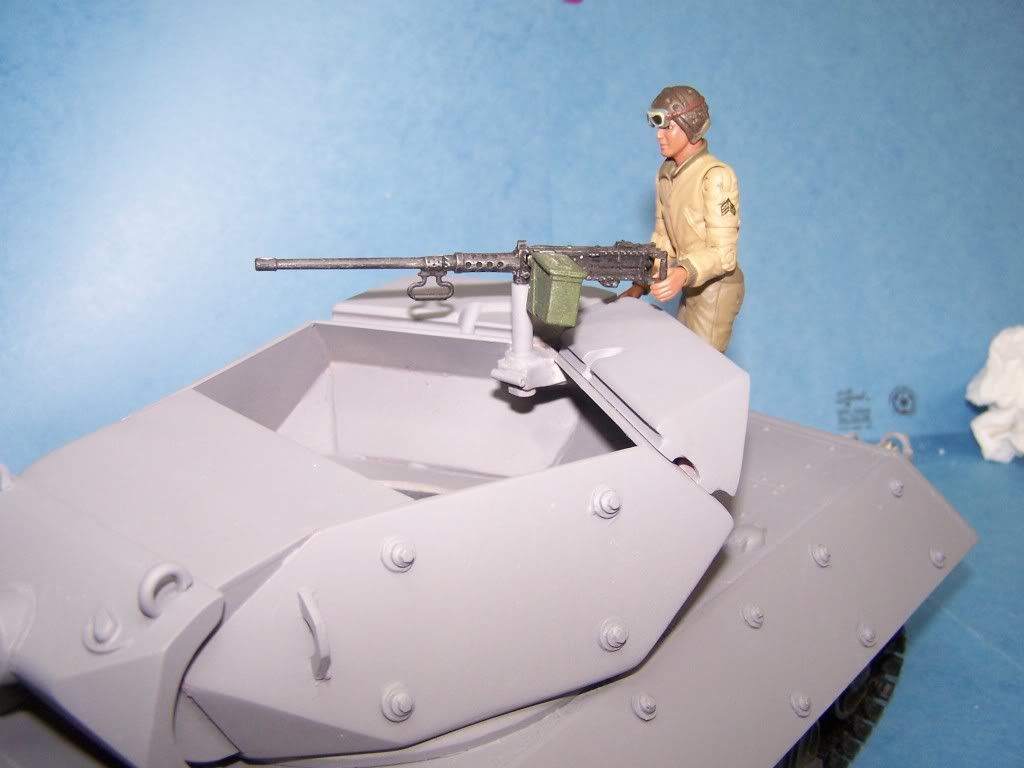
I drilled all of the holes for the hardware and made the 50 cal pintel.
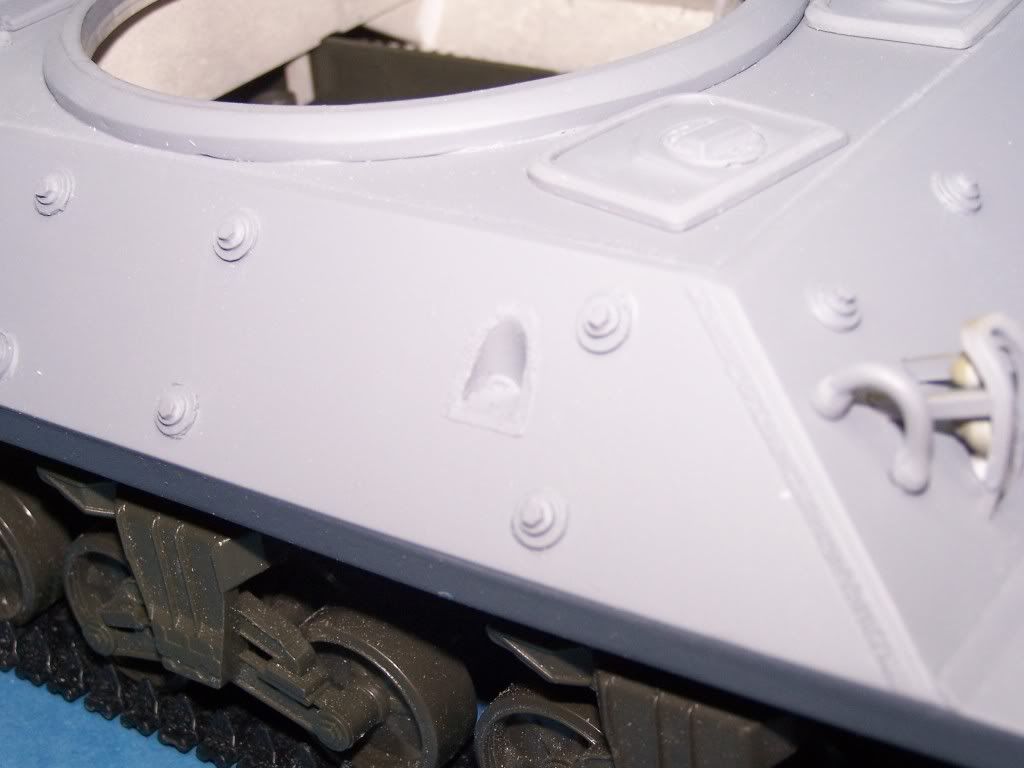
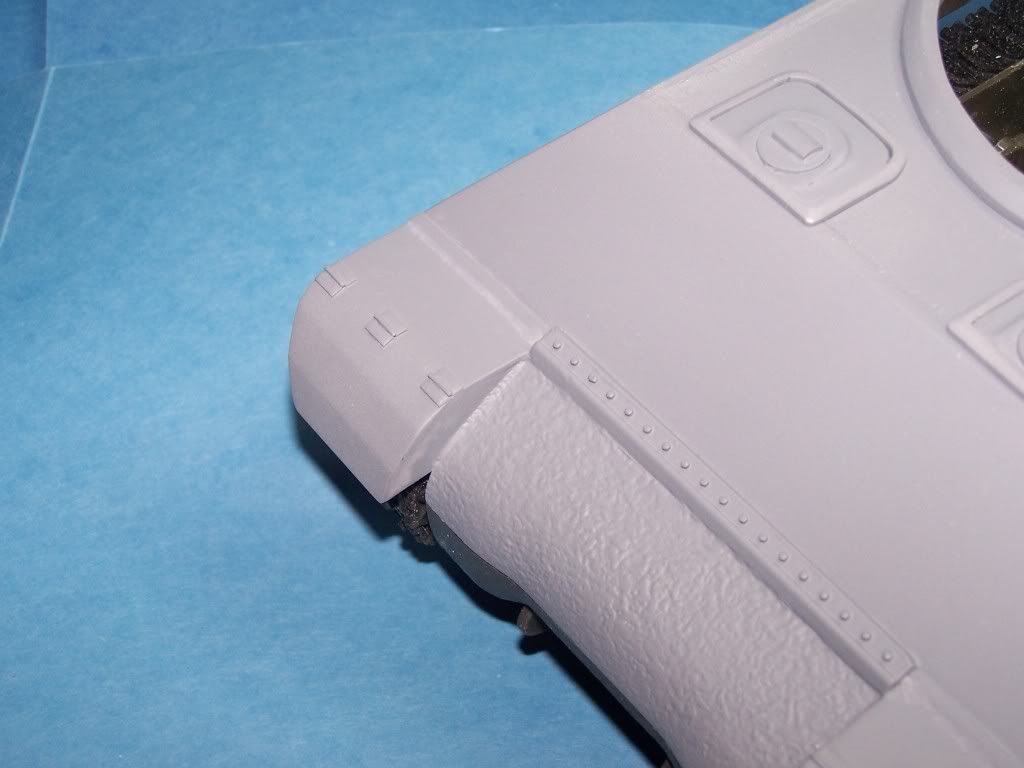
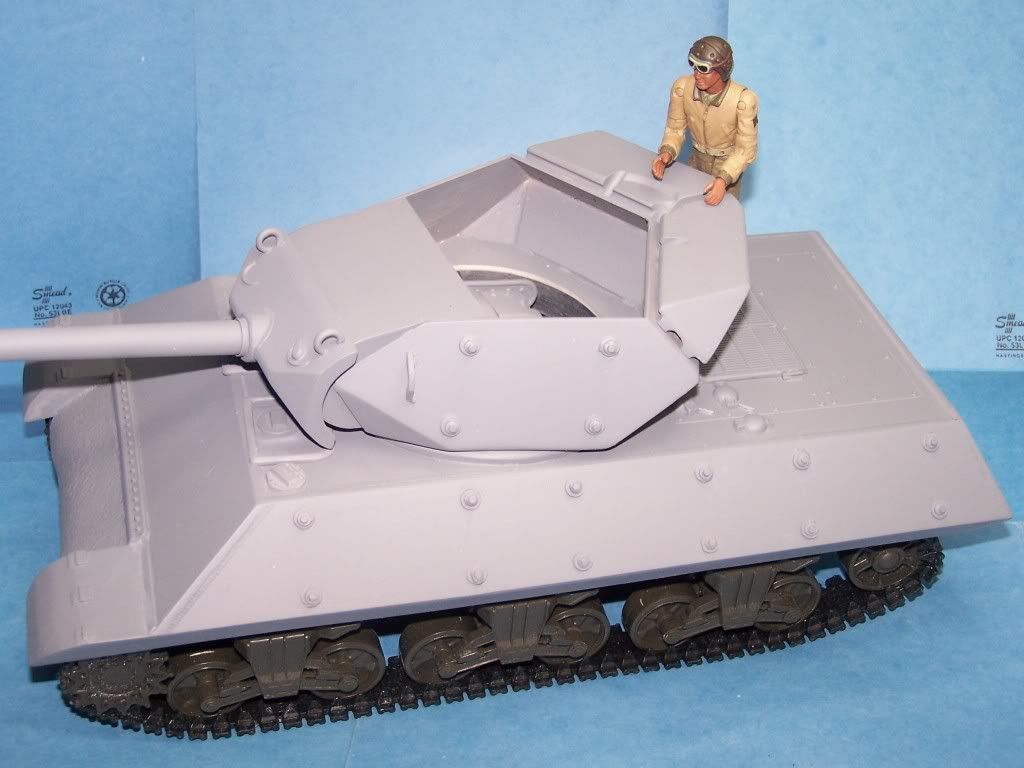
All of the aplique bolts are done. The only thing left to do is mount the front hatches and figure out the hinges.
Things left to do in the interior.
Mount the gun
Make the seats
Make the ready round frames.
I will try to finish the interior on Thursday. Because I will start the molds for the Pavehawk on Friday if I am finished or not.
This is the 21st light protector it is soft vinyl. I hope I can cast it if not I will have to scratch it as well. It is a little out of kilter. They are not stuck I need to take them off to cast.

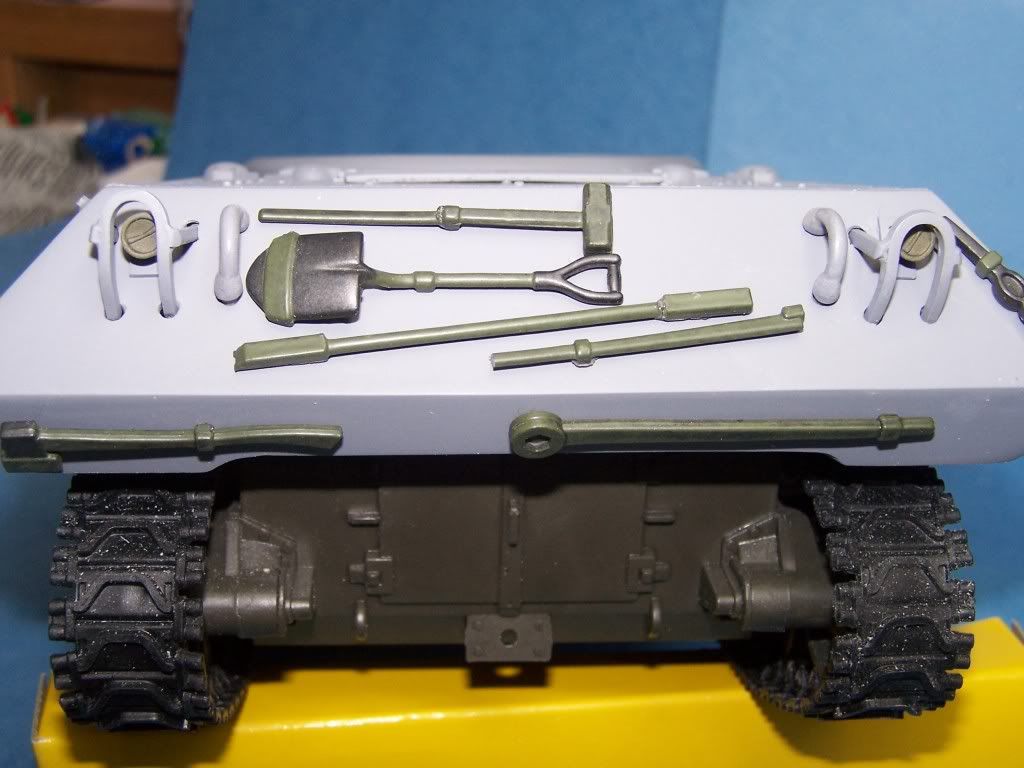
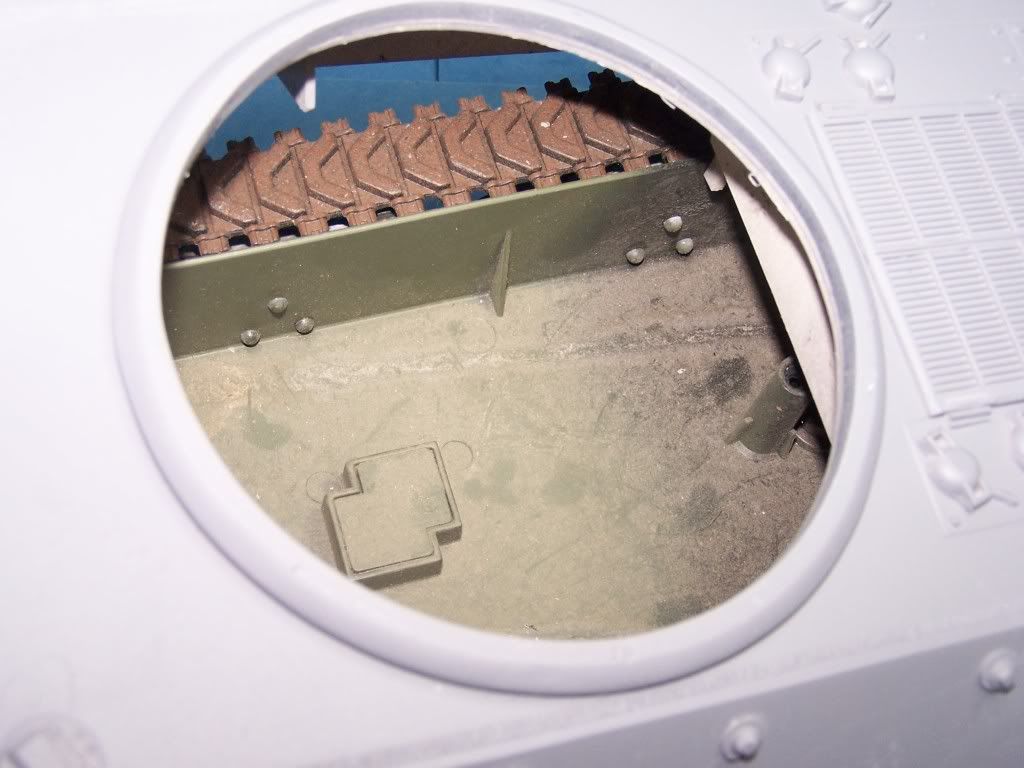
Pioneer tool placement.
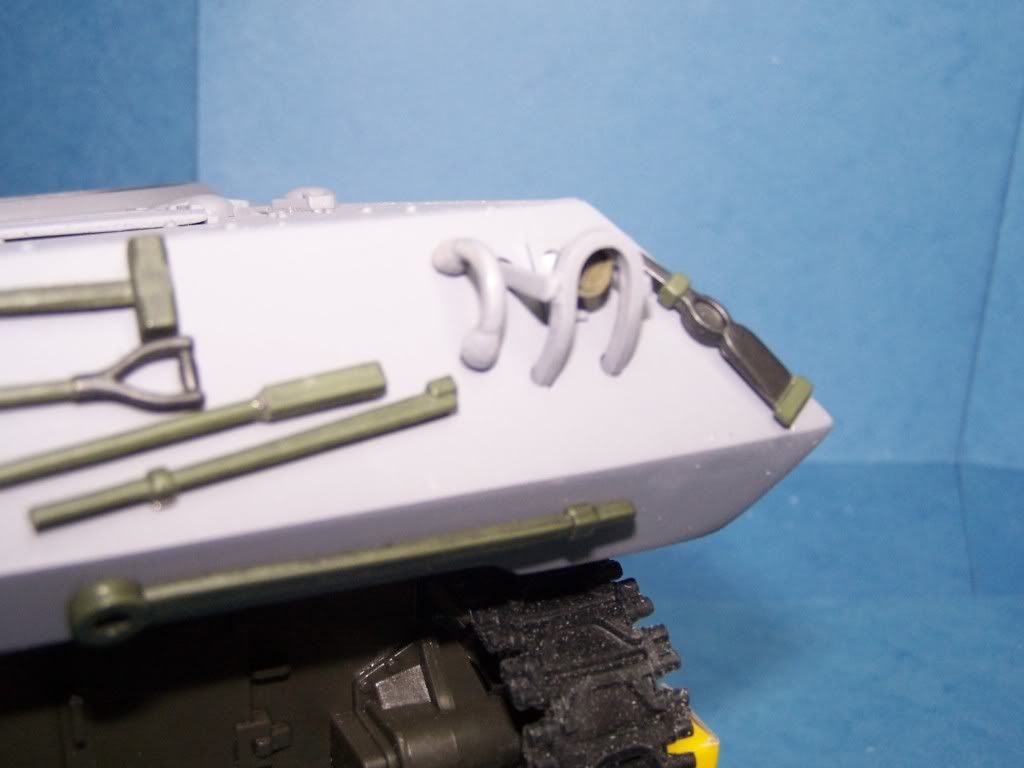
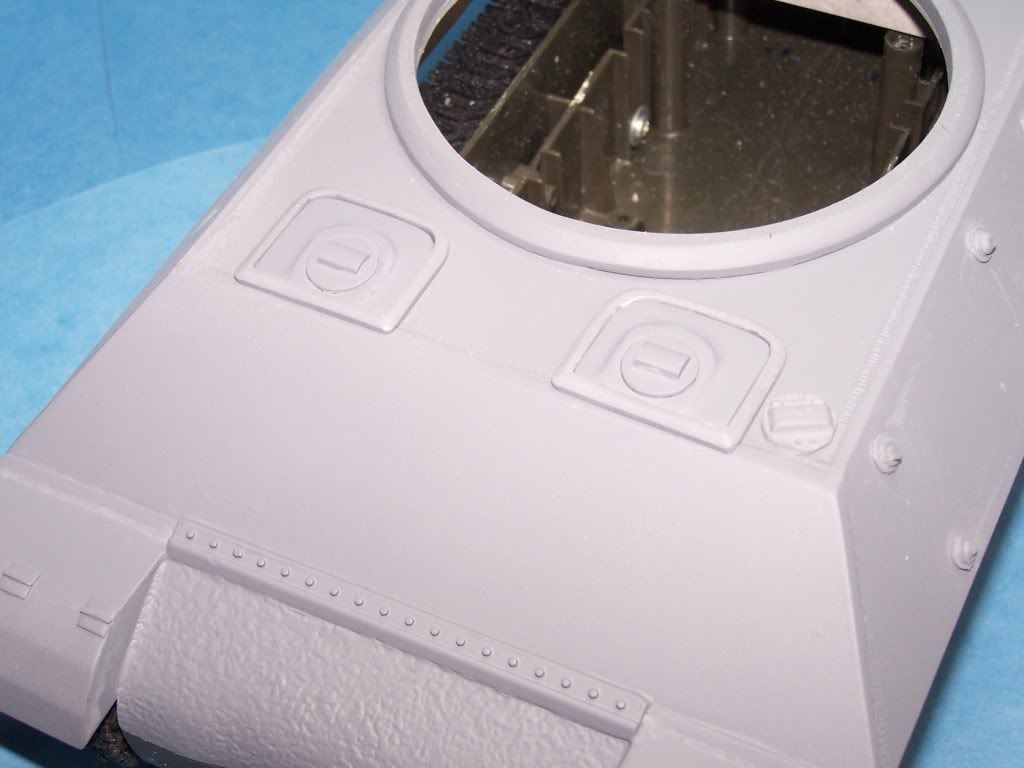
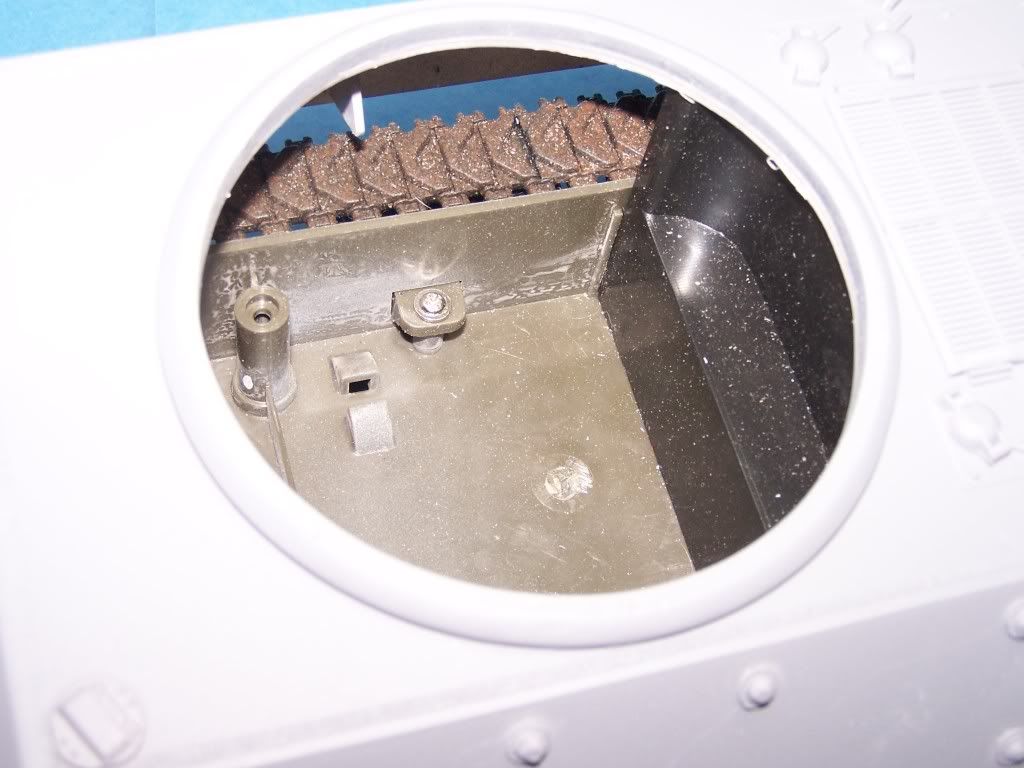
Antennae well.
This is how Audie Murphy won his Medel of Honor on the back of a burning M-10.
Posted: Wed Apr 01, 2009 6:28 pm
by Fritzkrieg
That is a gorgeous looking Kit. Fantastic job. Do you have a thread highlighting all of your completed kits. I'l lookig fo some battle Damaged Panzer IV side skirts. Curious, if you've tackled these in the past.
Posted: Wed Apr 01, 2009 6:40 pm
by billgiff
OUTSTANDING CRAFTSMANSHIP. THIS WILL BE A MUST HAVE. KEEP THE CUSTOM U.S. ARMOR COMING!!!!!!!!!
Posted: Wed Apr 01, 2009 9:30 pm
by Birddog
Posted: Wed Apr 01, 2009 9:54 pm
by immeww2
This is coming along really fine! Can't wait to see it all built out.
Posted: Thu Apr 02, 2009 8:49 pm
by pickelhaube
Thanks guys it means a lot.
Well I got the gun mounted . It was a little harder than I thought it would be. No reason for pics on that . It looks the same.
I finished a set of ready rounds . I will try to take pics of it on Fri.
I started a seat and am still not sur how I want to do the hinges on the front hatches.
So that is far as I got. I will start pouring the mold sfor the Pavehawk so this could be on hold for a few days. I think that I need one more day to finish up.
Posted: Sat Apr 04, 2009 6:28 am
by pickelhaube
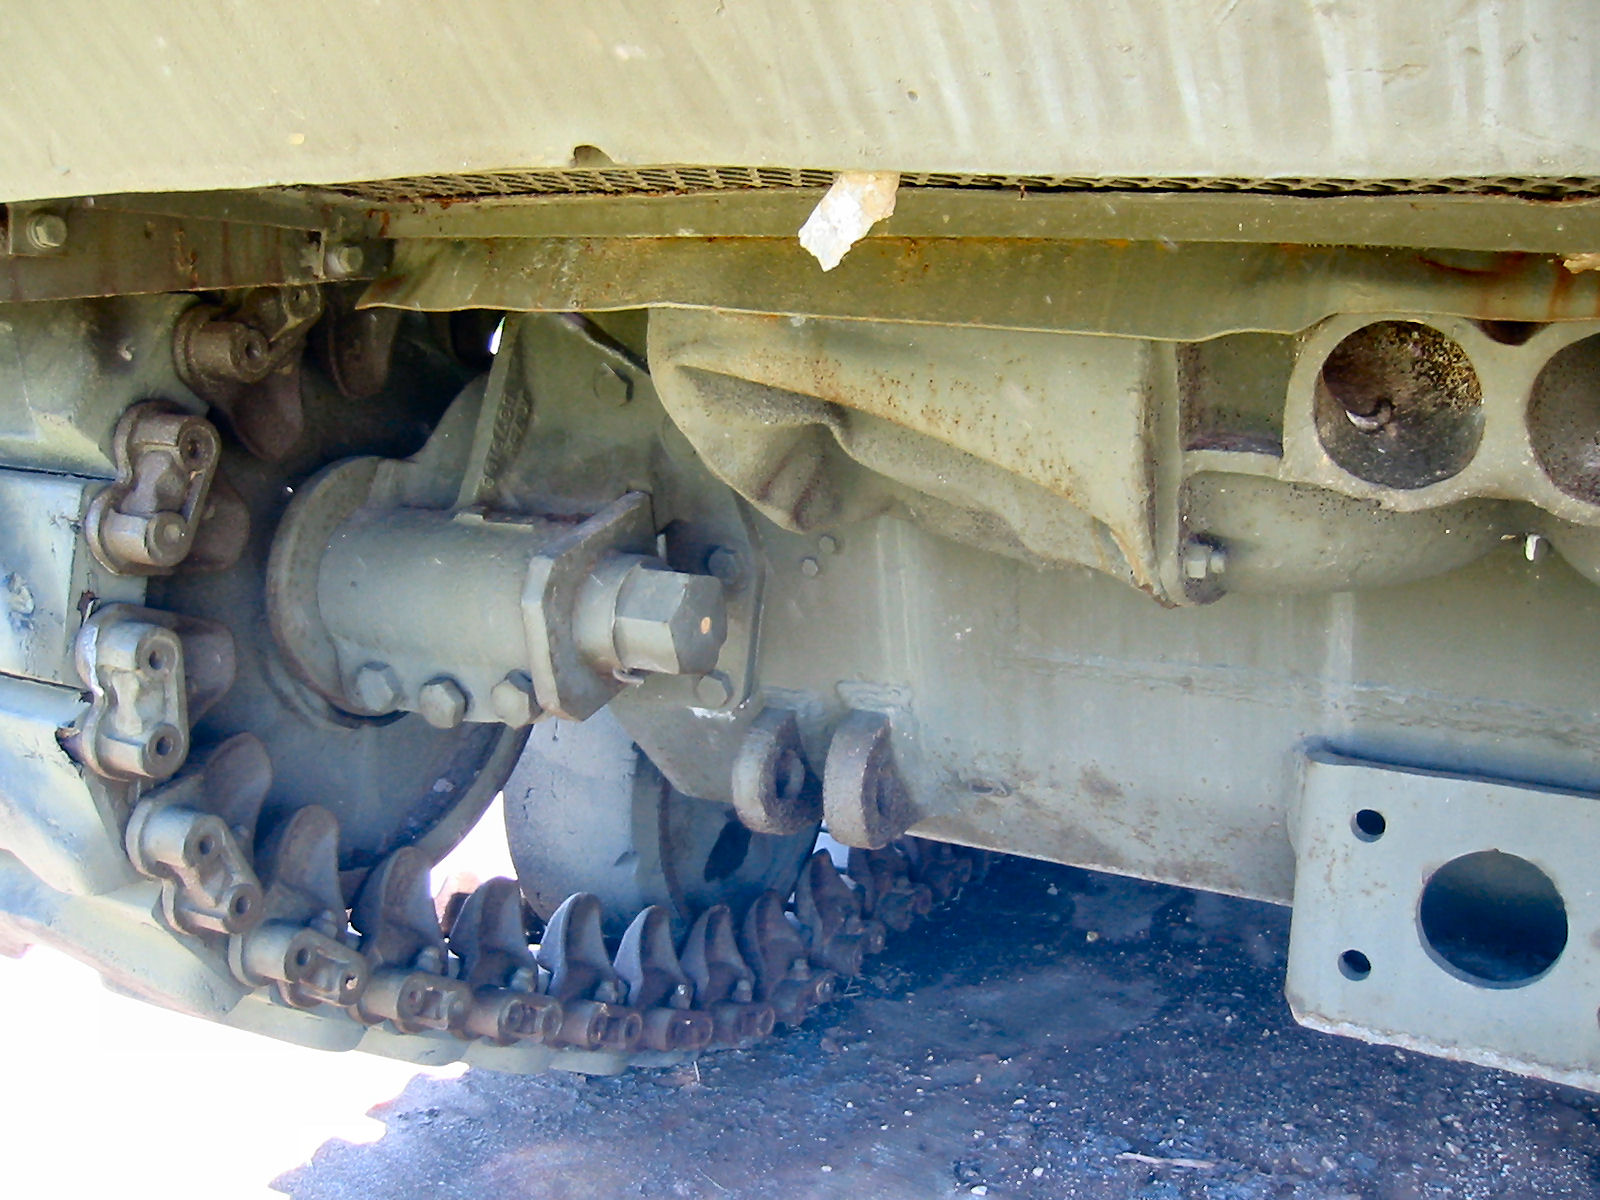
It looks like I forgot the rear muffler. It looks like 2 scuba tanks joined in the middel with some exaust comining out of the center.
Here is a pic of some crunched exaust. Thanks to Mr. pierce.
If you can look closely you can just make out were they welded the back doors shut or plated over. You will have to do this with your mother tank.
http://data3.primeportal.net/tanks/dmit ... _of_25.jpg
Posted: Sat Apr 04, 2009 2:30 pm
by mediump
Outstanding Pickelhaube!
Posted: Sat Apr 04, 2009 4:59 pm
by grockwood
The rear doors are probably welded shut because it is a display vehicle. They usually do that to all the hatches and doors on display vehicles to keep people fromgetting into them.
Posted: Sat Apr 04, 2009 5:06 pm
by pickelhaube
grockwood wrote:The rear doors are probably welded shut because it is a display vehicle. They usually do that to all the hatches and doors on display vehicles to keep people fromgetting into them.
So that makes it easier
Posted: Sat Apr 04, 2009 5:13 pm
by grockwood
I may be wrong about that . Here is a shot showing the rear and it appears to be doorless. It is the Brotish 17 lb M10 but should be the same as the US version.
http://www.toadmanstankpictures.com/achilles_0003.jpg
Posted: Sat Apr 04, 2009 9:05 pm
by grunt1
Posted: Mon Apr 06, 2009 5:41 pm
by vupa0101
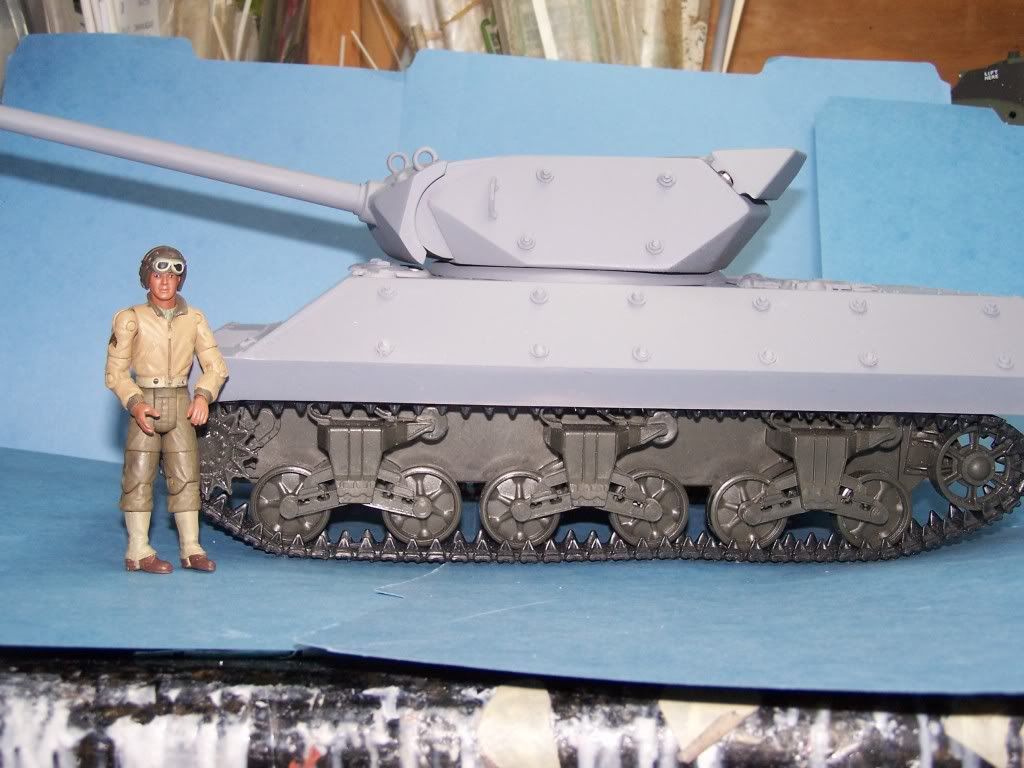
Excellent work on the tank. I love how you were able to show how all 3 different shermans would fit with your custom. i also just spent 15 minutes reading about Audie Murphy, the one man army. Thanks man!
Hi Matt
Posted: Sat Apr 11, 2009 8:38 am
by MONGSTER
Any idea when your M10 project will be completed? I have been watching with a great amount of interest since you began it. I have an FOV apart and ready and there have been no updates for a few days. Also...will the top deck mount to the FOV hull with the present screw mounts and will it be painted or have to be painted?...I went to my Target here and they have 2 brand new FOV Shermans there...thanks, Greg
Re: Hi Matt
Posted: Sat Apr 11, 2009 9:21 am
by pickelhaube
MONGSTER wrote:Any idea when your M10 project will be completed? I have been watching with a great amount of interest since you began it. I have an FOV apart and ready and there have been no updates for a few days. Also...will the top deck mount to the FOV hull with the present screw mounts and will it be painted or have to be painted?...I went to my Target here and they have 2 brand new FOV Shermans there...thanks, Greg
Hey Greg,
This will be a kit that you have to build and paint.
I am in the middel of production with the Pavehawk parts right now and after this I will be doing my Flak gun. I have recieved several prepayment for the Flak gun.I would say in about a week or 2 hopefully I will be back on the M-10. I am not taking prepayments at this time but there are 5 pre-pre sales already waiting for this project. It seems to be somewhat popular.
That is always good.
OH yeah, I will make it so it mounts on the FOV. The mount on the BBI will be simple and the mount screws will work for it as well.I will make a adaptor so it will work on the 21st Sherman. So what ever 1/18 Sherman you wish to use , you can do so.
Matthew
Posted: Fri Jun 12, 2009 12:47 pm
by pickelhaube
Hey Guys,
Time to bump this up.
Hopefully I will start the moulds toward the end of next week. I need to fit in the last run of Pavehawk kits get the flaks done start the Ben Hur trailers start the White Scout..........
Oh... Never mind I sure have a lot to do.
I bumped it anyway.
Posted: Fri Jun 12, 2009 4:49 pm
by grockwood
What was the cost for the M10 kit again.
Posted: Fri Jun 12, 2009 6:35 pm
by pickelhaube
grockwood wrote:What was the cost for the M10 kit again.
$225
Posted: Wed Jul 08, 2009 7:38 pm
by pickelhaube
Finally back on this project.
I spent 2 hrs today looking for missing pieces

The driver and radio man's hatches are MIA. So I am having to REMAKE THEM.


I almost have them remade and while they were setting up I started on the muffler.I almost have that done. I will try to post some pics of that on Thur.
Things left to do on the M-10.
Finish and mount the hatches
Finish muffler
Make travel lock for gun
Cut out rear deck under grill.
Also this is a pain. After looking at the aplique bolts they need to be ground off.

They will totally rip up the moulds as I pull the cast hull out.
I will have to make the bolts seperate so they can be glued on . Just like the AFV kit. They were a pain to make now I have to burn them off and make them again. I am not sure if I am moving in the right direction on this project

Posted: Wed Jul 08, 2009 9:48 pm
by flyboy_fx
