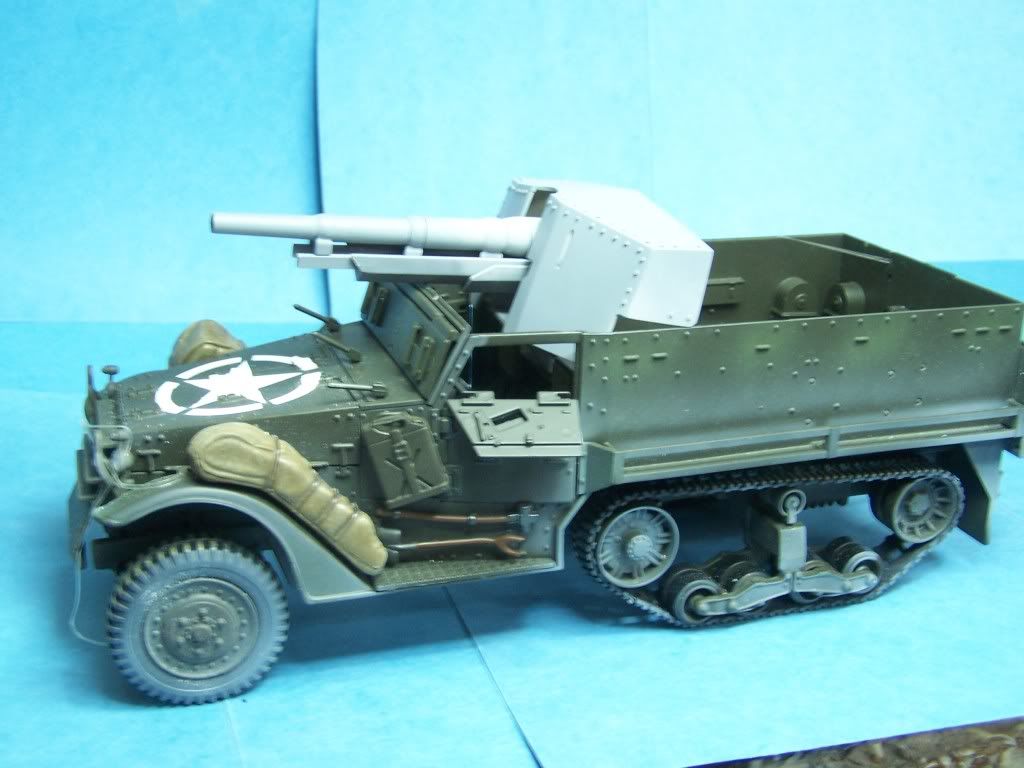
1/18 M-3 Tank Destroyer Wrapping Up Full Build Pics !!!
-
- Officer - Brigadier General
- Posts: 5405
- Joined: Tue Oct 05, 2004 9:46 am
- Location: SOUTH JOISEY
- Contact:
-
- Officer - Brigadier General
- Posts: 9649
- Joined: Mon Jan 22, 2007 5:52 am
- Location: New Orleans
This is the M3 75mm GMC my Dad built a year ago. Not as detailed as pickelhaube's will be, but he was 78 when he made it. This is the album Dads halftracks are in. Besides the GMC he rebuilt the 21st M16A1 to a M16 that he took advanced training on. He also rebuilt the engine.
http://home-and-garden.webshots.com/alb ... ype=search
Last edited by grockwood on Fri Jul 02, 2010 2:26 pm, edited 1 time in total.
-
- Officer - Brigadier General
- Posts: 9649
- Joined: Mon Jan 22, 2007 5:52 am
- Location: New Orleans
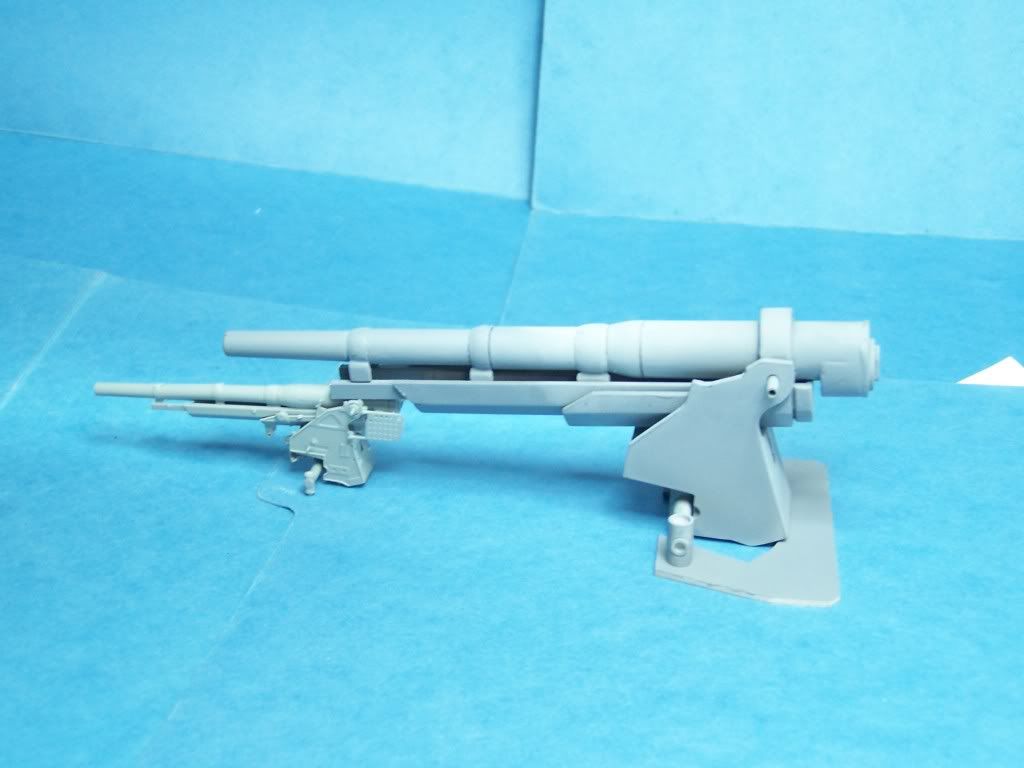
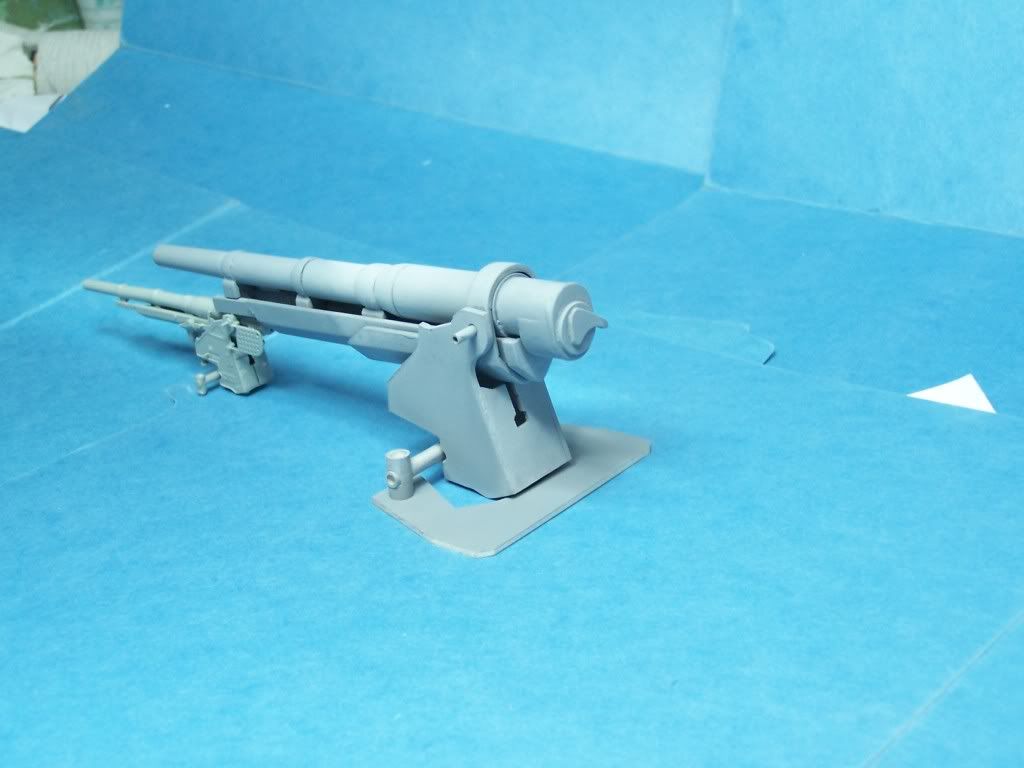
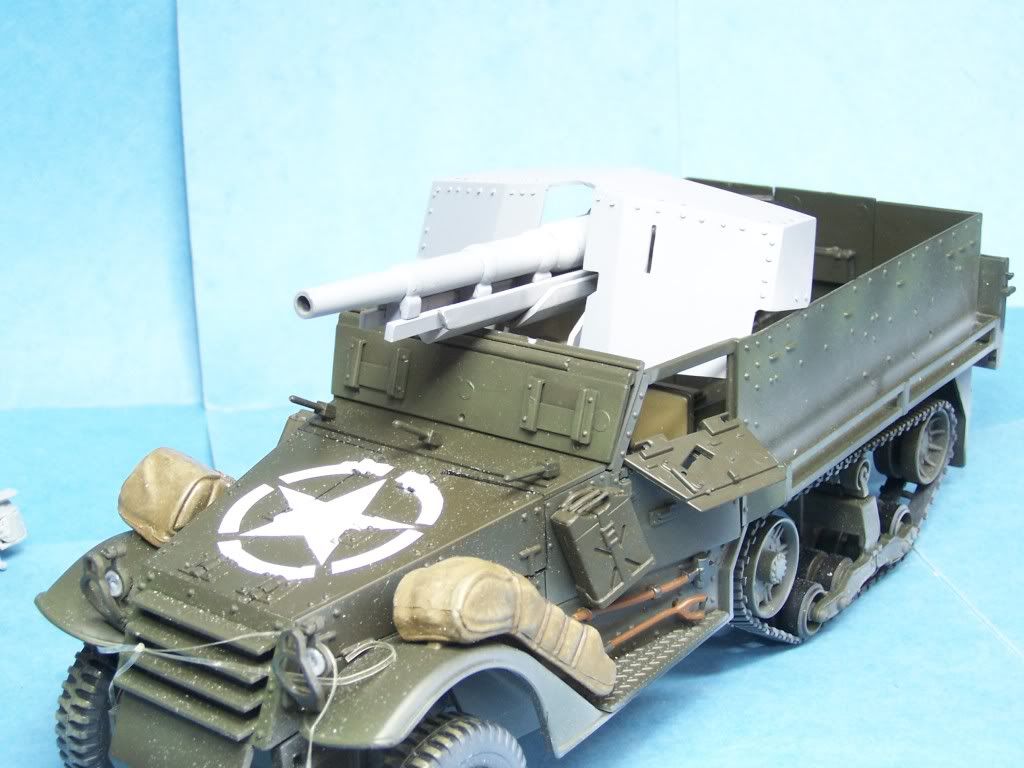
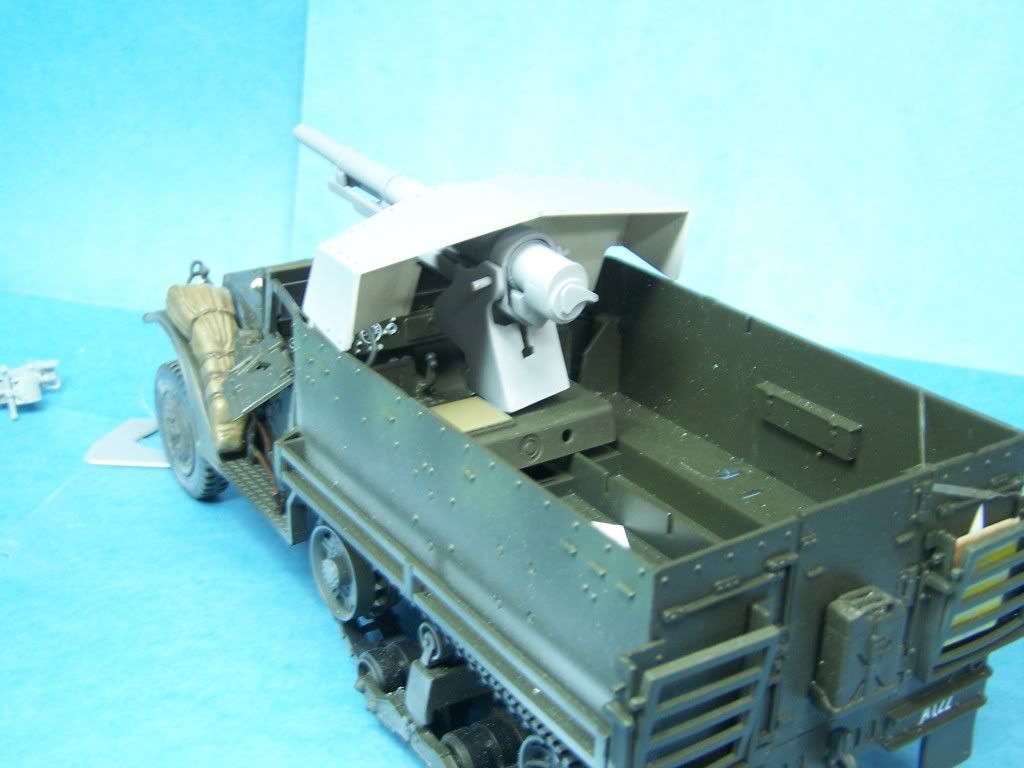
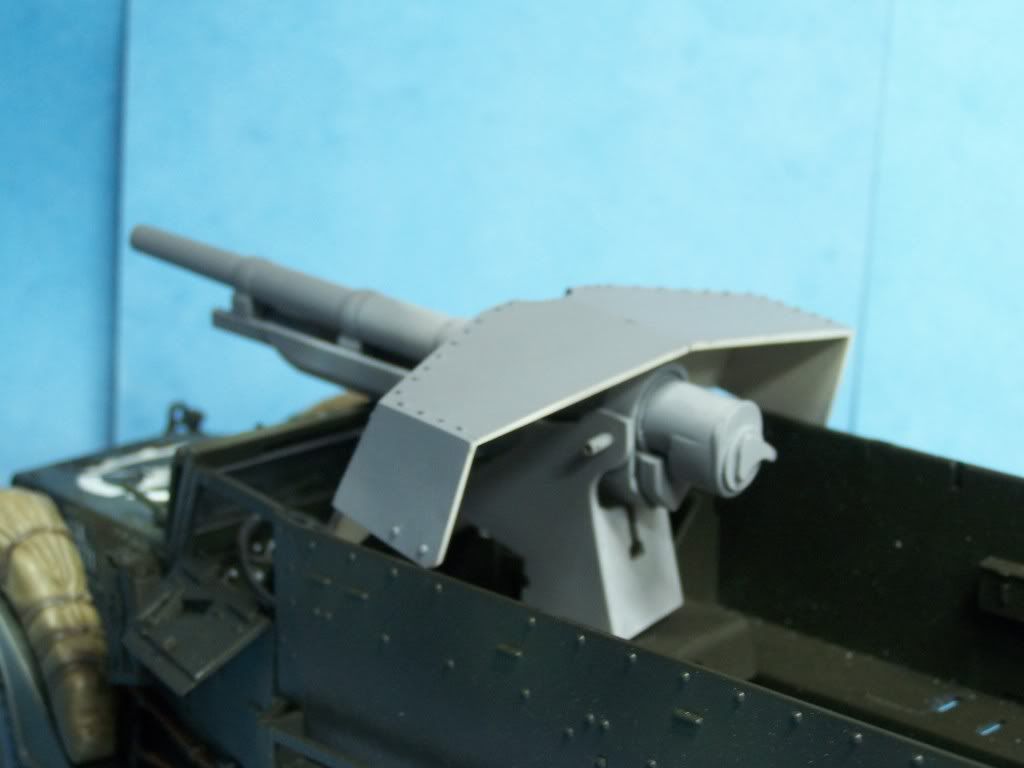
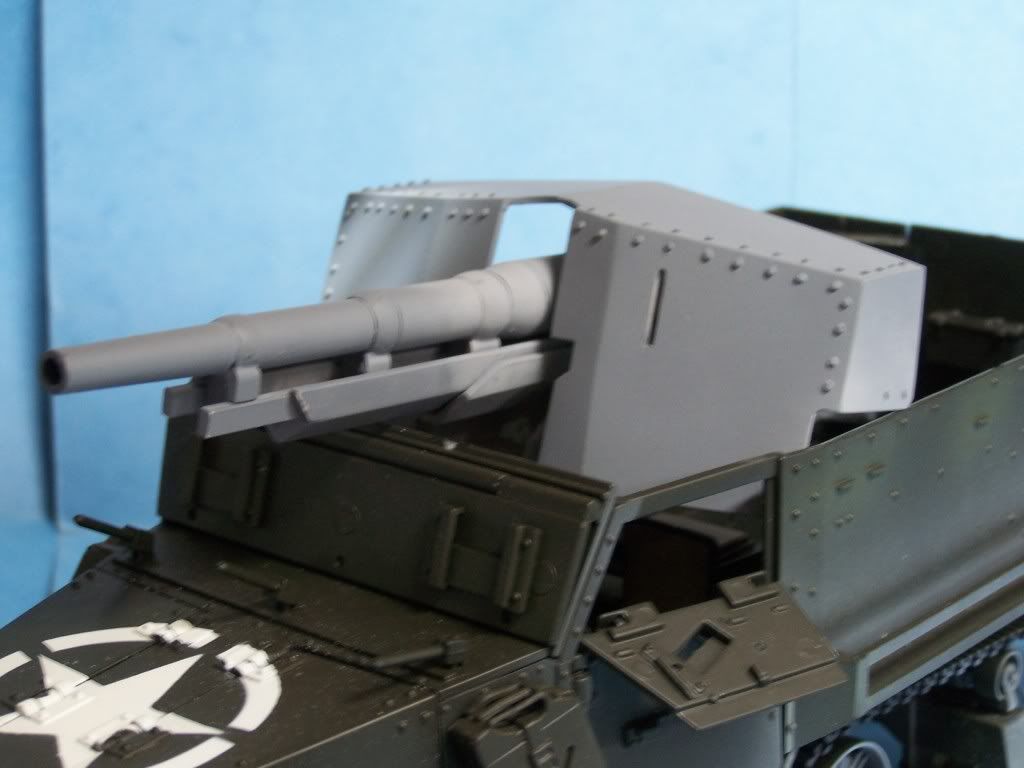
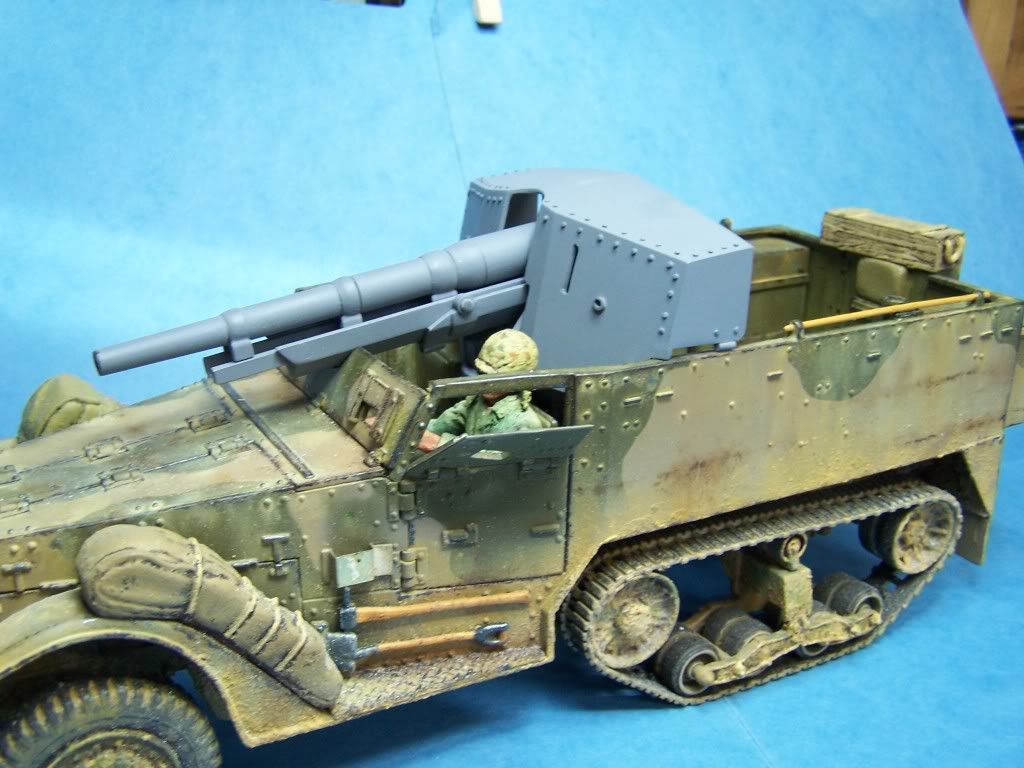
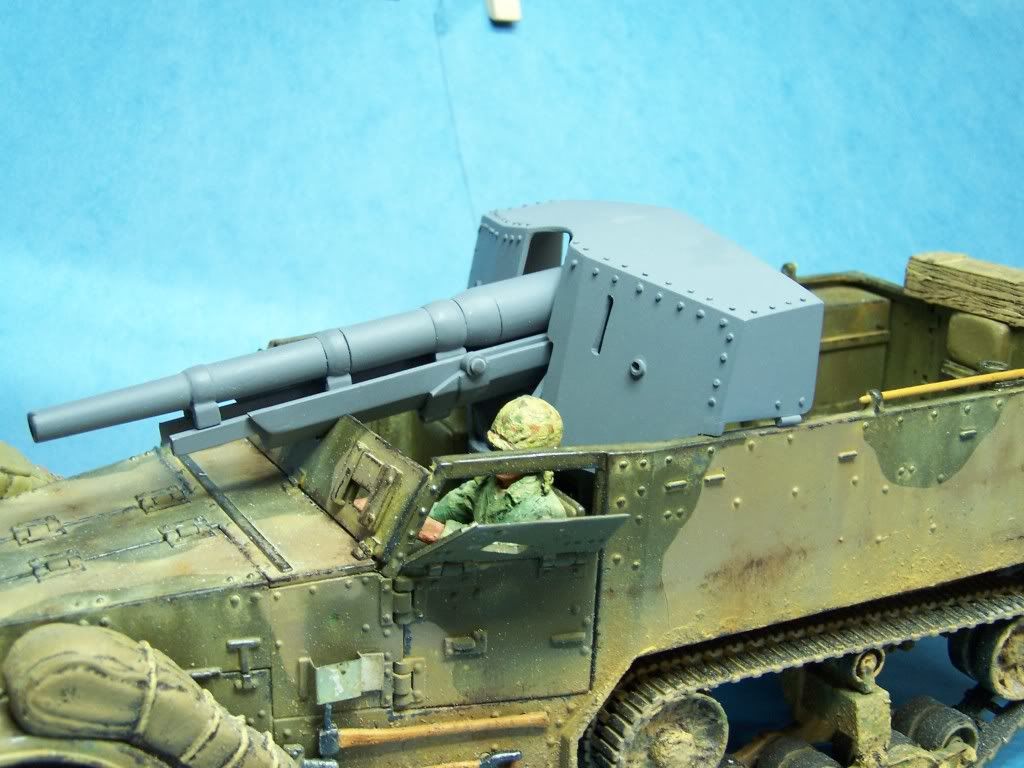
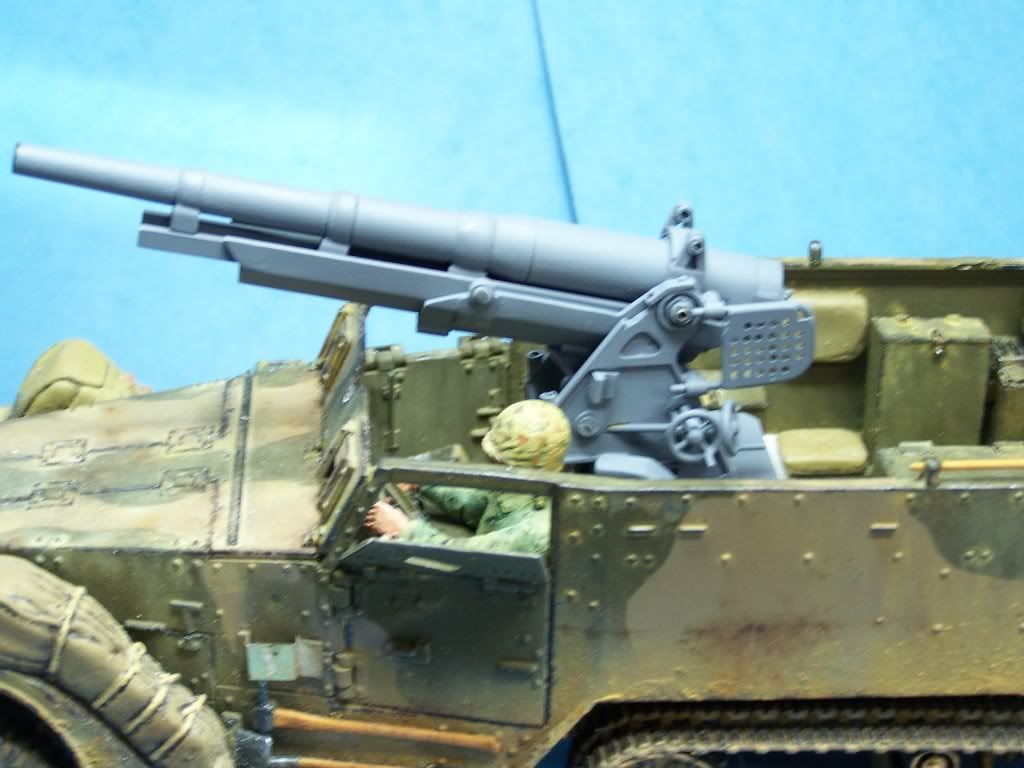
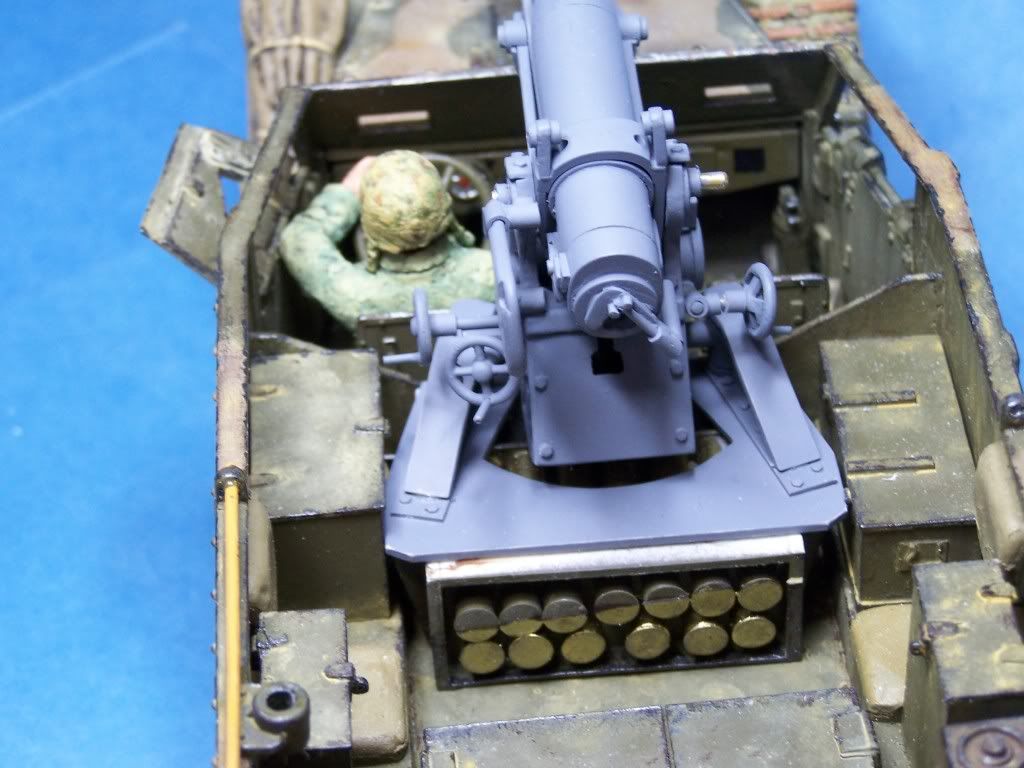
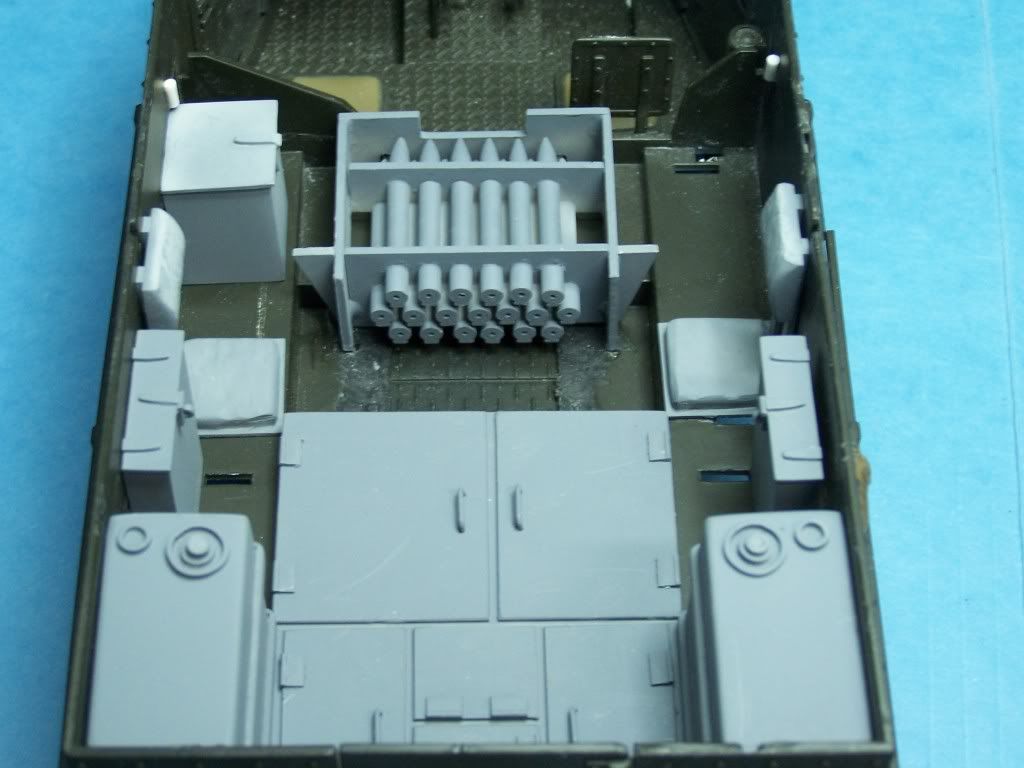
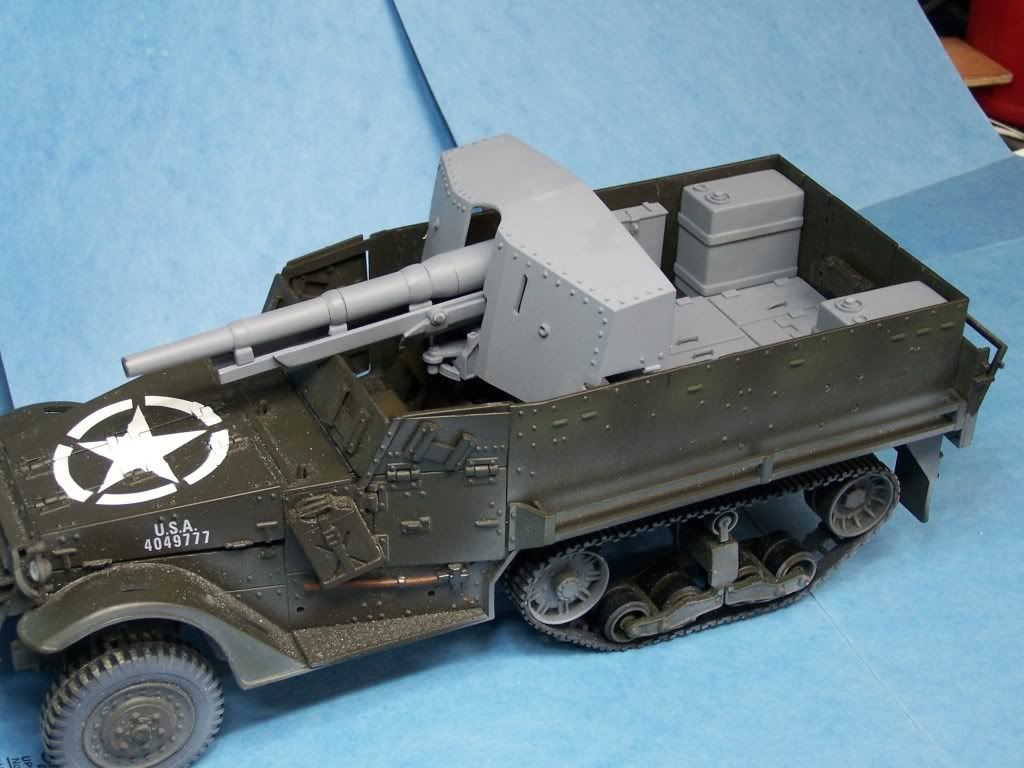
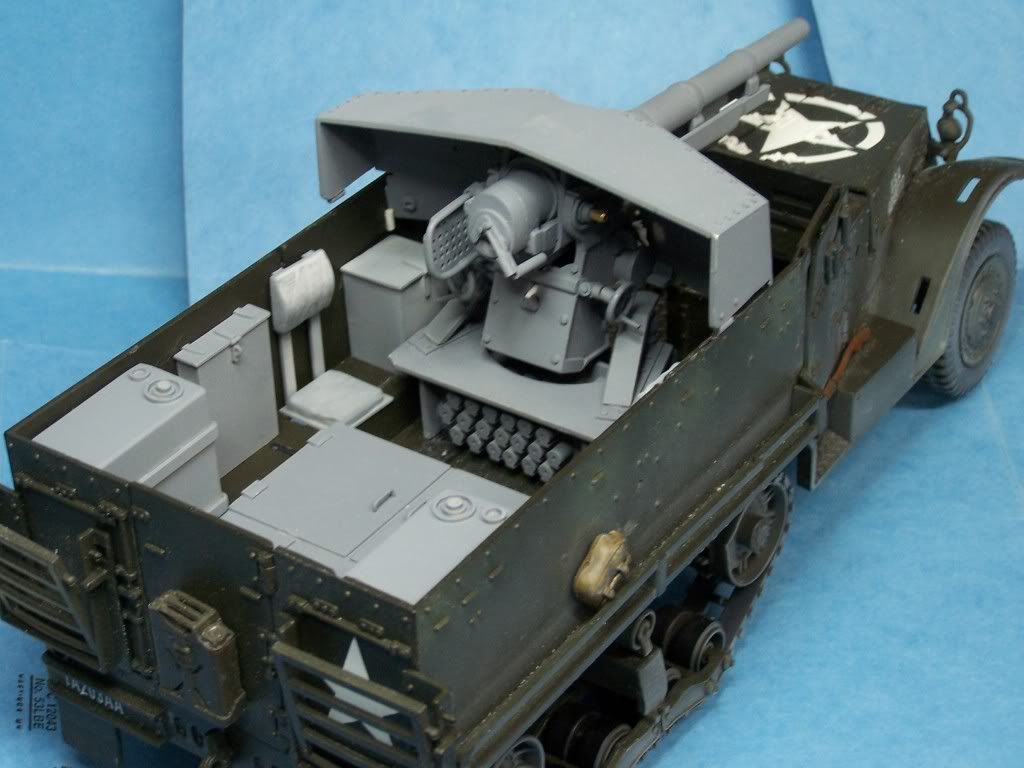
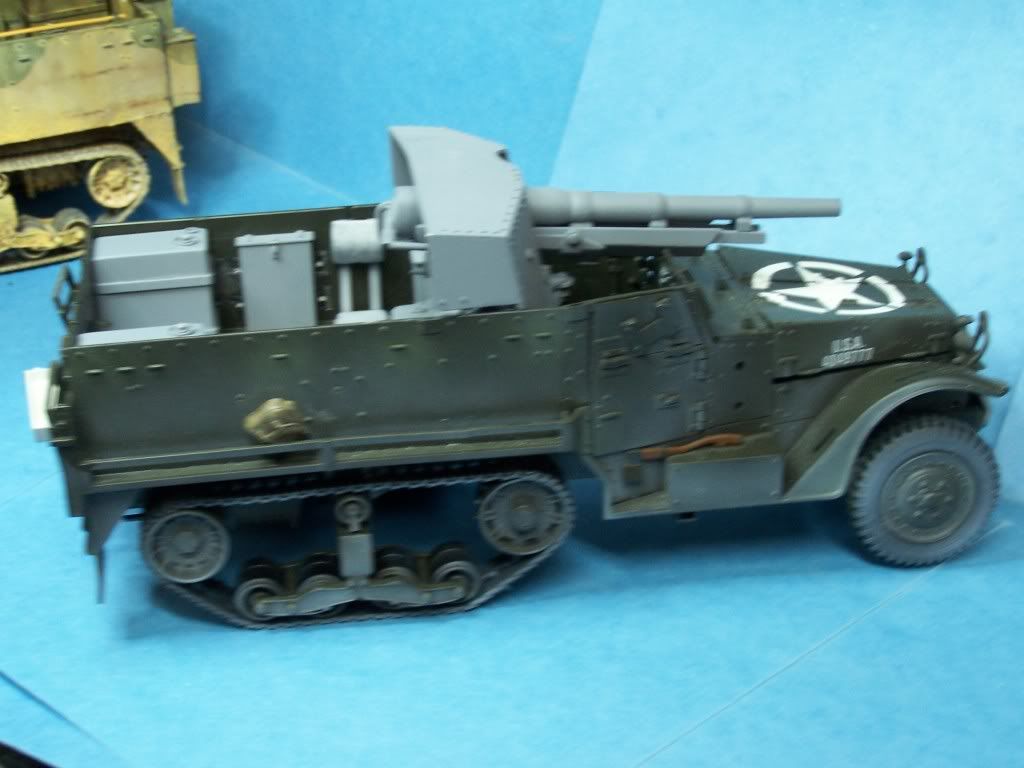
The links are not coming up.grockwood wrote:This is the M3 75mm GMC my Dad built a year ago. Not as detailed as pickelhaube's will be, but he was 78 when he made it.
http://image53.webshots.com/653/1/26/9/ ... TMd_ph.jpg
http://image59.webshots.com/159/3/88/66 ... Qfg_ph.jpg
I would love to see how his tured out
-
- Officer - 1st Lieutenant
- Posts: 542
- Joined: Thu Jul 01, 2010 8:21 am
- Location: Taipei. Taiwan
- Contact:
-
- Officer - Brigadier General
- Posts: 9649
- Joined: Mon Jan 22, 2007 5:52 am
- Location: New Orleans
My buddy Robbie Pierce sent me his started M-3 TD. He could not wait on me !!! I made the gas cans about a year ago for him . Everything else he scratched built and is waiting for my kit.
Check it out. He does have some skills. He is the guy who built and painted my M-10 he did a fantastic job on that to
-
- Officer - Brigadier General
- Posts: 9649
- Joined: Mon Jan 22, 2007 5:52 am
- Location: New Orleans
It has been a while since I posted on this project.
I am still waiting on the RTV rubber for the assault dozer.
I have spent a few days on this project and do not have too much to show for.
I have the base and gun trough tricked out. But I need to do the elevation and side ways cogs.
i did not think that they would show but they do. You can see them from the driver compartment.
I should be able to finish the cogs and rear breech on the gun to post pics on sunday.
Taht 75 sure has a lot of detail .
If there is more interest in the 105 just let me know.
That may be a little simpler than this. The 105 does not have a protecting shield.
-
- Officer - 1st Lieutenant
- Posts: 542
- Joined: Thu Jul 01, 2010 8:21 am
- Location: Taipei. Taiwan
- Contact:
-
- Officer - Brigadier General
- Posts: 9649
- Joined: Mon Jan 22, 2007 5:52 am
- Location: New Orleans
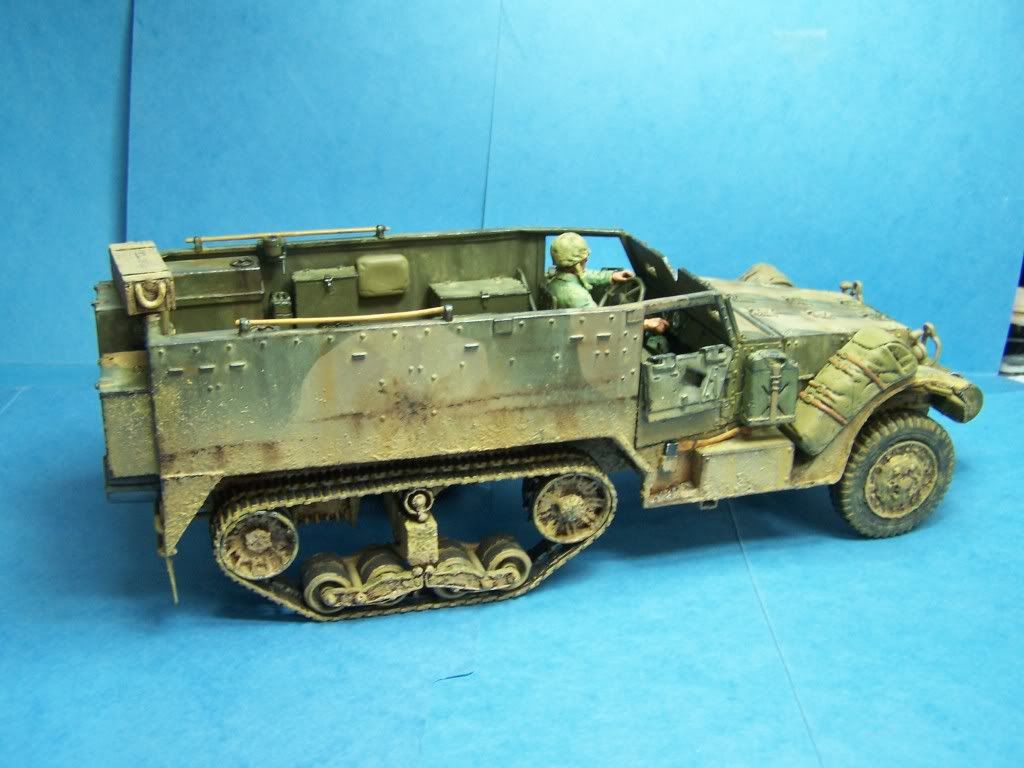
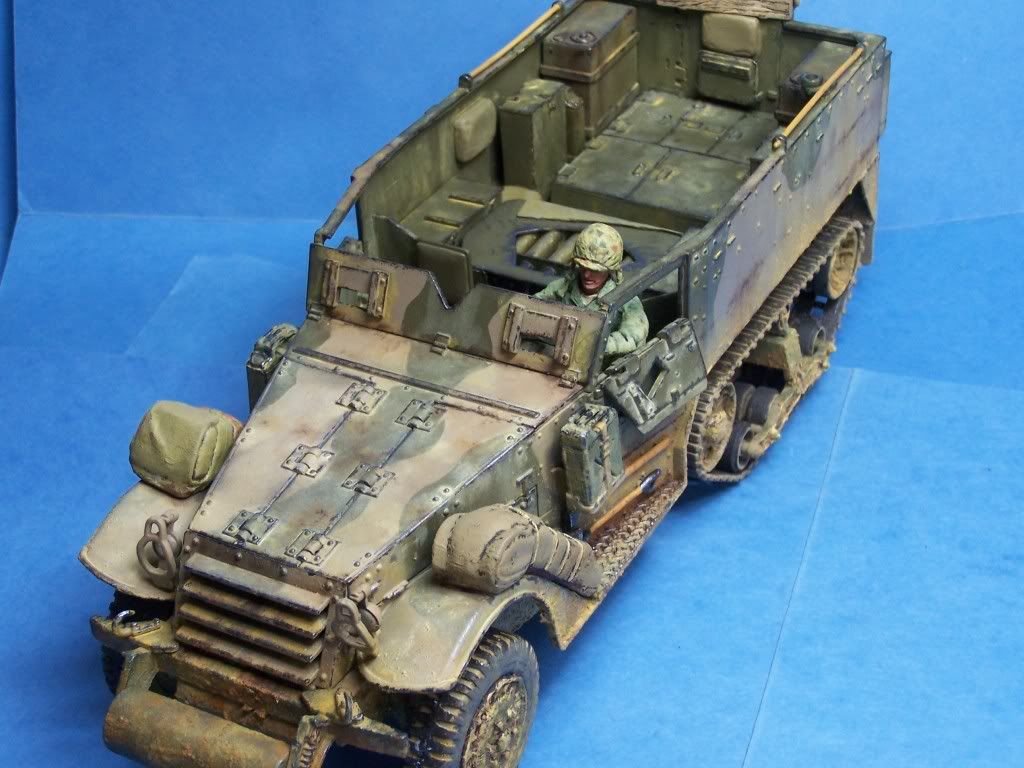
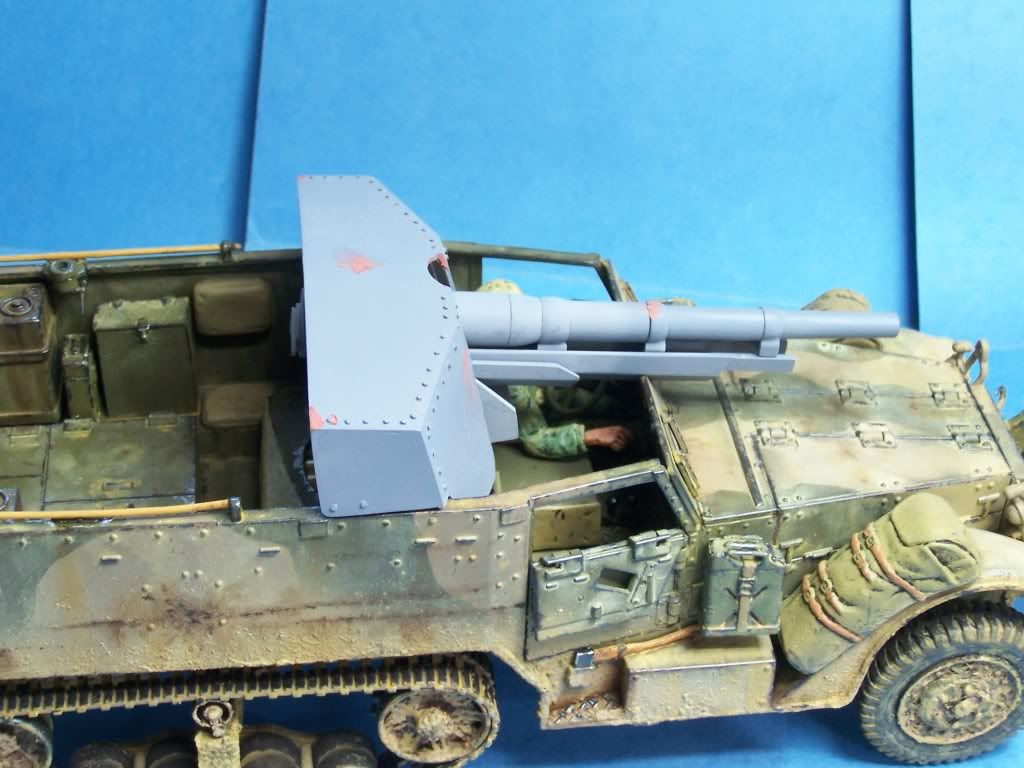
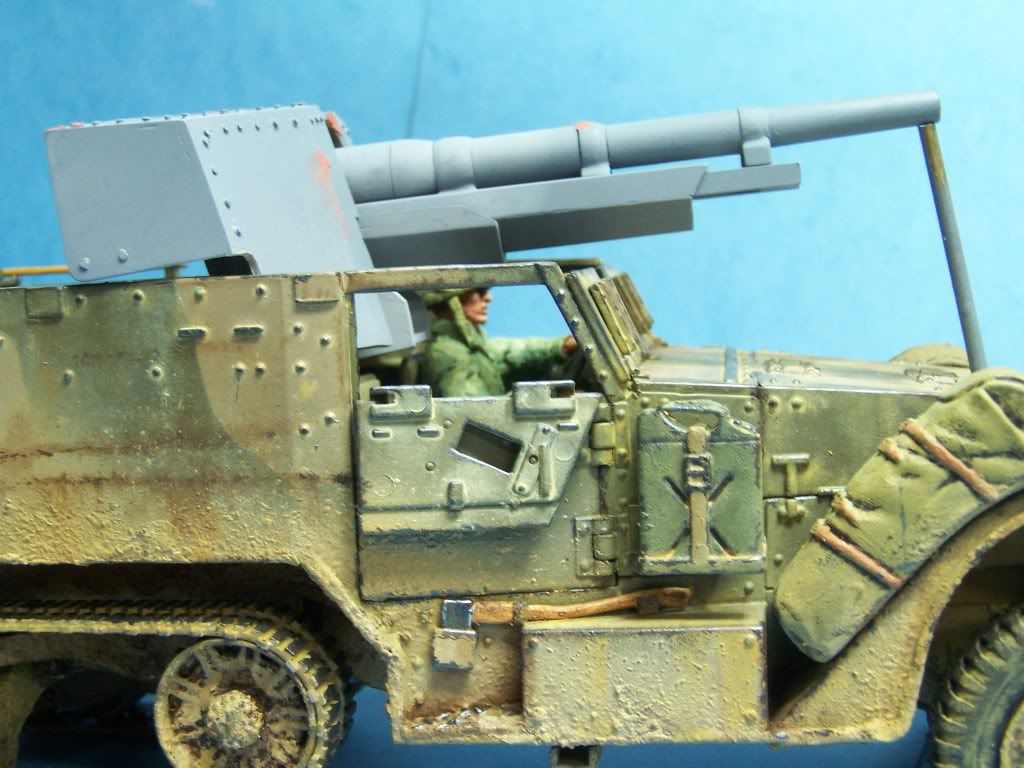
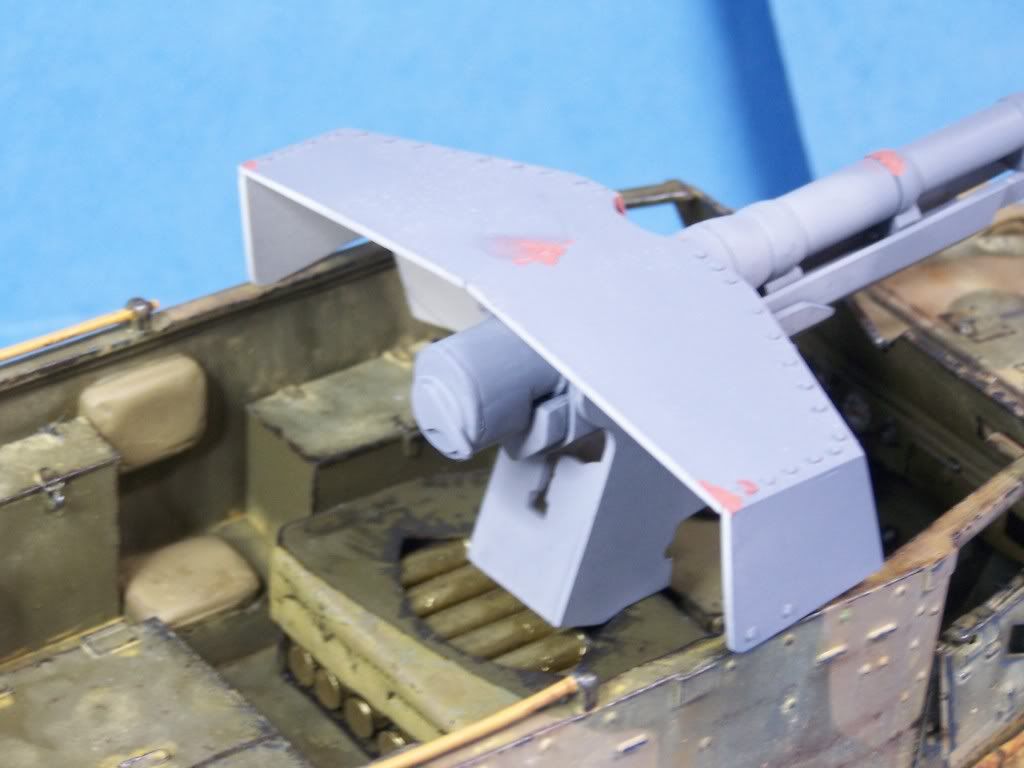
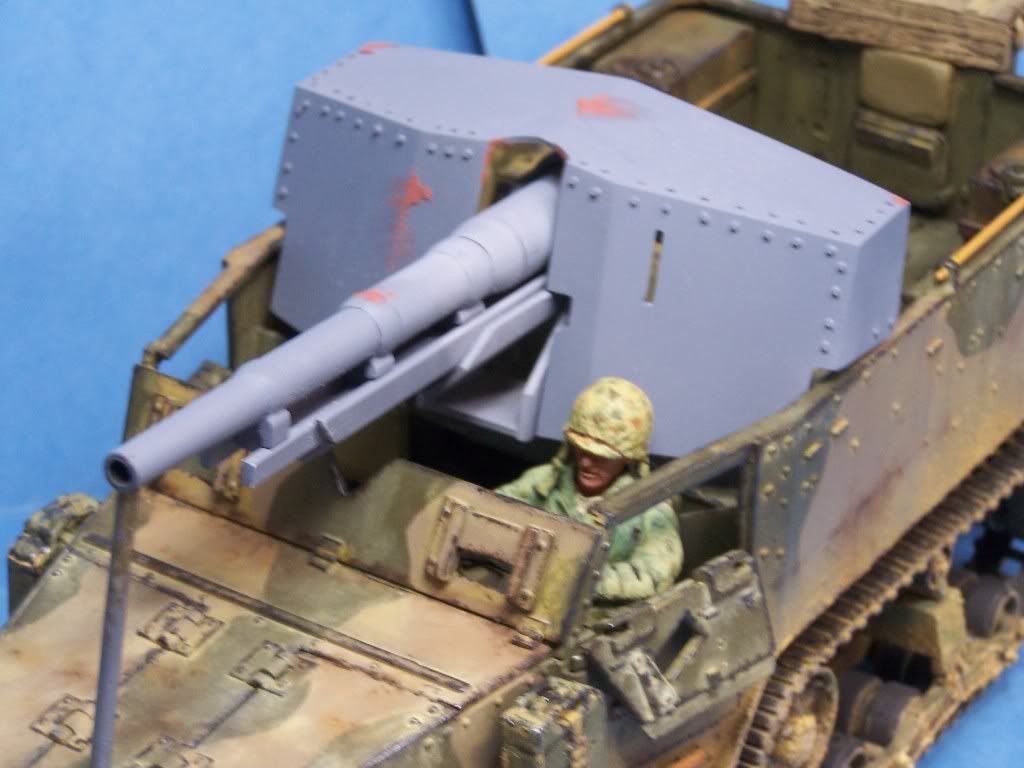
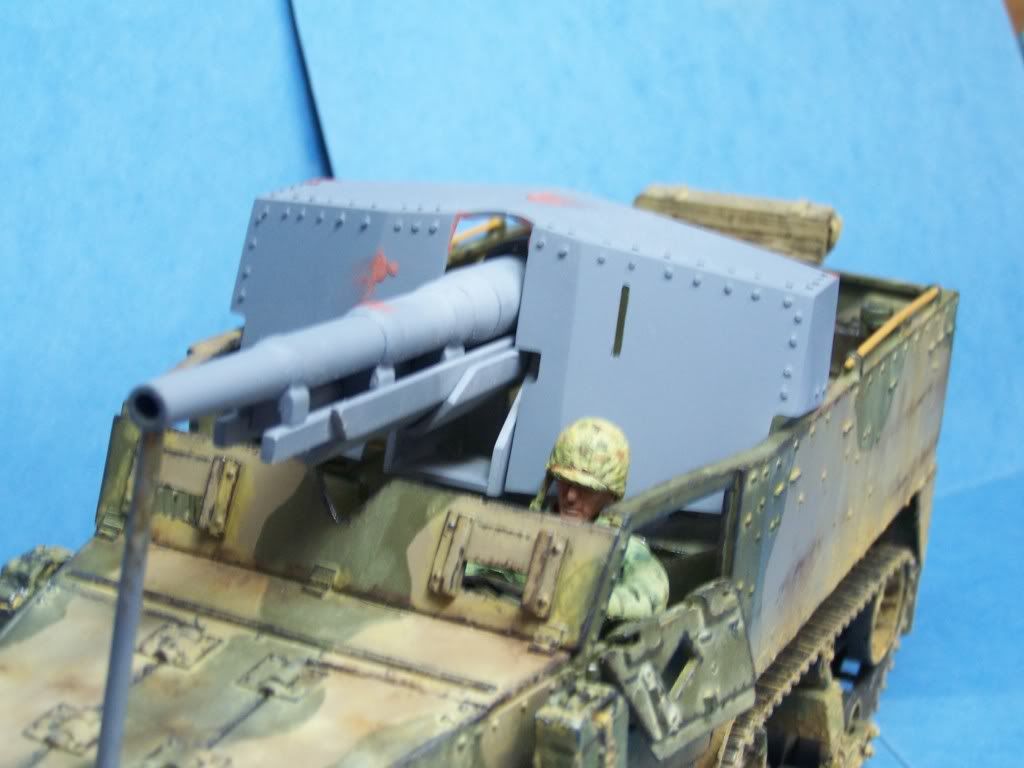
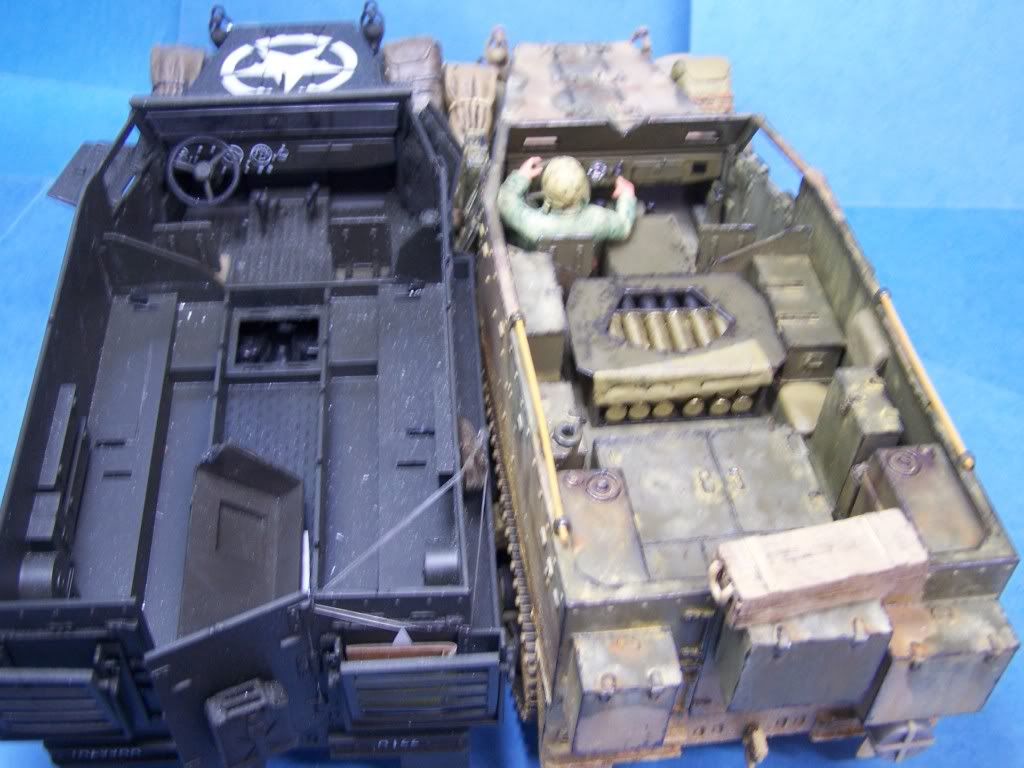
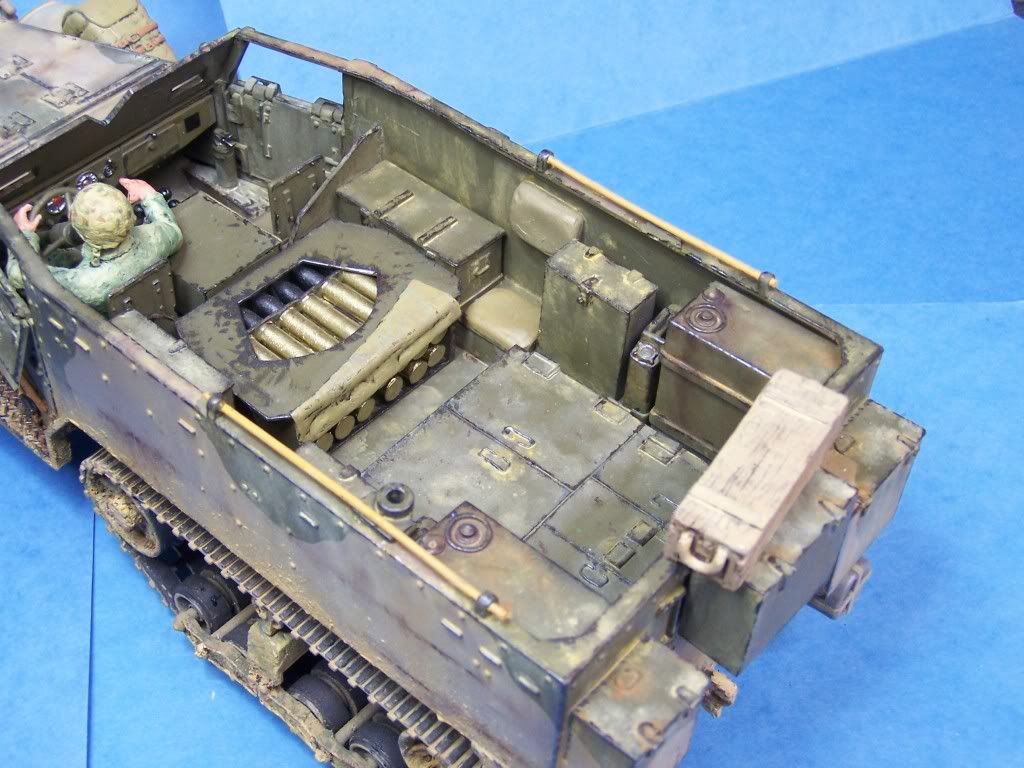
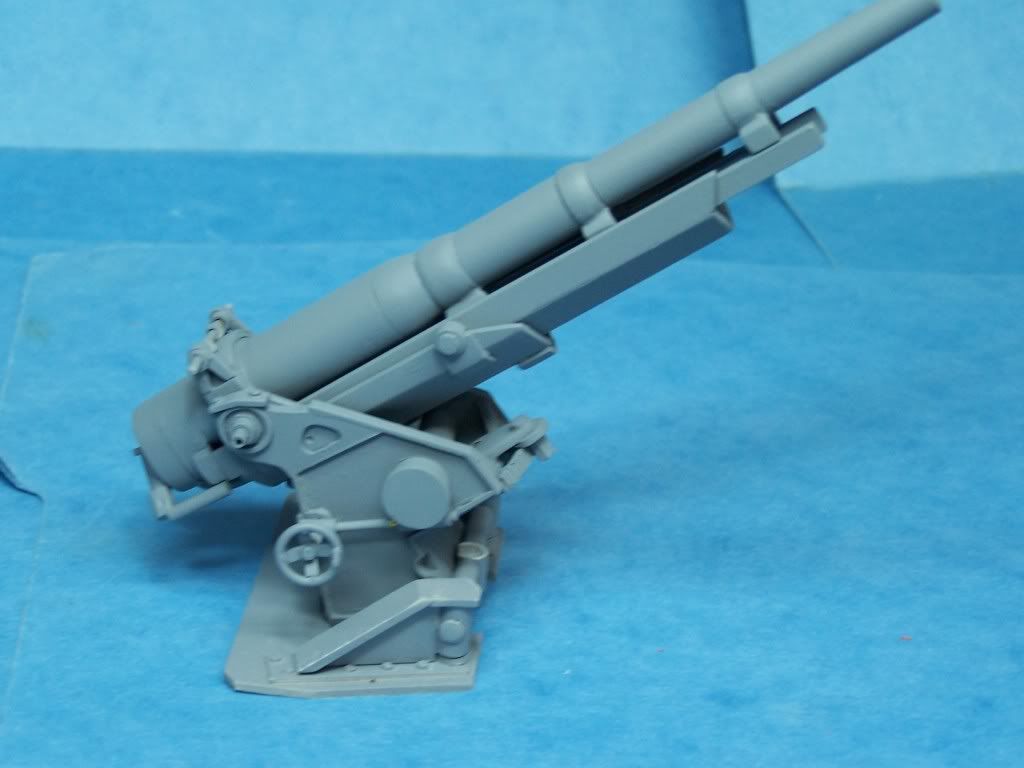
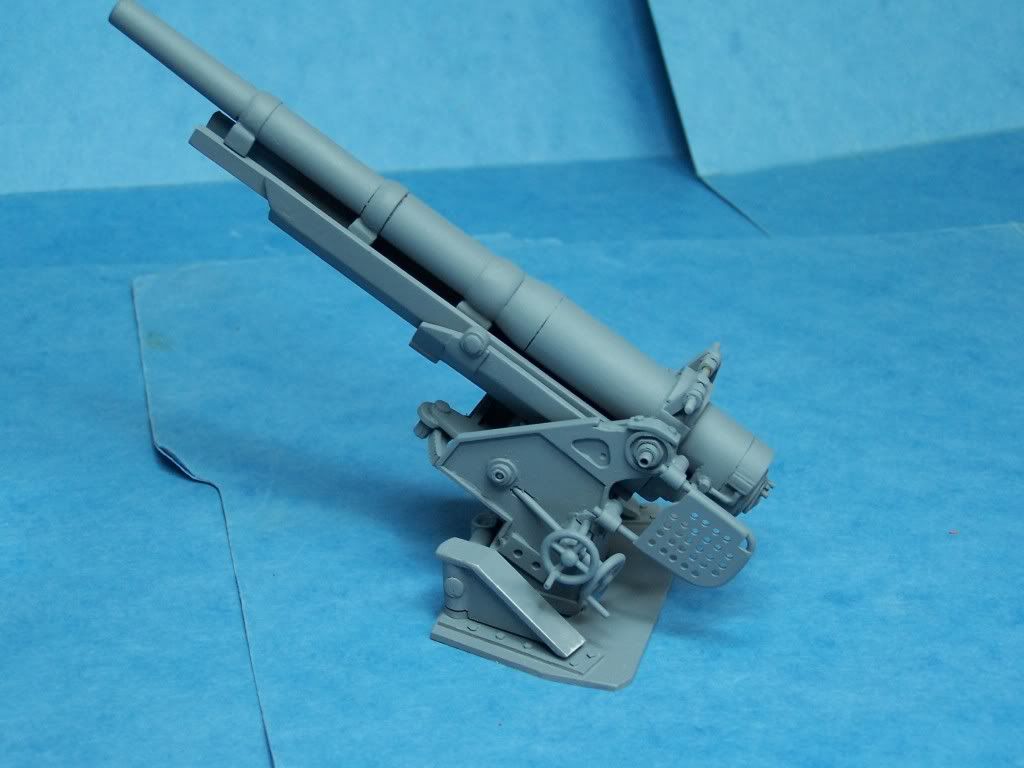
No just the 75 mm.plasticboy wrote:Excellent paint job!!
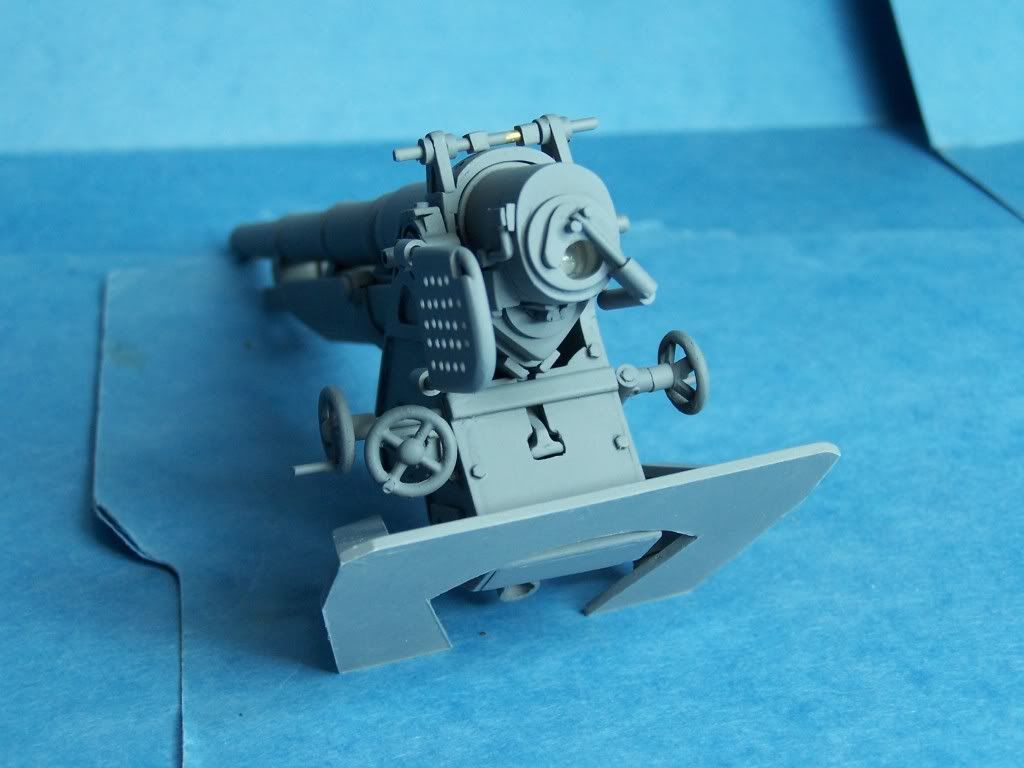
Are you planning to make 105 Howitzer on the vehicle? Really interesting!
I have asked for a show of hands for the 105 but only Panther F shows interest.
I kind of like the looks of the 105 better than the 75.
But the 75 was used in almost all of WW2 and the 105 toward the tail end.
The main gun is almost done. I will post pics on Sunday
-
- Officer - Brigadier General
- Posts: 9649
- Joined: Mon Jan 22, 2007 5:52 am
- Location: New Orleans
Well I have something to show after about 3 days of work.
Man this thing has a lot of bells and whistles.
Hey Grockwood your dad did a great job. I was finally able to down load the pics.
Here is my renditian
The hand crank on the right side will be the production cranks. The left side I stole off of my M-10 to stage the pics.
Hopefully this was the toughfest of the project and I hope it is all down hill after this.
I really , really thought that this would be an easy one.
-
- Officer - Brigadier General
- Posts: 9649
- Joined: Mon Jan 22, 2007 5:52 am
- Location: New Orleans
I almost have the ready rounds done and have all of the interior pieces roughed it.
The whole interior is different than the stock troop carrior and quad gun mount.
Starting from the front of the vehical.
front roller for those who need it
1 x radio box . I will make this a plain box the originals used a cover tarp to protect the dials and switches
1 x tall square supply box located behind driver
2 x jump seats located left/right side used to tend the gun
2 x tall thin tool boxes mounted against inside walls
2 x fuel cells mounted in the rear of the vehical
floor tool box
gun assembley
I was thinking of maybe offering a couple of options.
1. Quick kit with gun and shield only --$ 100 ?
2. Full set.---------------------------------$150 ?
Any inpute on this ?
Also last chance for a show of hands on the 105 . I think that I may only do the gun on this . I have no idea on how the interior looks . So I may just do the gun only . Est price around $100
So far I have about 6 guys interested in the 105. 4 more and I will make it.
-
- Officer - Brigadier General
- Posts: 5405
- Joined: Tue Oct 05, 2004 9:46 am
- Location: SOUTH JOISEY
- Contact:
Full set. $150 for, in essence, a new vehicle, is a deal.
In these days of never again, finding new 1/18 models for $39.95 at Wallyworld, Pickel is the only new vehicle game in town.
Thanks Matthew, for your help in keeping 1/18 alive Count me in for a 75mm kit.
TTT
In these days of never again, finding new 1/18 models for $39.95 at Wallyworld, Pickel is the only new vehicle game in town.
Thanks Matthew, for your help in keeping 1/18 alive Count me in for a 75mm kit.
TTT
Sometimes I am the windshield, sometimes, I am the bug.
-
- Officer - Brigadier General
- Posts: 9649
- Joined: Mon Jan 22, 2007 5:52 am
- Location: New Orleans
OK,
I think this is about 99 % done.
I need to make the radio box. I may just put the dails on it I am not sure just yet what I will do on that.
Here is the mock up using Robbie's track.
Here is the interior layout.
I put rails on the seat head rest . These can be cut off. The seat has braces behind it so I figured to make the whole rails as a locator. Glue the head rest on the side wall and cut it off if you like after the glue sets.
The space between the thin tool boxes and the petrol cells should be filled up with a jerry can . I will supply that as well.
I did not put the stifning braces in but I have the locator rings. I will supply them with the kit. I think that I would have messed up the locator hole rings if I would have put them on.
So there it is. Other than the radio box it should be ready for the moulds.
I will make the dozer moulds first then the M-3 .
Last edited by pickelhaube on Sat Aug 14, 2010 8:23 pm, edited 2 times in total.
-
- Officer - Brigadier General
- Posts: 9649
- Joined: Mon Jan 22, 2007 5:52 am
- Location: New Orleans
Re: 1/18 M-3 Tank Destroyer Prototype Done !!! ??
There is a big step from this
[/quote]
To this
[/quote]
To this