Page 1 of 8
1/18 Pavehawk Custom Mods
Posted: Wed Jan 21, 2009 6:39 pm
by pickelhaube
Well guys. I cleared it with P-39 Time to continue the progress of this
Pavehawk project on his post . I also asked you guys should I post the project under the BBI
Pavehawk ( P-39's post ) but I figured I should just go ahead and make a new post.
I finally got the 1/35 scale
Pavehawk model in and with Matt's ( Fox Hole Toys) Mc Farlin figure. So I have started the mini gun. I hope that I do Mig-29 some justice were ever he is.
The BBI and the 21st M-2 .50 cal are both long. About 3/8 of an inch too long. A M-134 is 37 inches long from flash surpesure to grips . That scales out to 2 inches long . That is TINY !!!! So I made it just a wee bit longer at 2-1/4 inches . I think it looks a lot better just a little longer.
I am not quite done with it. I need to finish the spade grip and do the flash gaurd. Here are pics. I made it so I can make casts out of it. Comments welcomed.
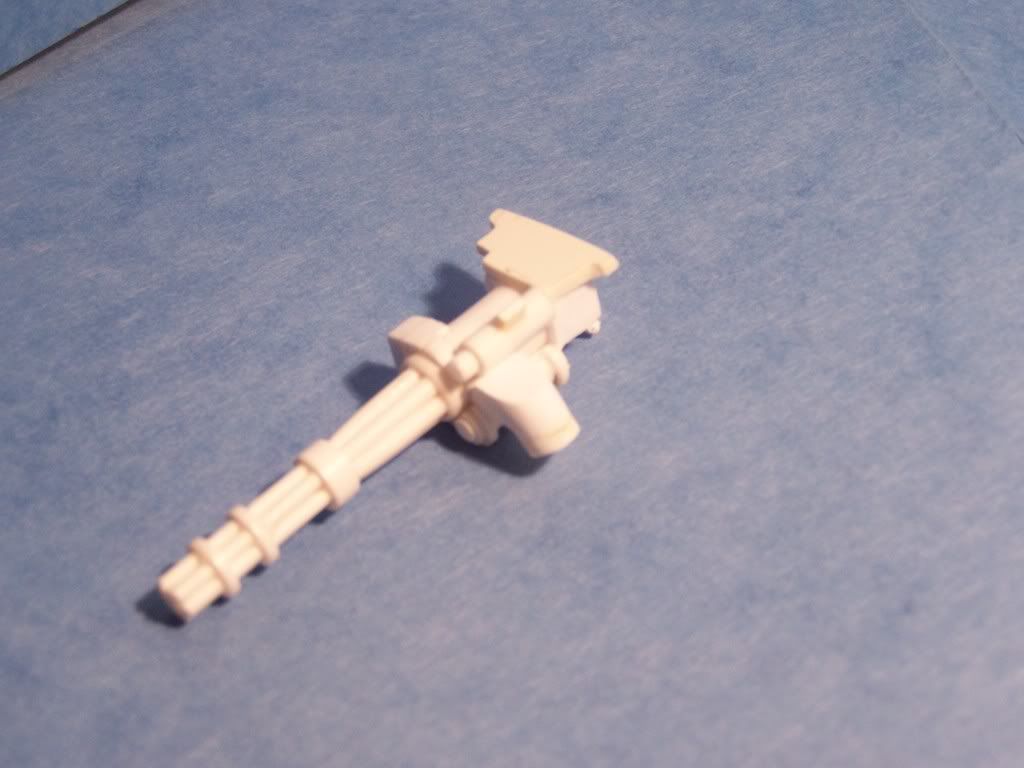
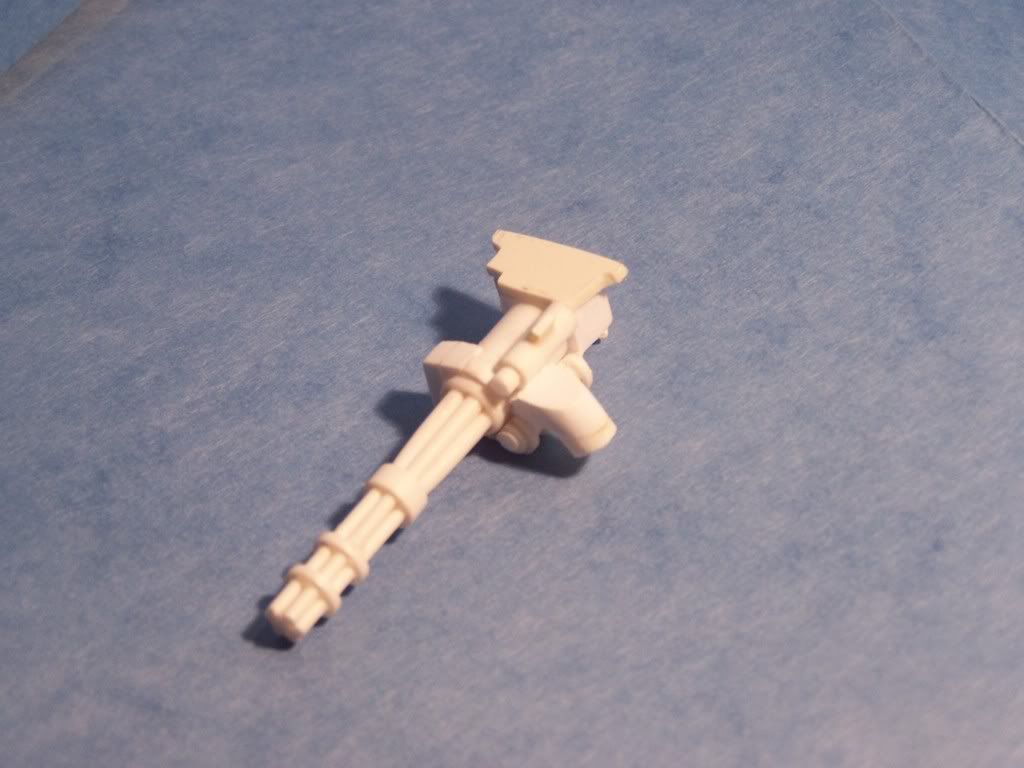
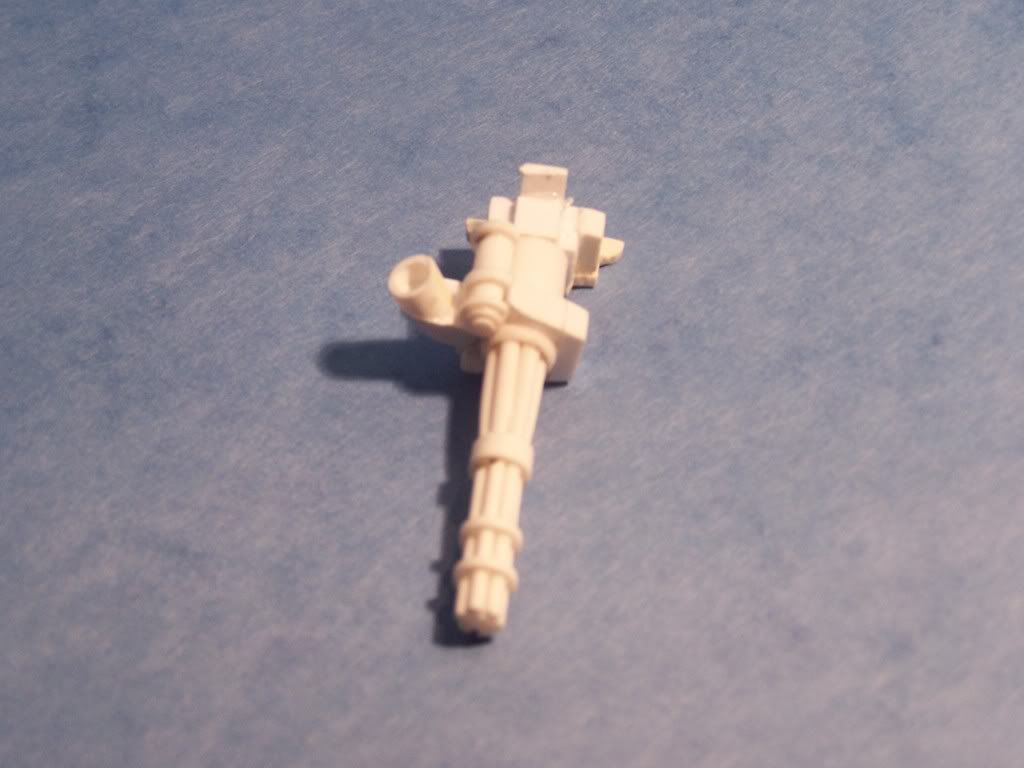
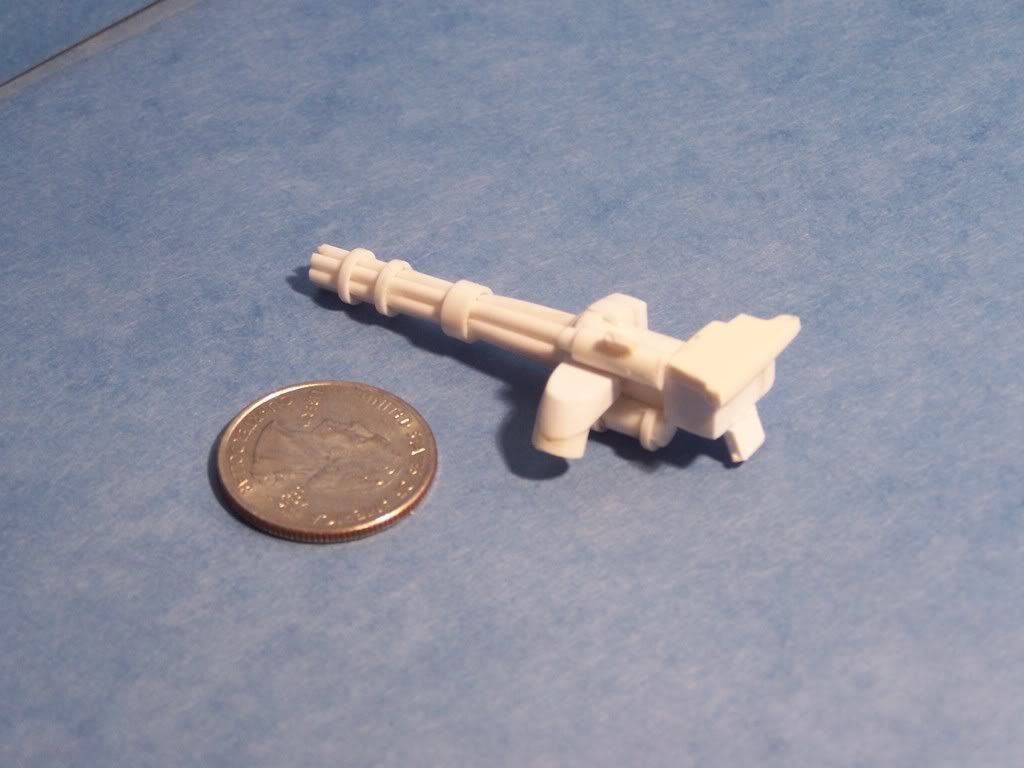
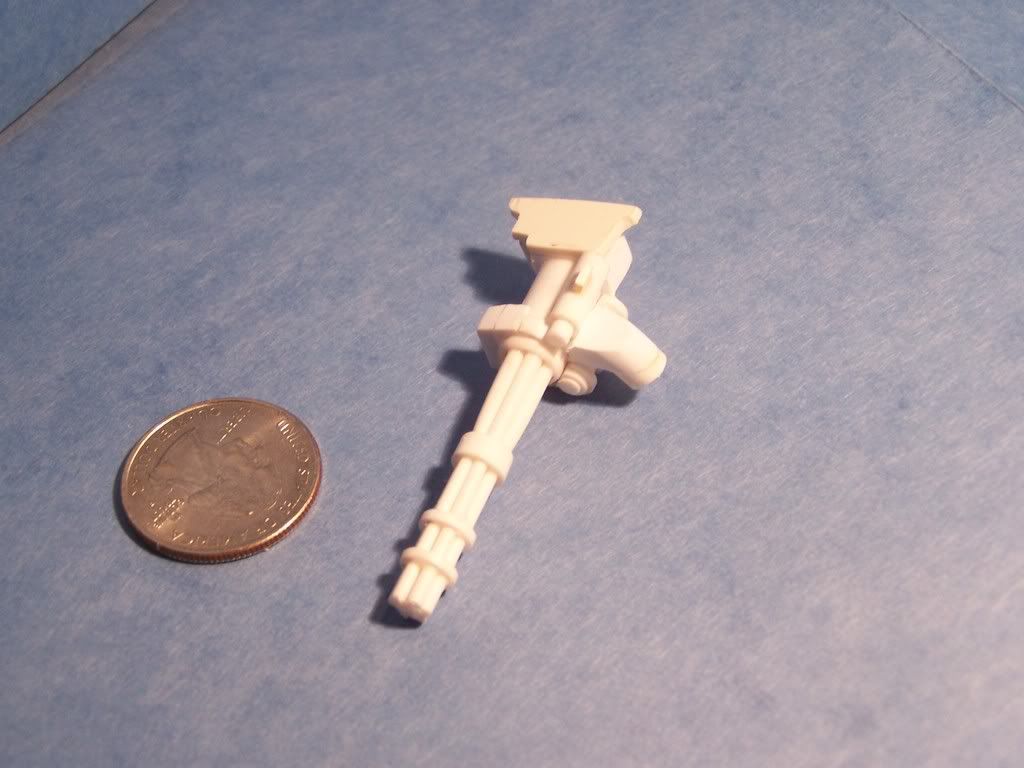
BTW this is about 6 hours worth of work so far


Posted: Wed Jan 21, 2009 6:42 pm
by cranedriver
Very nice work

as always!!
Posted: Wed Jan 21, 2009 6:45 pm
by B-29
Looks great!
Posted: Wed Jan 21, 2009 6:52 pm
by Birddog
Awesome work!!
Posted: Wed Jan 21, 2009 7:22 pm
by flyboy_fx
Posted: Wed Jan 21, 2009 8:10 pm
by USCGSARdog
Outstanding!

-Rob
Posted: Wed Jan 21, 2009 8:13 pm
by P39time
Beautiful work! I can't wait to see the refueling
probe.....
Posted: Wed Jan 21, 2009 8:41 pm
by aferguson
great stuff as always, pH. I received my stuka G parts and wirbelwind turret today. Awesome. The stuka cannons are jaw droppingly gorgeous and the canopy framing looks great. The wirbel turret is of course equally gorgeous. Fantastic.
Posted: Thu Jan 22, 2009 5:41 am
by pickelhaube
Thanks guys ,
I didn't want to let you down considering the great job Mig-29 did. When you make these things with the intent to mass producing the build has to be different. But I have it close to scale and I have all the important pieces on it.
The gun was fun to do I even tapered the barrels . If I get a chance after work I am going down to the local hobby shop to see if they have any tubing to fit the discharge chute. I am not sure how I am going to handel the feed belt. Resin wont due because it needs to be able to move. Maybe big rubber bands or the rubber off of a bike tube will do . Any suggestions ?
I do not think that I will work on it today. I have a job to do today at my regular work. So I will get back on it on Fri and hopefully I will have the boom done to show you guys.
Thanks again for all of the positive remarks. It means a lot to me.
Thanks as well for the support in these trying times.
Posted: Thu Jan 22, 2009 5:58 am
by VMF115
Posted: Thu Jan 22, 2009 12:31 pm
by pcoughran
Great Work Picklehaube!
Posted: Thu Jan 22, 2009 1:53 pm
by Spudkopf
Spikeman
You’re just so damned determined to make me cut those bloody crew-chief window open aren't you
Feed belt-
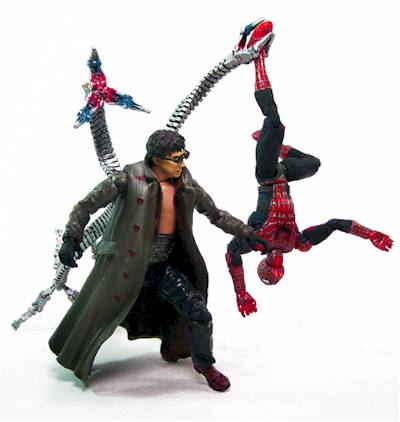
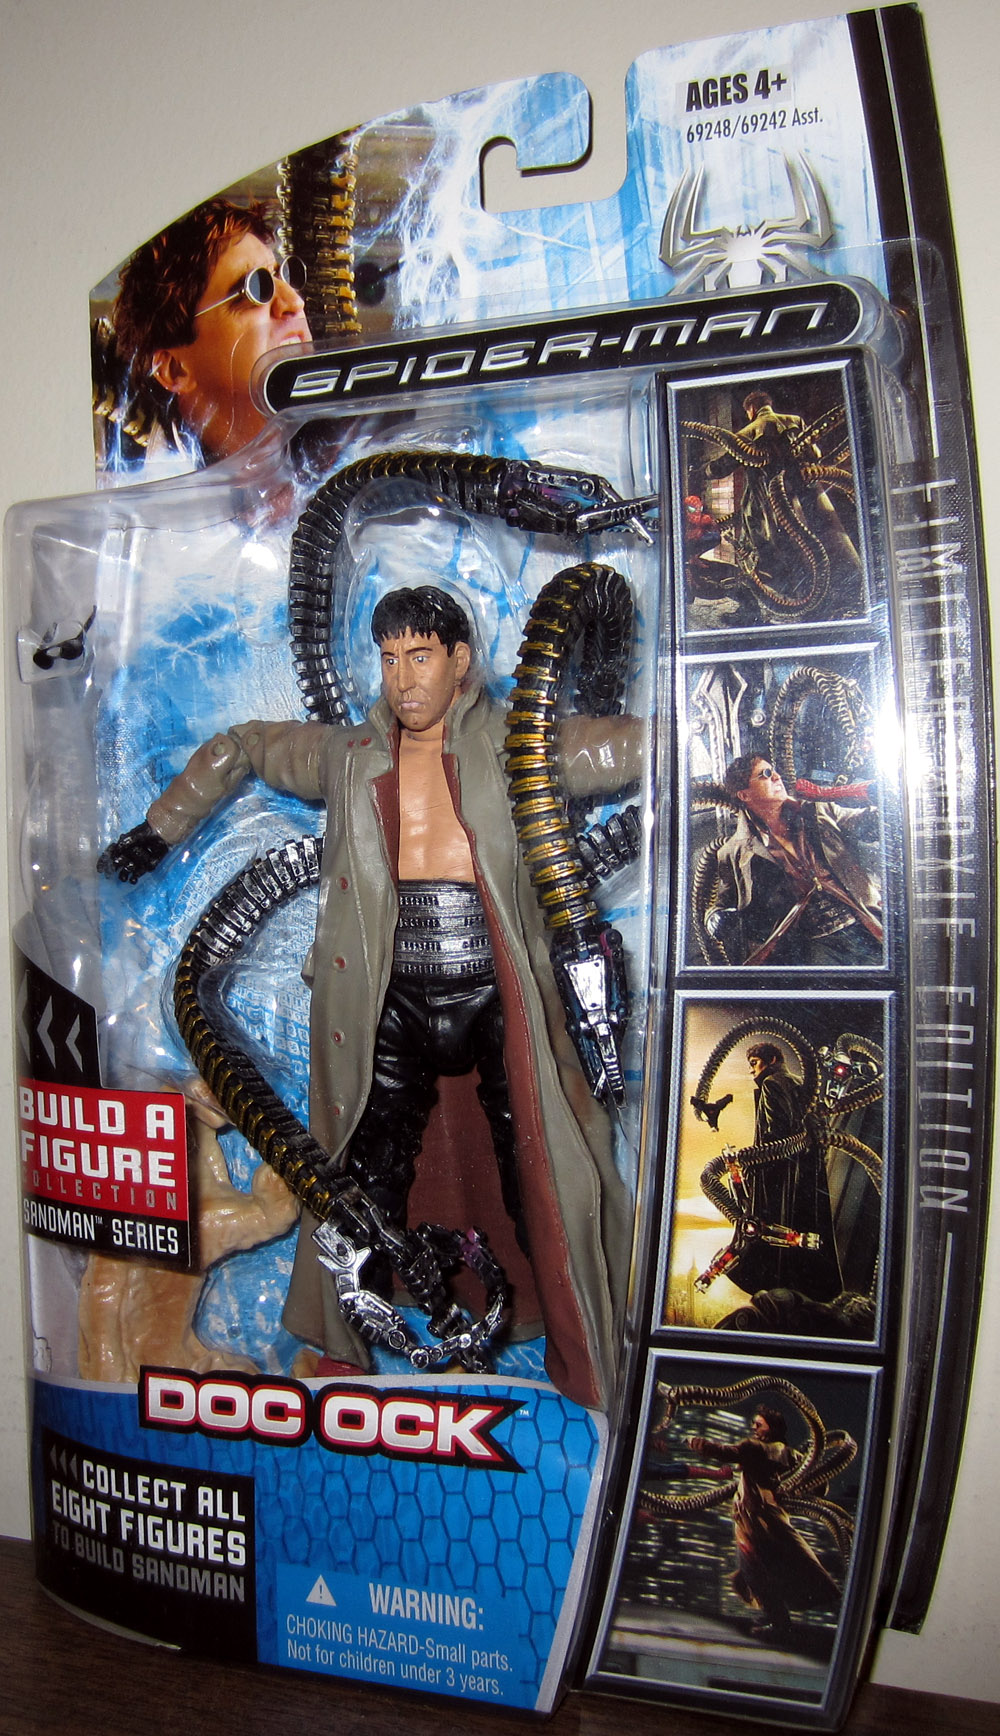
I've given these a lot of thought seeing I need to make some for my AH-6 conversions, so far I've been experimenting with the using cable ties (Zip-locks) for this purpose, not the best solution but ok at a distance, I also thought the Arms from the bad guy (Doc Ock) action figure from Spiderman 2 may be useful for this as well.
Posted: Thu Jan 22, 2009 9:54 pm
by Foxhole Toys
Matthew...you ARE da man!!!! Sweet mini guns and as always your work is incredible

Matt
Posted: Fri Jan 23, 2009 6:15 am
by iflabs
Ohhhhhh yeaaa! Put on the flash guards and bring it to life!
Posted: Fri Jan 23, 2009 6:40 am
by pickelhaube
Spudkopf wrote:Spikeman
You’re just so damned determined to make me cut those bloody crew-chief window open aren't you
Feed belt-
I've given these a lot of thought seeing I need to make some for my AH-6 conversions, so far I've been experimenting with the using cable ties (Zip-locks) for this purpose, not the best solution but ok at a distance, I also thought the Arms from the bad guy (Doc Ock) action figure from Spiderman 2 may be useful for this as well.
This is a good idea but I do not think that it will work. I would have to buy a bunch of them because I could not csat them. They need to be rubbery. The Hun tride to use a casting type rubber resin but he had horrible results. After I go to the hobby shop I may get some ideas while I am there.
Posted: Fri Jan 23, 2009 6:47 am
by B-29
Just a thought, but what about heatshrink tubing? If you cut the tube to a flat strip it would have enough flexibility and would be fairly cheap..
Posted: Fri Jan 23, 2009 9:04 am
by paulpratt
Man. That is incredible. I cannot wait to be able to purchase the full set when it is completed. Thank you so much for doing this type of stuff. It really makes this hobby something special.
Posted: Fri Jan 23, 2009 12:39 pm
by pickelhaube
B-29 wrote:Just a thought, but what about heatshrink tubing? If you cut the tube to a flat strip it would have enough flexibility and would be fairly cheap..
I was actualy thinking of the heat shrink tubing for the spent casing chute . Not so much for the belt feed. The belt feeds needs to be flat and about 5 mm to 7mm wide. That is about 3/16 to 1/4 inch and about 2mm thick. Any more ideas ?
Posted: Fri Jan 23, 2009 1:07 pm
by pcoughran
I think you could take a small guage wire and wrap it tightly around a rod of the right diameter (same diameter as the spent casing shute on the gun) then paint it black if it isn't already. This may have been what MIG29K did for his.
I've done this before to make coils for antennae on WWII aircraft with a smaller guage. A larger guage I think would capture the look of the spent casing tubing pretty well.
No ideas for the belt feed though.
Posted: Fri Jan 23, 2009 1:52 pm
by pickelhaube
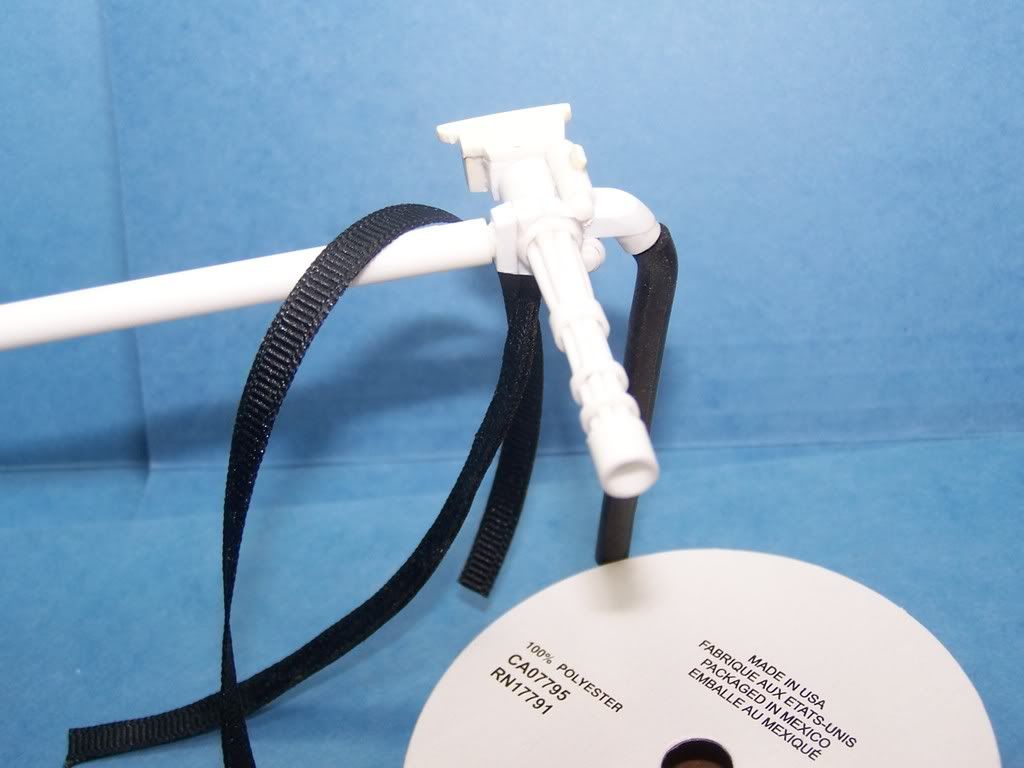
My wife gave me an idea on the belt feed. Use a ribbed ribbon.I am on my way to the fabric store . I hope nobody I know sees me.

Posted: Fri Jan 23, 2009 4:12 pm
by pickelhaube
Well today worked out just fine. I didn't work on the mini but I solved the discharge chute and belt feed issue so I am ready to go in a forward direction. The cloth tape is PERFECT and the spent casing chute is a simple
fuel line hose. Pics did not come out all that well but you get the idea.
Posted: Fri Jan 23, 2009 4:16 pm
by Sabrefan
That is awesome Matthew! Very cool indeed!
Posted: Fri Jan 23, 2009 9:48 pm
by pcsguy88
This is going to add so much to our birds. Thanks again.
Posted: Sun Jan 25, 2009 5:27 pm
by pickelhaube
I have not had the time to work on this project as much as I like but I will spend all day Monday and Tuesday on it.
Here is the
probe that I have started. The base is roughed in but you get the general idea. I was not sure how to do the tube mount. The real mount and landing gear fairing is a all in one deal. Other than wrap the whole thing or totaly cut it off of the model I came up with this.

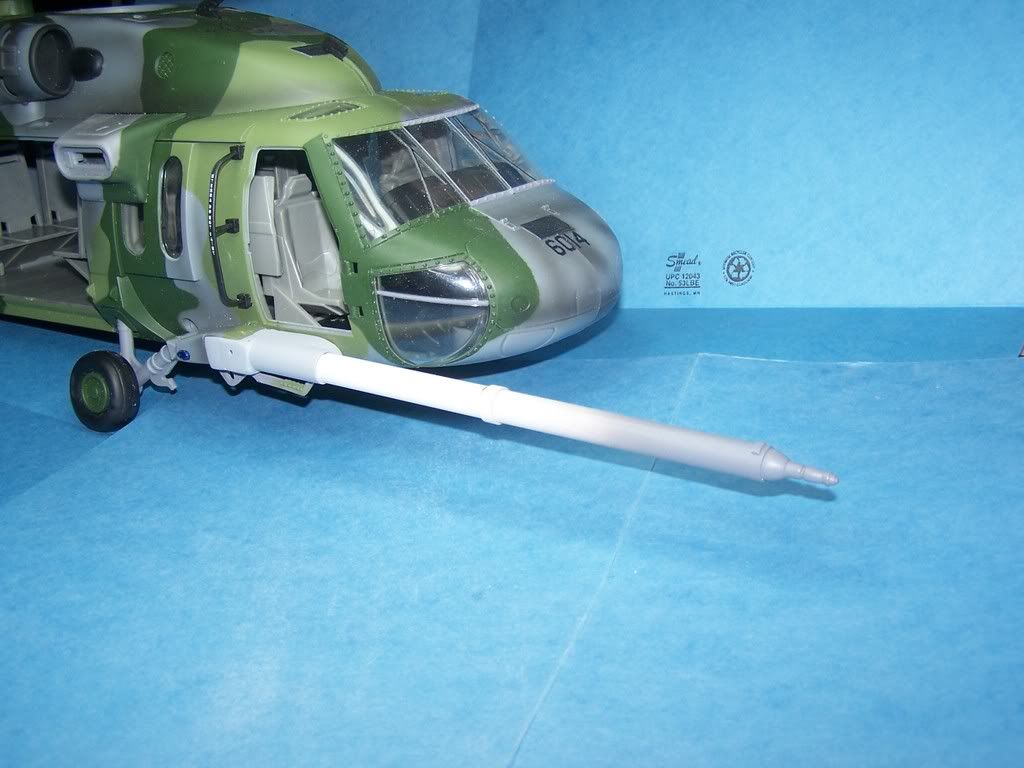
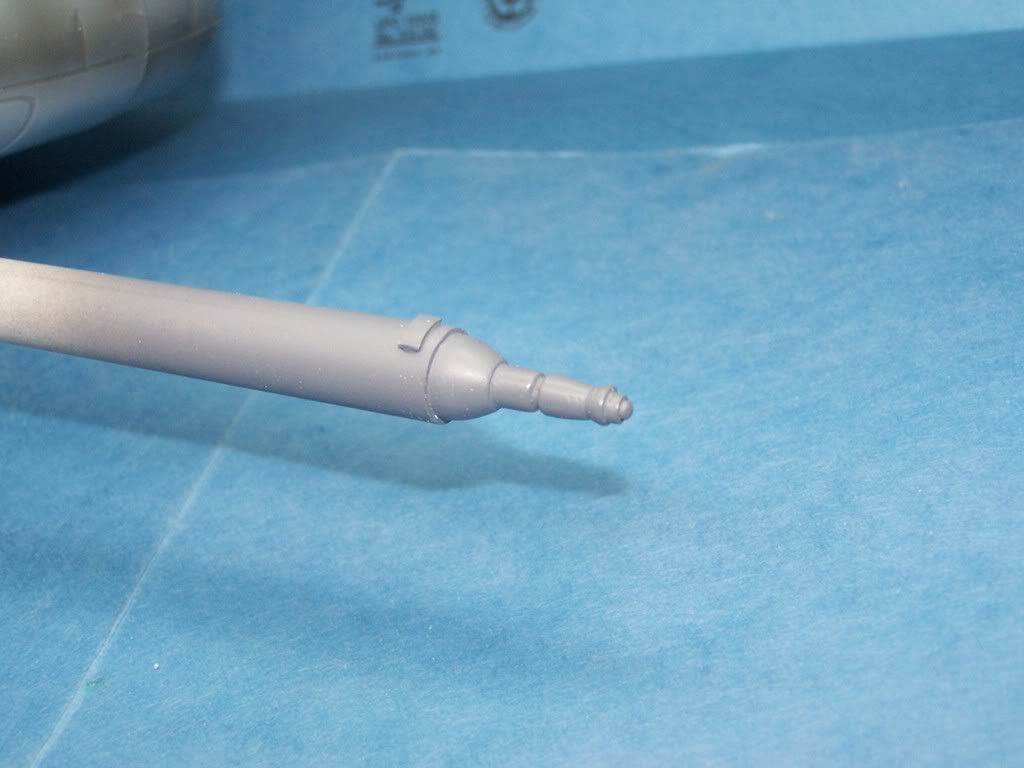
Here is the actual
probe tip. I think I got it real close. All I need to do is finish the mounting brace and work out the wiring on the side and the
probe is done. The desire to have this
probe is what started this project.
Posted: Sun Jan 25, 2009 5:52 pm
by iflabs
I may have missed it, but is the kit going to arrive prepainted?