Hi!
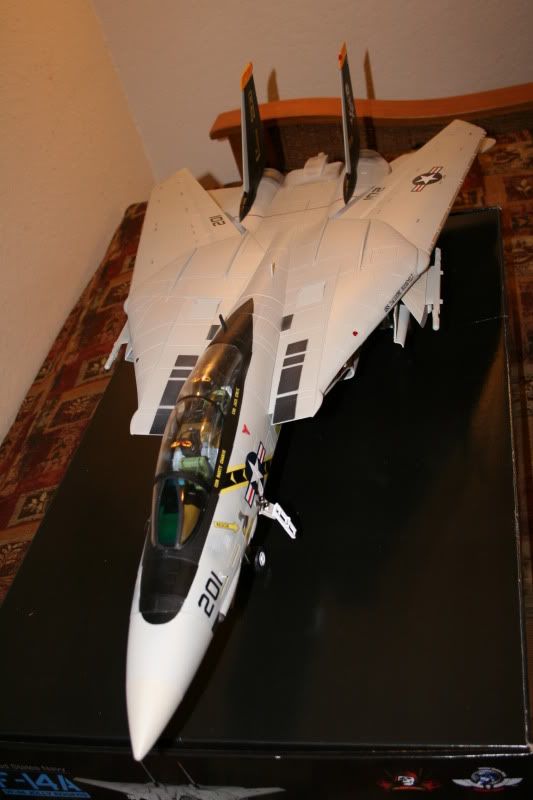
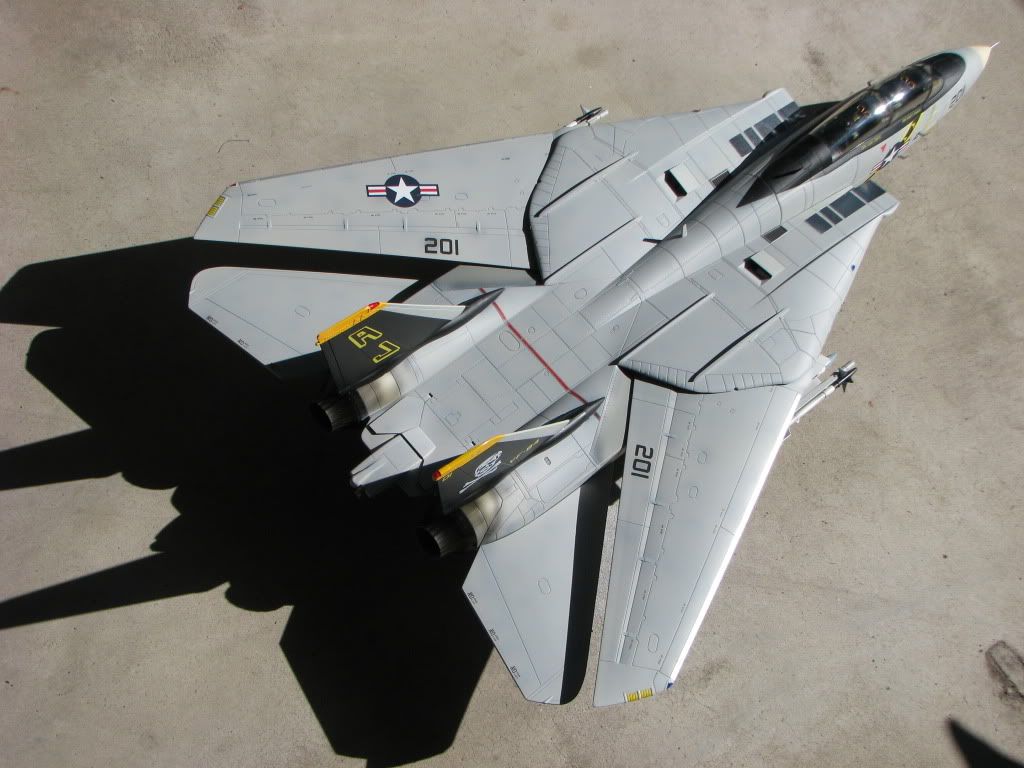
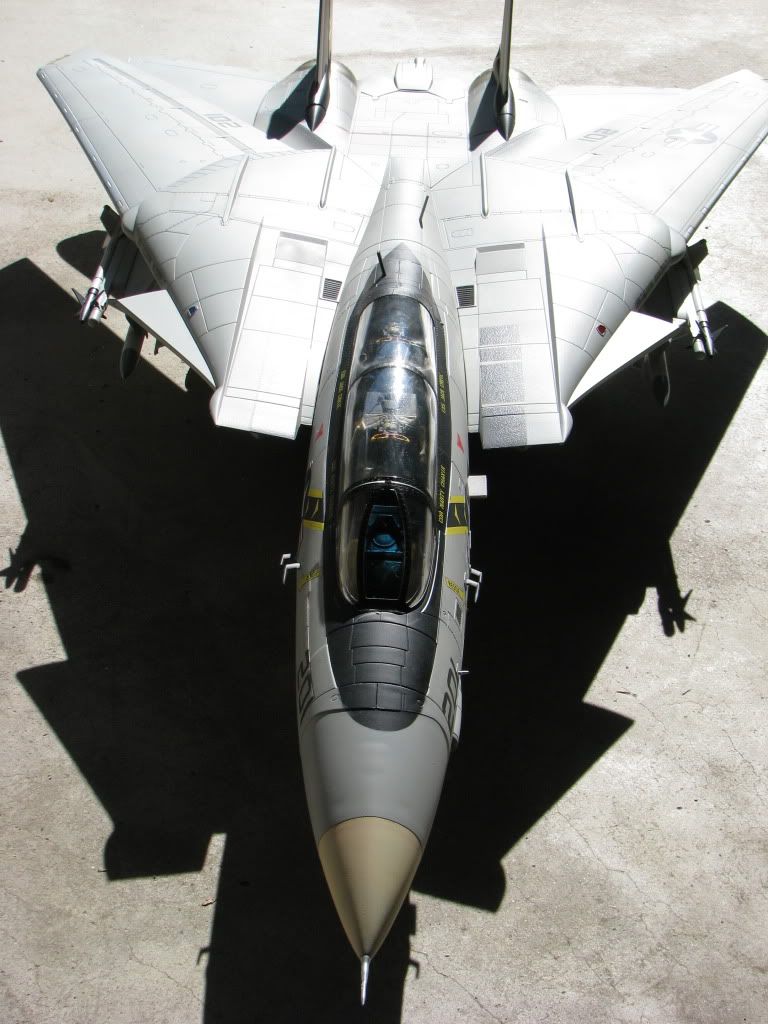
First post here - I noticed that the F14 sits too high on it's landing gear - so I lowered mine to what I think is a more scale appearance. This was pretty easy. The main gear are made to sit at a level that is scale - all that prevents it from doing so are the compressed springs inside each leg.
To remove these, you pull the pin holding the oleo scissors linkage out (be careful, pull the pin straight out, twisting it may crack something). This allows the whole strut with the wheel to be removed - simply fish the spring out of the tube, and then reinsert the strut and the pin. You'll see the main gear has a scale compression on it now.
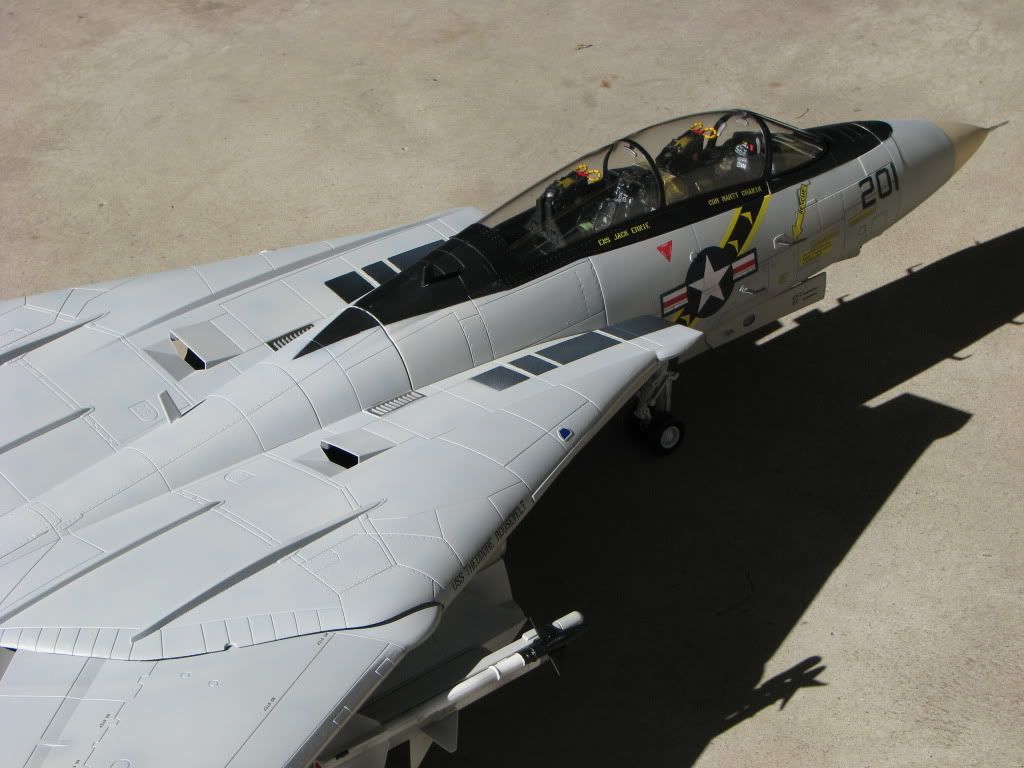
The nose gear is a bit more involved. You'll notice that the part of the oleo that actually slides up into the fixed part of the strut is square - the part that shows is round and painted silver. To compress this further, you have to file off about a 1/4" of the round part so it matches the square part. Once you do this, the strut will compress further.
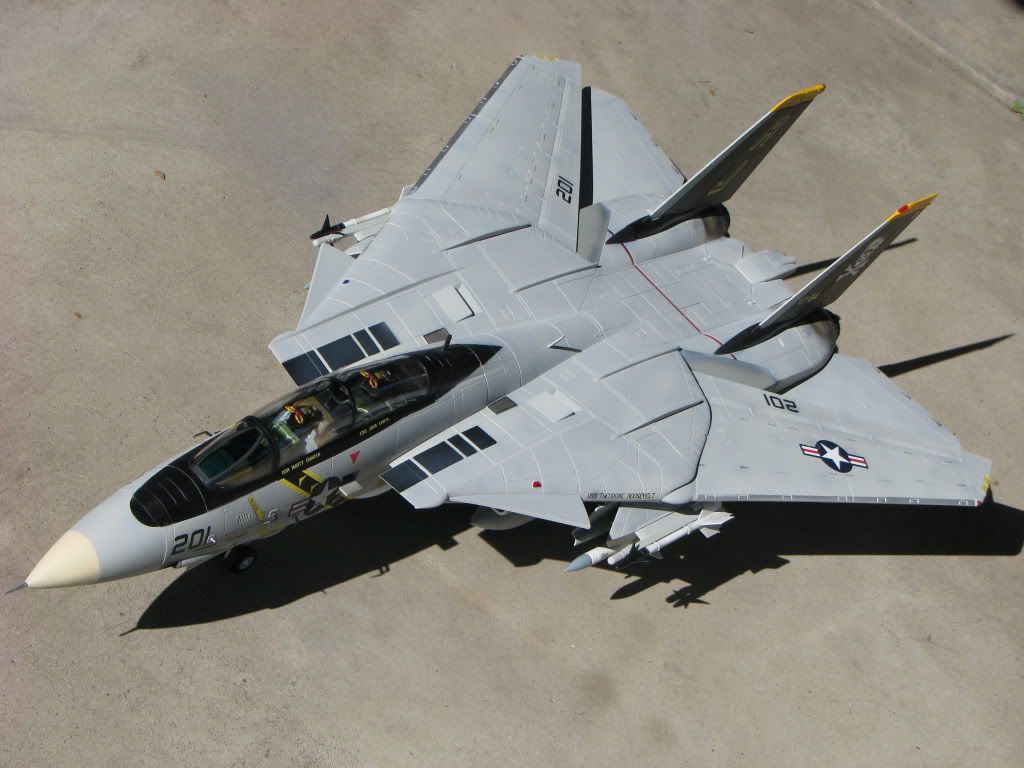
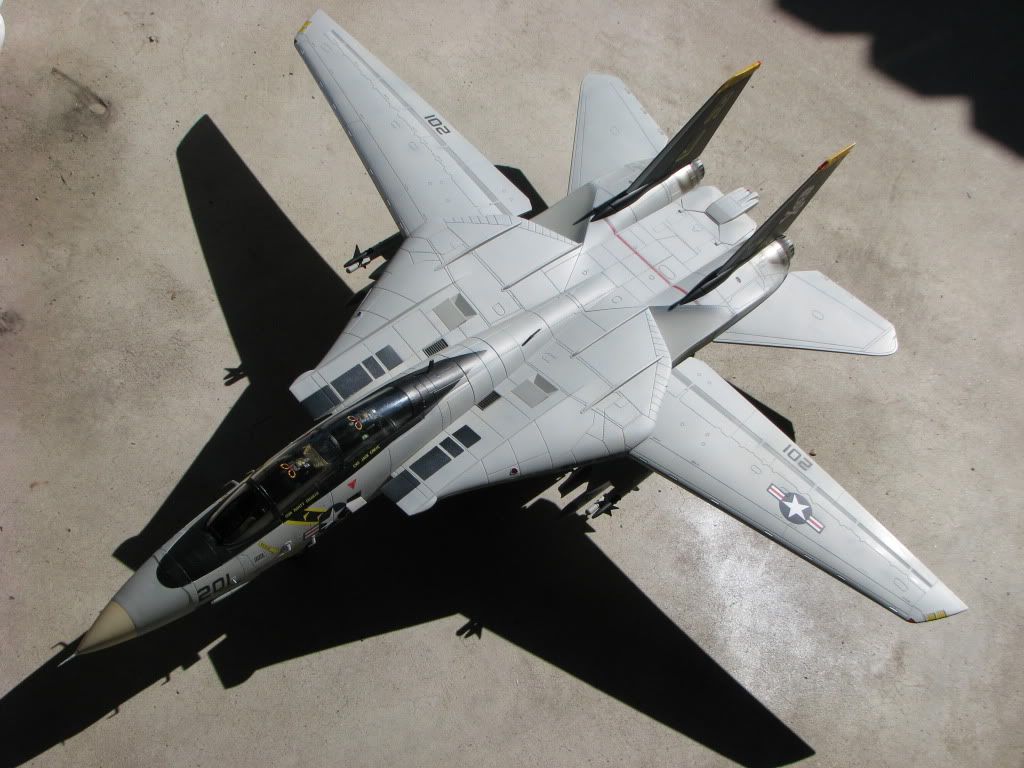
Hope this helps somebody - I think my F-14 looks more scale now!
Airwrench
POST ALL JSE F-14 QUESTIONS AND DISCUSSION HERE


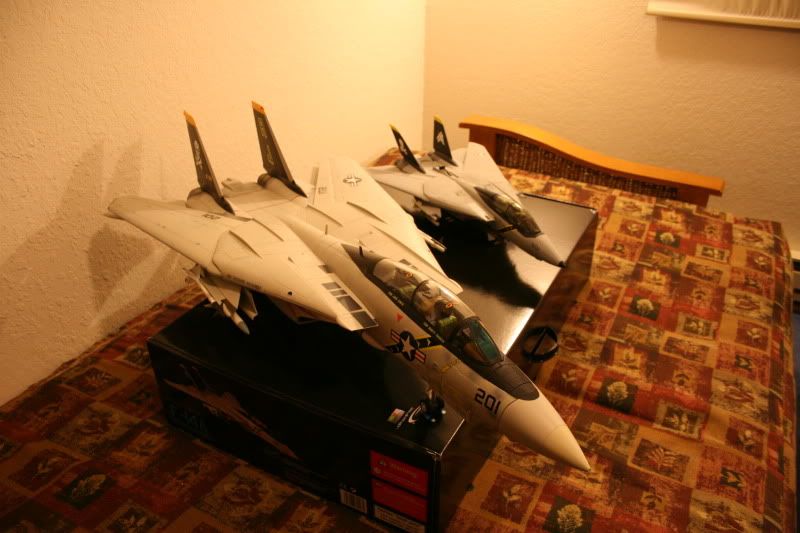
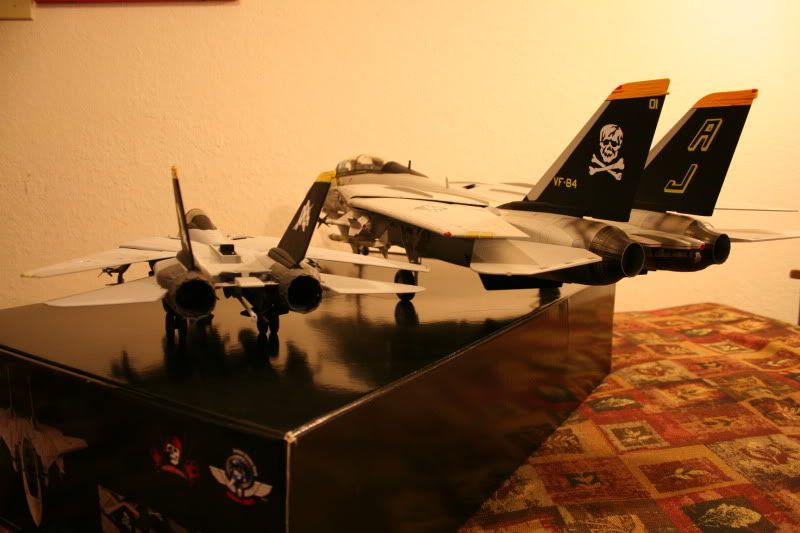
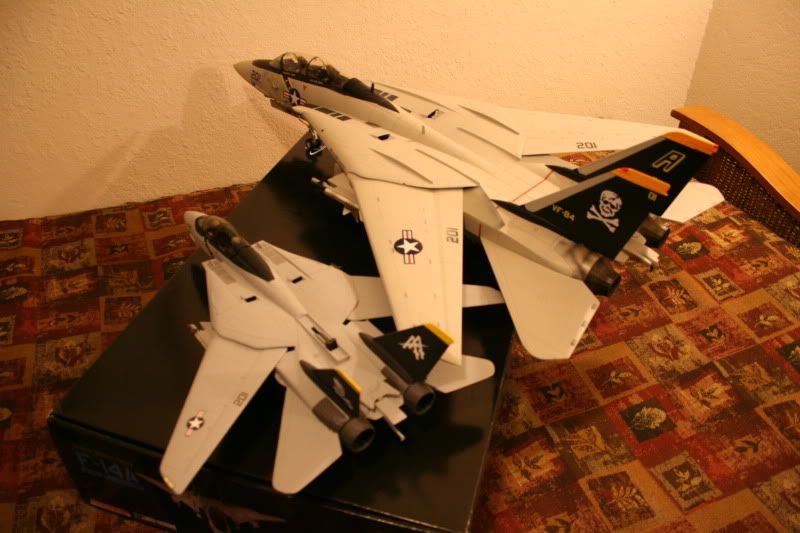
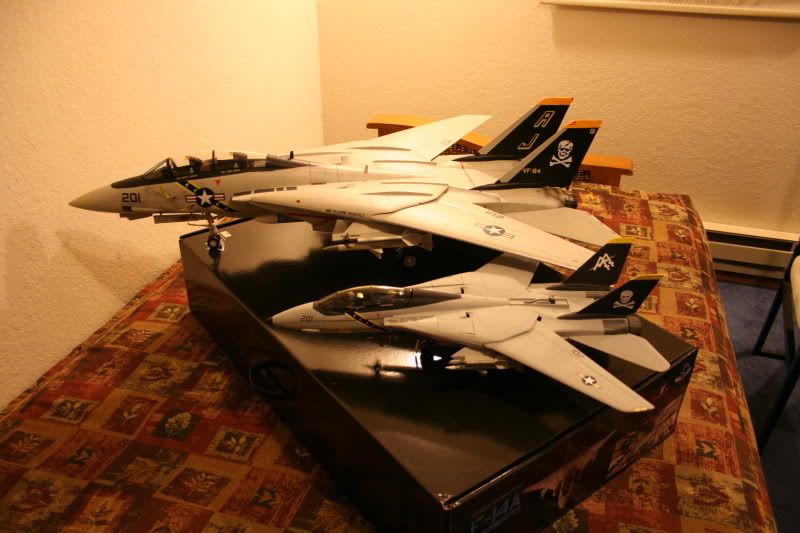
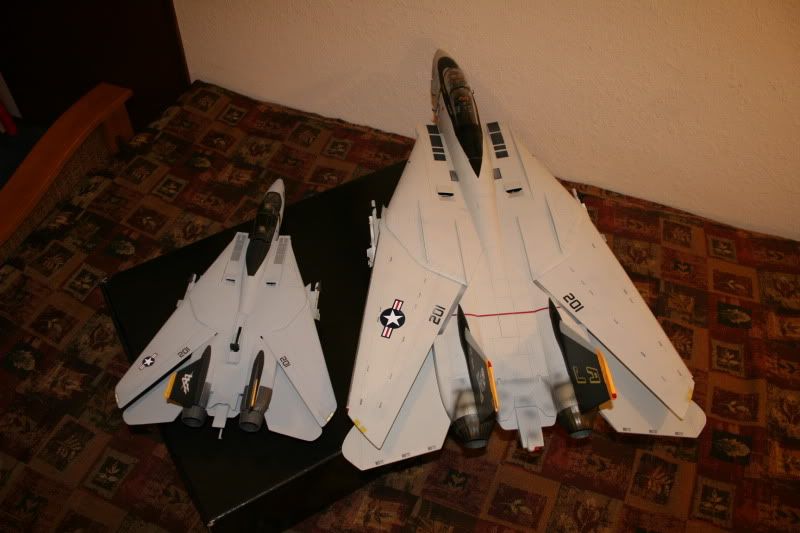
got my F-14 today from WWII Attic. It's certainly a bo-hemoth. Very nice overall but mine had these wierd purple spots painted all over it....anyone else have that?
ahem....some of the spots are going to be tricky to touch up, being over top of maintainance stencils etc but i think leaving some of the spots partially exposed will look decent and give a more realistic weathered look....as opposed to the peppered with purple and grey spots look it has now.
who in hell thought that was a good idea??????
i never met an airplane i didn't like...


-
pcoughran
- Officer - 1st Lieutenant

- Posts: 596
- Joined: Mon Jun 30, 2008 10:58 am
- Location: 1, USA, MO, St. Louis
Pizzaguy,
I've been anxiously awaiting the F14 stand as my landing gear are broken (maybe you've seen my posts - more to come).
What's the difference/price between the two versions. The shelving I have is 14" clearance so would the stand work in that space (please say yes)?
I love your other stands and will send pics when everything is set up finally - waiting on this big bird to be settled.
"Where's dat waskily wabbit?"
____________________________________________
Good Trades: Ostketten, Pickelhaube, Cornbreadfred, Sledgehammer, Pizzaguy, caesarbc3,jwcarpenter
____________________________________________
Good Trades: Ostketten, Pickelhaube, Cornbreadfred, Sledgehammer, Pizzaguy, caesarbc3,jwcarpenter
-
pcoughran
- Officer - 1st Lieutenant
- Posts: 596
- Joined: Mon Jun 30, 2008 10:58 am
- Location: 1, USA, MO, St. Louis
I think I know why my gear broke. The first gear that broke has no metal rod in the strut like the other gear does. When it broke it caused undue pressure on the second "good" gear causing it to fail at the tiny angled piece that holds the whole strut in from the spring pressure.
I inserted a carbon fiber rod in broken gear but then the other good gear broke at the strut - just above where the metal rod ends about 1/4" above the wheel. The rod does not extend completely to the end of the piece and it broke right where it ends. When it broke, then the other gear cracked (again) right in the same place where I inserted the carbon fiber rod till it stopped against the end of the "tunnel". So, basically I think JSI forgot to put a metal rod in one of my gear which has led to all my problems. the other design flaw is the metal rod does not extend far enough to the wheel and still leaves a very susceptible spot for cracks and breaks right where the wheel connects.
After several breaks on both gear they are shot and I will have to display gear up (or off completely probably as I don't think they will hold together at all now).
Maybe some of you who have no gear problems have the metal rods in both struts. I'm sure they don't extend all the way to the end of the wheel connection though so you are still vulnerable there. Be careful.
"Where's dat waskily wabbit?"
____________________________________________
Good Trades: Ostketten, Pickelhaube, Cornbreadfred, Sledgehammer, Pizzaguy, caesarbc3,jwcarpenter
____________________________________________
Good Trades: Ostketten, Pickelhaube, Cornbreadfred, Sledgehammer, Pizzaguy, caesarbc3,jwcarpenter
-
tmanthegreat
- Officer - Brigadier General

- Posts: 11240
- Joined: Tue Oct 05, 2004 7:38 pm
- Location: Central California
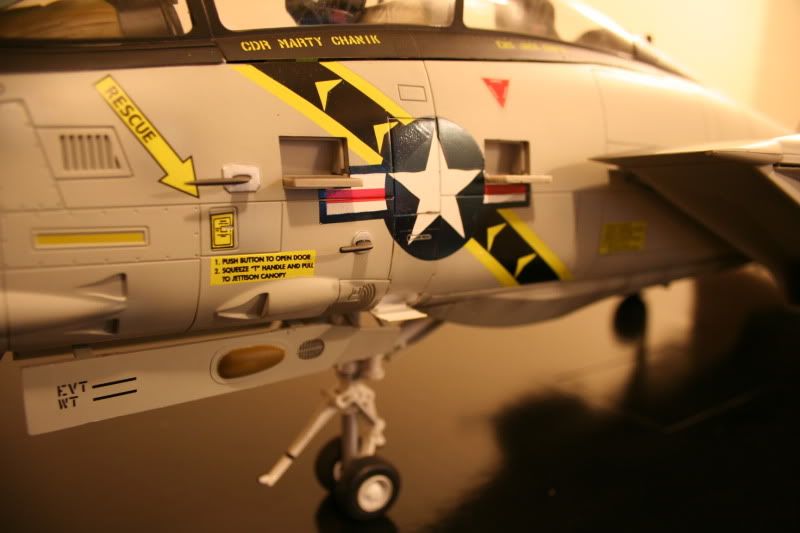
To mask the markings, carefully apply tape along the edges of the markings so that you can get the paint as close to the edge of the marking as possible.aferguson wrote:got my F-14 today from WWII Attic. It's certainly a bo-hemoth. Very nice overall but mine had these wierd purple spots painted all over it....anyone else have that?
ahem....some of the spots are going to be tricky to touch up, being over top of maintainance stencils etc but i think leaving some of the spots partially exposed will look decent and give a more realistic weathered look....as opposed to the peppered with purple and grey spots look it has now.
who in hell thought that was a good idea??????
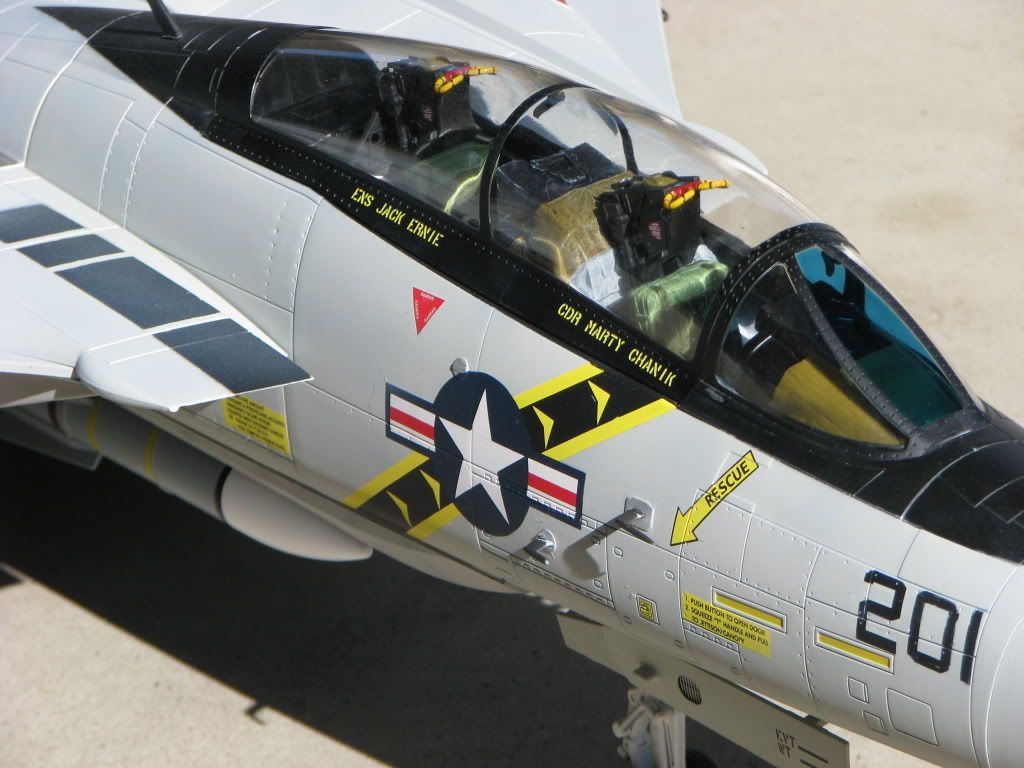
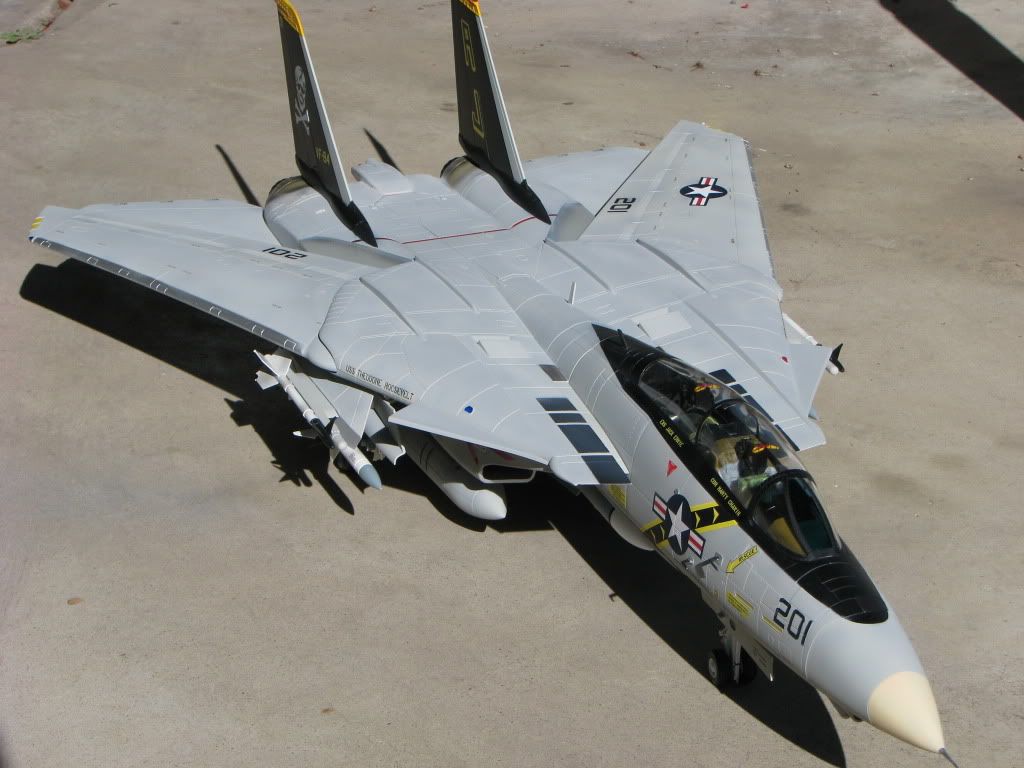
On my plane, however, I simply left some of the spots partially showing where they interefered too greatly with the markings (look at the number 201 on the nose in the picture below). The tactic made for a good weathered look. Afterall, my goal when repainting was not to get rid of the spots completely, but to obscure them and work them into the weathering:
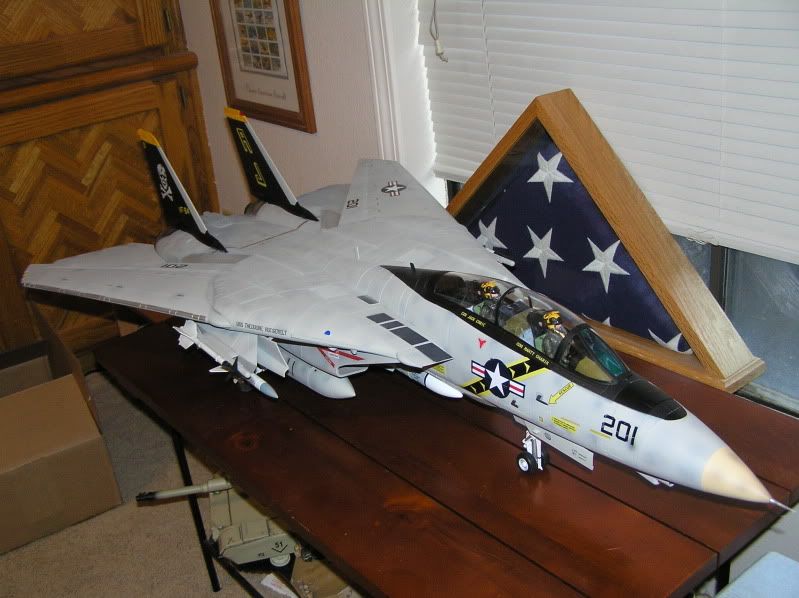
Judging by how some of the spots on my plane originally consisted of the dark paint with a lighter gray superimposed on top leads me to believe this was the effect JSI was trying to go for, only they did not get it right.
"If you fail to plan, you plan to fail."
-
CessnaDriver
- Corporal

- Posts: 61
- Joined: Thu Nov 24, 2005 8:20 pm

-
Black Lion VF-213
- Officer - 2nd Lieutenant

- Posts: 403
- Joined: Sun Jan 21, 2007 7:06 pm
- Location: Charleston, SC
-
ww2collecter
- Sergeant

- Posts: 124
- Joined: Tue Feb 08, 2005 6:04 pm
- Location: St. Louis
-
tmanthegreat
- Officer - Brigadier General
- Posts: 11240
- Joined: Tue Oct 05, 2004 7:38 pm
- Location: Central California
The model should assemble easily, but here are a few pointers:
Installation of the cockpit section: It will be a tight fit, but should go in there. There are grooves along the side so you can see where to line it up.
Nosecone: The nosecone will fit on a special hinge so that it can open and close. Use care when putting it on by applying a little force. The hinge is not tight enough to allow the nosecone to stay up on its own in the open position, though using glue to create some sort of friction may solve that.
The rest of the plane (tail surfaces, elevators, missile racks, and missiles) is pretty easy to assemble. They just go into their proper slots on the main fuselage.
Landing Gear: This is the most fragile part of the model in many respects. They will arrive in the box retracted or at least partially retracted. Carefully pull out the main gear while twisting them into the correct extended position. There is a tab on the rear of the gear that fits into a slot on the fuselage, and there is another tab that extends to fit into a slot on the side of the fuselage. With those in place, unfold the main pushrodand extend it into place. A little peg will fit into the hole on the roof of the landing gear bay. There is another little rod that can then be extended to provide support to the main pushrod. The nosegear will simply pull back out of its bay and then you fit the rear door onto the little hook on the back side of the main gear strut.
Merit International has posted directions on how to properly extend the gear: http://www.merit-intl.com/month/vf-84%20landing.htm
Additional moving features: the upper and lower airbrakes on the rear of the plane all function, but do not stand up on their own. A little glue to provide friction on the pushrods for these may do the trick.
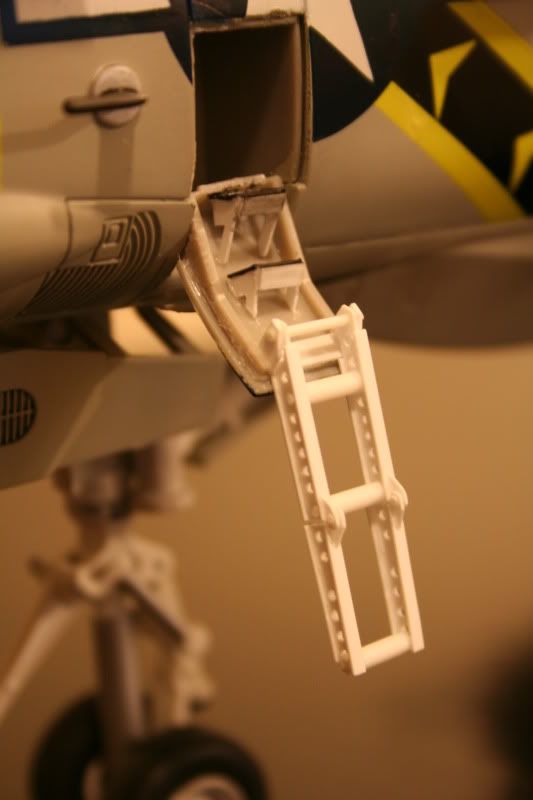
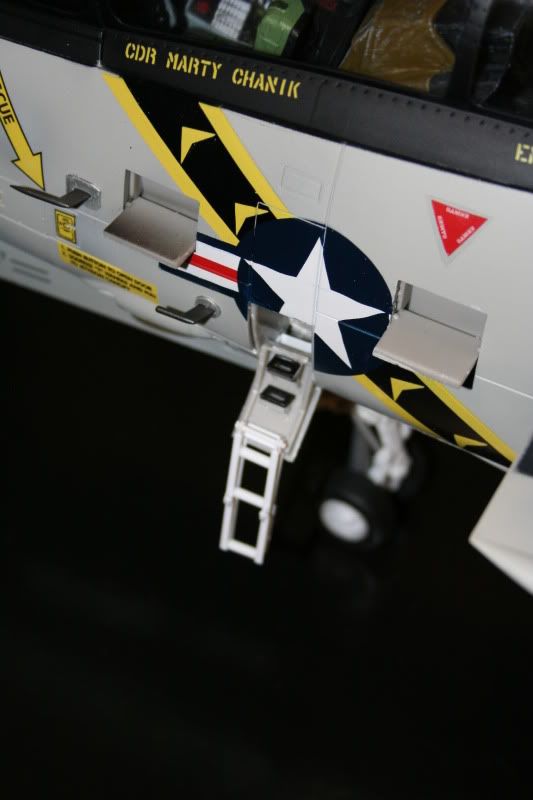
The glove vanes and cockpit steps are difficult to get out. You may have to use an exacto knife to open those pieces.
The cockpit canopy will stand up on its own. There is a pushrod behind the rear ejection seat that when pushed back, will rest on a ledge and hold the canopy up.
The canopy itself stays closed tightly. Use care when opening it.
Thats all I can think of now off the top of my head. Be sure to look over Merit's landing gear instructions from the link above. The landing gear tend to be fragile. While I've not had a problem with mine, other members have.
I'm sure other members will be able to contribute more info on the do's and dont's about the F-14
Installation of the cockpit section: It will be a tight fit, but should go in there. There are grooves along the side so you can see where to line it up.
Nosecone: The nosecone will fit on a special hinge so that it can open and close. Use care when putting it on by applying a little force. The hinge is not tight enough to allow the nosecone to stay up on its own in the open position, though using glue to create some sort of friction may solve that.
The rest of the plane (tail surfaces, elevators, missile racks, and missiles) is pretty easy to assemble. They just go into their proper slots on the main fuselage.
Landing Gear: This is the most fragile part of the model in many respects. They will arrive in the box retracted or at least partially retracted. Carefully pull out the main gear while twisting them into the correct extended position. There is a tab on the rear of the gear that fits into a slot on the fuselage, and there is another tab that extends to fit into a slot on the side of the fuselage. With those in place, unfold the main pushrodand extend it into place. A little peg will fit into the hole on the roof of the landing gear bay. There is another little rod that can then be extended to provide support to the main pushrod. The nosegear will simply pull back out of its bay and then you fit the rear door onto the little hook on the back side of the main gear strut.
Merit International has posted directions on how to properly extend the gear: http://www.merit-intl.com/month/vf-84%20landing.htm
Additional moving features: the upper and lower airbrakes on the rear of the plane all function, but do not stand up on their own. A little glue to provide friction on the pushrods for these may do the trick.
The glove vanes and cockpit steps are difficult to get out. You may have to use an exacto knife to open those pieces.
The cockpit canopy will stand up on its own. There is a pushrod behind the rear ejection seat that when pushed back, will rest on a ledge and hold the canopy up.
The canopy itself stays closed tightly. Use care when opening it.
Thats all I can think of now off the top of my head. Be sure to look over Merit's landing gear instructions from the link above. The landing gear tend to be fragile. While I've not had a problem with mine, other members have.
I'm sure other members will be able to contribute more info on the do's and dont's about the F-14
"If you fail to plan, you plan to fail."
-
general hawk59
- Private First Class

- Posts: 10
- Joined: Sat Dec 05, 2009 7:33 pm
- Location: california
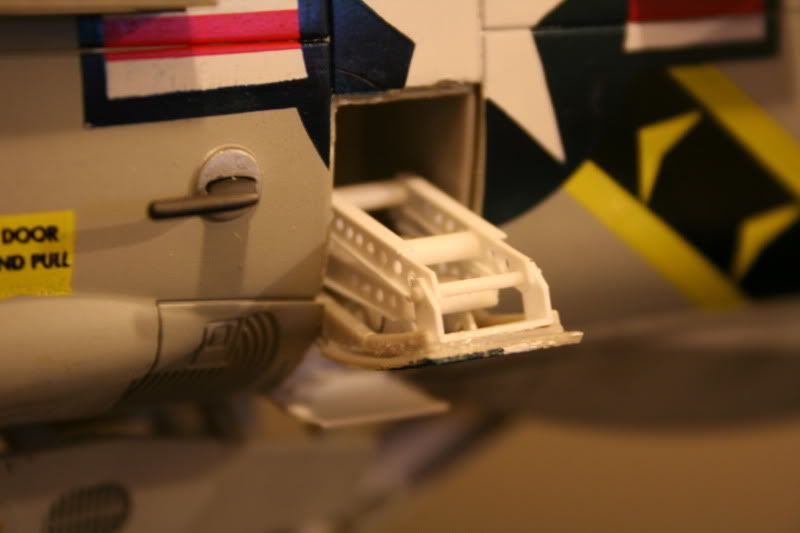
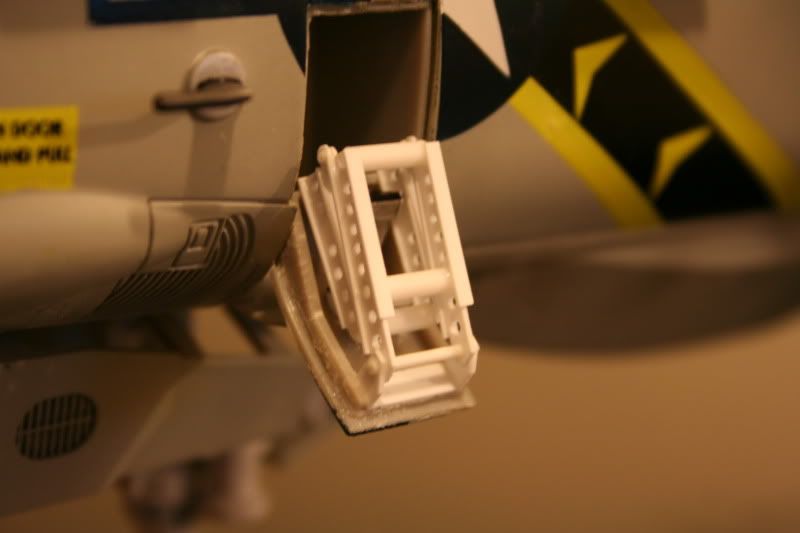
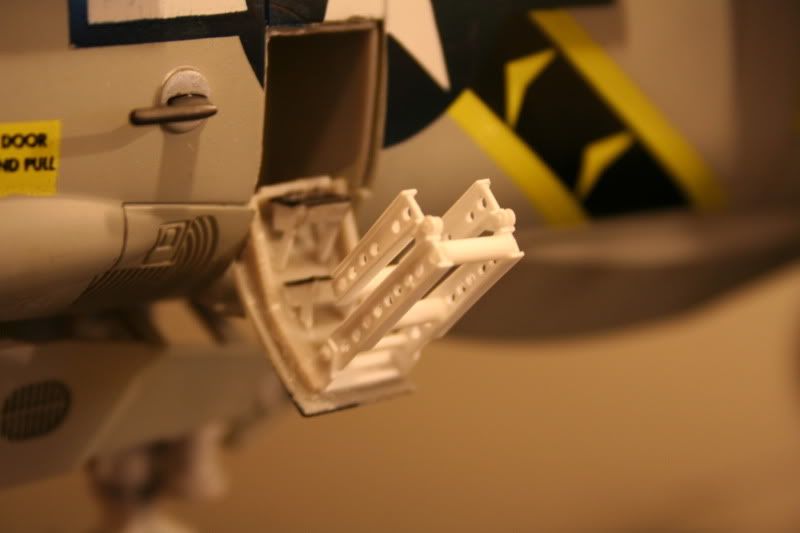
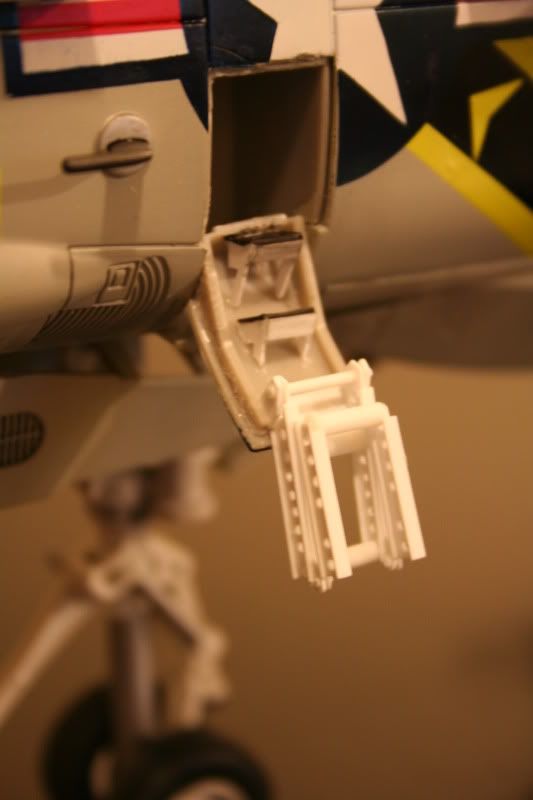
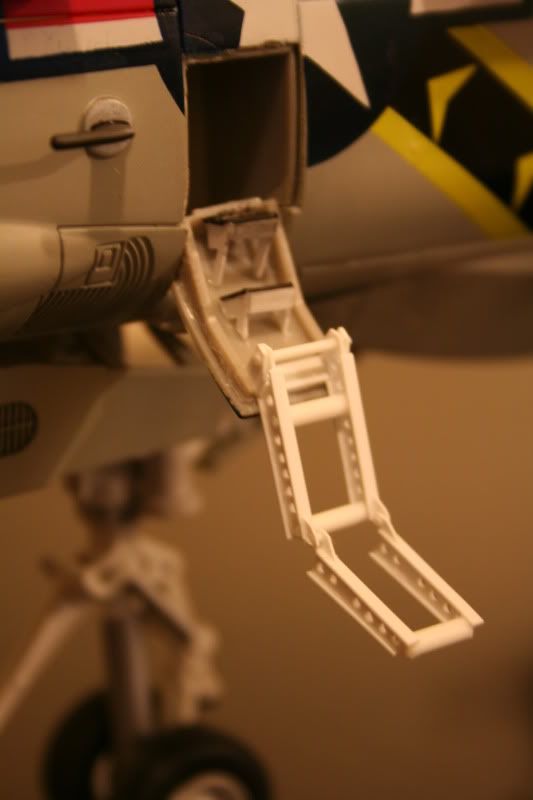
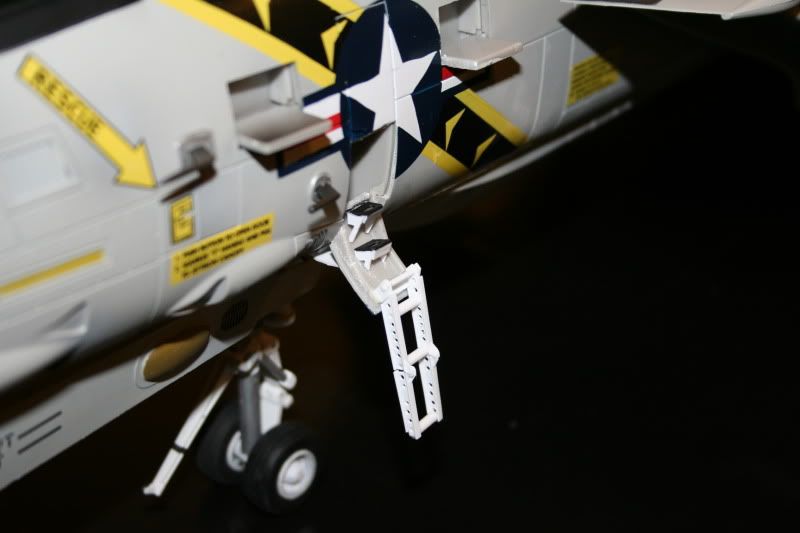
ladder
hey that ladder is awesome.. Were did you get those parts to make that. I want to do the same to mine.
-
Coreyeagle48
- Officer - Brigadier General
- Posts: 2070
- Joined: Mon Oct 04, 2004 11:25 am
- Location: Lehigh Valley, PA
.
i had the same question about the ladder?
Trade References
tmanthegreat
hworth18
raiderad6
Snake
USCGSARdog
ThreeToughTrucks
Jnewboy
The one and only "Razor"
Rowsdower
Pizzaguy
pickelhaube
vmf 214
popeye357
JOC
Jwcarpenter
tmanthegreat
hworth18
raiderad6
Snake
USCGSARdog
ThreeToughTrucks
Jnewboy
The one and only "Razor"
Rowsdower
Pizzaguy
pickelhaube
vmf 214
popeye357
JOC
Jwcarpenter


-
Beeavision
- Officer - 2nd Lieutenant
- Posts: 420
- Joined: Fri Oct 02, 2009 12:52 am
- Location: Orlando, FL
-
vulgarvulture
- Officer - Major

- Posts: 880
- Joined: Tue Oct 05, 2004 3:05 pm

-
CessnaDriver
- Corporal
- Posts: 61
- Joined: Thu Nov 24, 2005 8:20 pm
-
mountian-man
- Officer - 2nd Lieutenant
- Posts: 255
- Joined: Fri Feb 09, 2007 10:10 pm
- Location: Albany, NY
-
parrish333
- Officer - 2nd Lieutenant
- Posts: 360
- Joined: Tue Oct 05, 2004 10:13 am
- Location: NE Chicagoland, Illinois
Yes or No?
The F-14 madness is settling a bit, but I'm still waffling on getting it. Here's a question for all you F-14 owners - that is, if you could go back and do it all over again, would you:
Still buy it now -or- wait for an S2 release? This assumes of course, that you have the patience for the latter
My reasons for BUY IT NOW: The F-14 is pretty much my all-time fav aircraft, and the spot correction seems do-able, I've got the cash saved up, and it sounds like JSI did A LOT right. Also, maybe there will be no S2 release b/c of wary e-tailers or JSI going the way of 21C.
My hesitations: I have a bit of patience, and figure the S2 would fix the paint and other things like simplifying/strengthening the gear, inclusion of pilots, etc.
I suppose I didn't include option 3 - never, ever buy anything from JSI at any point in past, present, or future I happen to think the P-38 I got from them for Christmas was pretty sweet though.
Still buy it now -or- wait for an S2 release? This assumes of course, that you have the patience for the latter
My reasons for BUY IT NOW: The F-14 is pretty much my all-time fav aircraft, and the spot correction seems do-able, I've got the cash saved up, and it sounds like JSI did A LOT right. Also, maybe there will be no S2 release b/c of wary e-tailers or JSI going the way of 21C.
My hesitations: I have a bit of patience, and figure the S2 would fix the paint and other things like simplifying/strengthening the gear, inclusion of pilots, etc.
I suppose I didn't include option 3 - never, ever buy anything from JSI at any point in past, present, or future
-
CessnaDriver
- Corporal
- Posts: 61
- Joined: Thu Nov 24, 2005 8:20 pm
-
Beeavision
- Officer - 2nd Lieutenant
- Posts: 420
- Joined: Fri Oct 02, 2009 12:52 am
- Location: Orlando, FL
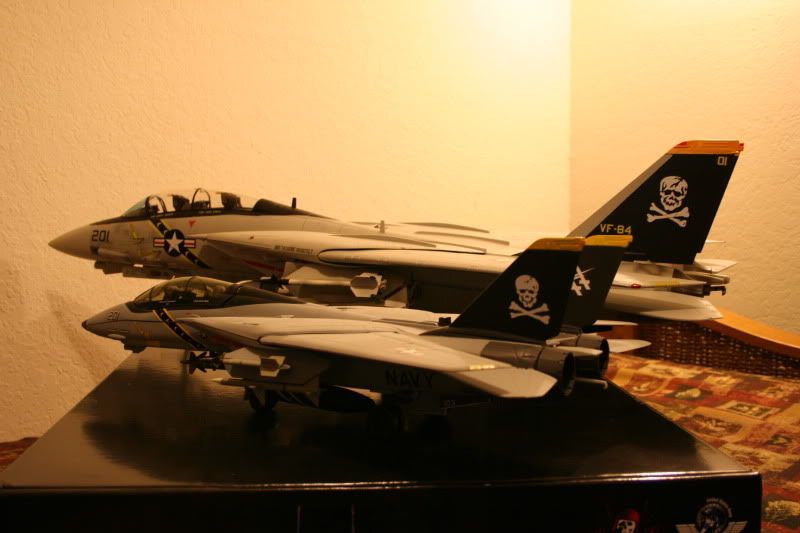
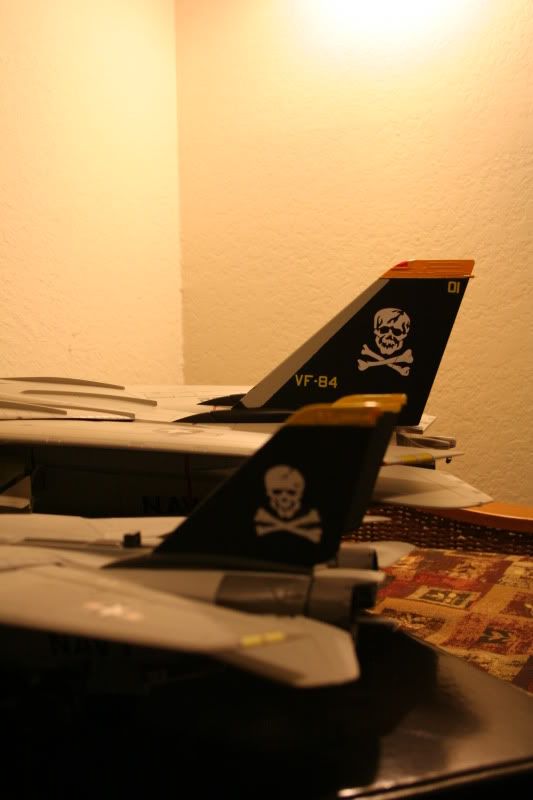
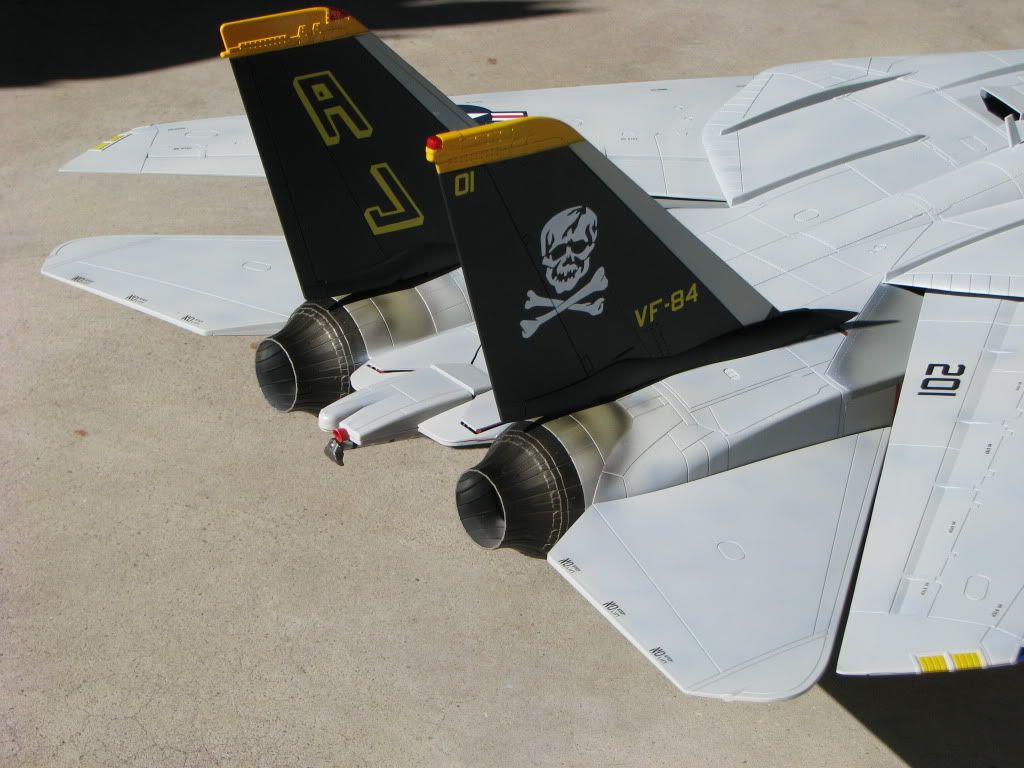
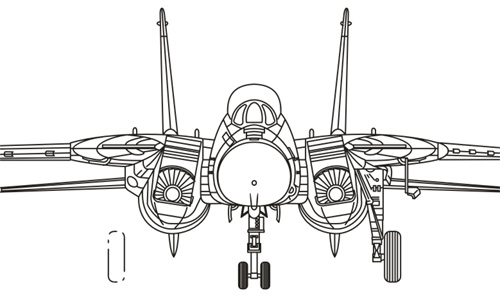
Plan A:vulgarvulture wrote:Has anyone tried fixing the tails not being canted outward yet?
This could work but I would try it on something similar first with a painted finish. Once heated, using a simple jig (set at the correct degree matching the picture below) bend the vertical tail stabilizer just above its base. Since the stabilizers only cant a few degrees outward it shouldn't take that much time and heat to finish the process. The jig will help it bend properly while preventing it from bowing during the heating process. Again this idea works but I would recommend experimenting on a test sample first just to be sure the results match with what you want. I'm working on this myself and if all goes well I'll share with you all my findings along with pictures of the jig itself for better clearification.
See the video down below regarding the heating process.
Plan B:
Another idea is to just heat bend the tabs a bit. And with a little minor sanding along the under side of the base of each vertical stabilizer (so that it connects flush with the body after assembly) you should have it. This way you don't jeopardize the paint on each tail.
http://www.youtube.com/watch?v=gHLS3P820ZM