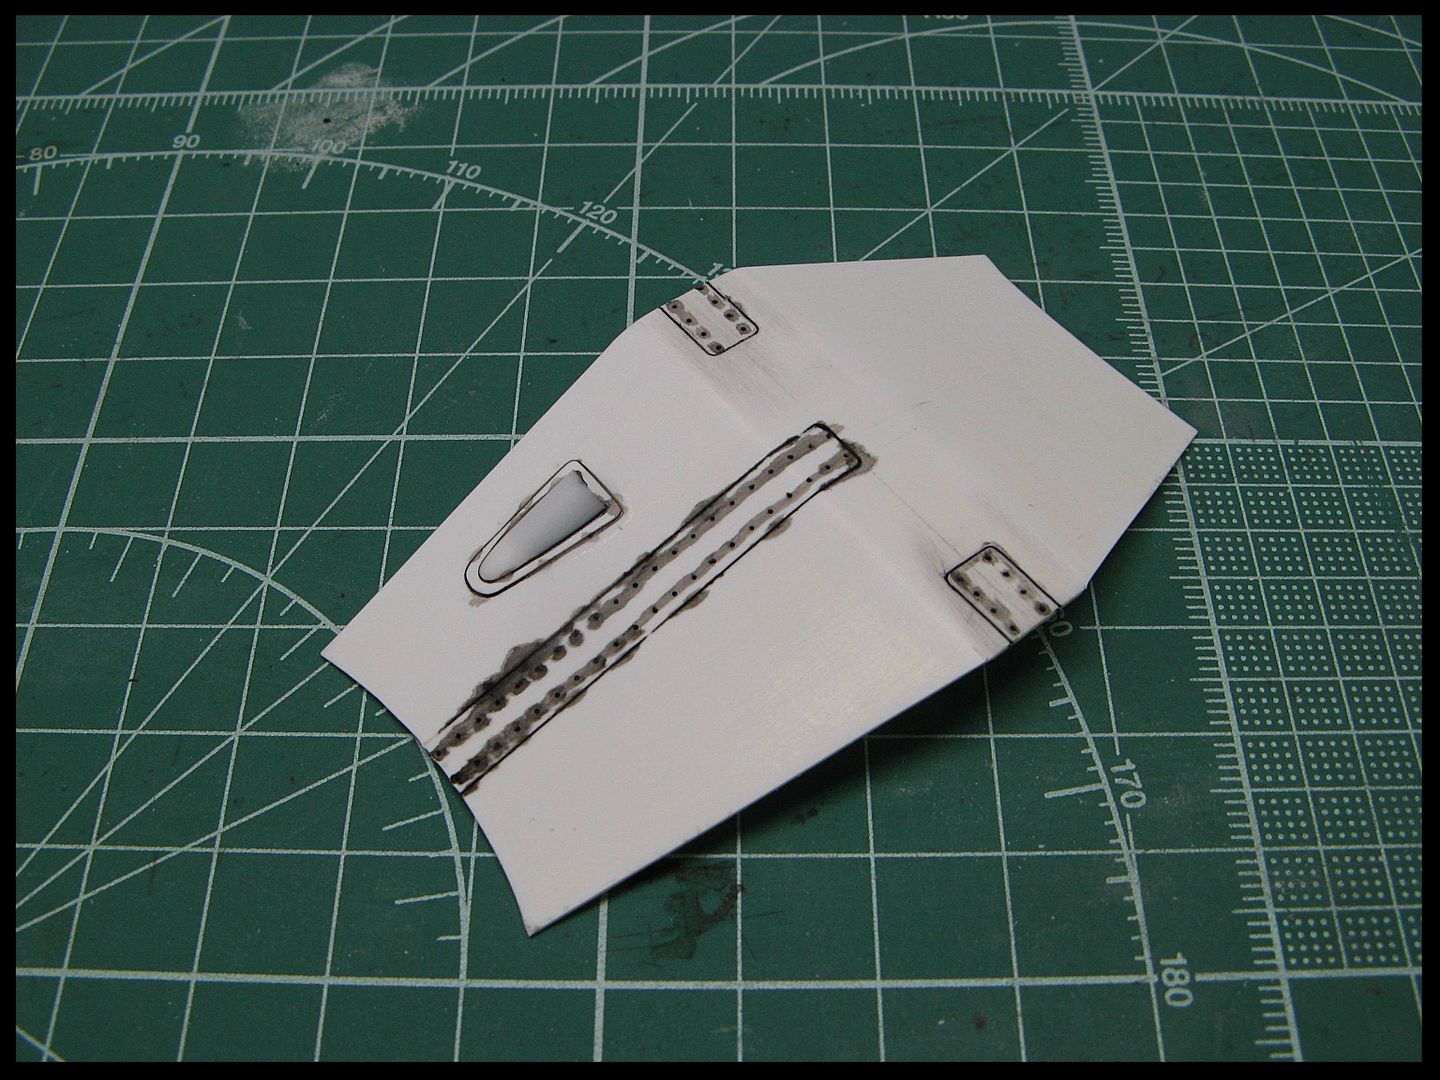
Finished up the "crossover fairing" today. Really happy with how it came out and I think it looks more the part.
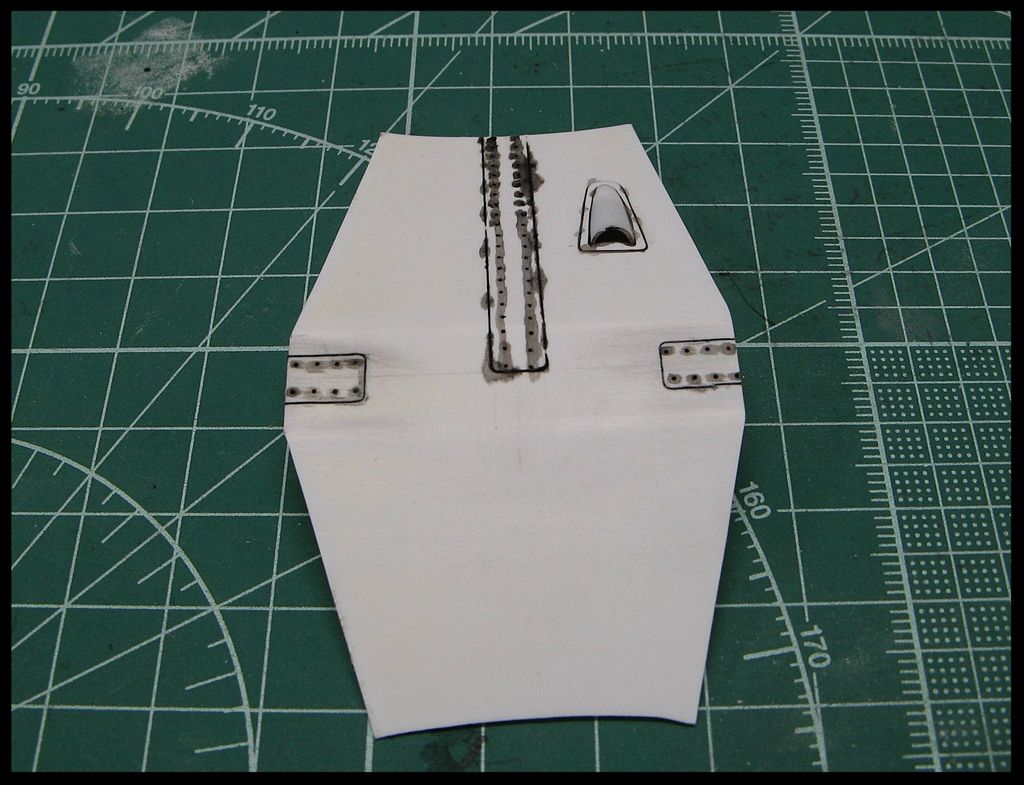
I transferred my card stock template to some .020" sheet plastic and cut it out. Then I folded the bends in the plastic using a metal ruler as a straight edge and bent it with my fingers.
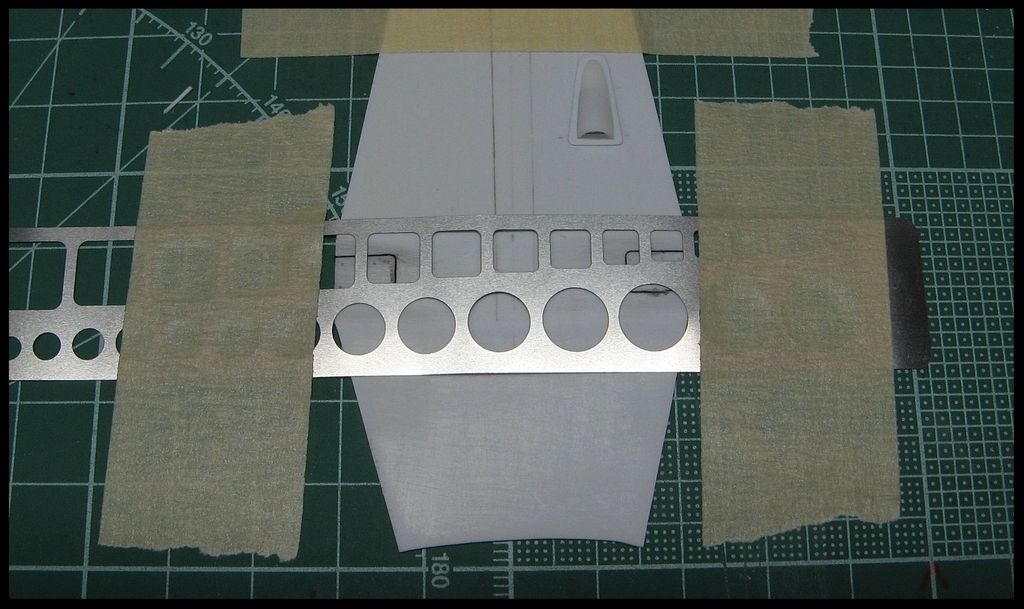
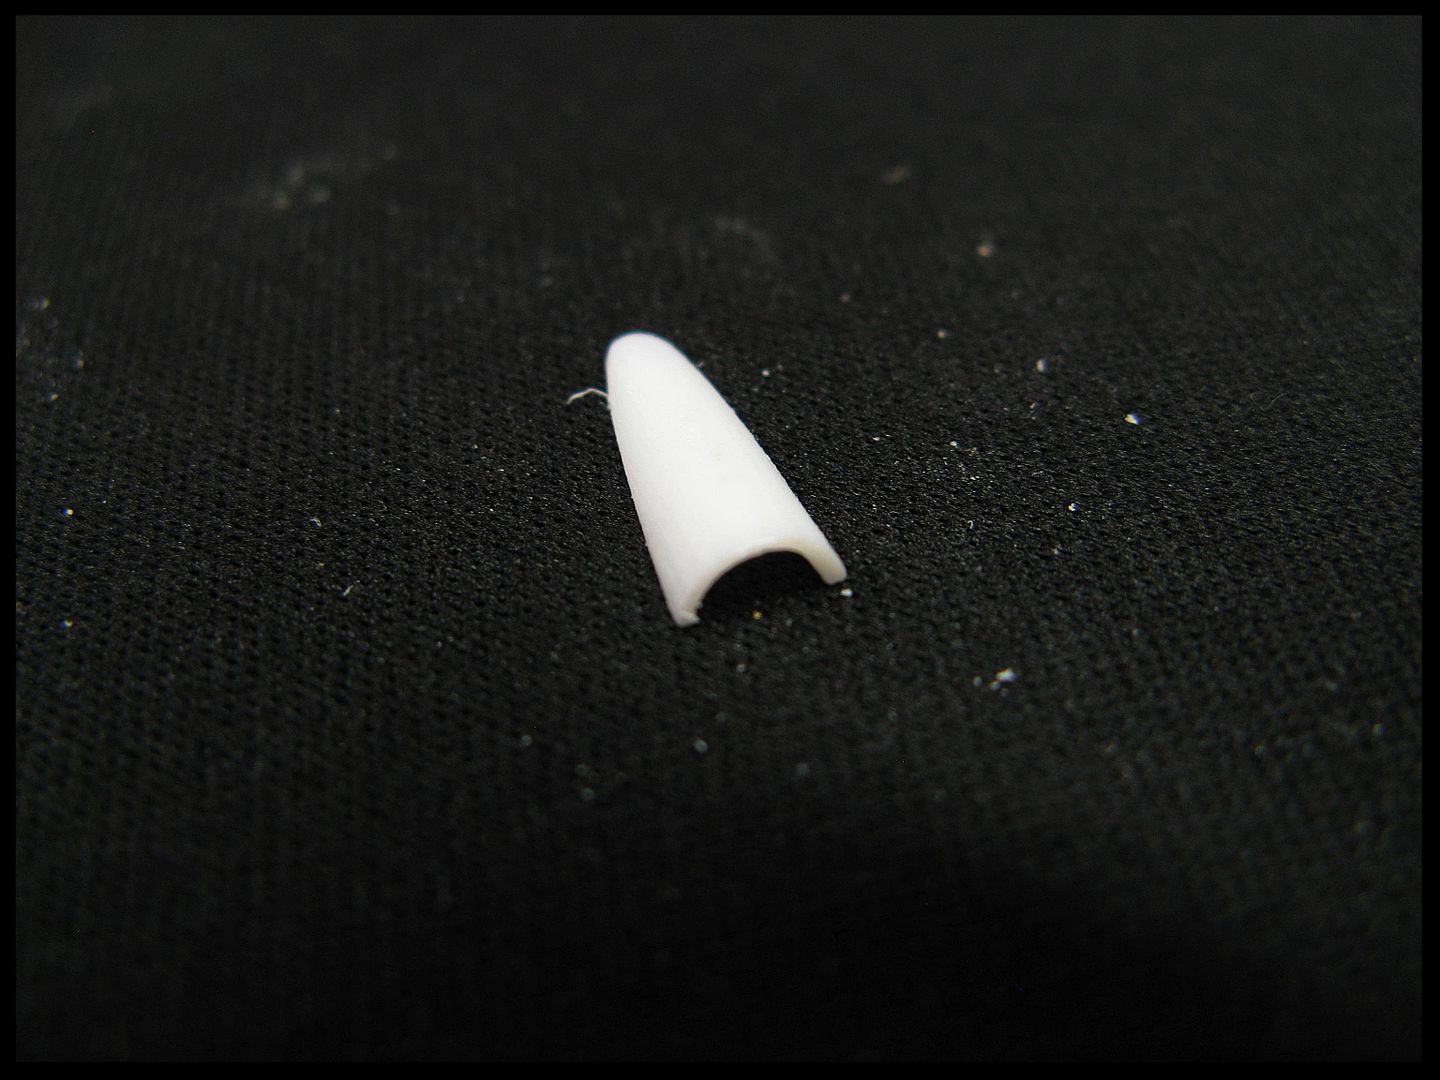
Next, I added the panels, their fasteners and, the gun fairing exhaust vent. The vent was made from a piece of 7/32"tubing, sanded at an angel until it looked right. I used some Tamiya panel line wash to check everything.
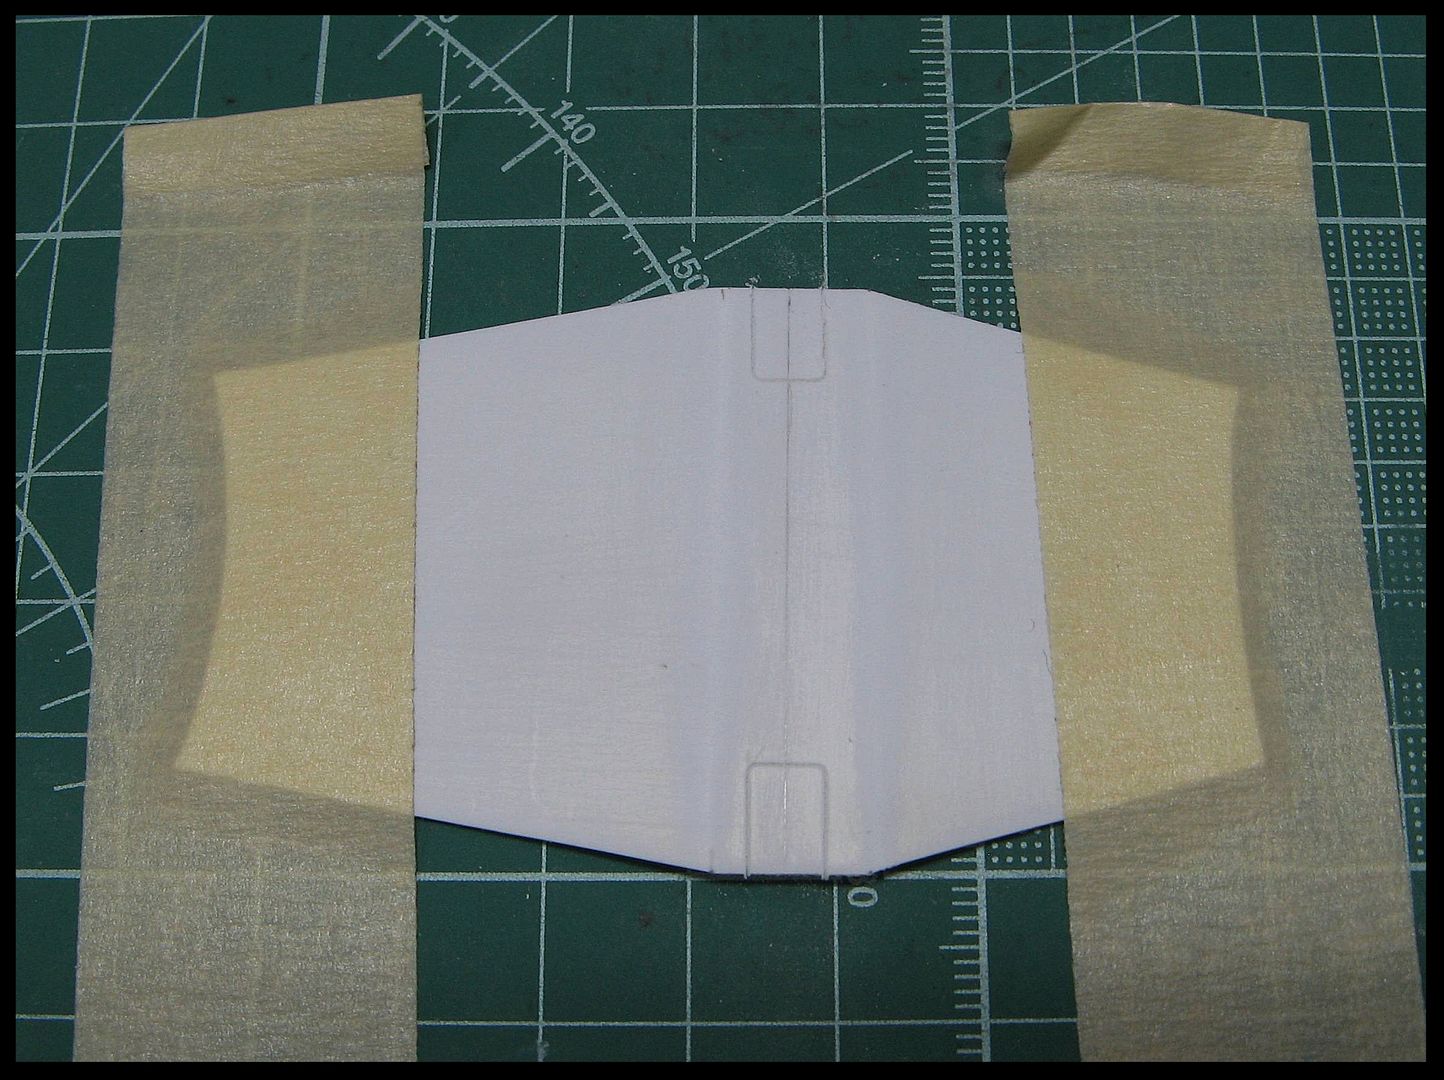
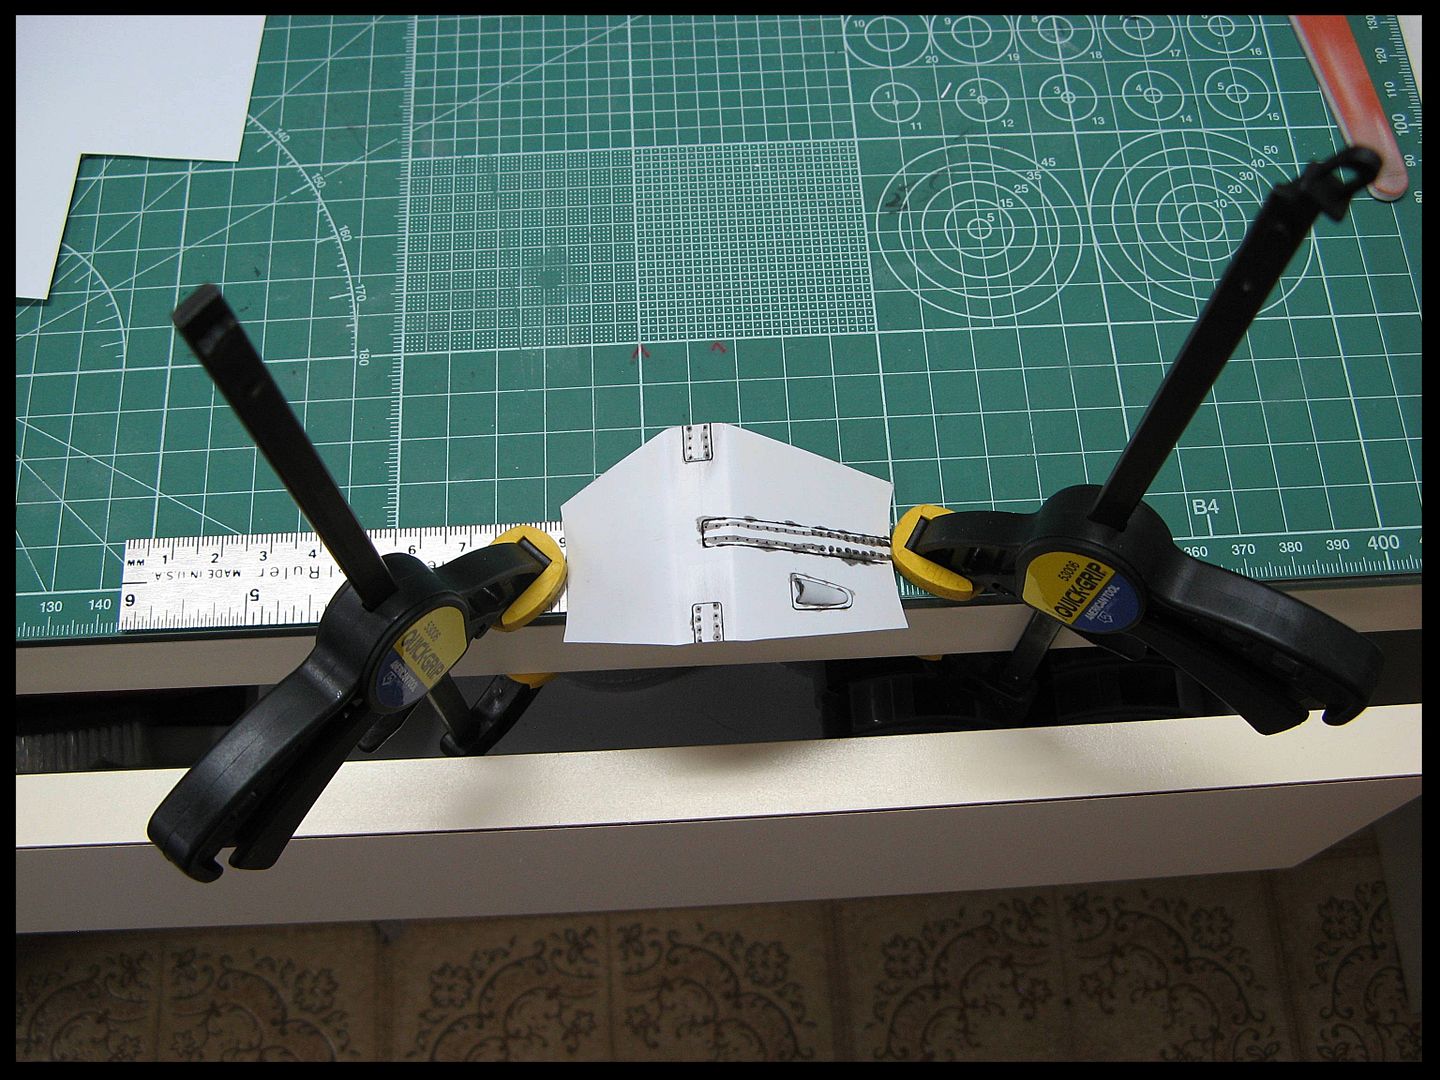
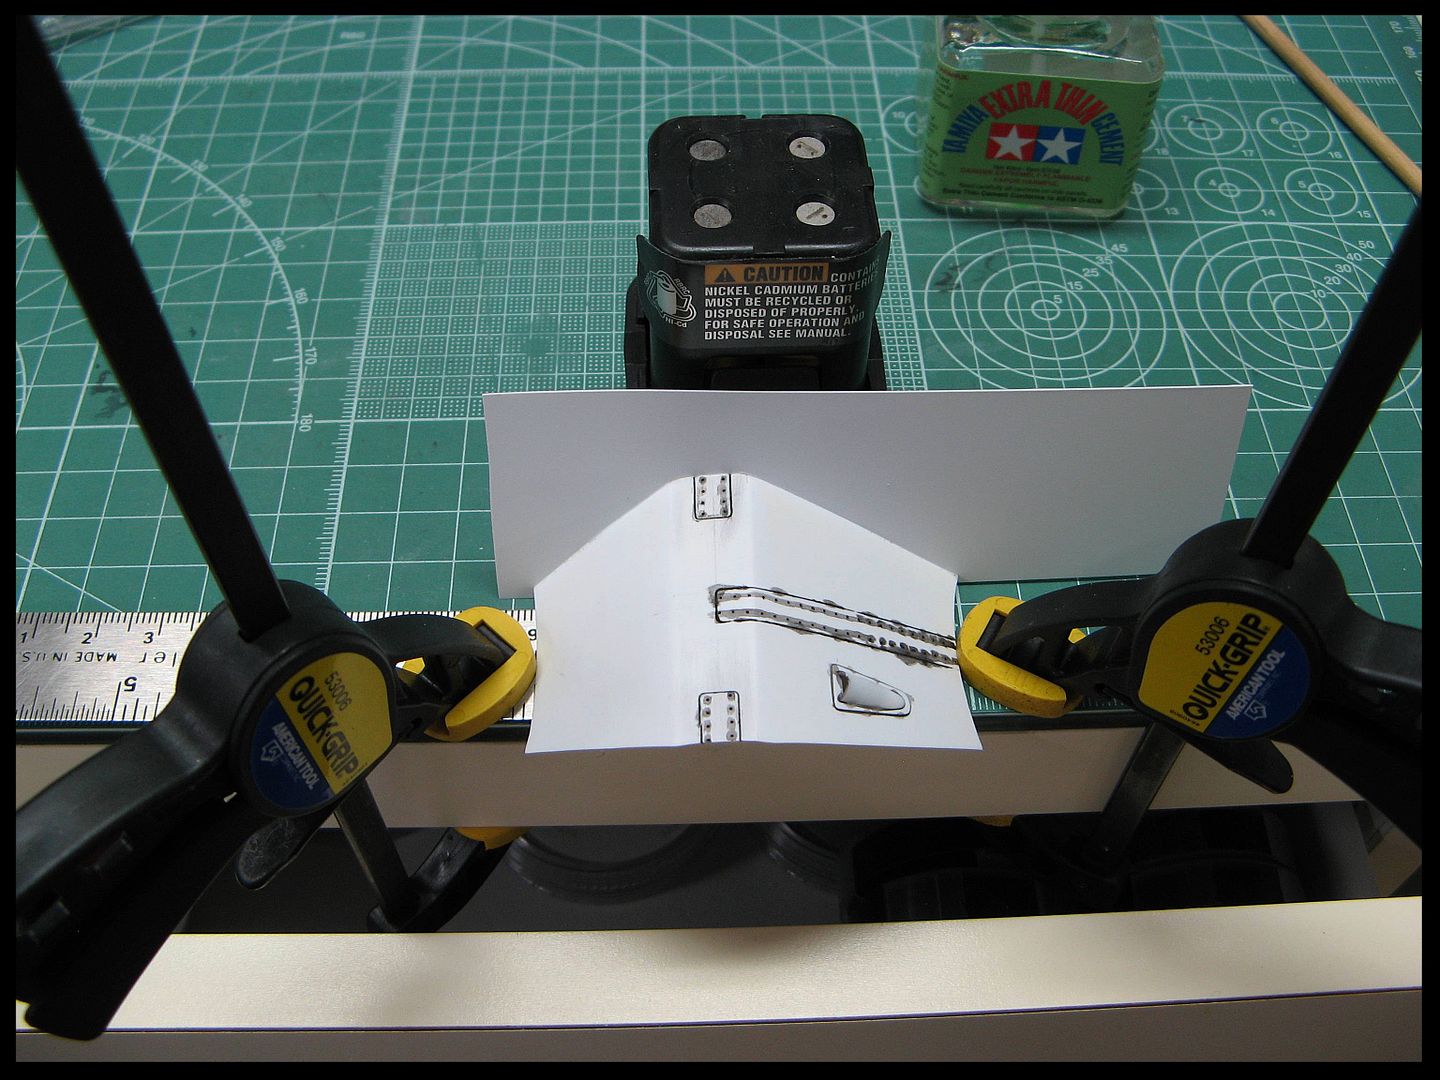
I needed a way to lock in the shape of the fairing so I could add the small panels the run on both sides of the fairing where it contacts the pods. I measured the length of the fairing on the jet and set my clamps, on a ruler, at that point. This held the fairing in the correct shape.
I opted to do one large piece of .010"sheet plastic, on each side of the fairing, instead of separate tiny strips. This will also help the fairing keep it's shape after the glue dries.
Once the glue was dry it was just a matter of cutting the plastic to the proper width.
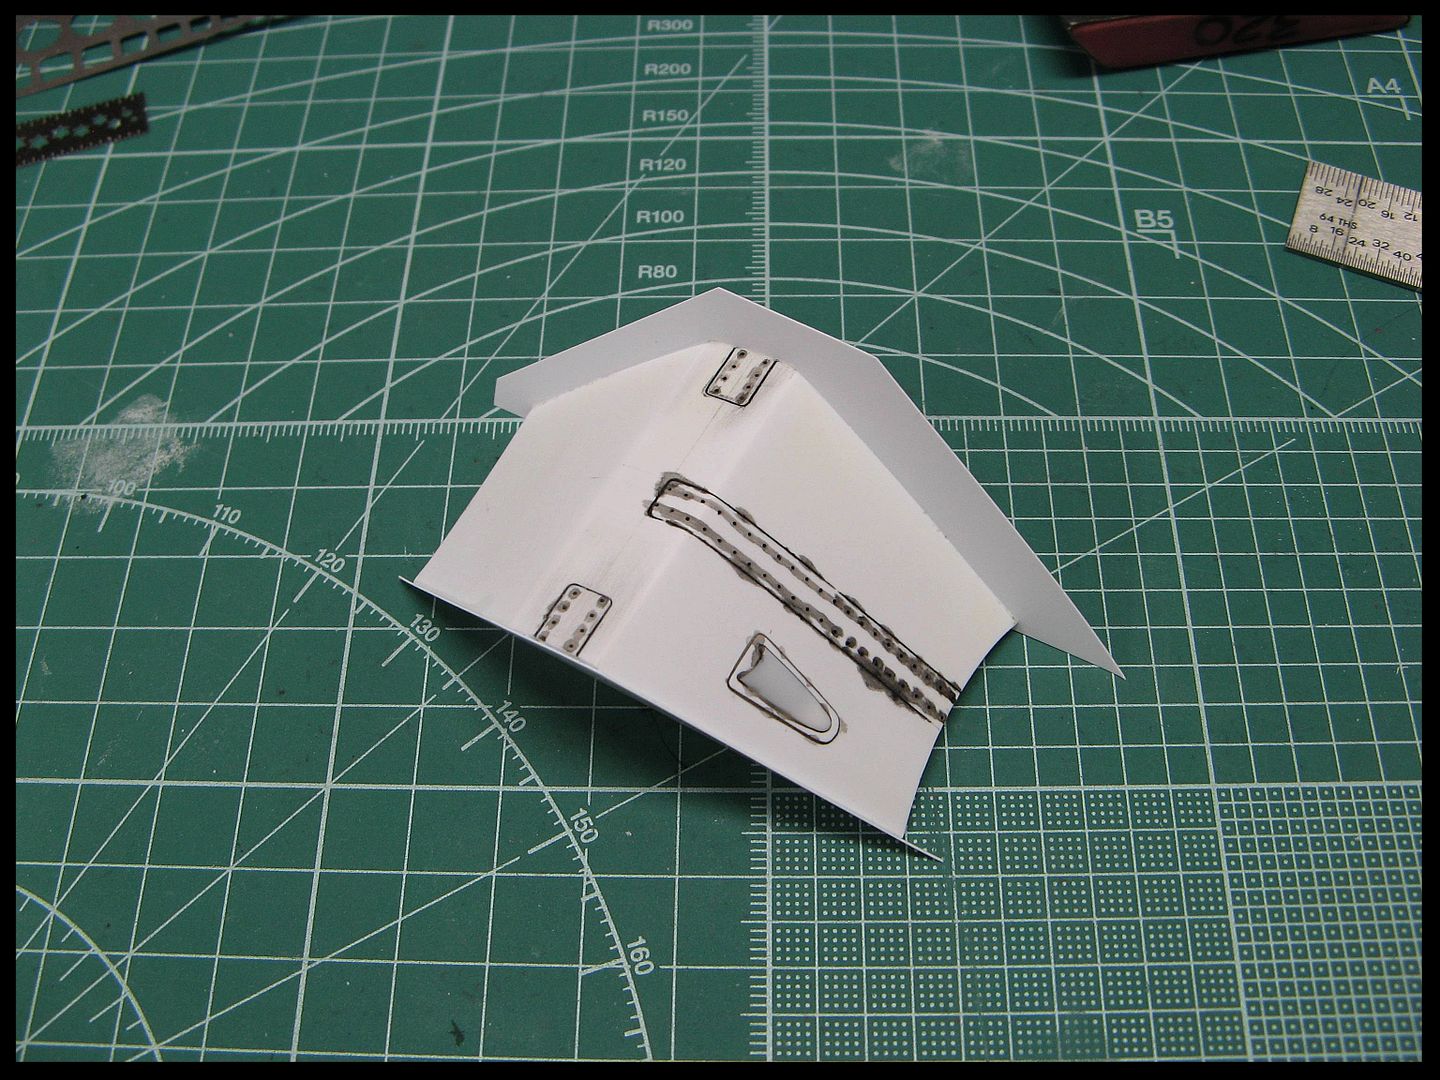
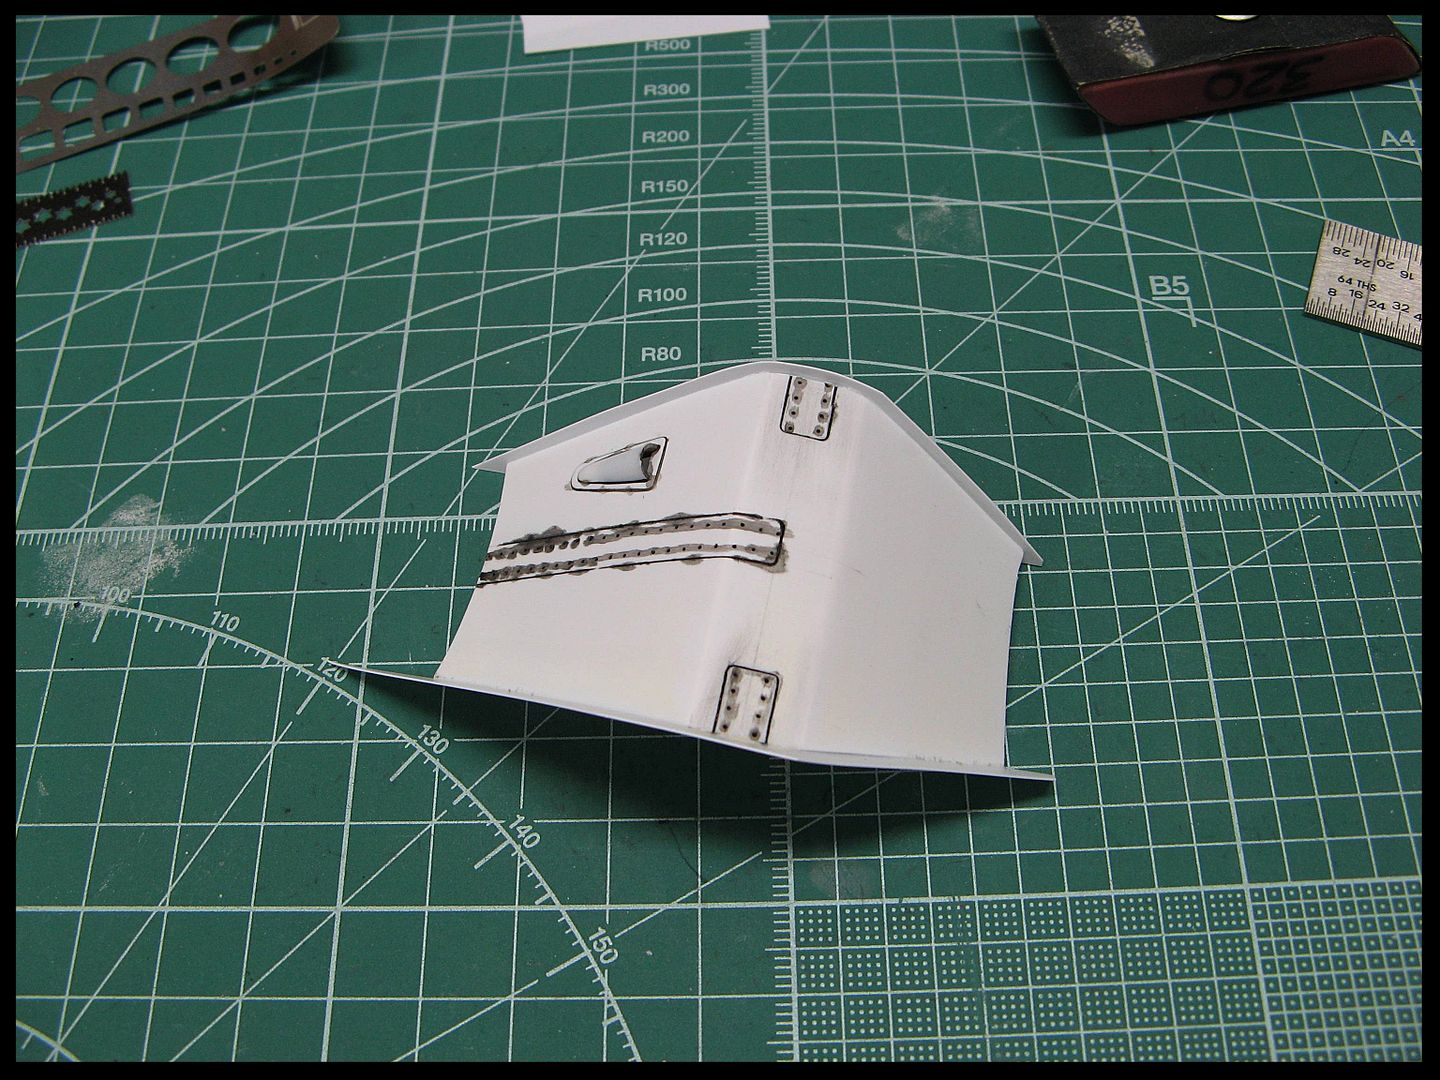
After all the trimming was complete it fit really good into the spot and looks so much better IMO. With my lack of good reference pics I'm not sure how accurate it really is but, it's an improvement and I'm happy with it.
Now I can get the gun/ammo pods and the fairing in some primer.
Steve

OPERATION "DELIBERATE GUARD", "SOUTHERN WATCH", "ENDURING FREEDOM" AND, "IRAQI FREEDOM" VETERAN.


