CHAPTER V - Applying paint, wash & weather effects
As soon as the Humbrol light grey acrylic primer dried, the model washed with liquid soap and warm water to disappear leaving oil traces, fingertips etc. Usually, there are two available options for a scale modeler, to apply paint on a model:
- Paint the individual parts first and assemble the scale model later, or
- Assemble the scale model parts first and paint the overall built model later.
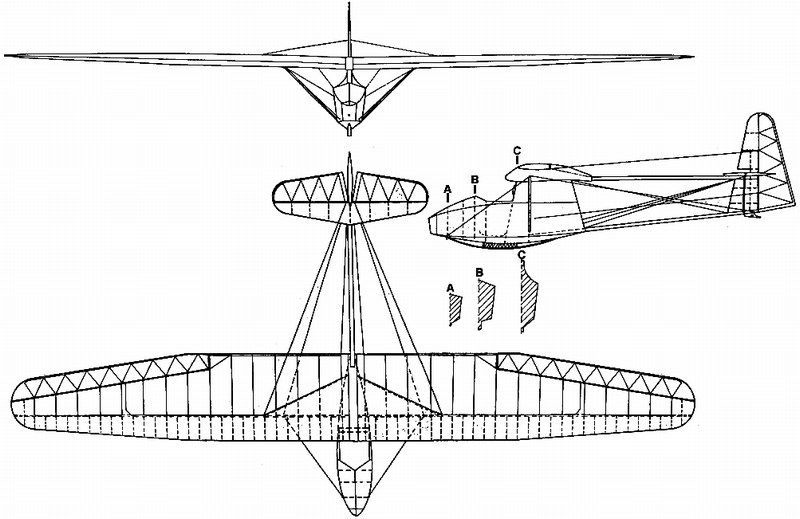
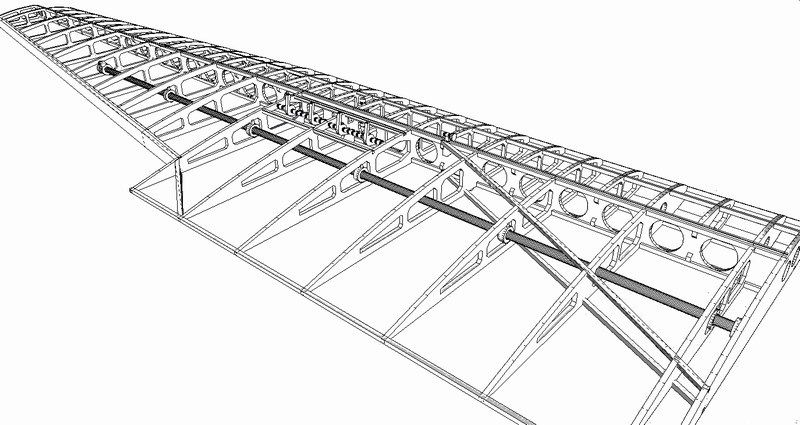
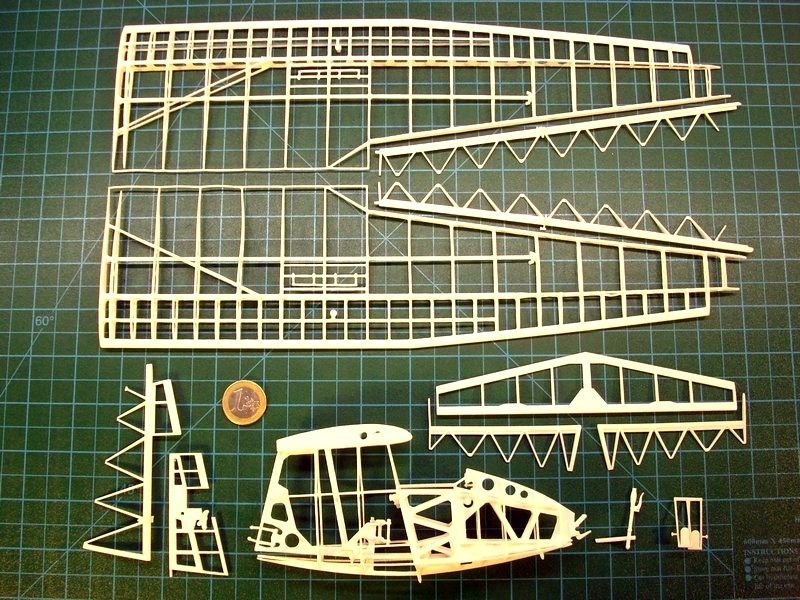
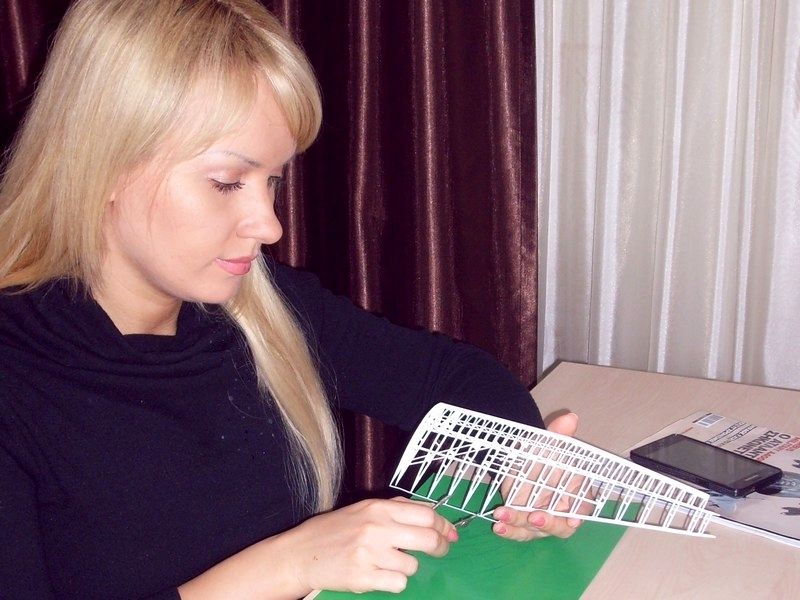
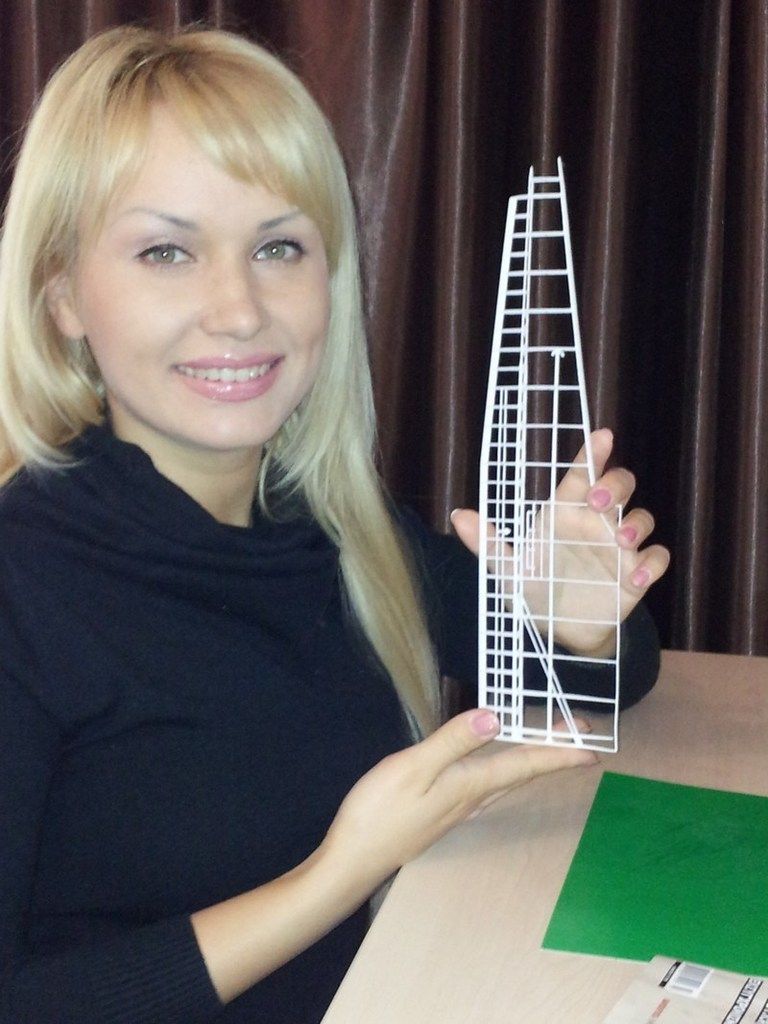
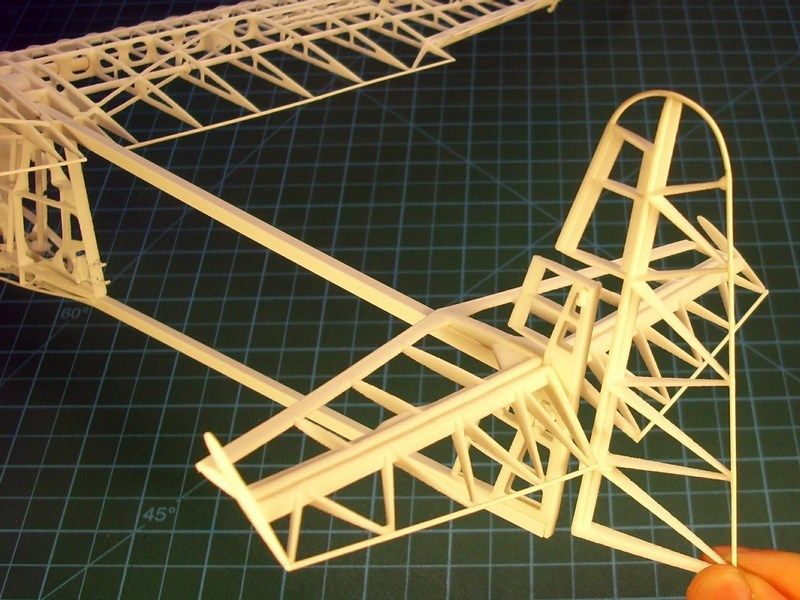
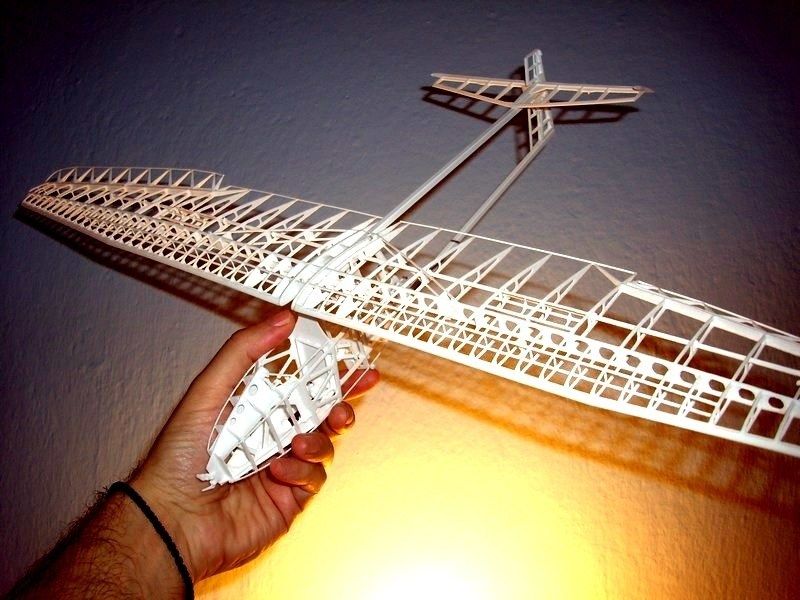
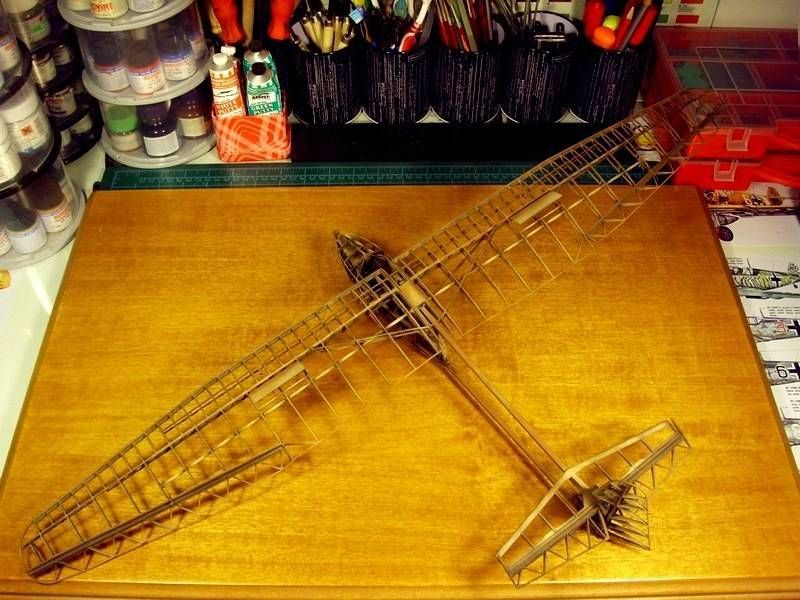
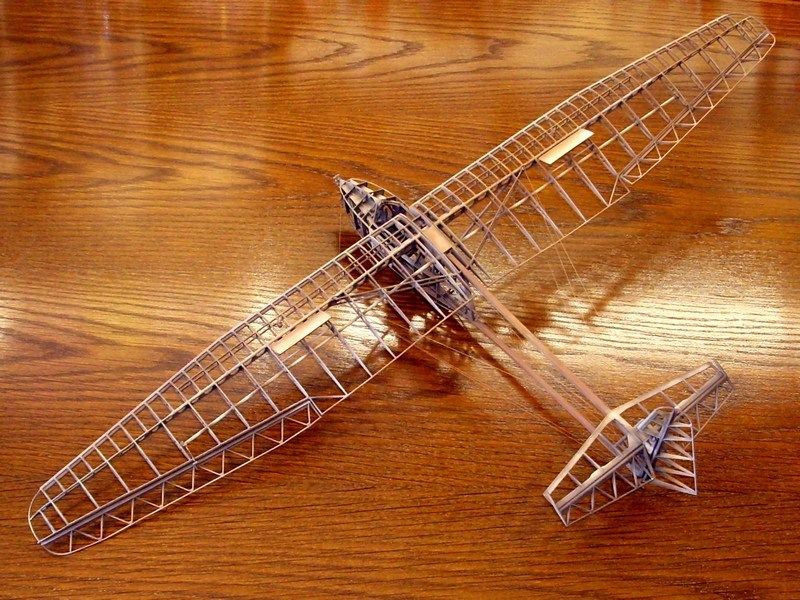
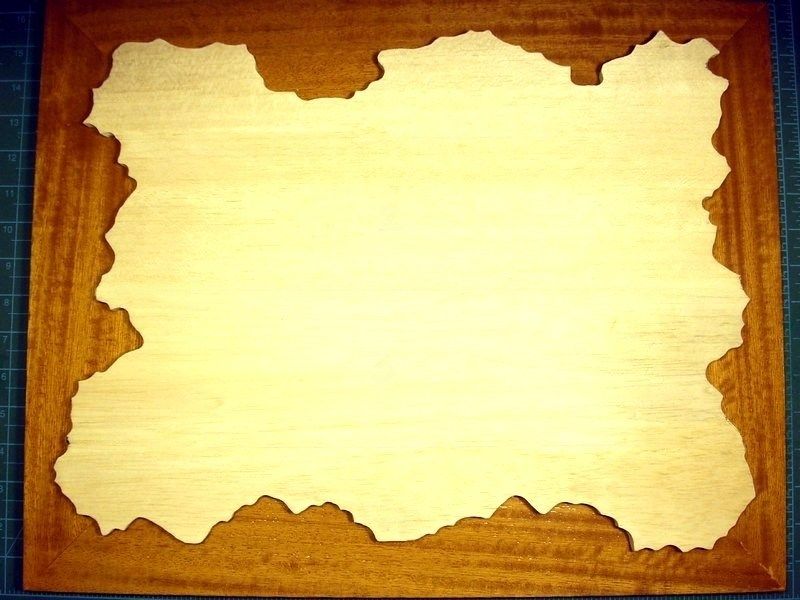
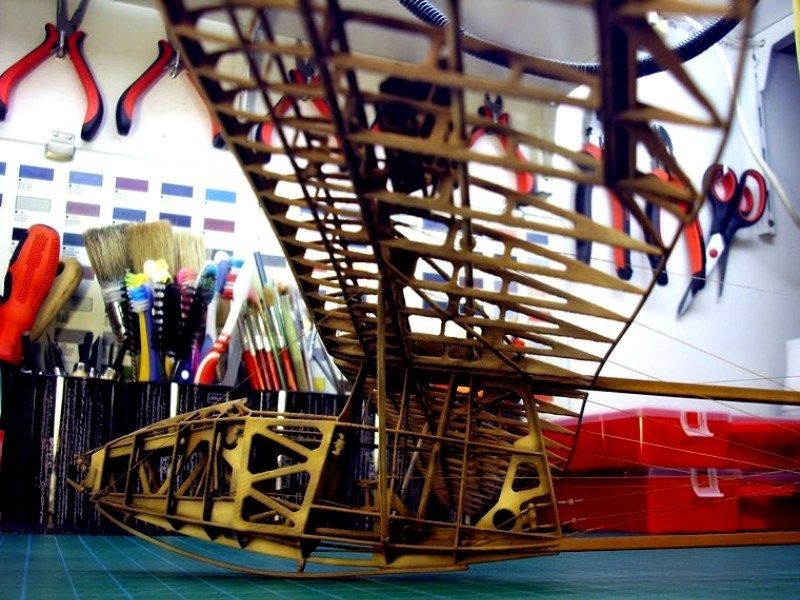
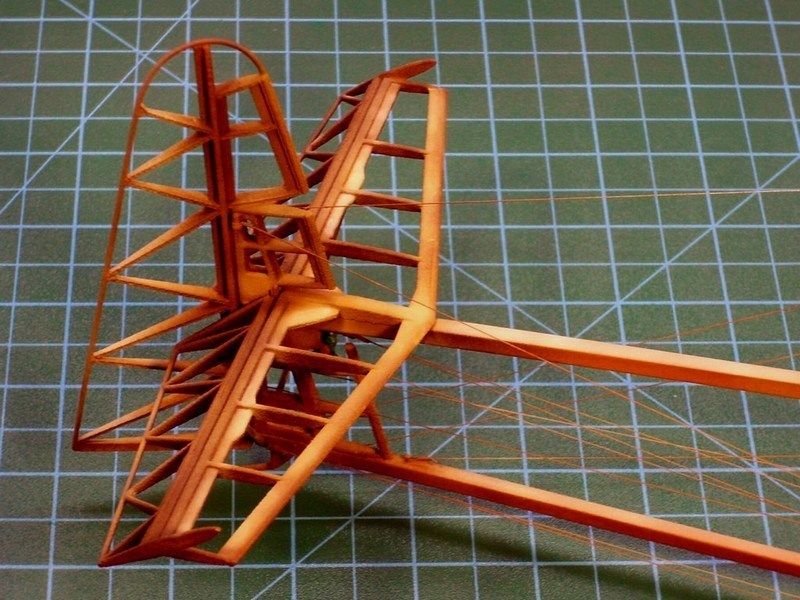
While planing this 1/18 scale IS-A Salamandra model building, the 2nd option seemed as more appropriate and would make my job much easier. A really good reason to stick on this option, is the fact that the Salamadra glider's main frame was entirely constructed of wood. Ofcourse, fabric was covering the wings & tail and plywood was covering the cabin’s nacelle as well. But, since I had in mind to build this model as an artistic "
cutaway" view, presented on its wooden frame only, I had no reason to avoid an overall wood colour tones painting.
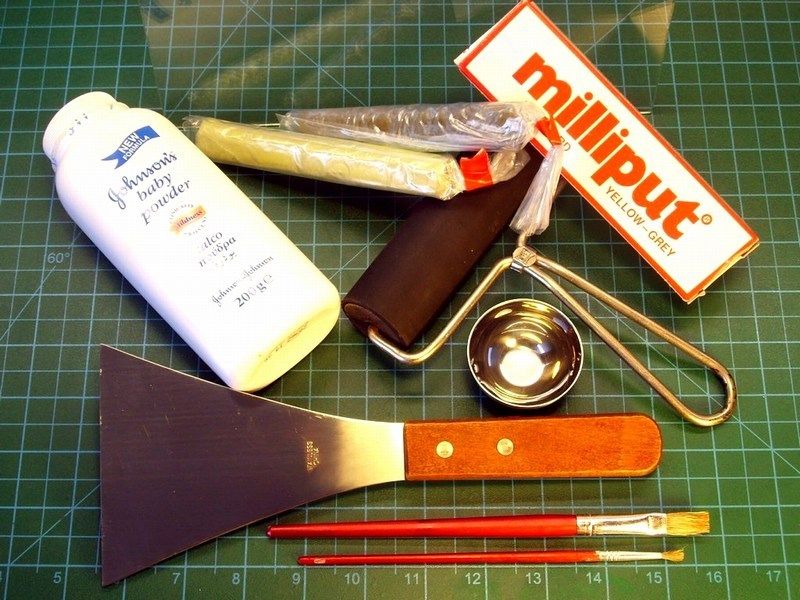
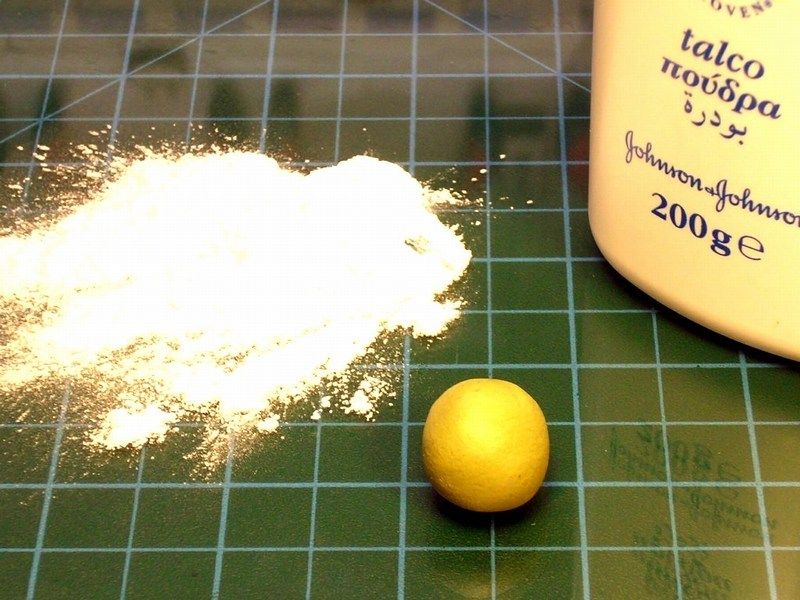
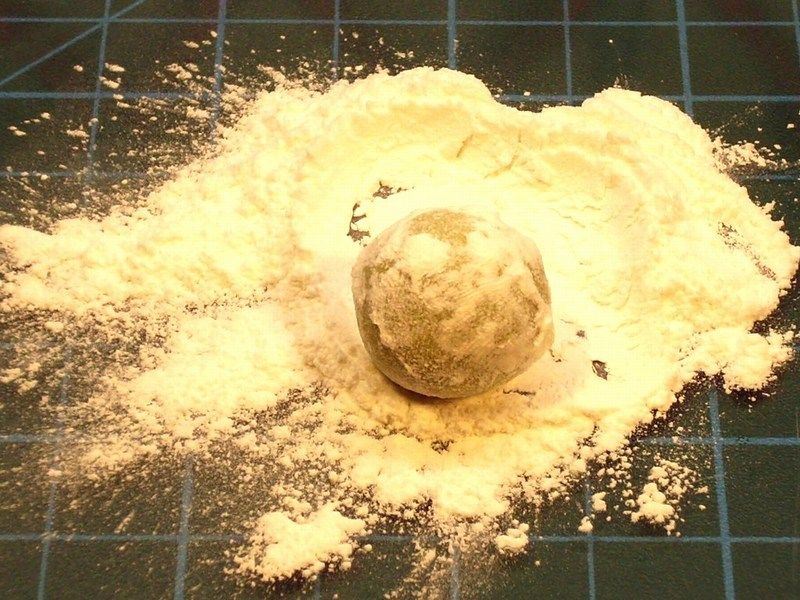
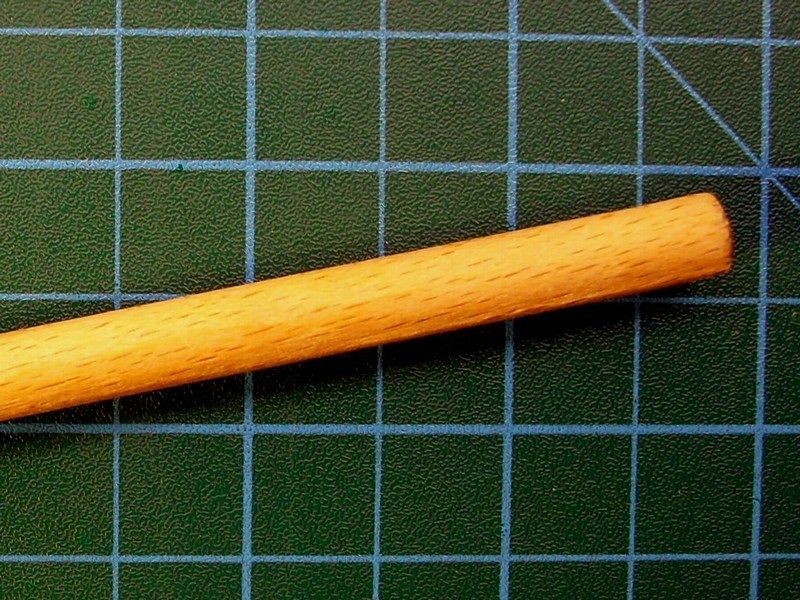
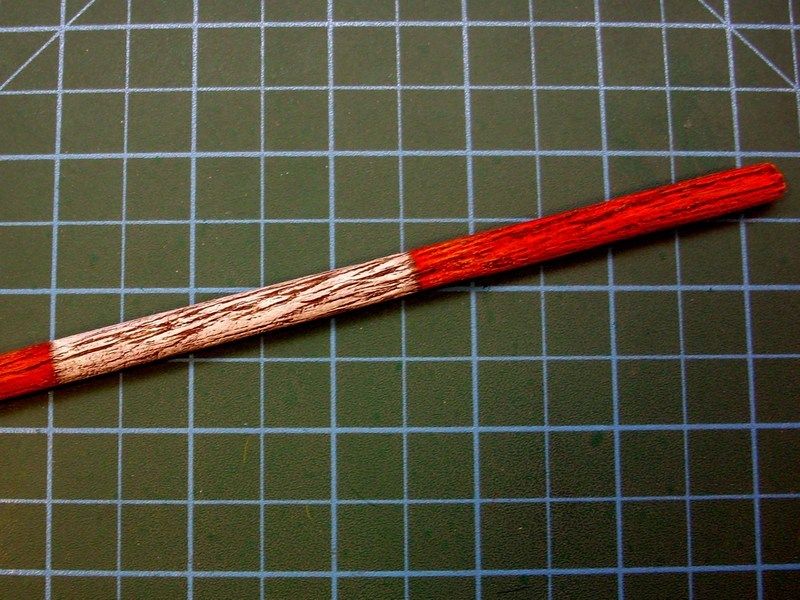
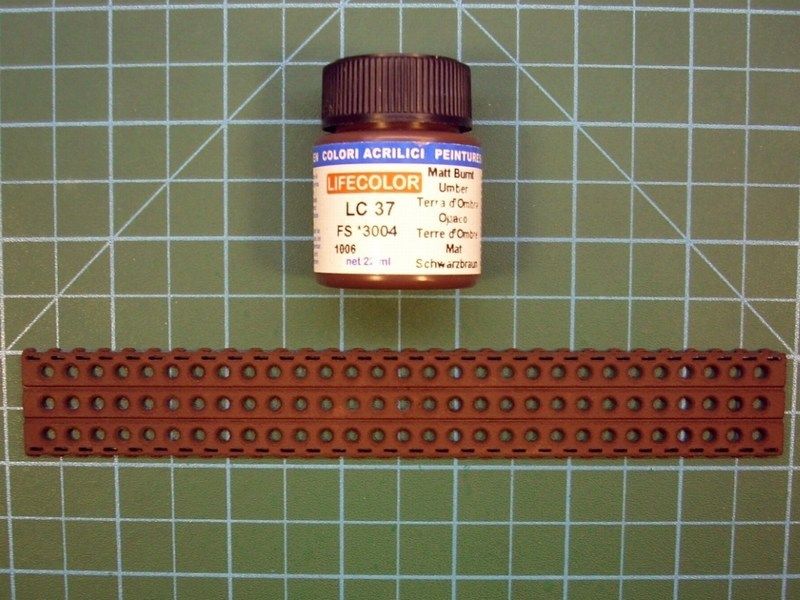
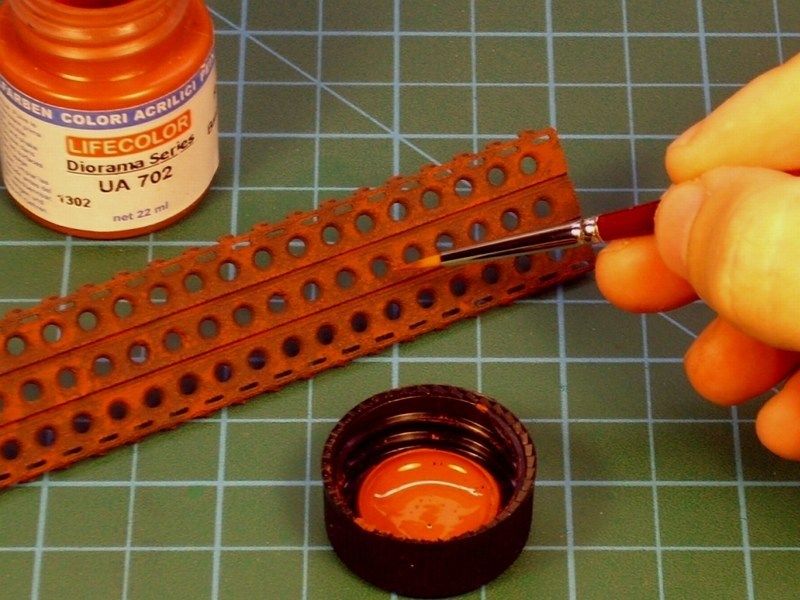
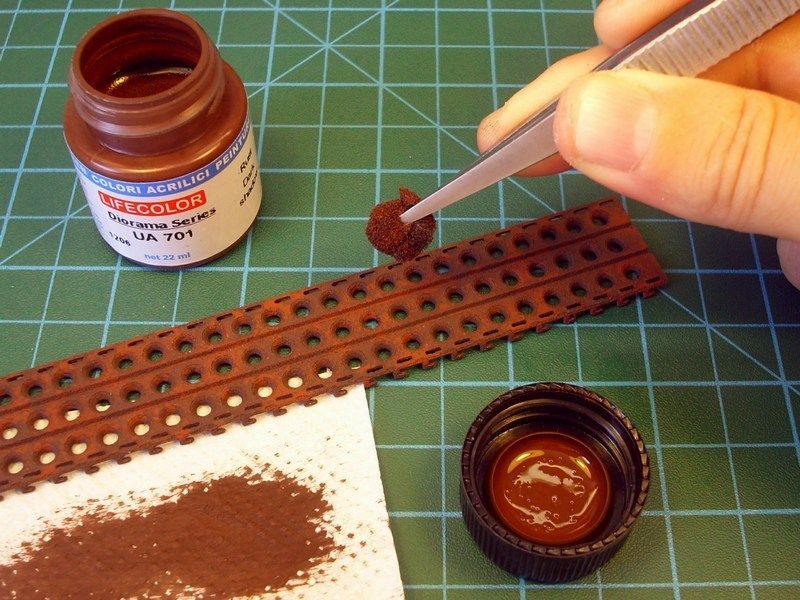
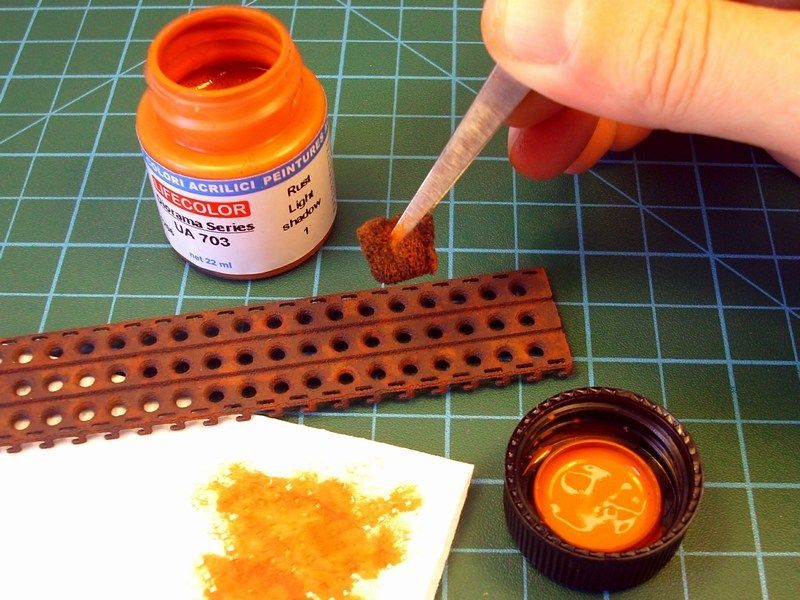
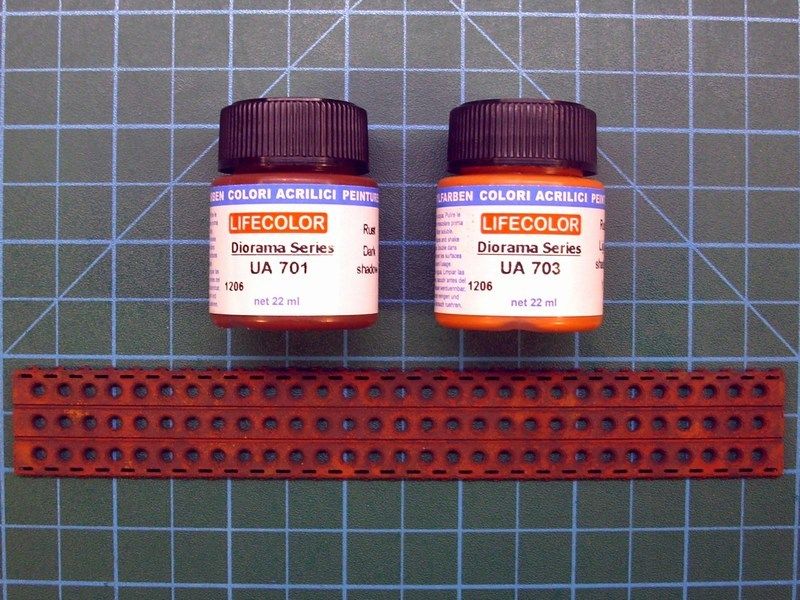
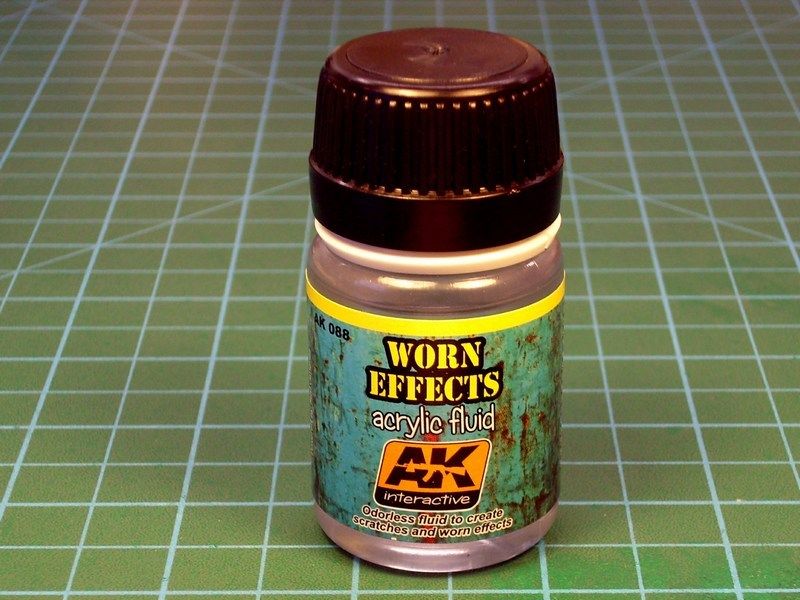
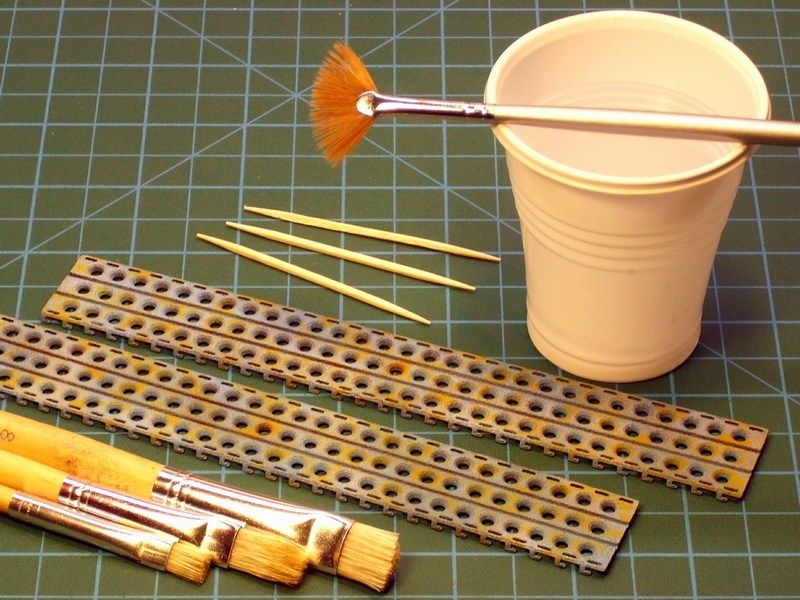
Replicating wood is one of those feared tasks in modeling that many try to avoid at all costs. Having a couple of different methods in mind to simulate wood in scale, but knowing that the following method is much accurate and easier to re-do if something goes wrong, I found good idea to follow some tricks I learned from other builders and changing things that works for me. To simulate the look of rough wood from which was made the glider's frame, I first applied a background colour. I split the areas to be painted in different categories and sprayed four different primary colors on each area. I used the following colors, which seemed to work OK for me, for the basic background. It is important to use an acrylic base colour because it is chemically impervious to the steps that follow.
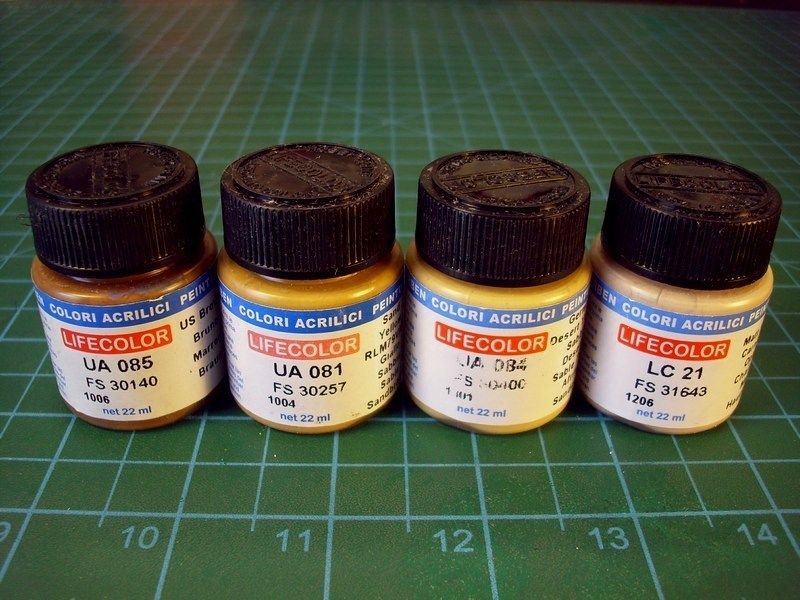
- FS31643 "Matt Flesh Carnicino" available by Life Color as LC21 acrylic,
- FS30400 "German Desert Yellow" available by Life Color as UA084 acrylic,
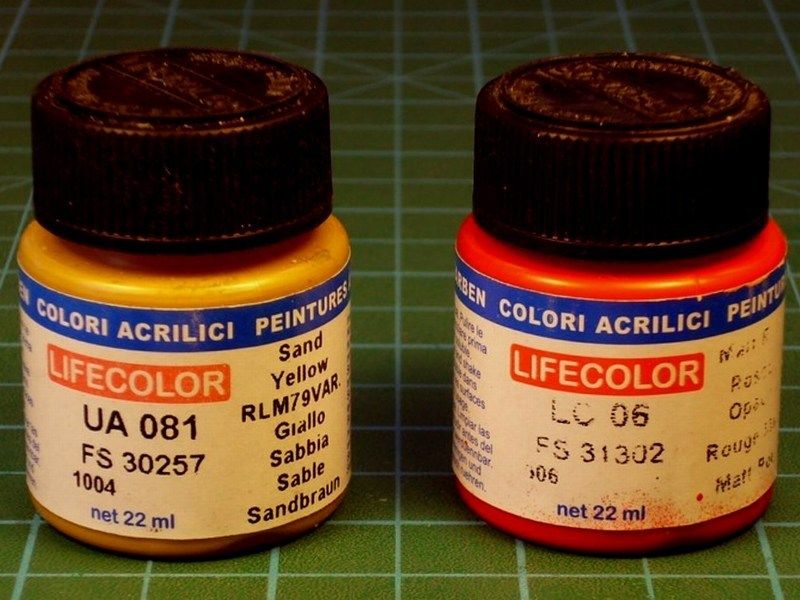
- FS30257 "Sand Yellow RLM79VAR" available by Life Color as UA081 acrylic and
- FS30140 "US Brown Marrone" available by Life Color as UA085 acrylic.
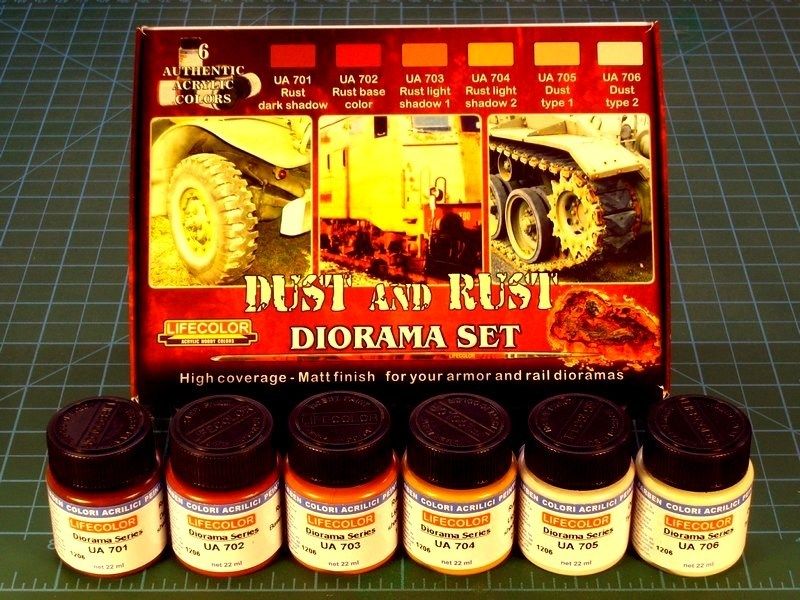
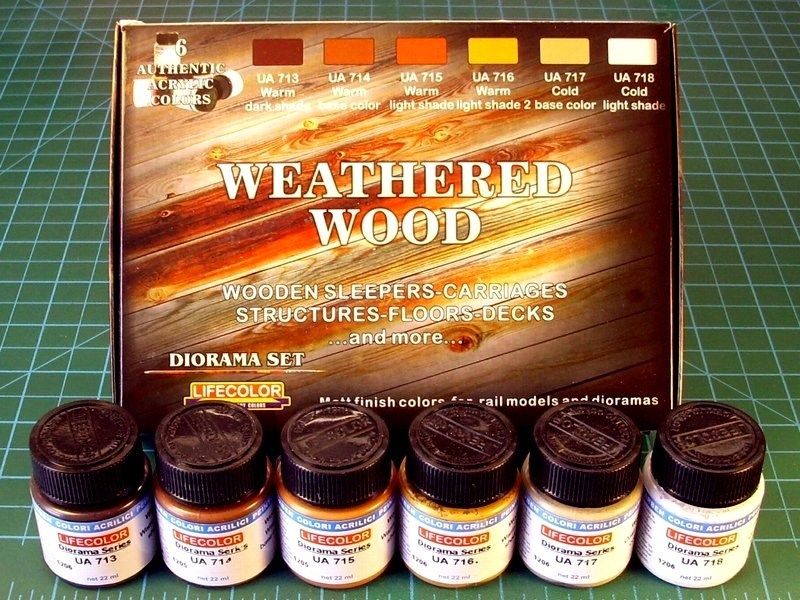
Because the wood composition and quality was not the same everywhere, I also use the Life Color's "
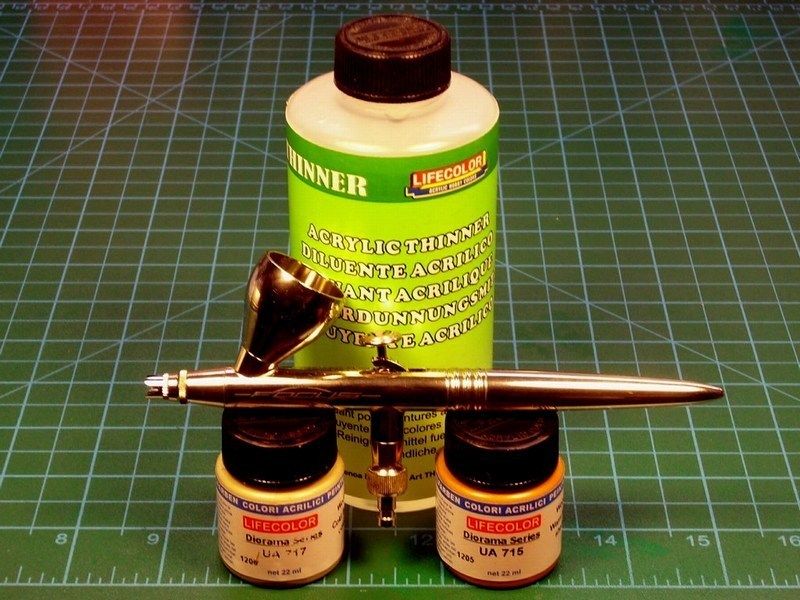
Weathered Wood" 6-pack set and repeatedly covered some areas with different shades of very very very diluted & light layers over the previously applied base colours. To do so, I used the following:
- Life Color UA717 "Wood Cold light base" acrylic,
- Life Color UA718 "Wood Cold light shade" acrylic,
- Life Color UA715 "Wood Warm light shade" acrylic,
- Life Color UA716 "Wood Warm light shade 2" acrylic,
- Life Color UA714 "Wood Warm light base" acrylic and
- Life Color UA713 "Wood Warm dark shade" acrylic.
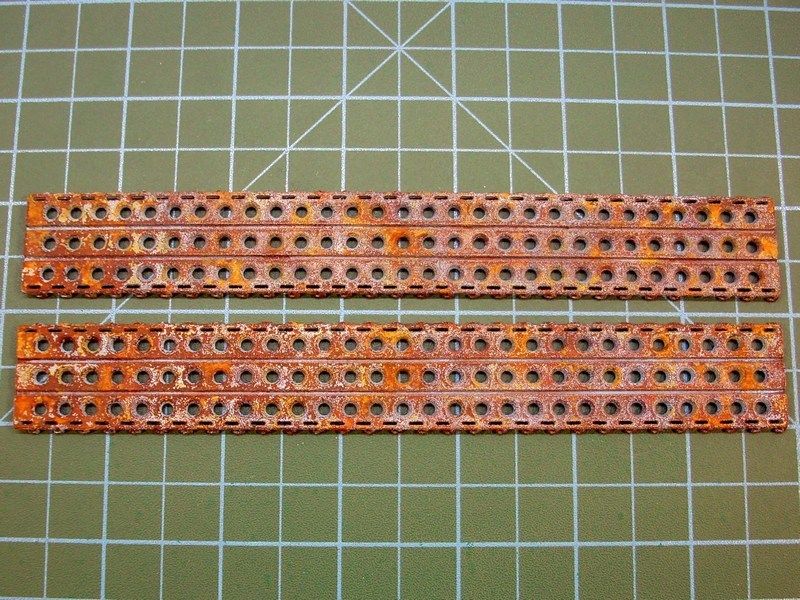
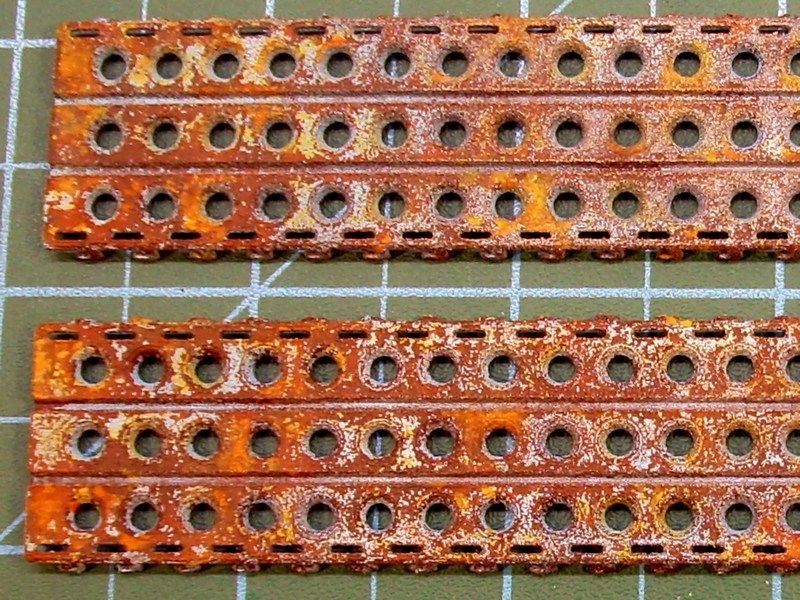
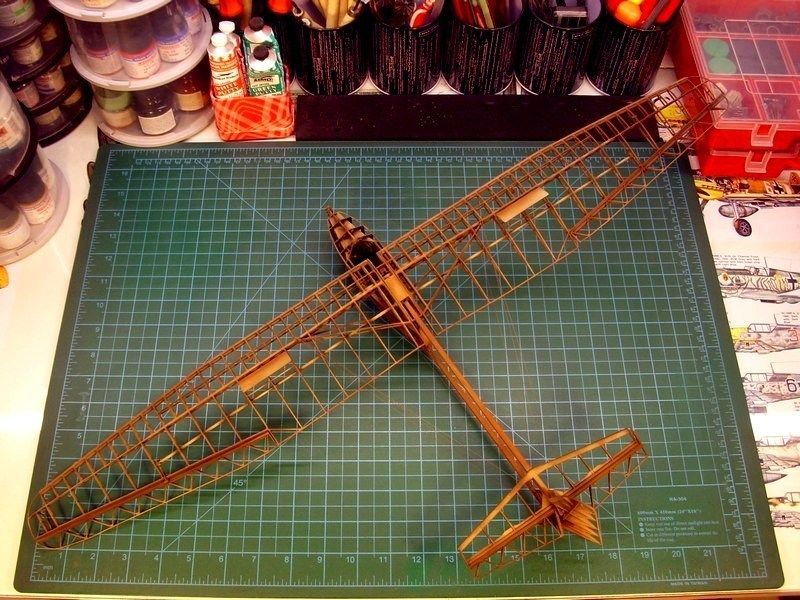
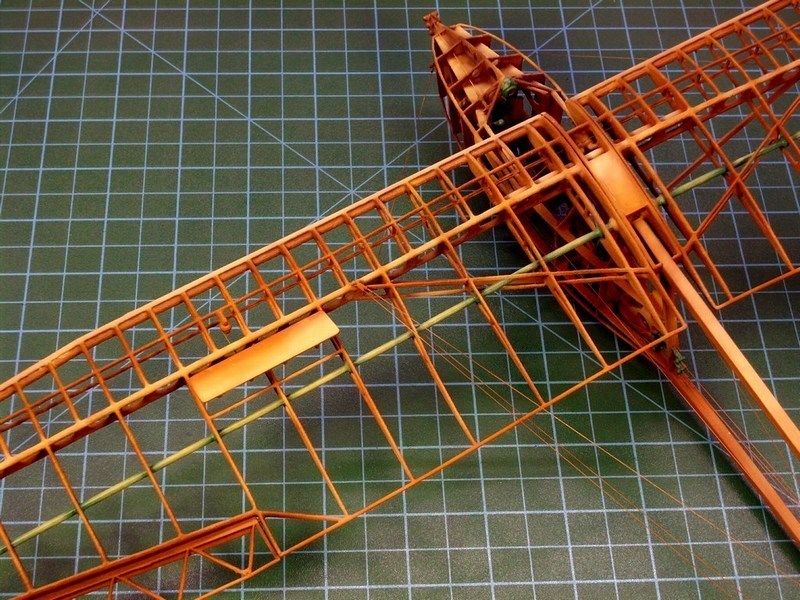
I'm not really sure if it is actually vissible into following pictures, but repeatedly applied very diluted & light layers, resulted more natural look of wood shades, without even aplly any oil colours yet. The first applied base colours, are visible under the later applied layers of the "
Weathered Wood" shades, setting a base for the next process.
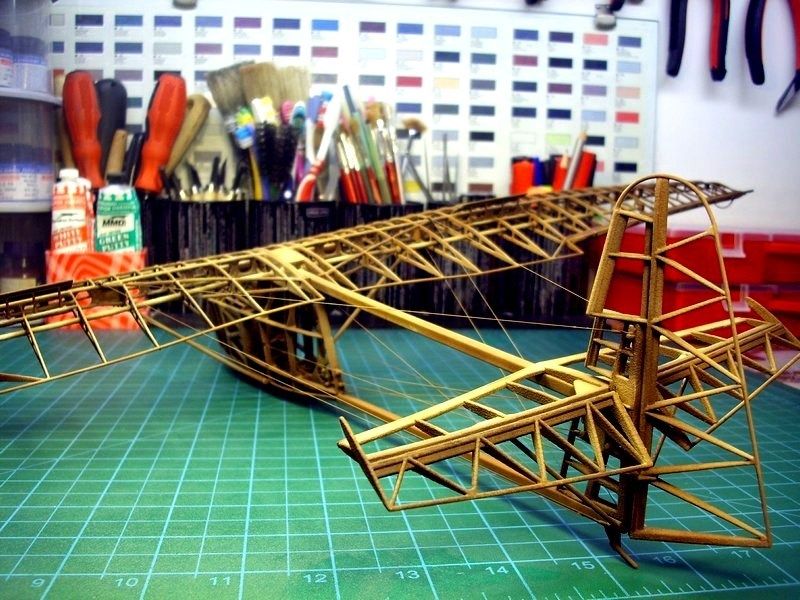
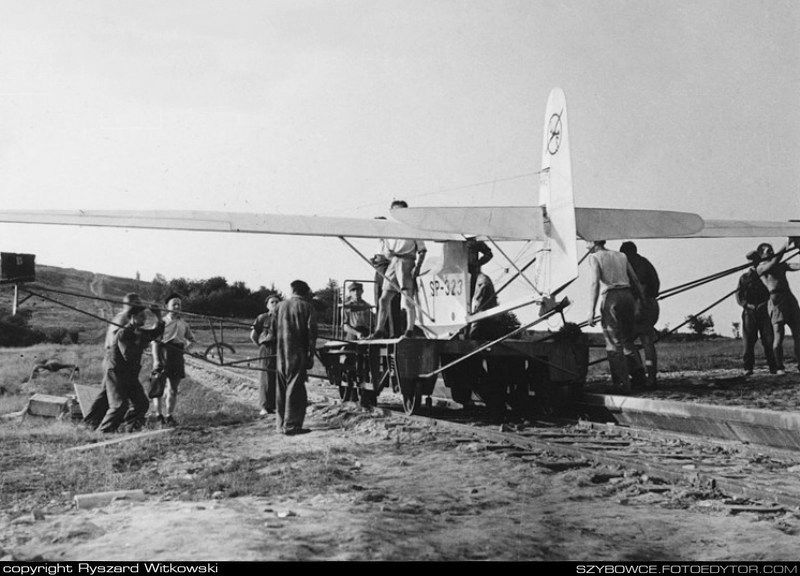
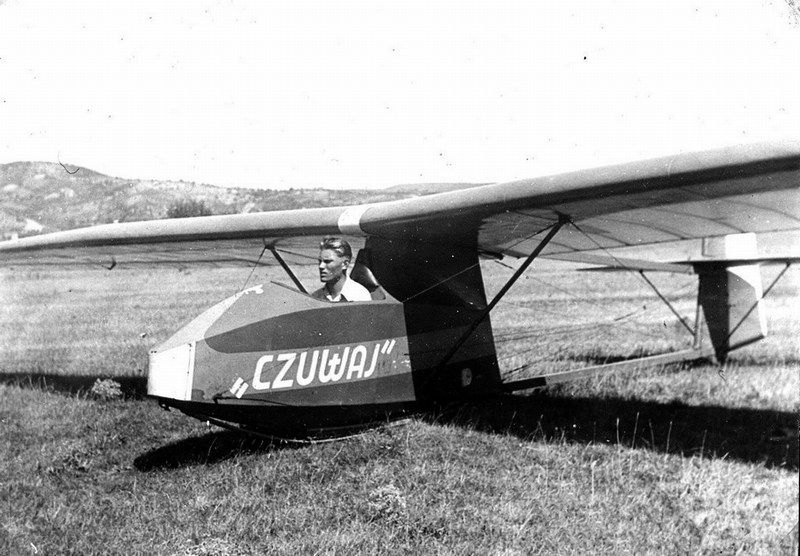
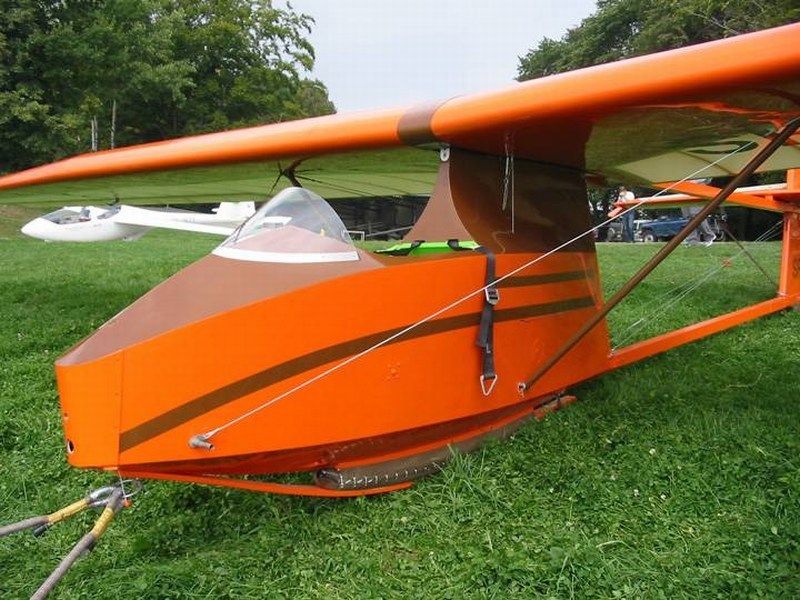
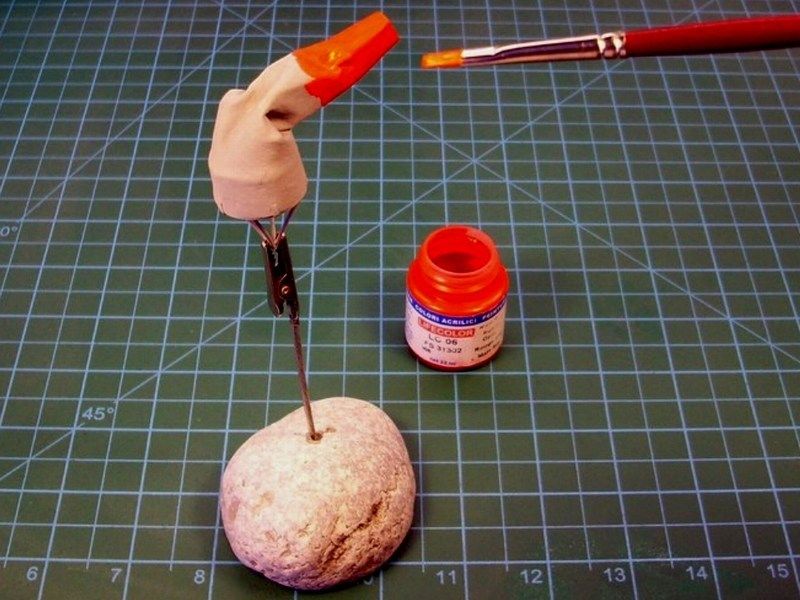
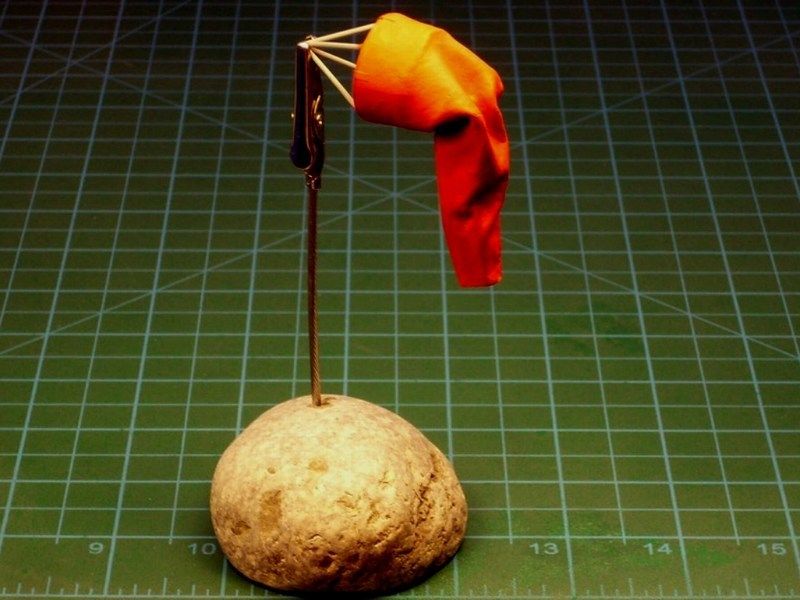
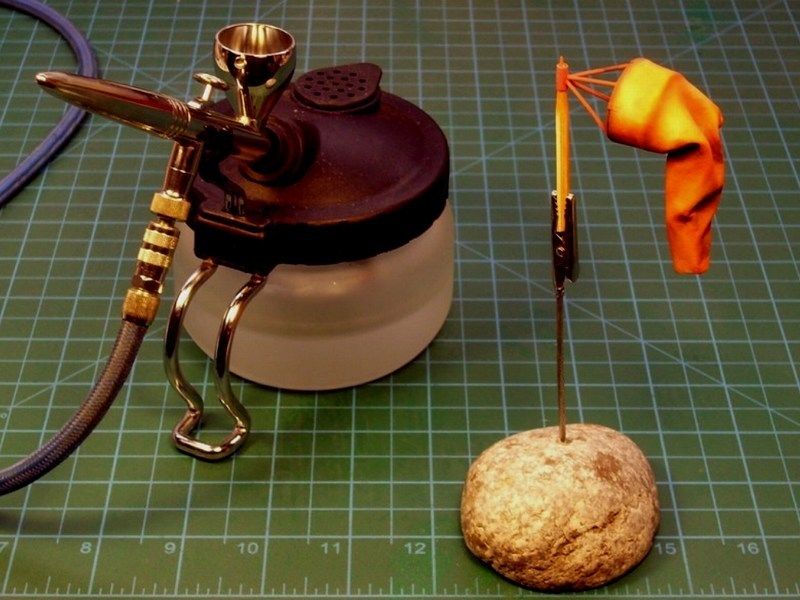
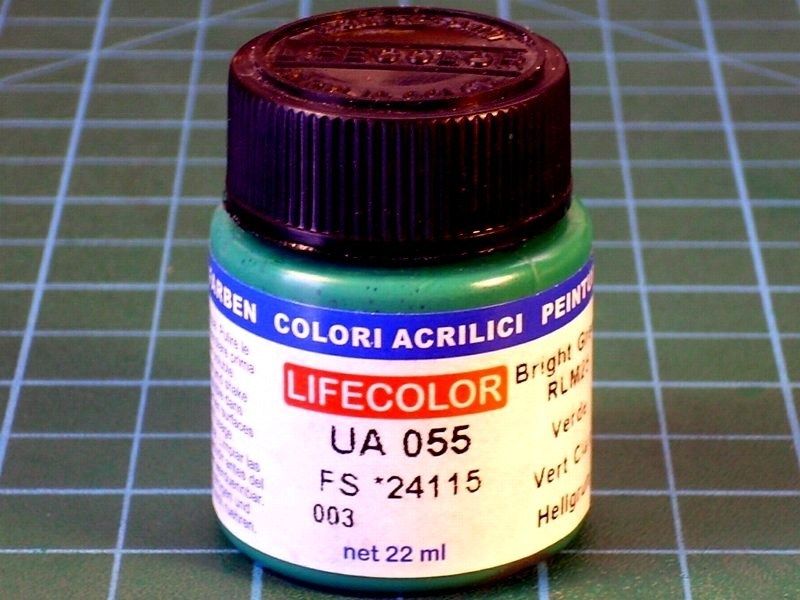
Studying the available photos I have, whether from my visit to the Polish aviation museum Krakow, Poland or pictures came from individuals who have built IS-A replicas around the World, I noticed that some of the metal parts ie control surfaces rods and cockpit levers, are painted with a green colour, which looks much alike the green that Soviets used to paint their jet fighter cockpits. To be honest, since all the 60 - 70 years old pictures are B&W, I'm not really sure if the actual IS-A gliders had these parts painted green, or if its just a practice by modern replica manufacturers. I decided for artistic reasons only and without being able check this feature authenticity, to paint these levers & rods with mentioned green colour. To do so, I used the FS24115 "
Bright Green RLM" available by Life Color as UA055 acrylic and later blend it, to look brighter on middle areas, spraying much diluted FS30257 "
Sand Yellow RLM79VAR" available by Life Color as UA081 acrylic, just not to look too dull.
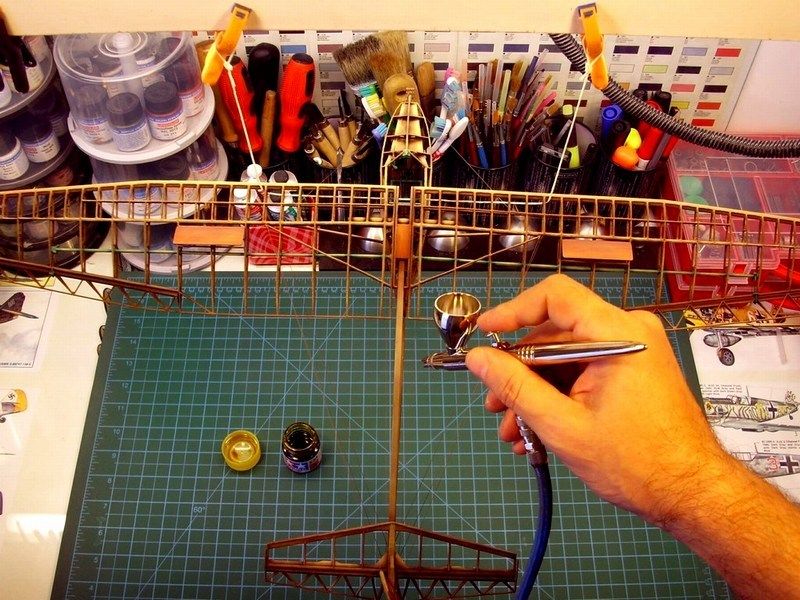
After the green parts painting & lighting, I repeatedly sprayed a very diluted mixture of thinner, Life Color UA717 "
Wood Cold light base" acrylic and Life Color UA716 "
Wood Warm light shade 2" acrylic at a ratio of 90% - 5% - 5%, over selected areas such as the wings leading edges and a few other points, that should look more enlightened.
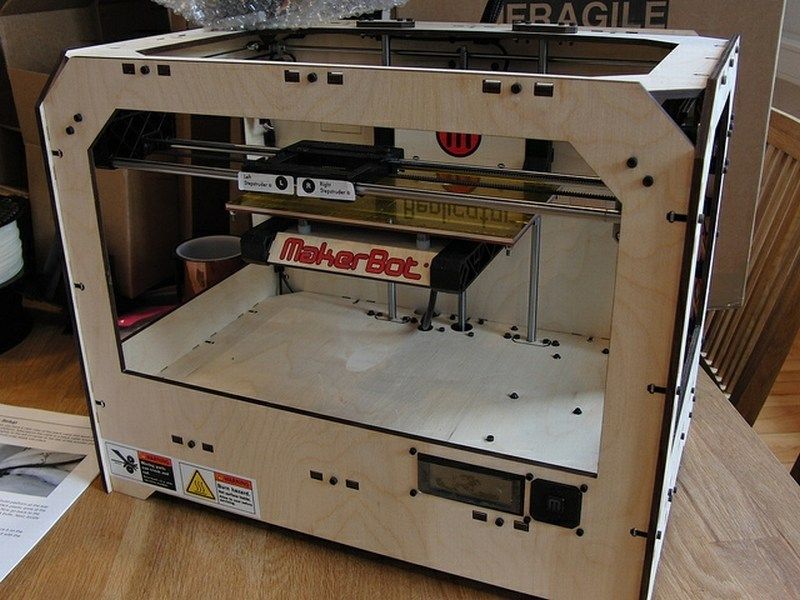
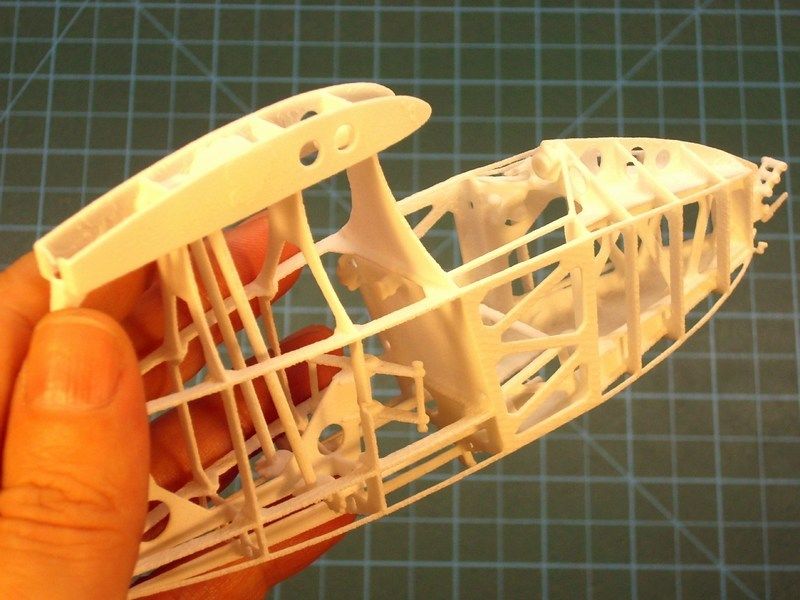
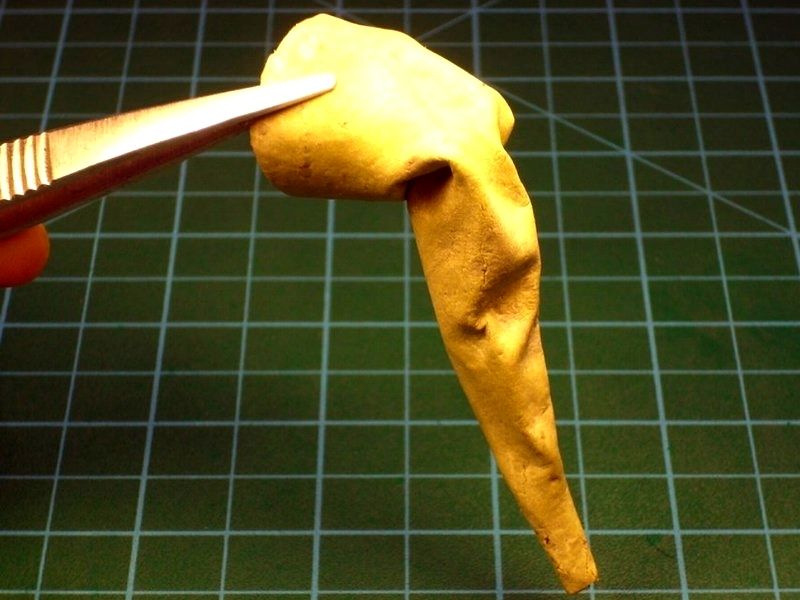
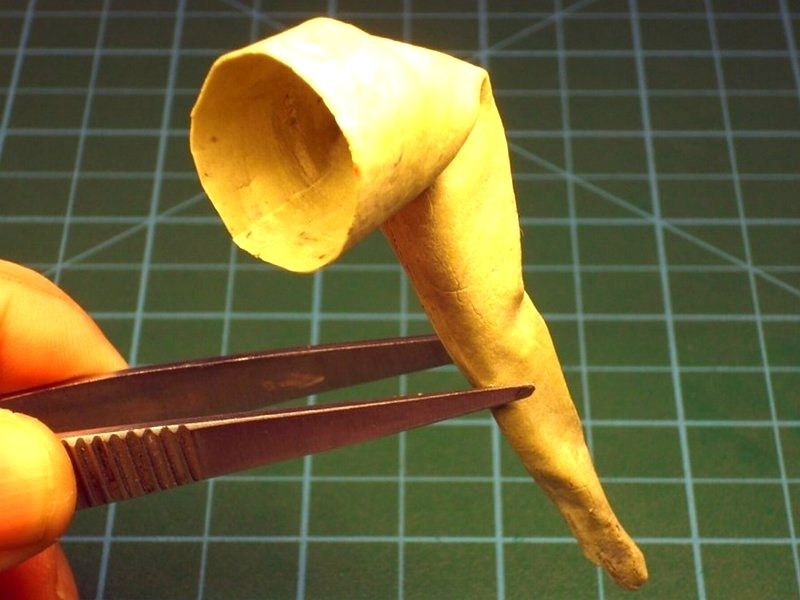
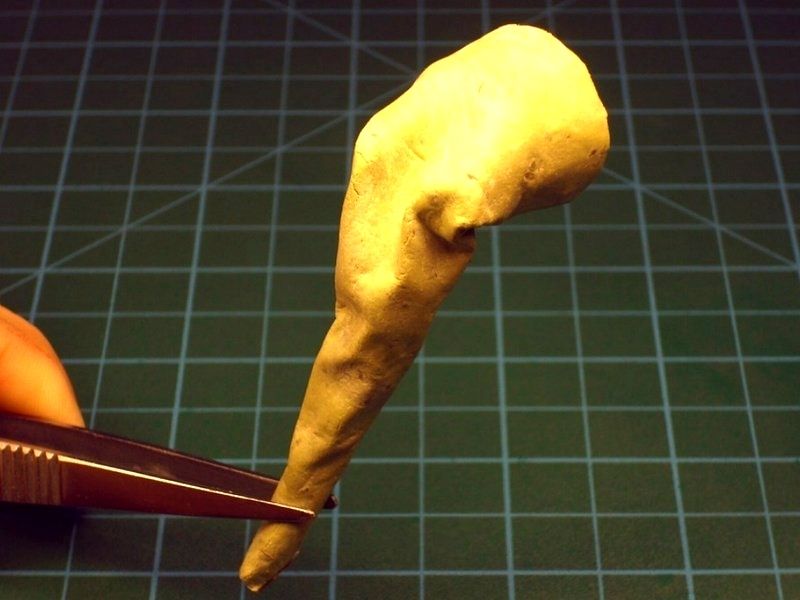
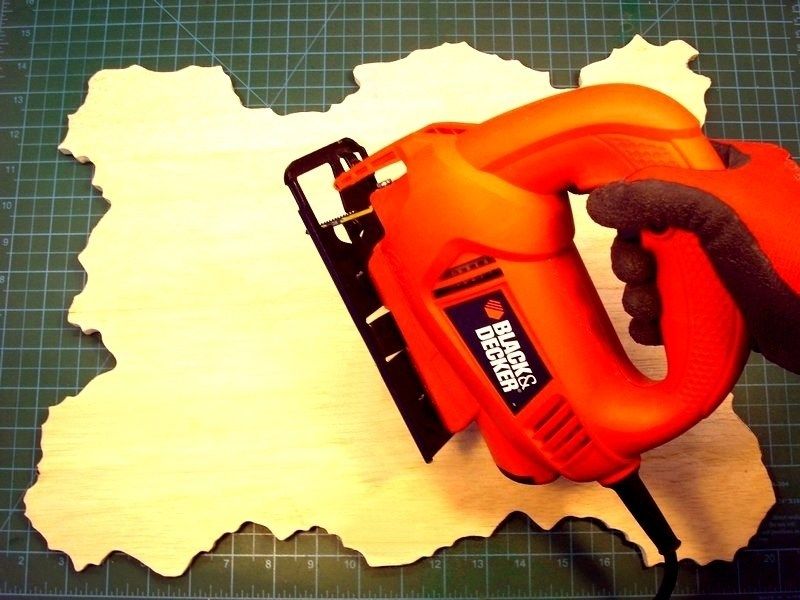
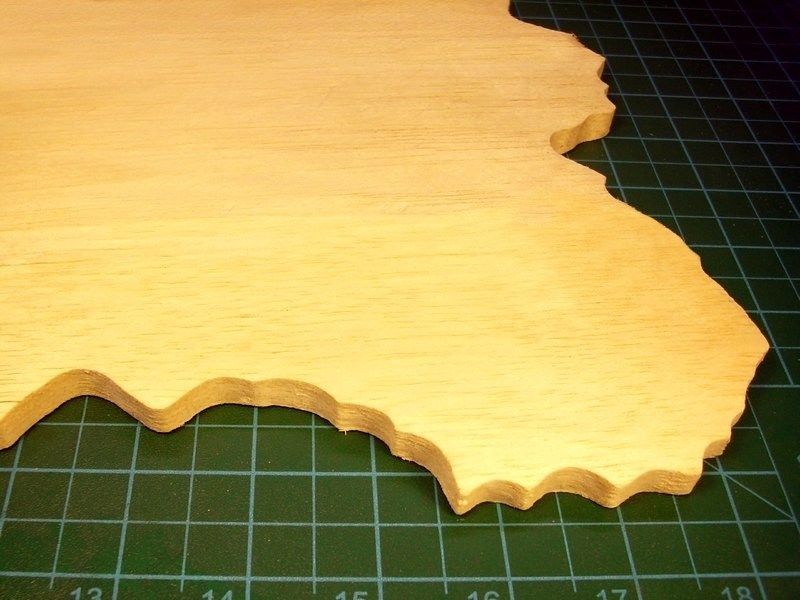
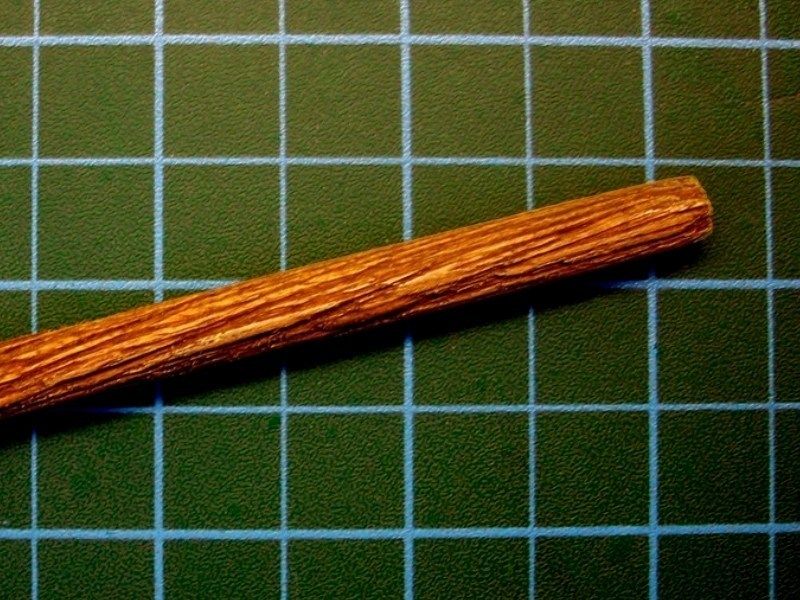
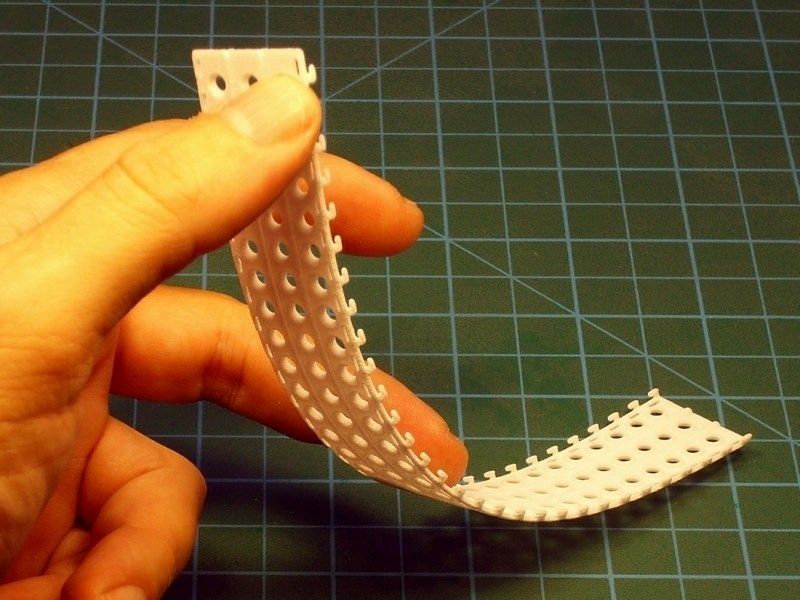
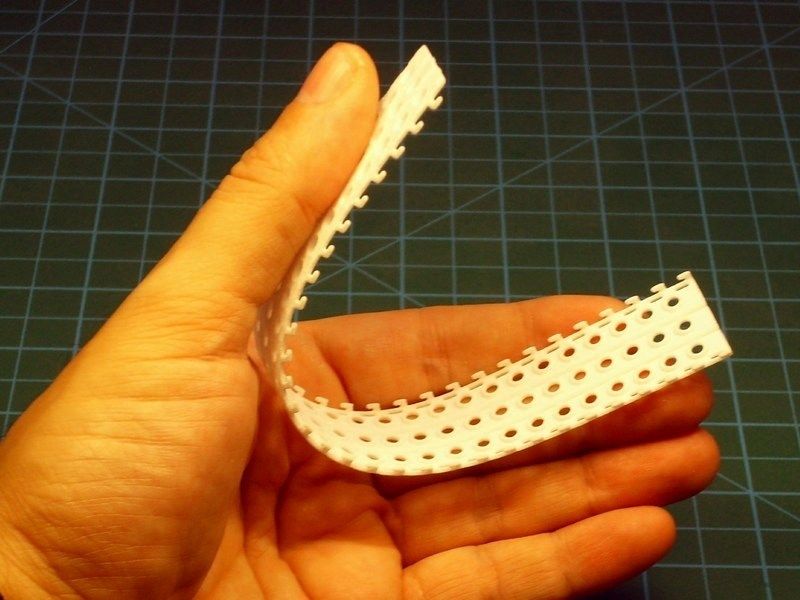
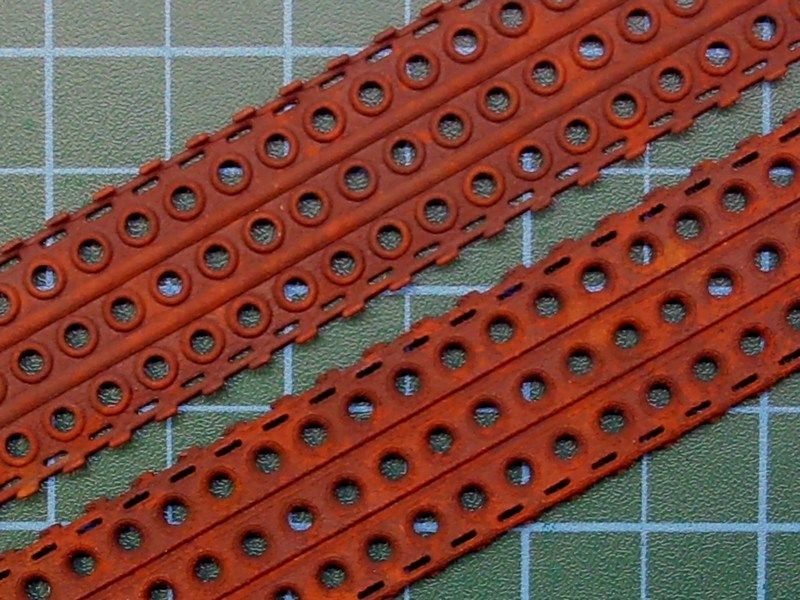
- THE FACT: Nowdays 3D printers are not perfect yet and may leave traces that look like finely ridged surface. Its a result from the resolution of the nozzle laying down the plastic, especially when no acrylic based polymers or V-cured acrylic plastics are used. These special matterials can print fine details, give a smooth & slightly shiny result, but for the moment, cost more.
- THE BAD NEWS: I did the stupidity to use the cheap matterial, in order to keep low the printing cost. And yes, these 3D printer traces, which before painting did not even appear, are now slightly visible.
- THE GOOD NEWS: These printer traces, (am I lucky or not?) look like wood grains! Yeap, that suits me a lot, because what I 'm trying to simulate here, is a glider frame made of unpainted, rough & hard wood. Since other scale modelers try to replicate this exact wood texture effect, I've already have it 3D printed in front of me.

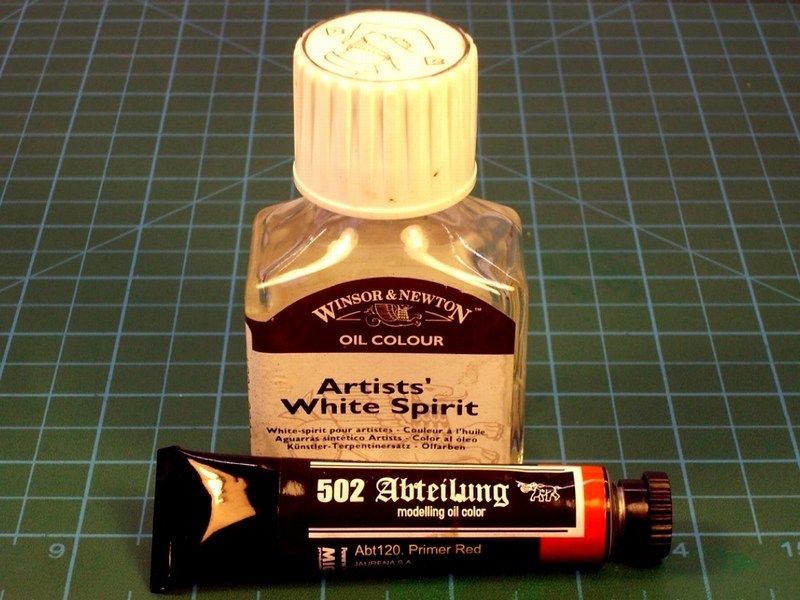
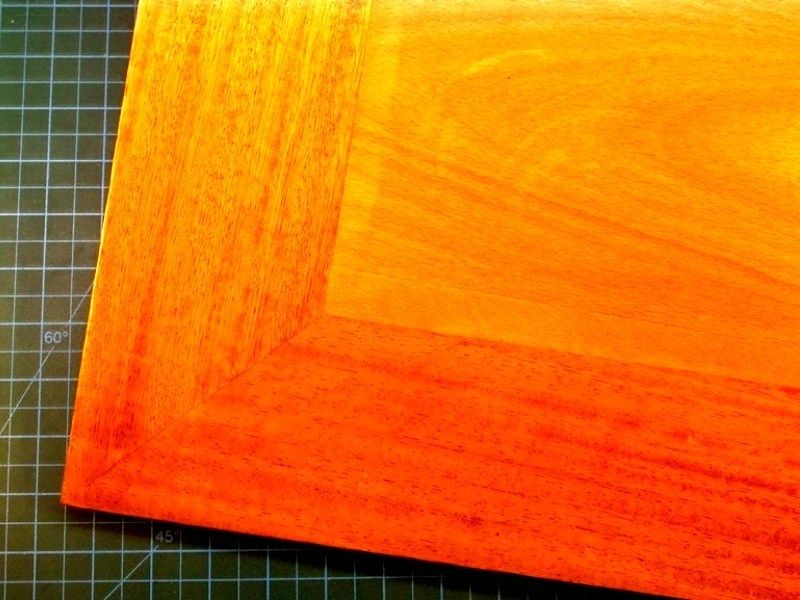
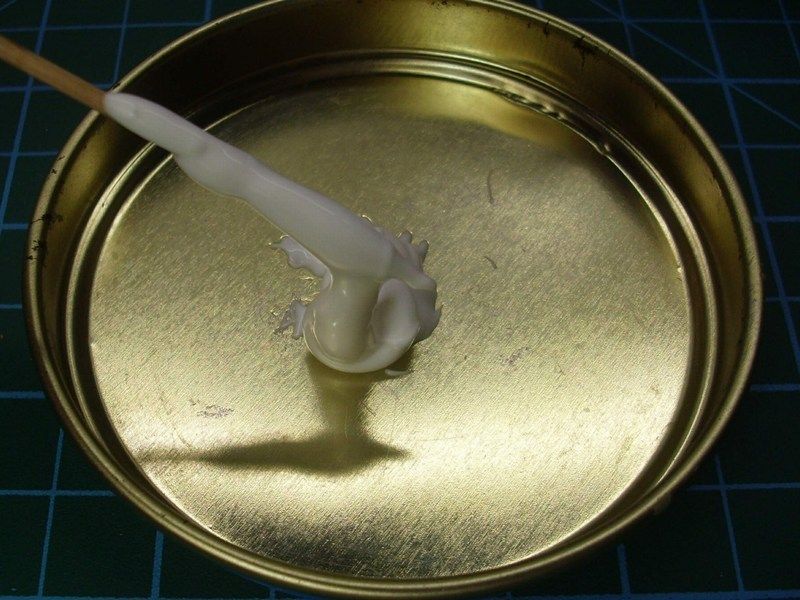
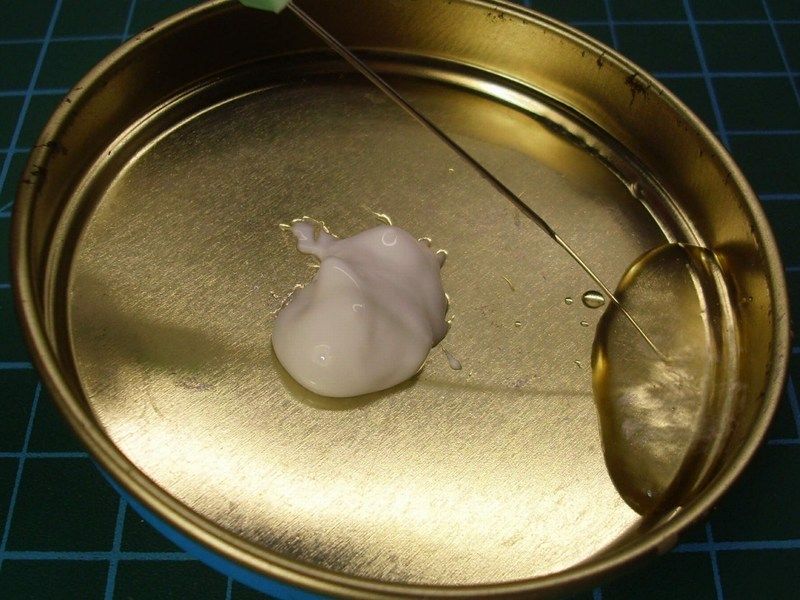
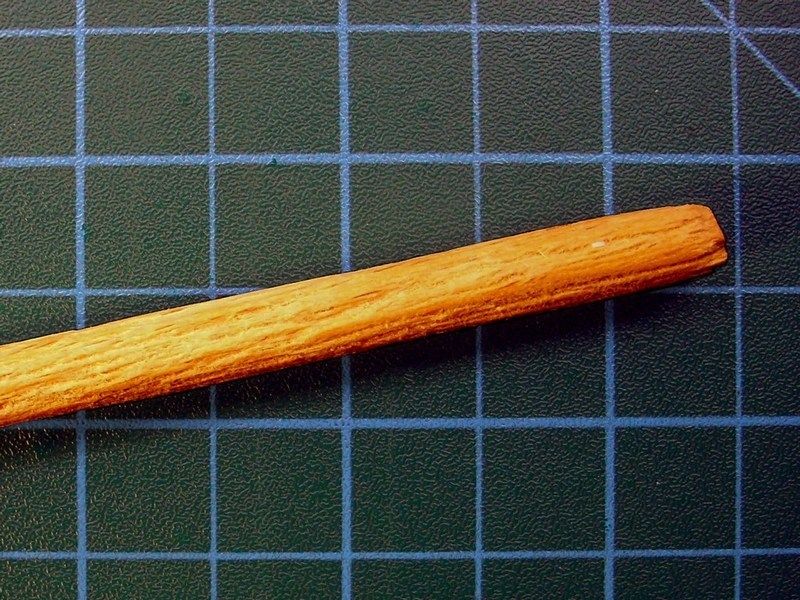
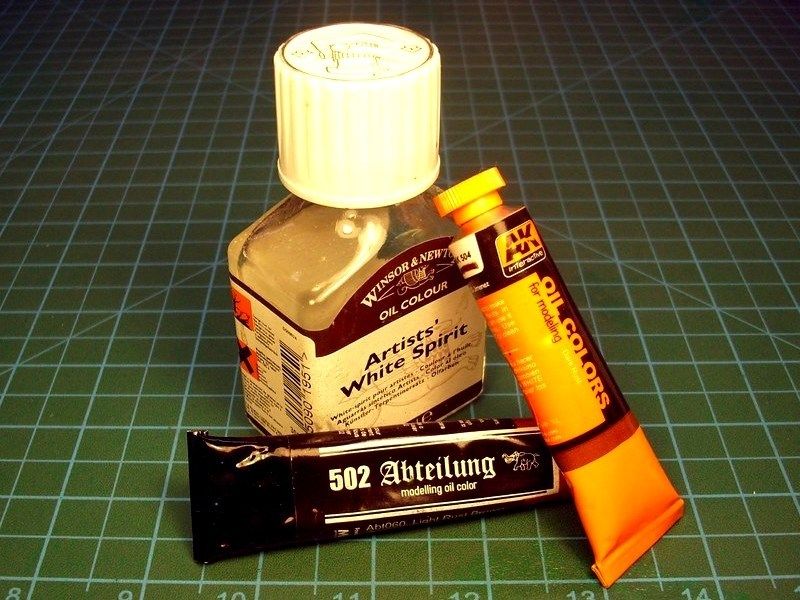
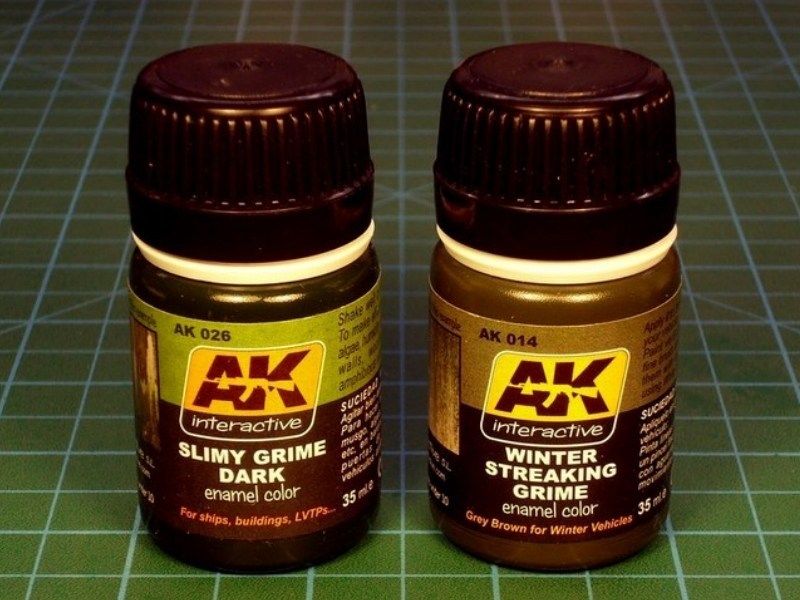
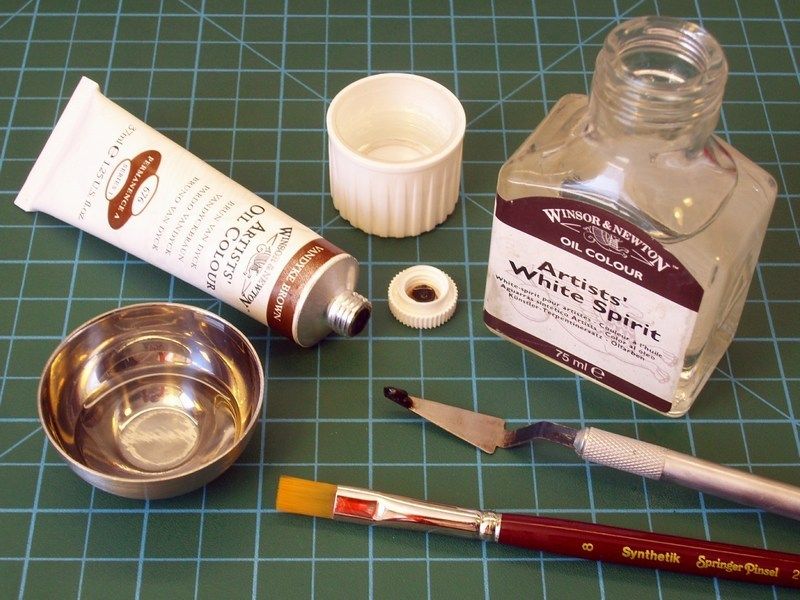
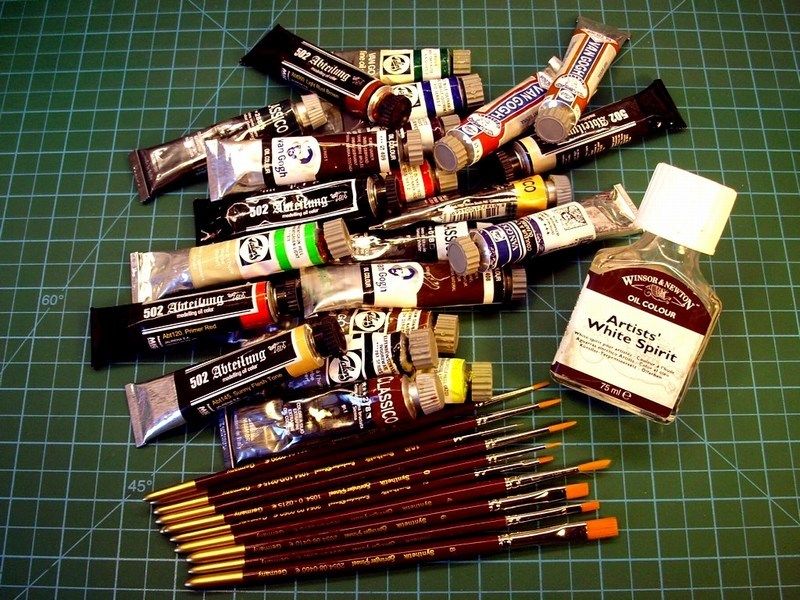
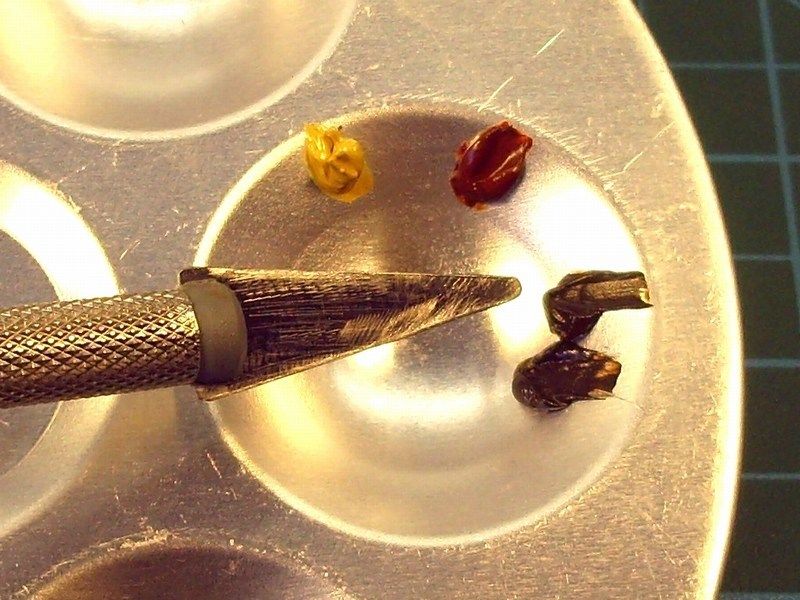
To apply the wood grain on wide areas covered with plywood, such as the airbrakes, I used wood grain colour from artists oil paints. The higher quality artists grade paints work much better because the pigments are much more finely ground. I believe that “
502 Abteilung” by MIG Productions, “
Van Gogh” and “
Talens” are good brands. The colour of the background coat and the oils may be varied for different kinds of wood. However, be aware that selecting a good colour combination that gives that natural look is tricky. I recommend experimenting on a test piece first before committing yourself to apply the mixture on your latest wondermodel. I arrived at my blend of "
Burnt Sienna", "
Yellow Ochre" and "
Raw Umber" in a ratio of 25% / 25% / 50% after trying with "
Raw Sienna" (too red), "
Yellow Ochre" (too orange), and one or two mixed combinations.
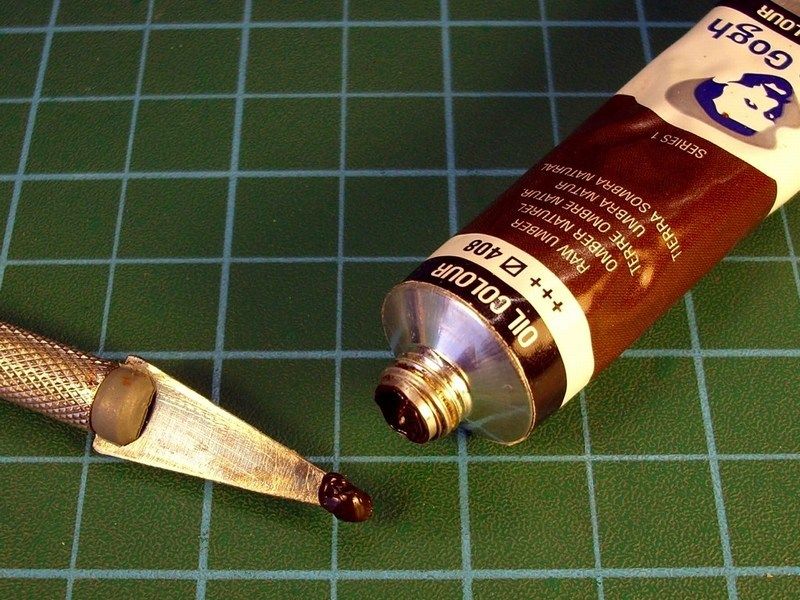
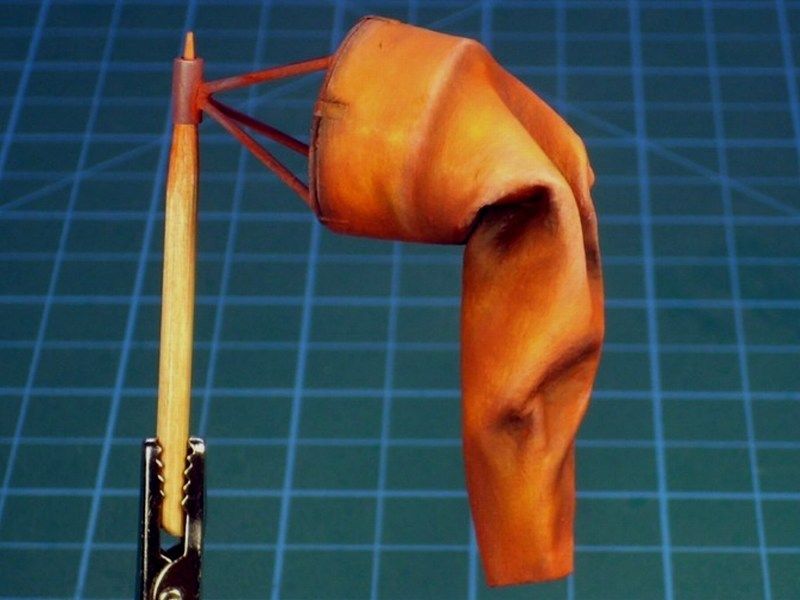
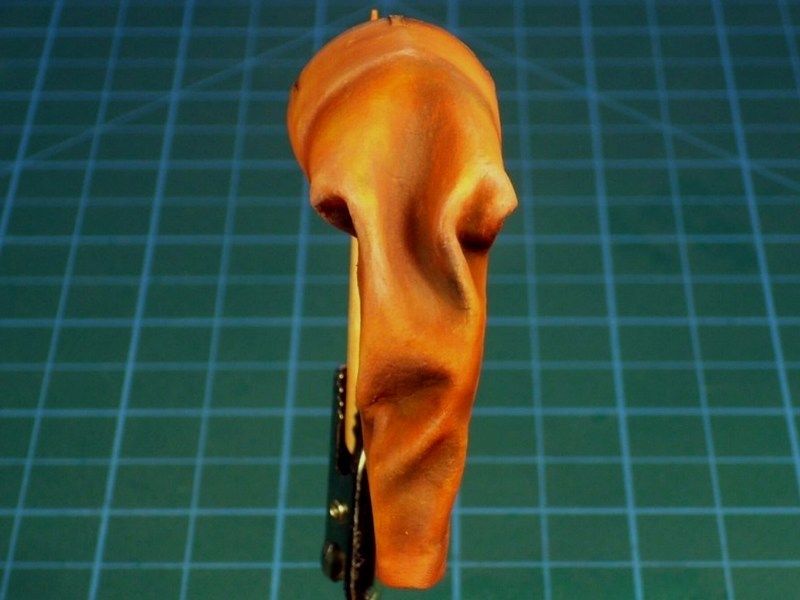
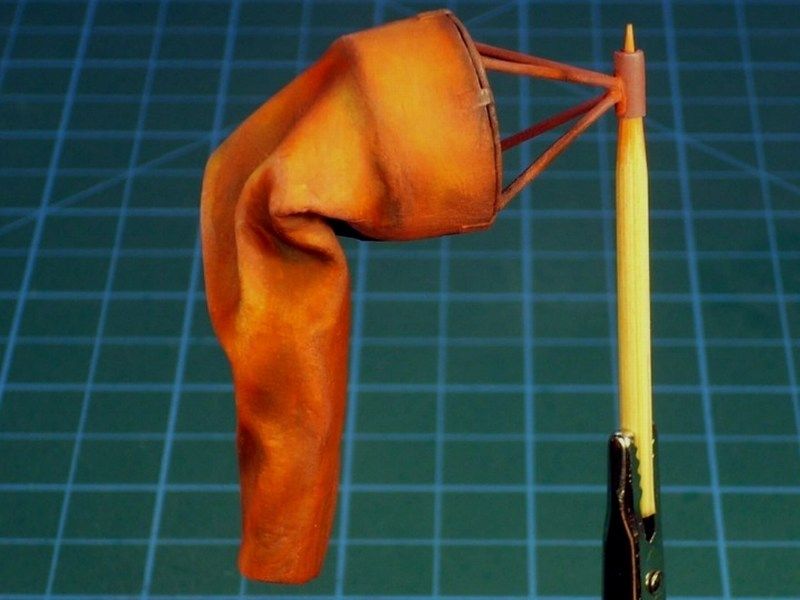
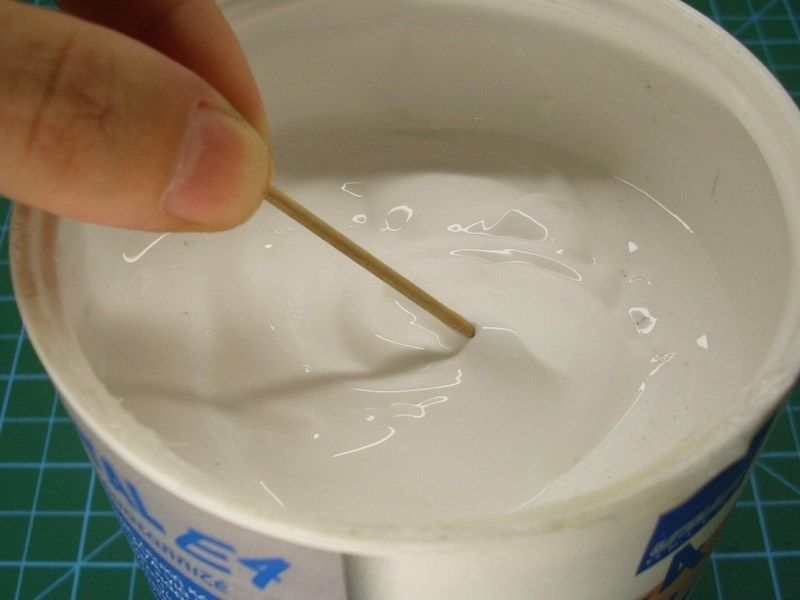
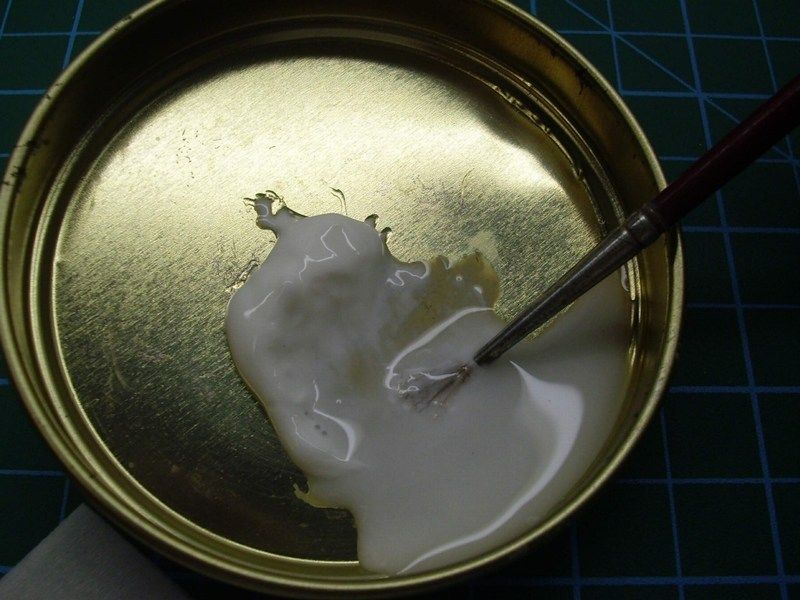
Once the base coat has cured, I brushed the oils with a broad, soft brush and spread the paint around until the desired colour density is achieved. Because working in oils is a little bit goes a long way, I started by putting just a little bit of paint on the end of the brush. I kept the brush strokes going in one direction and didn’t really worry about leaving brush strokes - I wanted them there for the wood grain. I tried not to spread it on too thick, or it would make the next step more difficult.
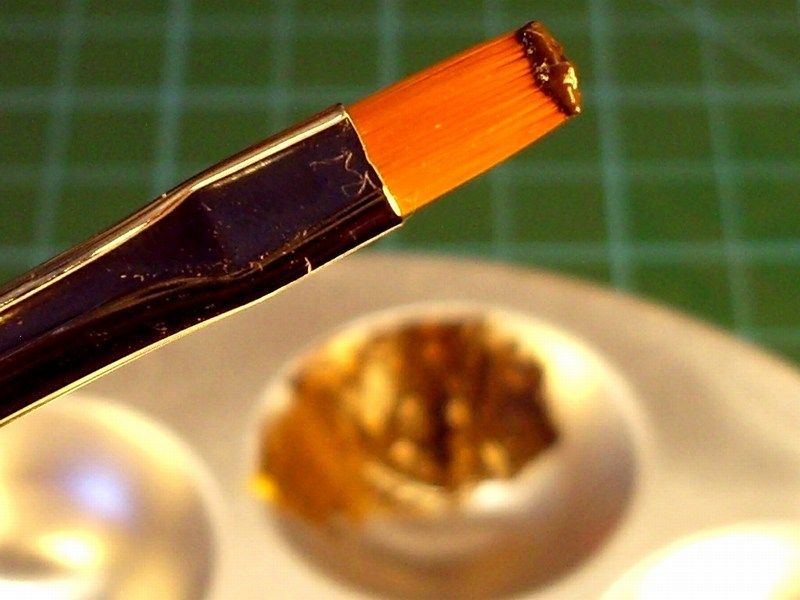
At this point the oils would be workable for several hours. With a broad, soft, clean and completely dry paint brush, I draged over the oil paint, leaving wood grain streaks. I jiggled the brush every now and then to give the grain a bit of variation. As the brush picked up the paint, I wiped it off on a clean, lint free cloth and continue process. “
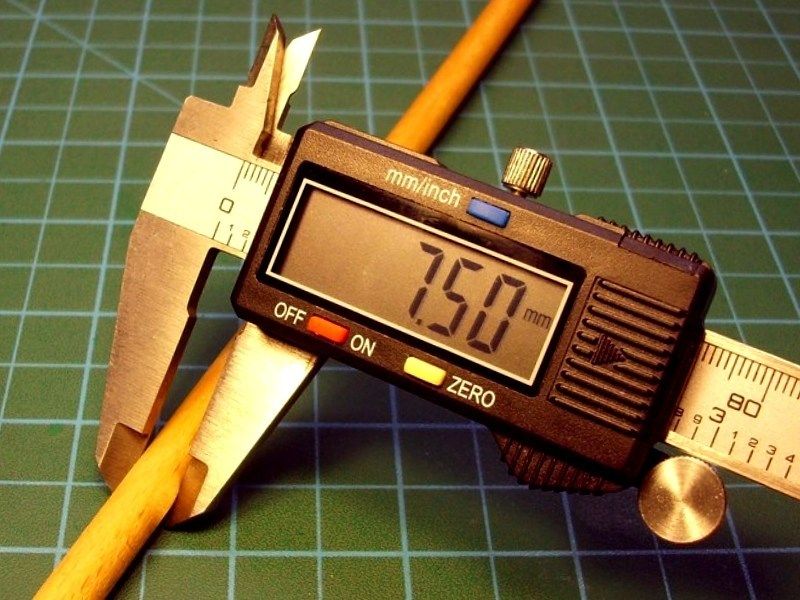
Lint free is the key phrase, as any speck of lint would adhere to the oil paint and destroy the finish. The beauty of this technique is that you can clean the oils off and try again if you goof up. Use a clean cloth and paint thinner (mineral spirits or turpenoid - not lacquer thinner) to wipe clean any mistakes and start over again. For my 1/18 scale Salamandra model, it took me about three or four tries to get the paint density and colour right, but it really was quite painless.
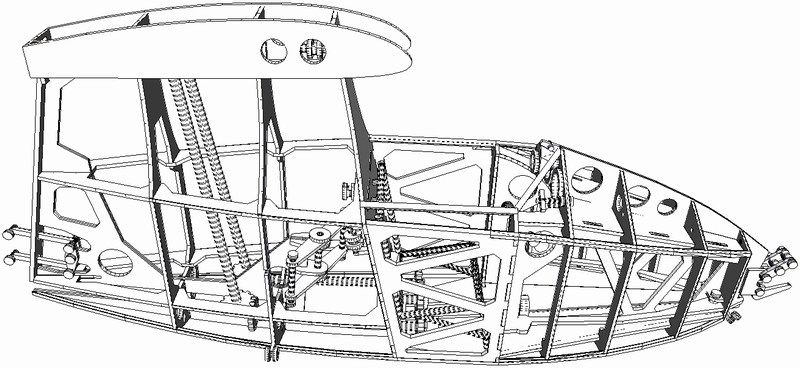
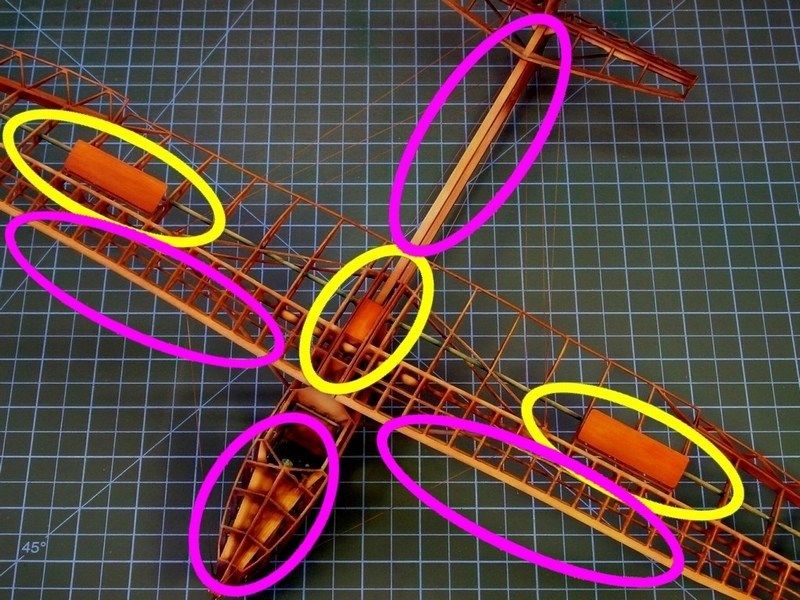
In some parts of the model which should look more bright, I slightly toned up with "
Buff" & "
Yellow Ochre" mixtures, or even pure “
Basic Flesh Tone" and “
Sunny Flesh Tone", while some others had to show darker, using "
Brown" or "
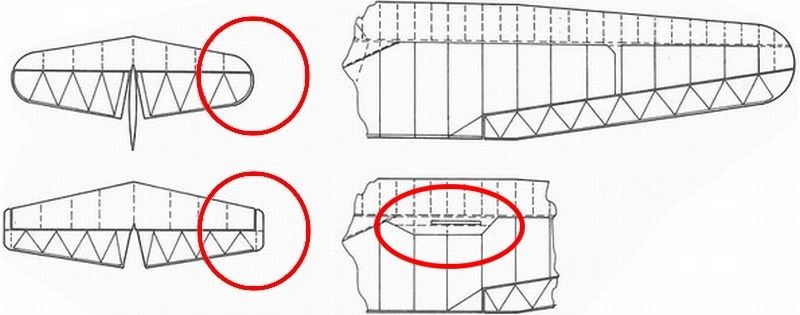
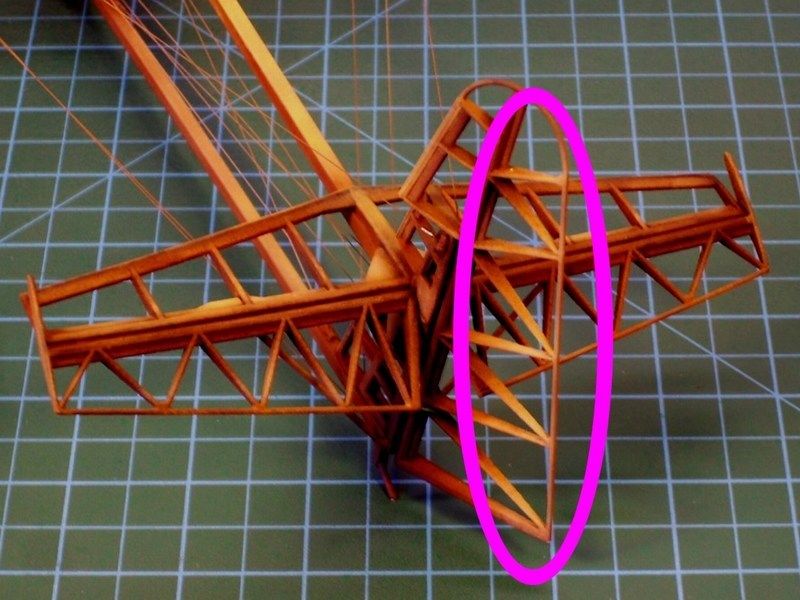
Raw Umber" color and blend naturally. The areas marked with yellow circles supposed to be covered by plywood and the areas marked with purple circles supposed to be more bright and slightly toned up.
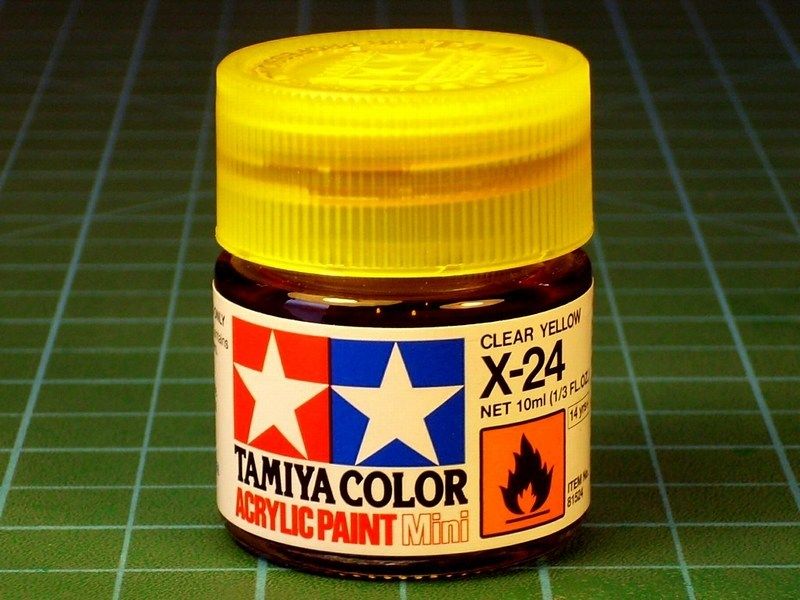
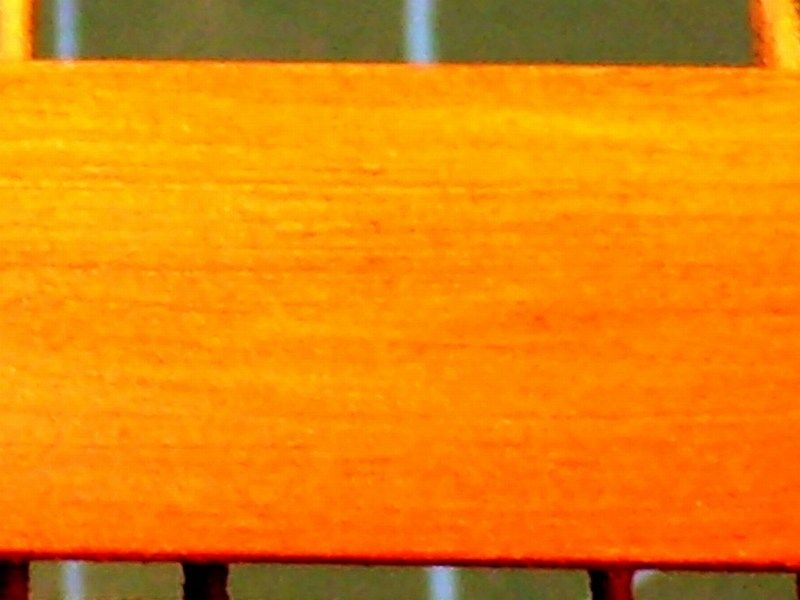
As soon as the result was OK for me, I left it alone to dry for few days and then sprayed over selected areas with Tamiya Color X-24 "
Clear Yellow" acrylic, because it also helps bring the grain color out more.