Page 17 of 19
Posted: Mon Mar 08, 2010 12:31 pm
by chunks
thatf14guy wrote:just a warning, don't waste your money on fightertwon decals 1/18 decals, they are made very complicatedly and you will wind up throwing them away!
Do you have photos and can you go into more detail with your experiences with these?
Posted: Mon Mar 08, 2010 12:37 pm
by thatf14guy
no comment
Posted: Mon Mar 08, 2010 1:05 pm
by thatf14guy
no comment
Posted: Mon Mar 08, 2010 4:14 pm
by chunks
Thanks, would "floating" the decal, using micro-sol, onto the surface make any difference?
Posted: Mon Mar 08, 2010 4:33 pm
by thatf14guy
no comment
Posted: Mon Mar 08, 2010 5:16 pm
by NWarty
F14guy is indeed correct. I got my Fightertown decals today via USPS.
The fuselage chevron markings are not one piece per say. There is no clear film between the openings between the chevrons. Ouch...I'm scared to death to put these on considering the price I paid for them.
Posted: Mon Mar 08, 2010 6:05 pm
by thatf14guy
no comment
Posted: Mon Mar 08, 2010 6:13 pm
by Fightertown Decals
Ok F-14guy/damian/jessica - This is getting out of control and I'm sorry but this harassment is completely unwarranted and needs to stop. We've tried to be as nice and accommodating as we can be you are have crossed the line...again...
You ask for custom artwork and blast us for being honest with you. You bring stuff to the forums that is not true, you accuse me and my company of ripping you off and after last week's unacceptable tirade, I have still tried to work with you. I asked if you would send some pictures or send back the decals and I would be happy to work with you. Please, ask anyone that's a customer, how far I'm willing to go to help out and how generous we try to be in those situations. Usually when people send an email and say they've made a mistake applying the decals, we're more than happy to send out another sheet.
At this point I can only figure that you have some unfortunate problem with me personally and you are doing this on purpose. I have no idea why this is, but as such, I am quickly coming to the conclusion that whatever your problem is may need to be solved legally.
If you have something wrong with the decals, then let me have the chance to solve it. But as I mentioned in the email, with probably 50,000 individual sheets and 65 decal products we've printed I know of only 1 sheet that actually had a problem with the clear not touching the artwork.
These decals are printed by Microscale and have the highest level of quality possible in printing water slide silk screen decals.
Here is the actual printed sheet with the clear layer. Our clear is tight to the art so that you have little to no silvering possible. We make the highest possible quality decals and we are proud that we have only the necessary clear needed. Most people find this detail alone desirable. I'm also attaching 2 detail shots from the printed art to show how the clear works. ALL artwork has clear around it and some care must be used when placing the decals because it is not solid across all the negative space. Using a sol/set/water and a little patience, these decals are very workable. As for 'stretching', I don't know of any waterslide decal that is made to stretch. Vinyl ones, sure.


You can see here that the fuselage stripe and chevrons are all connected but we minimize the need for clear across the negative space.

Posted: Mon Mar 08, 2010 6:54 pm
by thatf14guy
no comment.
Posted: Tue Mar 09, 2010 5:19 am
by gburch
Last weekend I finally got around to doing some test spots (pun intended) with the sponge-dab method and Model Master Flat Gull Grey acrylic.
A couple of comments:
Good coverage requires three coats.
The color match is NOT perfect. I've found that you can really see the difference between the original base color and the new color. Flat Gull Grey is definitely lighter and "whiter" than the original color on my bird. I don't know if there's enough variation in the paint that the factory used that this isn't an issue with all the birds.
Because of the color match issue, I'm having to do whole panels, masking with blue painters tape. After my first test areas (on the "inside" of one of the drop tanks), so far, I've done the big central areas on the horizontal stabs top and bottom, and the big central areas on the bottoms of the wings, masking the insignia on the left wing as well as I could (which turned out better than I'd feared.
The result so far is good, in the sense that the final finish after three coats and rubbing with a fine cloth between coats to smooth out any fine sponge bits that get into the paint (and a few do) looks very good. The contrast between newly painted and original panels is quite noticeable, but actually looks kind of cool -- like the bird's paint has been maintained mid-cruise by painting some, but not all panels.
Posted: Tue Mar 09, 2010 5:21 am
by gburch
Last weekend I finally got around to doing some test spots (pun intended) with the sponge-dab method and Model Master Flat Gull Grey acrylic.
A couple of comments:
Good coverage requires three coats.
The color match is NOT perfect. I've found that you can really see the difference between the original base color and the new color. Flat Gull Grey is definitely lighter and "whiter" than the original color on my bird. I don't know if there's enough variation in the paint that the factory used that this isn't an issue with all the birds.
Because of the color match issue, I'm having to do whole panels, masking with blue painters tape. After my first test areas (on the "inside" of one of the drop tanks), so far, I've done the big central areas on the horizontal stabs top and bottom, and the big central areas on the bottoms of the wings, masking the insignia on the left wing as well as I could (which turned out better than I'd feared.
The result so far is good, in the sense that the final finish after three coats and rubbing with a fine cloth between coats to smooth out any fine sponge bits that get into the paint (and a few do) looks very good. The contrast between newly painted and original panels is quite noticeable, but actually looks kind of cool -- like the bird's paint has been maintained mid-cruise by painting some, but not all panels.
Posted: Tue Mar 09, 2010 5:02 pm
by deankleines
Mr. Burch,
Here is an updated shot of my nose section after despotting:
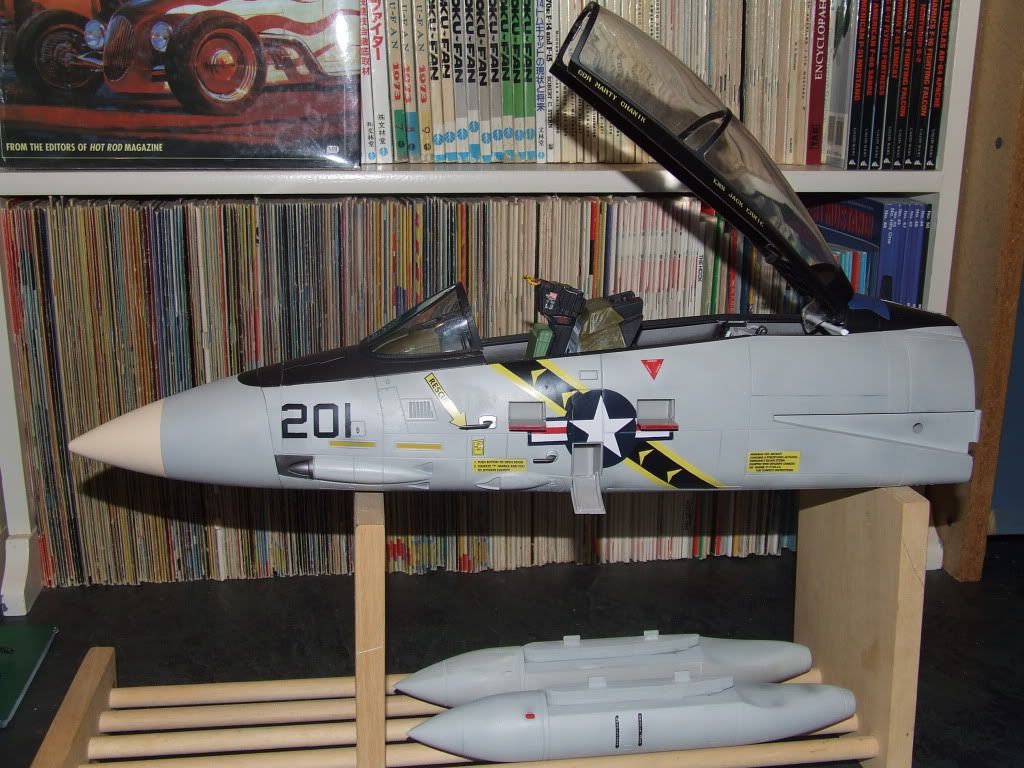
I found myself using post-it notes to mask off panel edges and sponging up to the edge. I like your idea of buffing between coats, however, I never had sponge fragments in the paint. What type of sponges are you using? If you are using the acrylic paint, I found by rinsing them often, it keeps the paint from drying on the sponge and interfering with the paint transfer. The only way I can see a spot repair is in direct sunlight, where the texture of the sponge applied paint has a slighltly different sheen than the factory finish.
Completely despotted my Tomcat for less than $5!!!!!
Dean
Posted: Tue Mar 09, 2010 11:43 pm
by NWarty
Nice job Dean!
By the way, Fightertown and Microscale did a great job with their decals. The printing is top notch and the packaging+background and photosheet are beautiful. Nice job Brian.

Posted: Wed Mar 10, 2010 6:24 am
by JoeS
Fightertown decals are very high quality with a tight film backing, I use them on smaller scales without silvering if you have a good glosscoat- they look painted on. I'm about to order the Cat S**tch Fever from them directly as I usually order locally here in the UK. Look forward to further decals in the range. Obviously if you take the time and use common sense these decals will be a dream to apply to your F-14.
'Jay.
Posted: Sat Mar 13, 2010 7:52 am
by thatf14guy
Posted: Sat Mar 13, 2010 8:43 am
by JoeS
They both look good....incidently I have a bengal kitten on my lap and she stared intently at the images....seems like cats like the F-14....anytime baby...
Posted: Sat Mar 13, 2010 8:47 am
by gburch
I've been making slow but steady progress with the sponge-dab method and am pretty pleased with the result. I'm at the stage where I REALLY need to remove the forward fuselage section, but can't find the post here that gave some tips on removing it. I've removed the panel on the bottom (I remember that was one step in the process) but can't see what I'm supposed to do next and can't remember where the tabs I need to push are from when I assembled the bird many weeks ago.
Can anyone post a reminder about how to remove the forward fuse section?
Thanks.
Posted: Sat Mar 13, 2010 9:45 am
by thatf14guy
here is a pic how to do that:
the butter knife goes between the nose section piece and the main body, then twist. never do it in the middle or you risk breaking the tabs.
http://i113.photobucket.com/albums/n206 ... a001-1.jpg
if you still can't figure it out send me your plane and $100 and i'll do it.
just kidding, nah i'll make more pics if needed.
Posted: Sat Mar 13, 2010 1:39 pm
by gburch
thatf14guy wrote:here is a pic how to do that:
the butter knife goes between the nose section piece and the main body, then twist. never do it in the middle or you risk breaking the tabs.
http://i113.photobucket.com/albums/n206 ... a001-1.jpg
if you still can't figure it out send me your plane and $100 and i'll do it.
just kidding, nah i'll make more pics if needed.
That did it! The picture was perfect and it worked like a charm! Thanks!!!
Posted: Sat Mar 13, 2010 3:08 pm
by thatf14guy
no problem.
Fightertown Decals First Rate
Posted: Fri Mar 19, 2010 7:29 pm
by mcaulk
I am a long time modeler and can speak from experience that Fightertown Decals are among the best I have used. I have several sets in 32nd scale and have never had a problem with their products. I recently purchased the 1/18 scale set for the VF-84 Low Viz tomcat and they are just outstanding. Not sure why some have chosen to criticize these guys maybe they are inexperienced modelers and are trying to shift blame for a lack of skill.
Regards
To the staff at Fightertown I say... Illegitimi non carborundum
Posted: Mon Mar 22, 2010 5:00 pm
by NWarty
(mutters to self over and over)
I will never buy Tamiya spray again, I will never buy Tamiya spray again, I will never buy Tamiya spray again, I will never buy Tamiya spray againI will never buy Tamiya spray again, I will never buy Tamiya spray againI will never buy Tamiya spray again, I will never buy Tamiya spray againI will never buy Tamiya spray again, I will never buy Tamiya spray againI will never buy Tamiya spray again, I will never buy Tamiya spray againI will never buy Tamiya spray again, I will never buy Tamiya spray againI will never buy Tamiya spray again, I will never buy Tamiya spray againI will never buy Tamiya spray again, I will never buy Tamiya spray againI will never buy Tamiya spray again, I will never buy Tamiya spray againI will never buy Tamiya spray again, I will never buy Tamiya spray againI will never buy Tamiya spray again, I will never buy Tamiya spray againI will never buy Tamiya spray again, I will never buy Tamiya spray againI will never buy Tamiya spray again, I will never buy Tamiya spray againI will never buy Tamiya spray again, I will never buy Tamiya spray againI will never buy Tamiya spray again, I will never buy Tamiya spray againI will never buy Tamiya spray again, I will never buy Tamiya spray again
To hell with fixing the crackling, I'm about done fartin' around with this repaint.
Posted: Mon Mar 22, 2010 6:35 pm
by pcoughran
I've used Tamiya spray can before and with pretty good results. Just curious, was it below 50 degrees F when you did the repaint (assuming you didn't use an indoor spray booth for the fumes/overspray)? Also, what was the humidity when you used it.
I'm not trying to be critical. Usually when I've had bad results with paint it's because I was trying to spray in conditions not conducive to the manufacturers recommendations.
With a $250 model repaint I probably would skip the spray can and go airbrush anyway. Even in best of conditions, spray cans can always "spit" some blobs out.
Posted: Mon Mar 22, 2010 9:03 pm
by NWarty
I forgo'd (sp) the airbrush because of the amount of paint to cover. Aircraft was sprayed in the garage and moved into heated basement. It's Washington State, so it's humid.
Probably the weather played the most part in why it cracked.It's not bad from a few feet away, you can't tell until you're on top of it. But enough to really make me irritated. Will paint the fin flashing over the next couple of days.
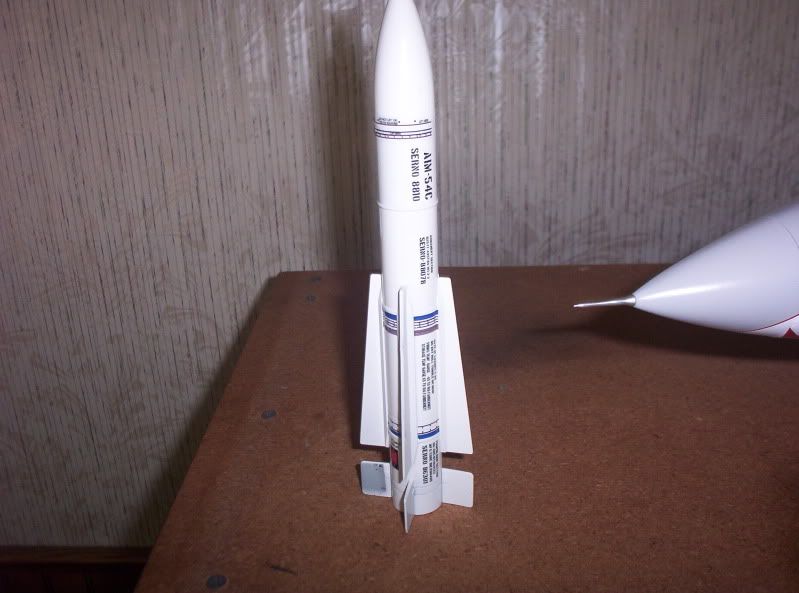
Started decaling tonight and will finish weathering over the next week or so. The decals are fragile but lay down nicely. Lot's of patience is needed because of the work Brian at FTD getting rid of much of the silvering.

Posted: Tue Mar 23, 2010 9:22 pm
by NWarty
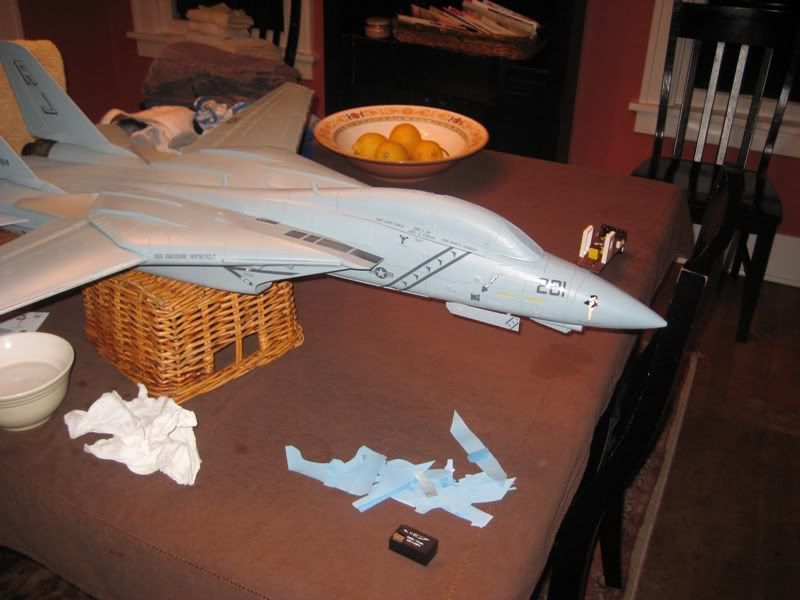
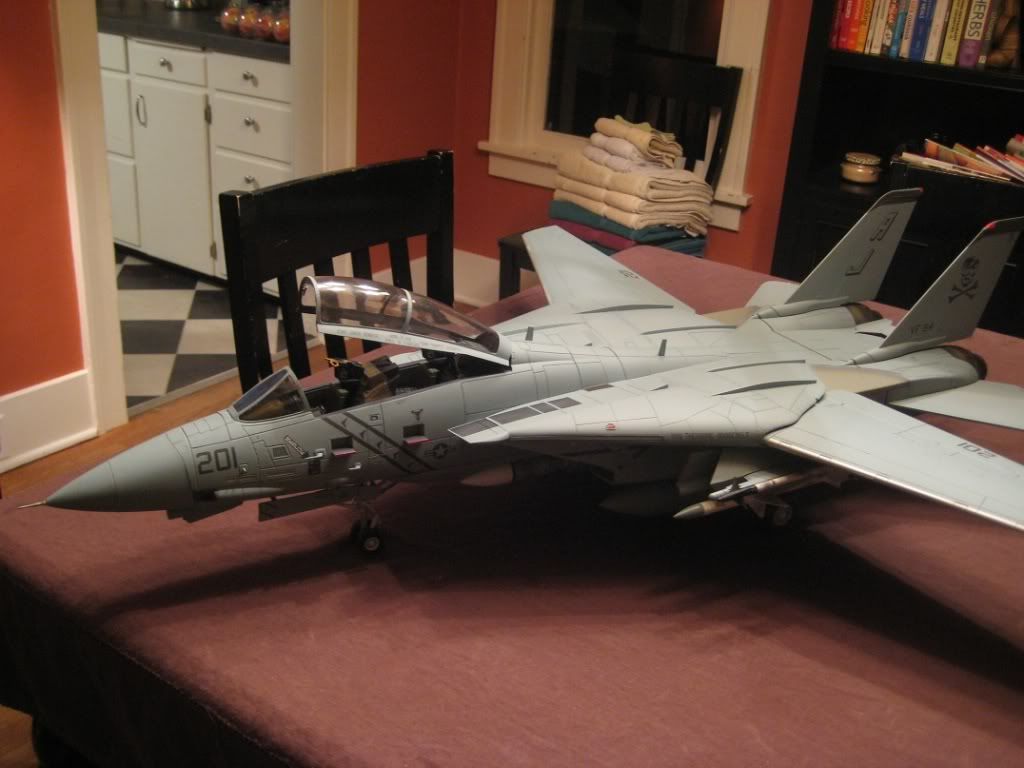
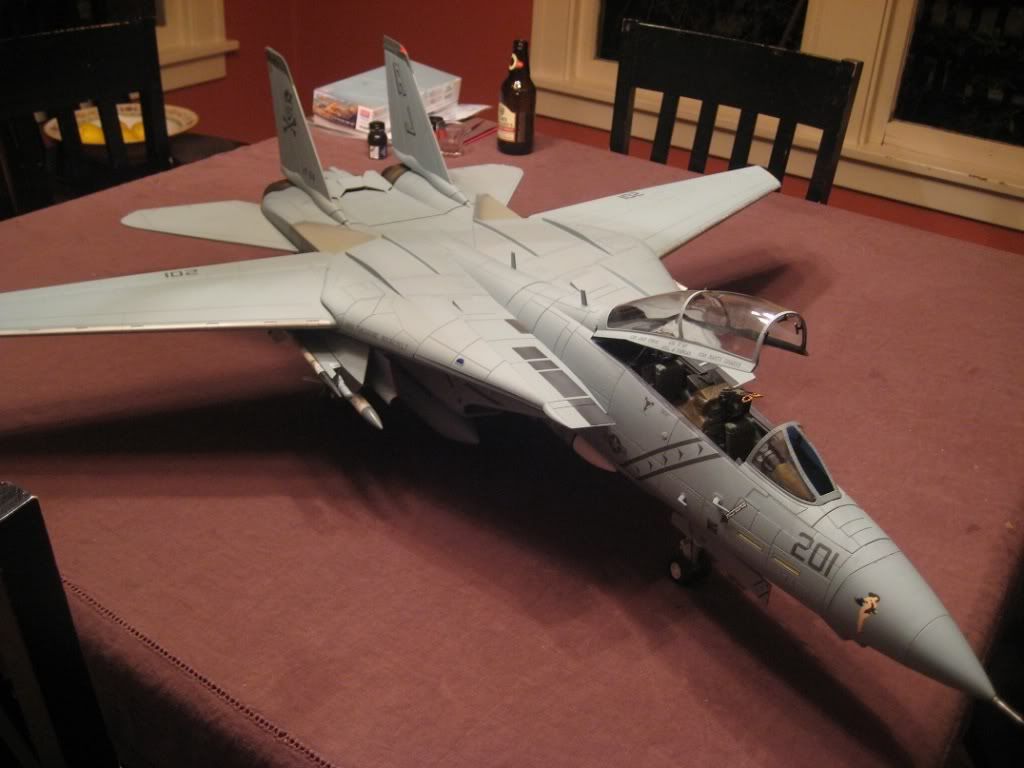
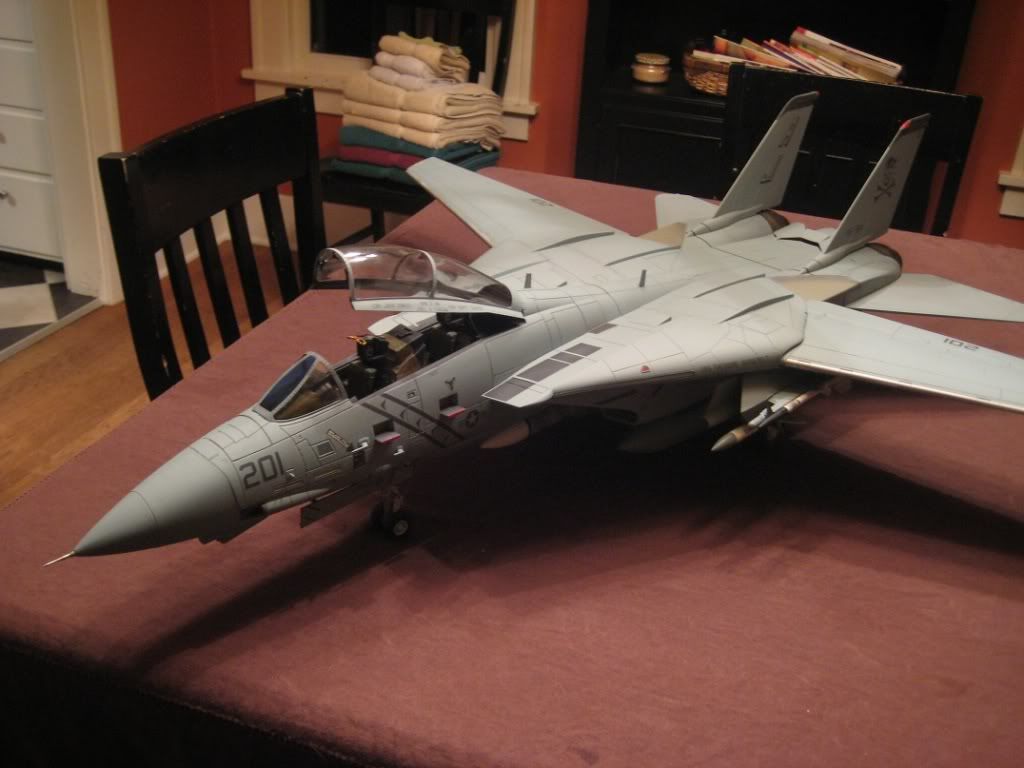
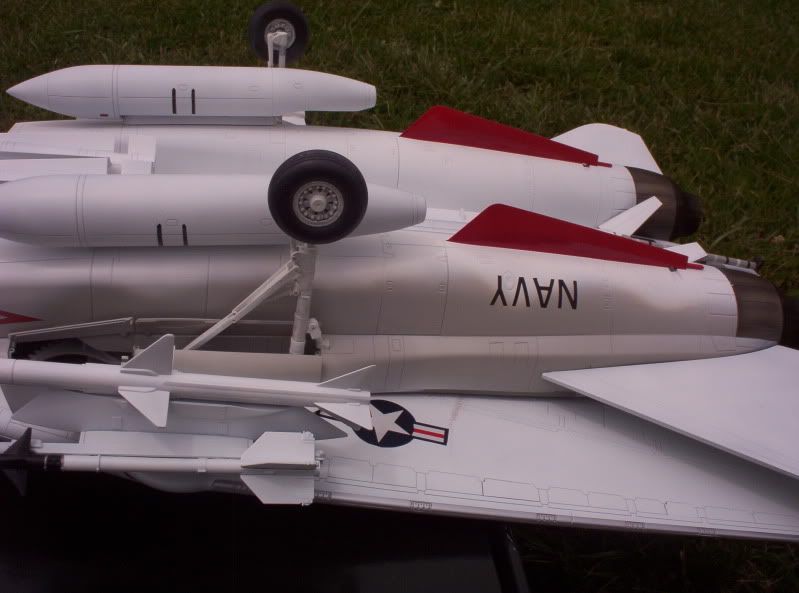
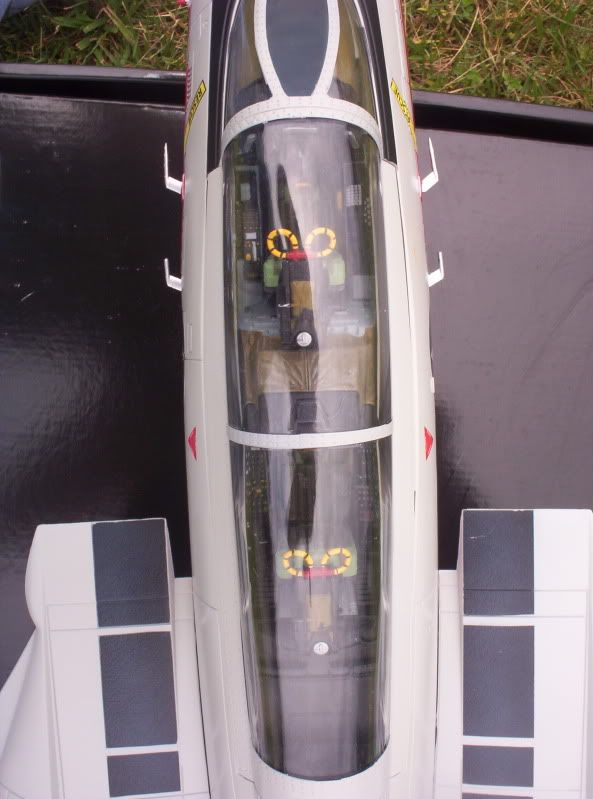
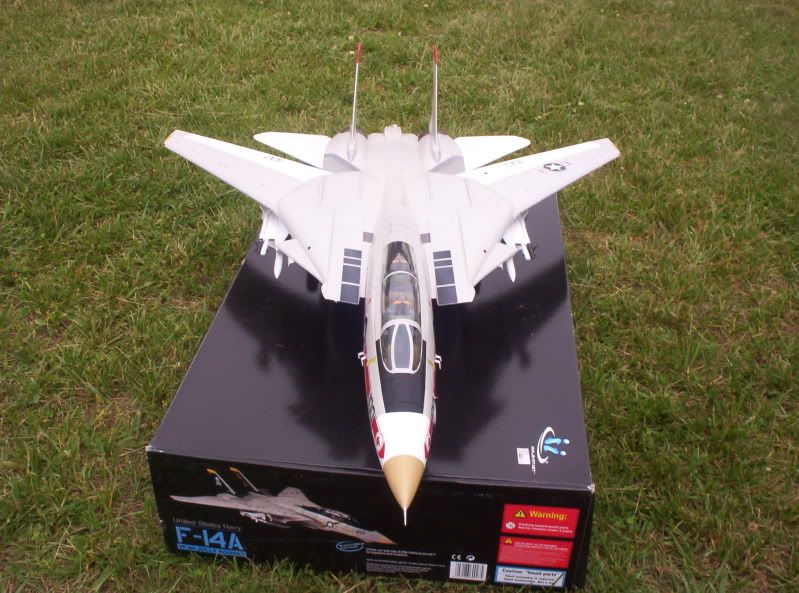
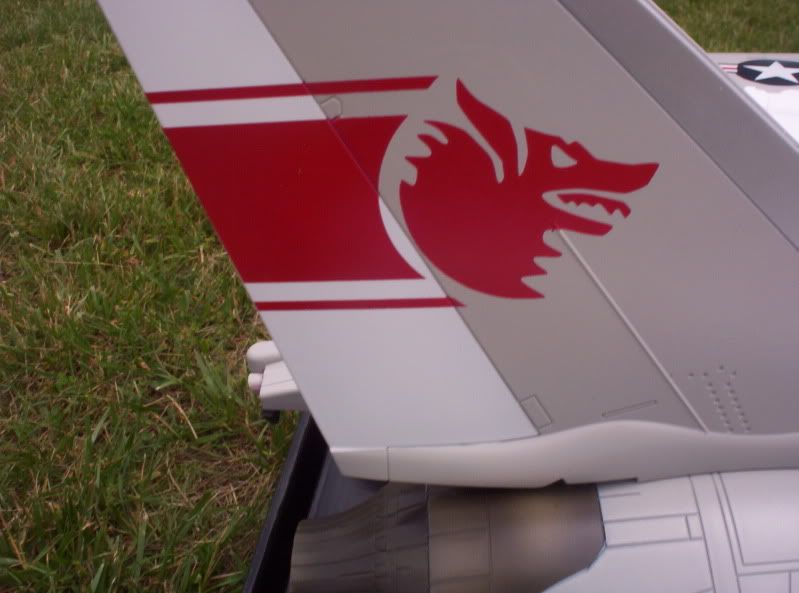
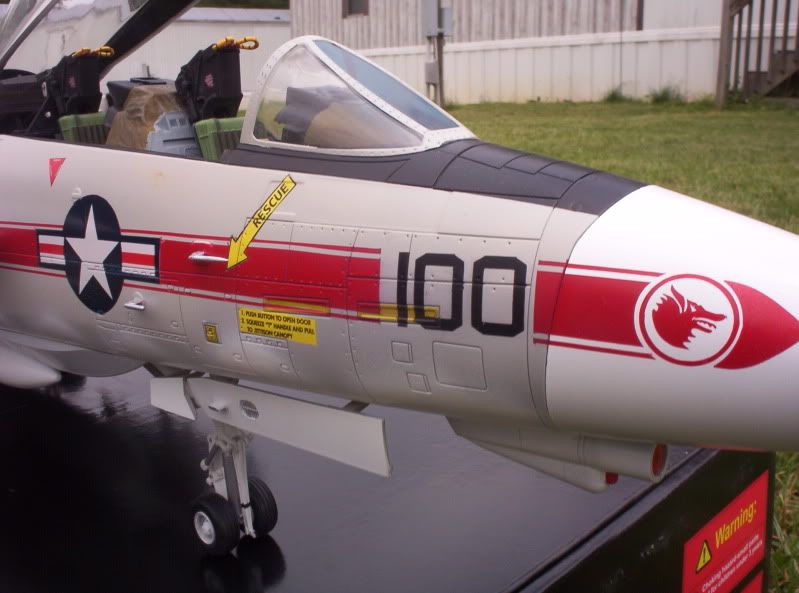
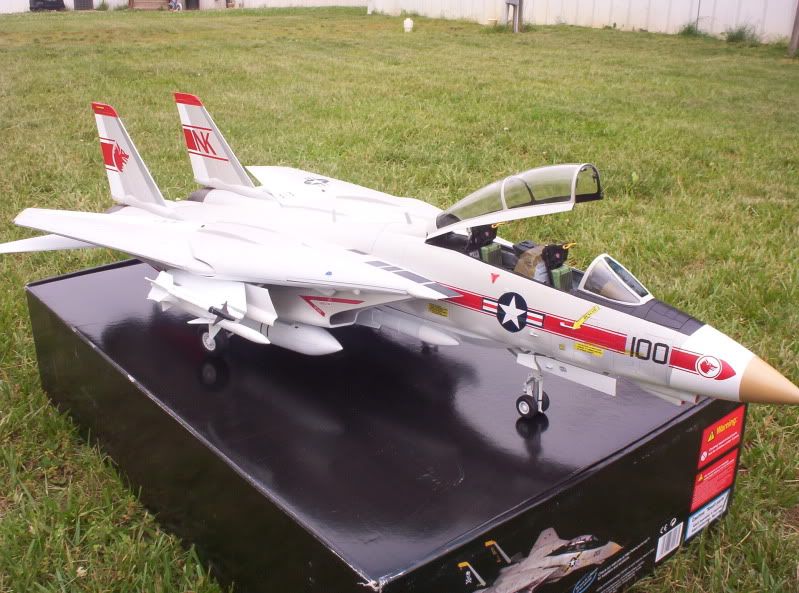
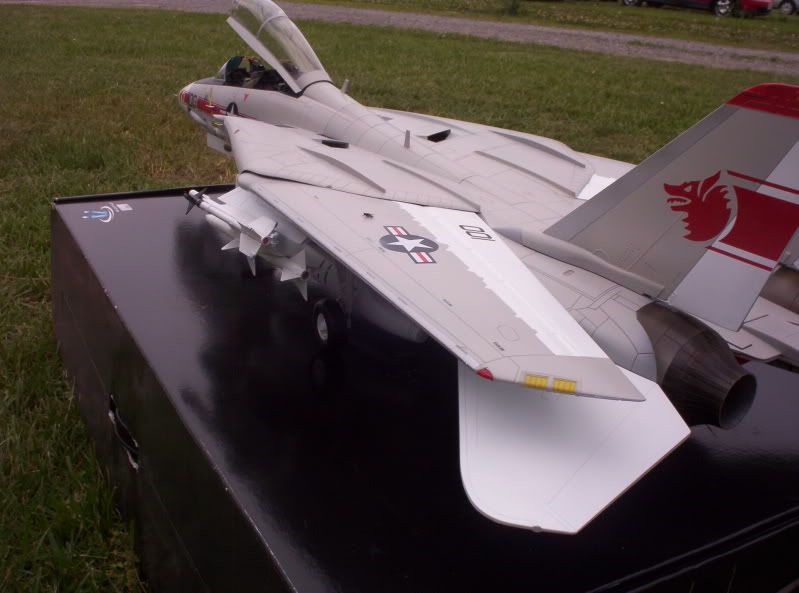
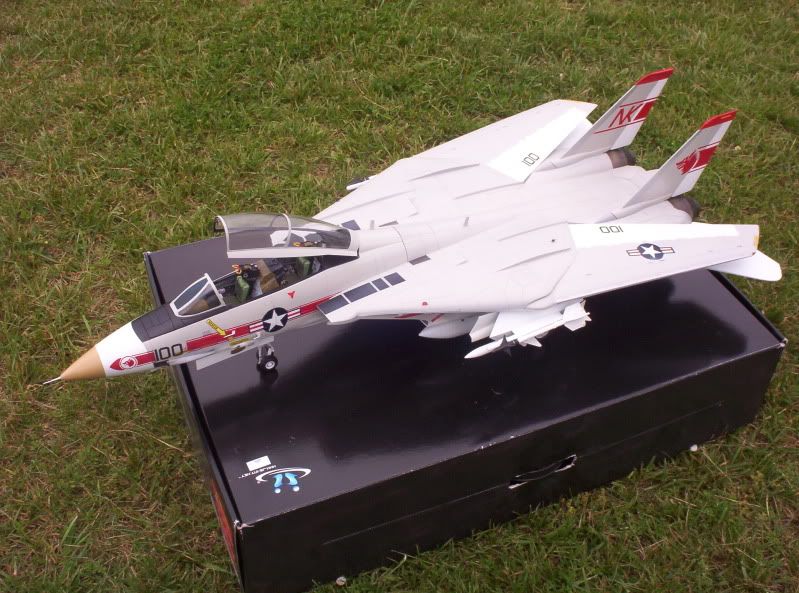
She's 99.9% finished!!! Woo Hoo!
The Testor's Dullcoat really made the paint pop. Yep, she has some cracking in the paint, but overall I'm very happy. Tonight was spent painting the red around the gear doors, boarding steps. Painted the cockpit lining dark gray, fuel tanks, rudder flashing.
Last but not least I have to pick out the pitot tubes and get the TCS lens painted black. Wife is going out of town and taking the camera so I figured I'd snap some pics as she's pretty much complete.
What a pain in the arse project. But damn if she doesn't look ten times better. A big thanks to Brian and Fightertown Decals for making this big Cat more enjoyable to look at!

Enjoy!
- Blake