Repairing an Avenger's Tail

Your Main Forum For Discussing 1:18 Scale Military Figures and Vehicles.
Post Reply
BLACKSNAKES
Sergeant
Sergeant
Posts: 167
Joined: Fri Nov 13, 2009 6:15 pm
Location: Hoagland, Indiana

Repairing an Avenger's Tail

Post by BLACKSNAKES » Sun Nov 28, 2010 8:36 am

I don't post here a lot mainly because you all know more about the discussion topics then I do. I do visit every day and have learned a great deal from the discussions.

I know this topic may get some laughs from those of you do custom work, but there just may be someone here that will benefit.

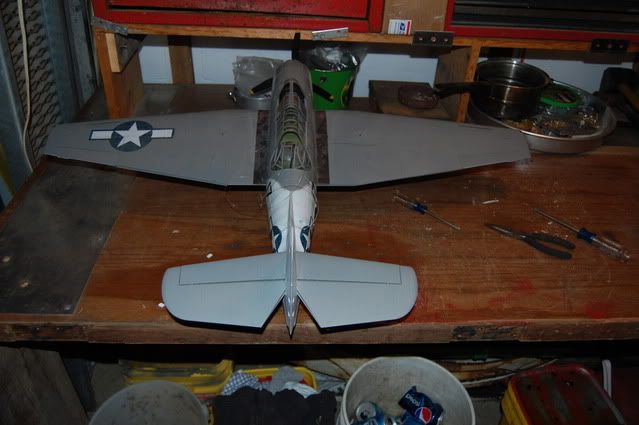
This poor Avenger had a play date with my five year old. Result: tail wing broken off. My eight year old tried to fix it. Result: he broke the other wing off so it wasn't out of balance :( :lol:


Image
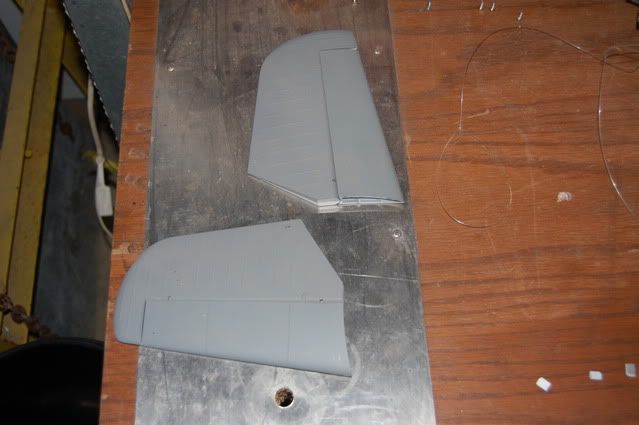
Notice the broken tiny pieces of plastic that held the wings in place (nice job 21st Century)!

Here is how I fixed it.

1:Remove all fuselage screws (my plane lacked the plugs)

2:Remove canopy (just to be safe)

3:Seperate fuselage just in front of rear landing gear (you only need to get it about 1/2 inch apart and the entire tail section will come off the main fuselage)
Image

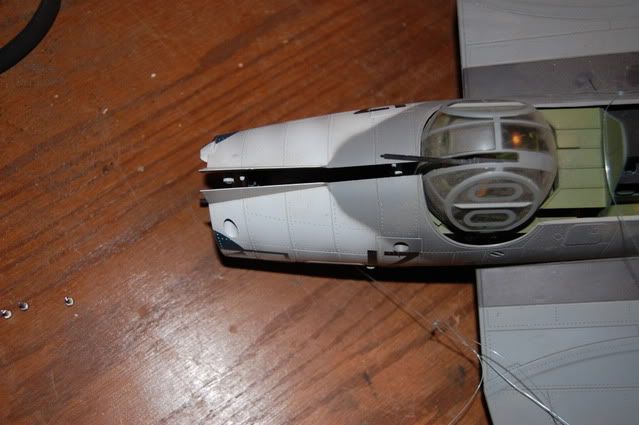
Note: In steps 1 through 3 I incountered no areas that had been glued together (use caution your plane may have been glued in these areas) !!!!!

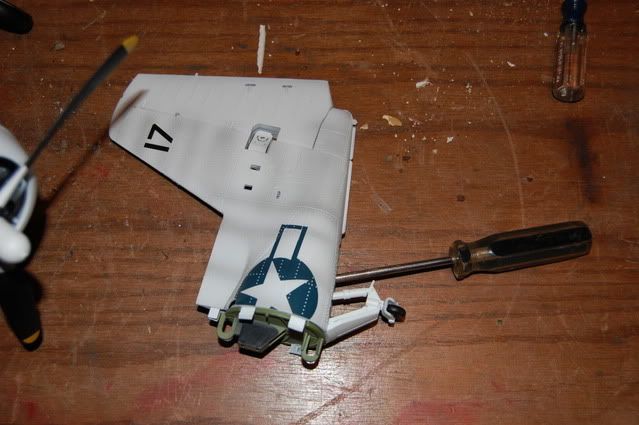
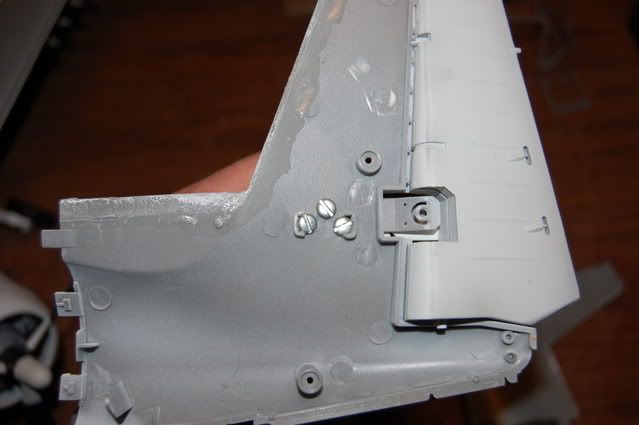
4:Now that you have the tail section off make sure you take out the two screws holding the tail together before going to step 5

5:Use a flat blade screw driver to seperate the tail section. Go through the landing gear area not from the outside! Starting from the forward most top of fuselage and working your way back and up the horizontal tail wing. (this area was glued on my plane) Go slow! Mine came apart perfectly.
Image

6:Line up your wing with the slots and mark for drilling.
Image

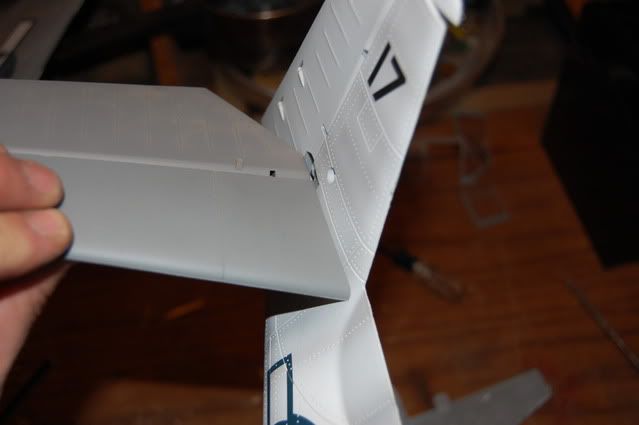
7:Drill holes (check that your screws will go in without cracking the plastic)Image

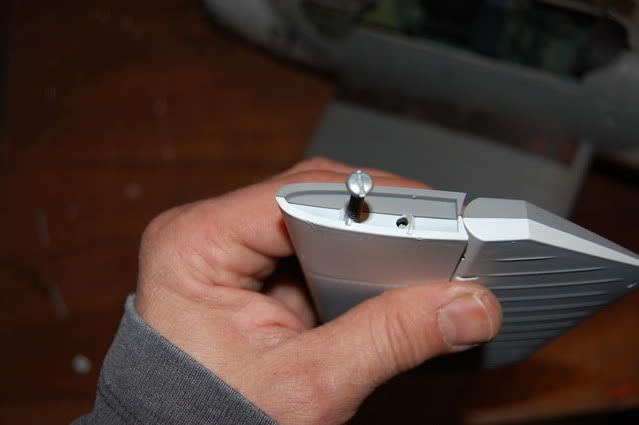
8:Attach wing then drill a third hole (and insert screw) to catch the upper portion of the wing. Now your wing is being supported by both the top and bottom halves, and is very strong!
Image

Repeat step 8 for other wing.
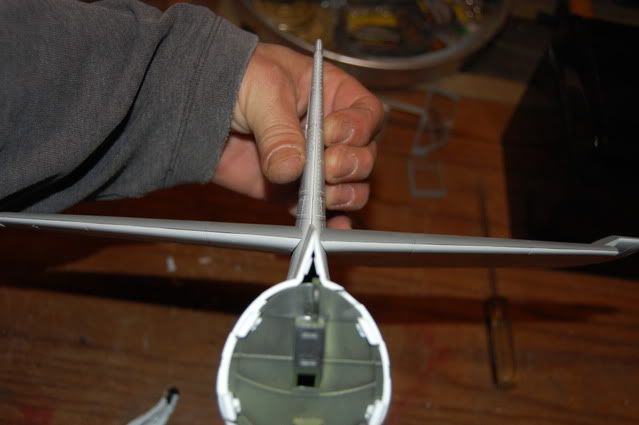
Image

Re-assemble.

DONE :D :D :D
Image

Image

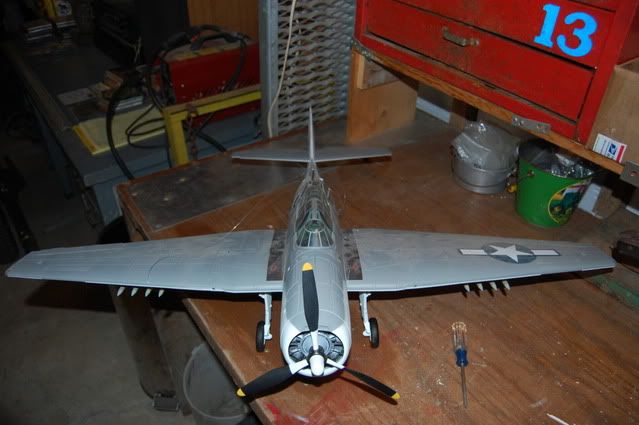
Hope someone finds this useful
B-SNAKES
Good Trader List:
cardenas
popeye357
ram04
xddave
hworth18
PanzerArm
nooker21
paulwong
gliderdwm
sax5thave
Jnewboy
tpa05
warbike

User avatar
YT
Officer - Brigadier General
Posts: 2128
Joined: Sun Mar 29, 2009 2:40 pm
Location: Central IL

Re: Repairing an Avenger's Tail

Post by YT » Sun Nov 28, 2010 12:00 pm

That's great work, thanks for sharing. I'm starting to feel I spend as much time repairing these toys as I do collecting them.
"There are some people who disagree with me, they are wrong." --Gen George S. Patton

snake
Officer - Brigadier General
Posts: 3657
Joined: Mon Mar 23, 2009 12:28 am
Location: Victoria,B.C. Canada

Re: Repairing an Avenger's Tail

Post by snake » Sun Nov 28, 2010 9:48 pm

Great repair job, Blacksnakes.

Thanks for posting the step by step pictures as well.

BLACKSNAKES
Sergeant
Sergeant
Posts: 167
Joined: Fri Nov 13, 2009 6:15 pm
Location: Hoagland, Indiana

Re: Repairing an Avenger's Tail

Post by BLACKSNAKES » Mon Nov 29, 2010 6:46 pm

Hey, Thanks YT & Snake! YT I hear you loud and clear about repairs. Maybe I should stop letting my boys play with toy airplanes :? I would, but it's just too cool to see Avengers, Me 109s, Stukas, P-51s, etc flying all around the house. I never had cool airplanes when I was a kid, so I guess my boys will look back some day and remember how much fun they had with Dad's airplanes :D

B-Snakes
Good Trader List:
cardenas
popeye357
ram04
xddave
hworth18
PanzerArm
nooker21
paulwong
gliderdwm
sax5thave
Jnewboy
tpa05
warbike

Post Reply